A comprehensive guide to achieving perfect grilling temperatures for various foods.
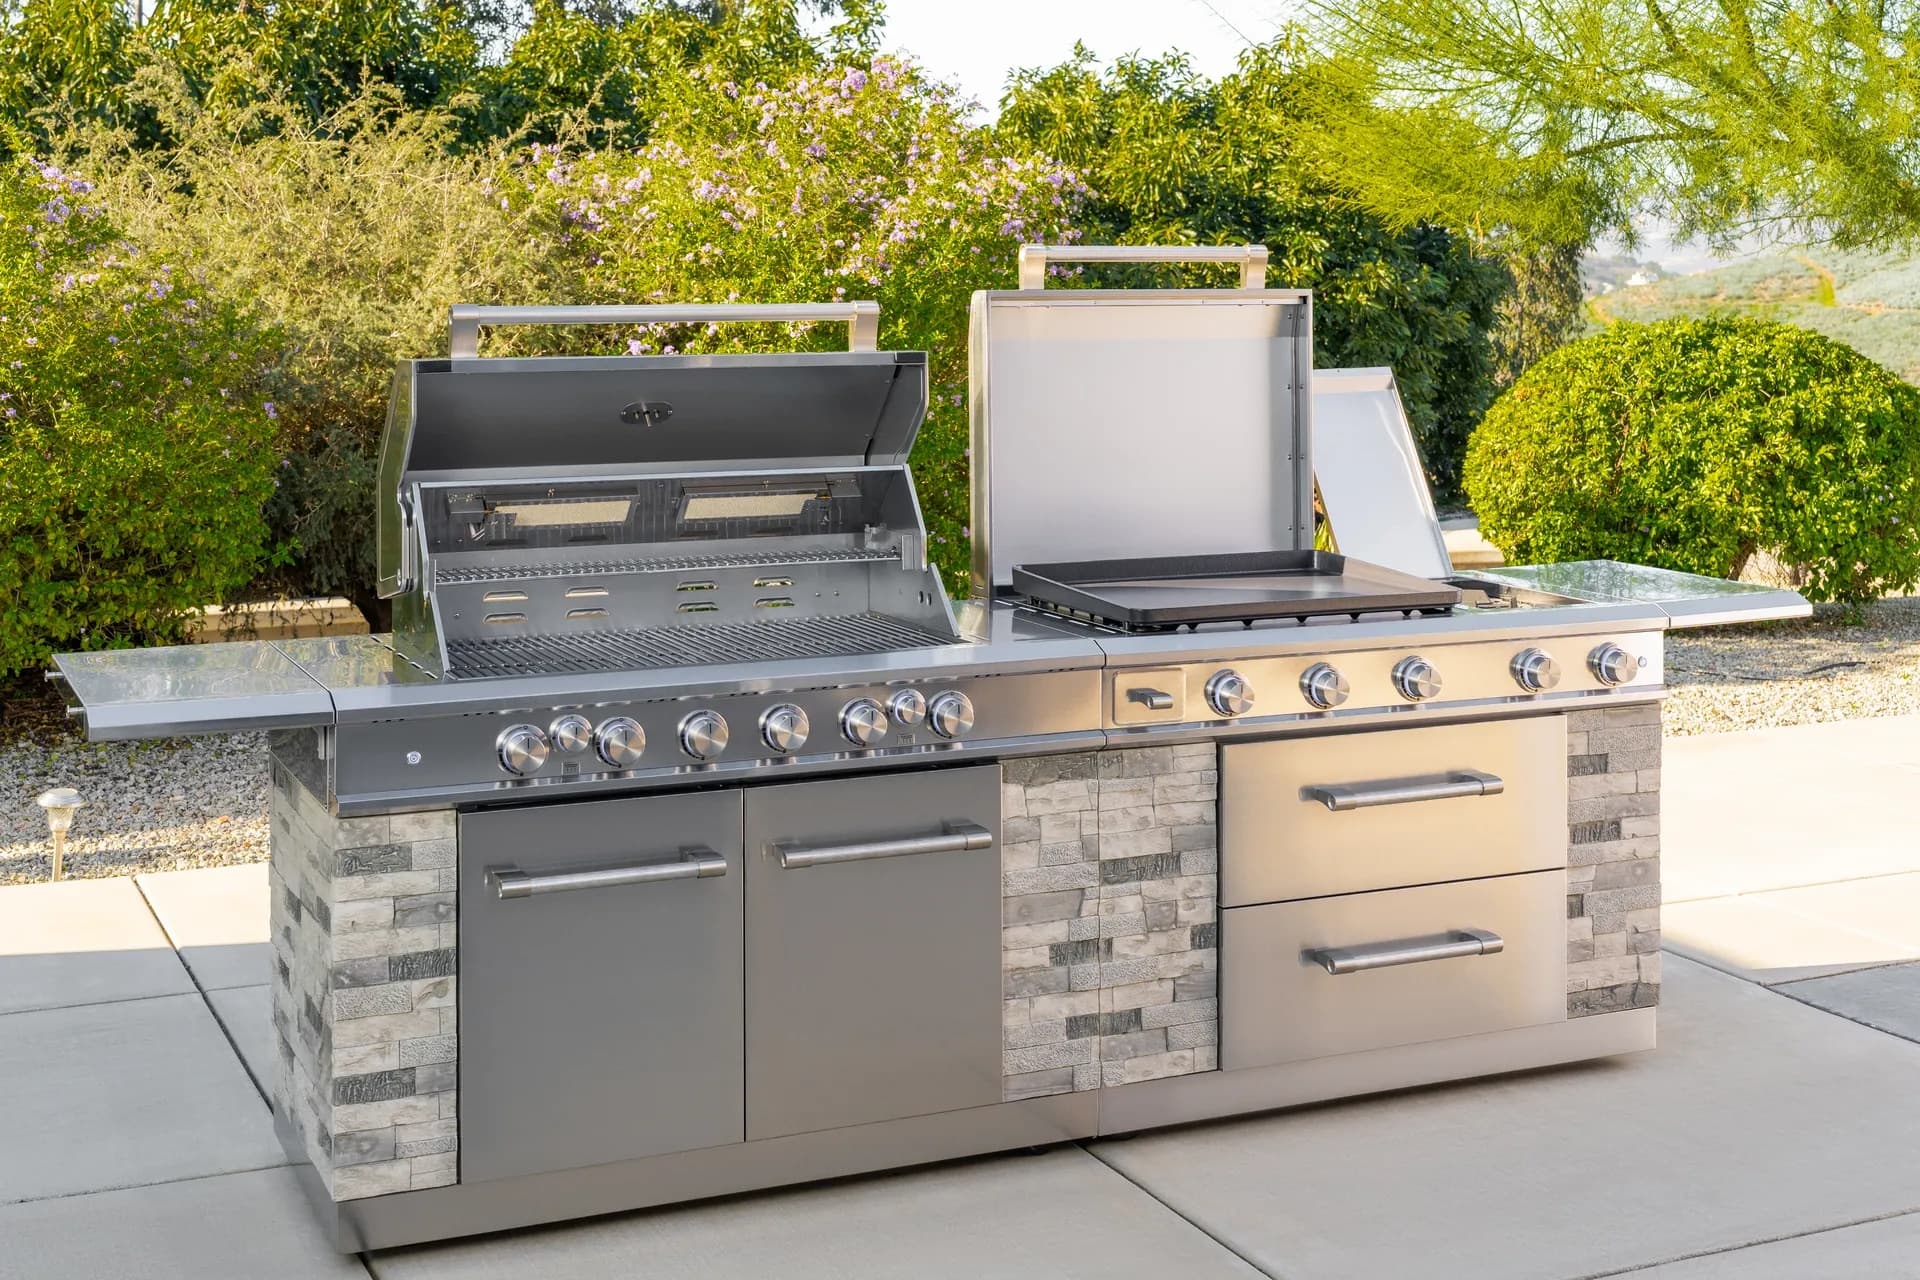
From sizzling breakfasts to smash burgers and teppanyaki-style dinners, the Daytona Pro 5 Burner NitroGuard™ Griddle delivers powerful heat, fast cooking, and a durable cooking surface built for every backyard cookout. Watch how easy outdoor cooking can be.
Here's what sets us apart from the competition
We position ourselves as delivering high-end outdoor cooking features and performance without premium-brand pricing, emphasizing “Quality Grills. Unbelievable Value.”
We offer gas grills, pellet grills, griddles, smokers, pizza ovens, portable/tabletop grills, electric grills, accessories, and replacement parts — allowing customers to stay within one ecosystem for all outdoor cooking needs.
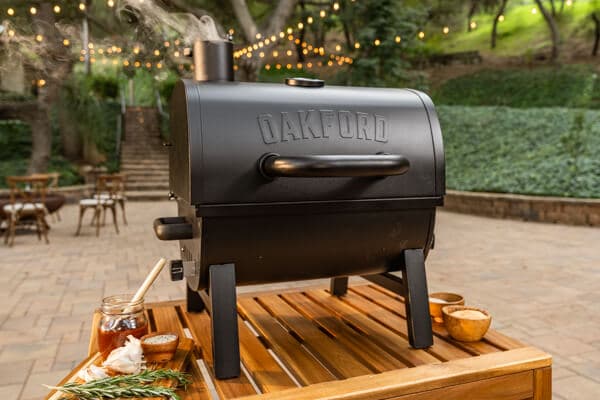
We differentiate ourselves through smart grilling products like the Oakford smart pellet grill, including app-connected cooking controls and modern outdoor cooking technology.

Expert tips, buying guides, comparisons, and inspiration for choosing and getting the most out of your grill.

Practical guides for cleaning, maintenance, common grill issues, and performance optimization.

Step-by-step grilling recipes, cooking techniques, and meal ideas for every occasion and skill level.

Backyard entertaining ideas, seasonal grilling inspiration, and stories that celebrate outdoor cooking culture.

Helpful articles covering grilling tools, cookware, maintenance gear, and must-have accessories for outdoor cooking.

Find griddle recipes, cooking techniques, cleaning tips, and outdoor meal ideas designed for Nexgrill griddles.
Find answers to common questions
Gas grills provide instant heat and precise temperature control, making them easier to use. Charcoal grills offer a smoky flavor and high heat for searing but require more time to heat up and manage.
Pellet grills combine the convenience of gas with the flavor of wood, allowing for smoking, baking, and grilling. Traditional gas grills, however, are quicker to start and often easier to clean.
Charcoal grills typically reach higher temperatures quicker than gas grills, making them better for searing meat. However, high-quality gas grills can also provide adequate heat for effective searing.
Nexgrill offers models designed specifically for gas, charcoal, and pellets, allowing users to choose based on their cooking style and flavor preferences. Each type is built to optimize the characteristics of its respective fuel.
Choosing between gas and charcoal grills depends on your cooking preferences and lifestyle. If you value convenience and quick cooking, a gas grill may suit you better; if you prefer the taste and experience of traditional grilling, a charcoal grill would be ideal.
In This Article
Understanding Heat Zones
Grilling Techniques
Temperature Monitoring
Temperature control is the difference between a grill that simply heats food and a grill that cooks with intention. For backyard cooks, it affects everything from the crust on a steak to the juiciness of chicken thighs, the tenderness of ribs, and the texture of vegetables. A steady, appropriate temperature helps you move from guessing to repeatable results, which is especially important when you are cooking for a family dinner, a holiday crowd, or a weekend cookout where timing matters. Nexgrill’s brand approach emphasizes outdoor cooking that is approachable and dependable, and that mindset fits temperature control perfectly: the more confidently you can manage heat, the more consistent your meals become. That applies whether you are working with a compact gas grill, a multi-burner setup, or a charcoal cooker. Nexgrill’s “Everyone’s Invited” philosophy also reflects the practical side of grilling: once you understand heat, you can cook for beginners and experienced guests alike without turning the patio into a guessing game.
A grill’s best results usually come from control, not just maximum output.
In practical terms, temperature control means managing how much heat your food receives, how quickly it cooks, and where it cooks on the grate. That includes preheating long enough for the cooking surface to stabilize, creating separate heat zones, and adjusting vents, burners, or fuel placement so the food sees the right environment for the job. A burger may want hot direct heat for a quick sear, while chicken breasts often do better with a hotter start and then a gentler finish. Thick cuts, delicate seafood, and vegetables all demand different temperature behavior, which is why a one-setting approach rarely gives the best result. Grilling well is less about memorizing one “ideal” temperature and more about learning how to build and hold the temperature your food needs.
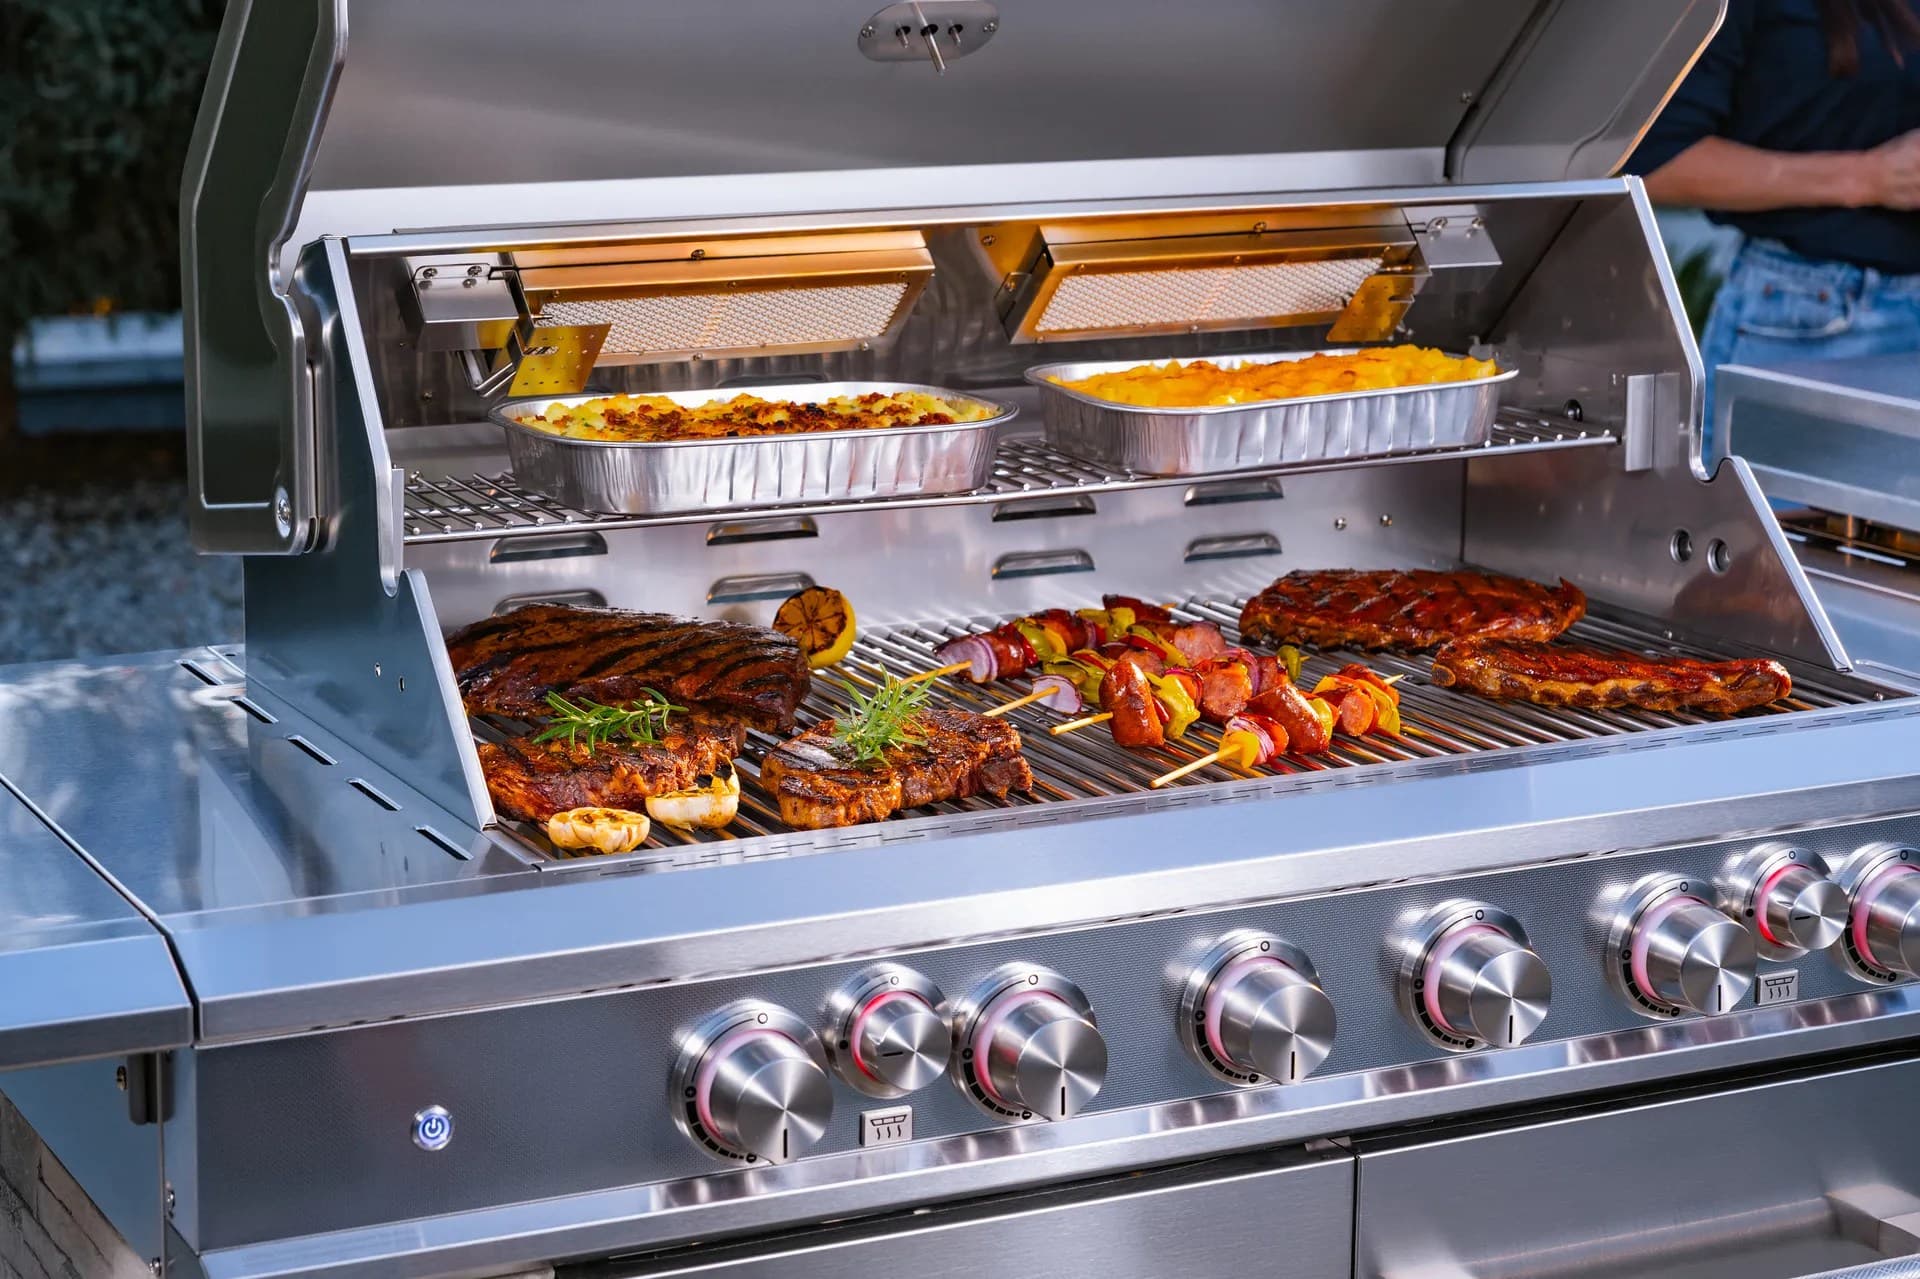
Direct heat means the food sits over the active heat source. On a gas grill, that is typically above burners that are lit; on charcoal, it is above the main bed of coals. This zone is best for fast-cooking foods that benefit from browning and searing, such as thin steaks, burgers, hot dogs, shrimp, asparagus, or sliced peppers. The heat is intense and immediate, which gives you color and texture quickly, but it can also scorch food if you leave it unattended. Indirect heat, by contrast, means the food is away from the flames or coals. On a gas grill, you might leave one burner off and place the food over that cooler section. On charcoal, you might push coals to one side and cook on the other. Indirect heat is the safer, more forgiving choice for thicker or more fragile foods that need time to cook through without burning outside surfaces.
The key advantage of understanding both zones is that you can combine them. You can sear first, then finish gently; or you can start slowly, then move to a hot area for color. That kind of control helps with larger pieces of meat, bone-in chicken, whole fish, stuffed vegetables, and even grilled fruit. A common mistake is assuming that a grill is either “hot” or “not hot.” In reality, the best grill setups usually have a temperature gradient. That gradient lets you move food as needed, which is especially useful when different items cook at different speeds. A thick pork chop can sit in a cooler zone while thinner zucchini rounds get short bursts of direct heat. If you are cooking for a mixed crowd, that flexibility matters more than any single number on a thermometer.
| Heat zone | Best for | Typical use |
|---|---|---|
| Direct heat | Quick searing and browning | Burgers, thin steaks, shrimp, vegetables |
| Indirect heat | Gentle cooking through | Chicken pieces, ribs, roasts, thicker chops |
| Mixed-zone setup | Flexible finishing and resting | Sear-then-finish, reverse cooking, mixed menus |
Info: If your grill has multiple burners, learn to think in lanes instead of one flat heat field. That makes temperature control much easier during busy cookouts.
Two-zone cooking is the most useful skill for improving grill temperature control because it gives you a hot side and a cooler side at the same time. On a gas grill, you can light one or two burners for direct heat and leave another section off for indirect cooking. On charcoal, you can bank the coals to one side or split them into two piles, leaving the center or opposite side cooler. This setup lets you sear foods where color is important, then move them to the indirect side so the inside finishes at a more comfortable pace. It is a practical method for chicken thighs, bone-in pork chops, thick fish fillets, and sausages that need to cook through without a burnt exterior.
Another useful method is reverse heat management, where you start food in a cooler zone and finish it over higher heat. This works especially well for thick cuts and larger items because it reduces the chance of overcooking the center before the surface develops texture. You can also use the opposite approach: sear first, then move to indirect heat. Both methods are valid, but the right one depends on the thickness and fat content of the food. Heavier cuts often benefit from a slower start, while thinner items usually do better with a fast sear and short total cooking time.
One overlooked technique is using the grill’s lid as part of temperature management. Closing the lid turns the grill into a more oven-like environment, which helps stabilize heat and improve circulation. That is especially useful for foods that need even cooking from all sides, such as bone-in chicken, stuffed peppers, or thicker fish. A closed lid can also reduce flare-ups by limiting oxygen and helping the grill recover after you open it. The trade-off is that you must monitor more carefully, because closing the lid can raise the temperature quickly. If you are cooking a delicate item, open-lid direct grilling may give you more control; if you need a more even cook, the lid becomes your friend.
Tip: Before food goes on the grate, preheat long enough to stabilize the cooking surface. A rushed preheat often creates uneven zones that are harder to manage later.
The best temperature-control habit is to measure instead of assume. Built-in lid thermometers can be helpful, but they read the air near the top of the grill, not necessarily the grate where your food is cooking. That means they are useful for tracking general grill conditions, but they should not be the only source you trust. A reliable instant-read thermometer is one of the most practical tools a griller can own because it tells you the actual internal temperature of the food. For thin items, it can confirm doneness in seconds. For larger cuts, a leave-in probe thermometer can help you follow the temperature during a longer cook without repeatedly opening the lid.
There are also simple ways to improve accuracy without buying a lot of gear. Place your thermometer probe carefully, away from bone, fat pockets, and direct flame. Test a few points across the grill grates so you know whether one side runs hotter than the other. Use the lid thermometer for broad guidance, but use the food thermometer for the final decision. If you are cooking with charcoal, remember that temperature swings are normal, especially in the first part of the cook while the fire settles. A stable reading often comes after the coals ash over and the airflow is tuned. On a gas grill, letting the burners and grates fully preheat gives you a more realistic cooking environment and better sear marks.
For United States home cooks, a good practical benchmark is to match the tool to the task. Quick weeknight meals can often be managed with an instant-read thermometer, while ribs, roasts, and larger chicken pieces are easier with a probe setup. If you are serving a crowd, check multiple pieces rather than assuming the whole batch cooks identically. Even with a stable grill, food can vary in thickness and shape. Monitoring a few pieces gives you a better sense of when to rotate, move, or rest the food.
| Tool | What it tells you | Best use |
|---|---|---|
| Built-in lid thermometer | General grill air temperature | Monitoring overall heat level |
| Instant-read thermometer | Food’s internal temperature | Final doneness checks |
| Leave-in probe thermometer | Ongoing temperature trends | Long cooks and roasts |
One of the biggest mistakes is cooking on a grill that has not fully preheated. If the grates are not hot enough, food can stick, sear unevenly, or take on weak color. Another common problem is opening the lid too often. Each time you lift it, you release heat and force the grill to recover. That recovery time may seem small, but it adds up and can lead to uneven cooking. A better habit is to open the lid only when you need to flip, rotate, or check temperature. In the same spirit, many cooks overcrowd the grate, which traps steam and lowers the effective cooking temperature around the food. Crowding also makes it harder to move food between zones.
People also misread burner settings as precise temperature targets. A burner knob position is only a starting point, not a final answer. Wind, ambient temperature, fuel level, grate cleanliness, and lid position all change the actual cooking environment. Another frequent error is trusting color instead of temperature. Food can look done on the outside and still be undercooked inside, or it can reach a safe internal temperature before the crust looks deeply browned. That is why reading internal temperature is so valuable. Finally, some grillers forget that resting is part of temperature control. Carryover heat continues to cook food after it leaves the grill, so pulling food at the right moment prevents overcooking.
Warning: Do not rely on guesswork for thicker meats or mixed batches. A few extra seconds with a thermometer can save an entire meal from being overdone.
Perfect grilling temperatures are not about chasing one magic number. They come from knowing how to build heat zones, when to use direct or indirect cooking, how to track the food instead of the weather in your imagination, and how to correct course when the grill behaves differently than expected. Once you develop that instinct, grilling becomes less stressful and more repeatable. You can handle weeknight dinners with confidence, manage a mixed menu for guests, and adapt your approach to whatever fuel and grill style you are using. Try comparing two products side by side below to see which fits best:
Once you've weighed two options against each other, the next step is learning how experienced grillers fine-tune heat instead of merely reacting to it. Advanced temperature control is mostly about shaping airflow, fuel output, and cooking surface behavior so the grill responds the way you want. On a gas grill, that can mean running one burner higher than the others to create a true hot zone and then using a cooler section for finishing or holding. On charcoal, it can mean adjusting vent openings in small increments rather than making large changes that overshoot your target. Small corrections are usually more effective than dramatic ones because the grill needs time to respond. If you want a stable 275 to 325 degrees Fahrenheit for longer cooking, for example, patience is often more valuable than constantly changing the setup.
One technique worth practicing is staged heat management. This means you do not ask the grill to do everything at once. Instead, you preheat fully, establish your zones, and then add food in a sequence that respects the grill’s thermal limits. If you place a large amount of cold meat on the grate all at once, the temperature can drop sharply. Staging helps preserve stability, especially during busy family meals or when you are cooking multiple courses. Another advanced tactic is grating by function: one area for searing, one for gentle cooking, and one for resting or holding. That structure is especially helpful when you are preparing mixed menus with vegetables, proteins, and bread at the same time.
Info: If your grill has multiple burners, learn how each burner affects the grate. Some grills heat more evenly at the center, while others have stronger edges or rear hot spots.
You can also use thermal recovery to your advantage. After opening the lid or adding cold food, give the grill time to come back to temperature before making another adjustment. Constantly chasing the numbers can create a yo-yo effect where the grill never settles. The same principle applies to charcoal: once you add fuel or shift coals, wait long enough to see the result before changing again. Experienced cooks often keep a close eye on rate of change rather than a single snapshot number. If the grill is drifting upward too quickly, they respond differently than they would if it is slowly losing heat. That kind of awareness is what separates a merely hot grill from one you can actually direct.
Weather has a direct effect on grill temperature, and ignoring it can make an otherwise solid setup feel unpredictable. Wind is one of the biggest disruptors because it pulls heat out of the cooking chamber and can create uneven zones. A breezy day may require you to close the lid more often, shield the grill from direct gusts when safe to do so, or allow more time for the grill to recover between lid openings. Cold weather slows recovery as well, especially if you are cooking on a larger surface or in a metal grill with more exposed area. In practical terms, winter grilling in the United States often demands longer preheats and slightly more attentive burner management than a calm summer evening.
Humidity and rain matter too, though in a different way. Moisture in the air can influence how quickly surfaces brown, and wet charcoal or damp components can delay temperature stability. That does not mean you should avoid grilling when the weather changes; it means you should expect more variation. A helpful habit is to preheat longer than you think you need and to check the actual cooking area with a thermometer instead of assuming the lid reading is enough. If the grill is under a patio cover or in a partially protected space, the airflow pattern may be different from what you are used to, so the same burner setting may create a different result.
Heat also behaves differently on hot days. When the ambient temperature is already high, a grill can come up to target quickly, but it may also overshoot if you are not watching closely. That is one reason why small adjustments are safer than large ones. In strong summer heat, food can finish faster than expected, and that is especially true for thinner cuts and vegetables. Weather awareness is not a side note; it is part of the cooking plan. The more you account for it, the less often you will be surprised halfway through the meal.
Consistency comes from a repeatable process. Start by preheating long enough for the grates and cooking chamber to stabilize. Then set your zones before the food goes on, rather than making major changes mid-cook. On gas grills, that usually means choosing a burner pattern and sticking with it unless the food requires a transition. On charcoal grills, it means building a coal bed that matches the length of your cook, since adding fuel too late can create a temperature spike that throws off timing. Keeping vents, grates, and grease management clean also makes consistency easier because airflow and radiant heat remain more predictable.
One of the most reliable ways to maintain heat is to cook in manageable batches. If you are grilling for a crowd, do not overload the grill with every item at once unless you know it can hold the temperature. Cooking in waves keeps the environment more stable and gives you more control over doneness. It also helps with food quality, because each batch has a better chance to sear instead of steam. For long cooks, check whether the grill is drifting and adjust incrementally. A small vent change or burner tweak can be enough to correct a slow decline. Overcorrecting tends to make things worse, not better.
Tip: If your grill tends to run hotter on one side, remember that consistency does not mean every square inch must be identical. It means the pattern should be known and usable.
Different foods respond best to different temperature bands, and matching the method to the ingredient is one of the simplest ways to improve results. For quick-sear foods like burgers and thin steaks, a hotter direct zone is usually the most efficient choice because it builds browning fast. For chicken pieces, the target is often a medium grill environment that allows the outside to develop color while the interior finishes safely. Pork chops, sausages, and thicker vegetables often benefit from a two-zone approach so they can move between heat levels as needed. Whole fish, especially fillets with delicate texture, usually do better with moderate direct heat or a finish in indirect heat after the initial sear.
As a general United States home-grilling reference, many cooks think of around 225 to 275 degrees Fahrenheit for low-and-slow cooking, 300 to 350 degrees Fahrenheit for more moderate roasting or chicken work, and 400 degrees Fahrenheit or higher for hard searing and fast browning. These are practical ranges, not absolute rules, and the best number depends on thickness, fat content, and the grill’s behavior. The same food may need a different approach depending on whether you are cooking outdoors in mild spring weather or on a windy fall evening. Internal temperature targets matter just as much as grill temperature, because the outside can only tell you so much. If you want a juicy result, use the grill temperature to shape the cook and the food thermometer to finish it accurately.
| Food | Practical grill range | Method |
|---|---|---|
| Burgers | Medium-high to high | Direct heat with one turn if needed |
| Chicken pieces | Medium, with indirect finishing | Two-zone cooking |
| Ribs or larger roasts | Low to moderate | Indirect heat with lid closed |
| Vegetables | Medium-high | Direct heat or quick zone transfers |
Safety is part of temperature control, not separate from it. A flare-up is often a sign that fat is dripping into intense heat, which means your temperature setup needs attention. Managing flare-ups starts with sensible spacing, trimming excess surface fat when appropriate, and keeping one cooler zone available so food can move away from sudden flames. It also means opening the lid carefully, because a rush of oxygen can intensify fire in a hot chamber. On gas grills, if you smell gas or suspect an ignition problem, shut things down according to the manufacturer’s instructions and inspect before relighting. On charcoal grills, never add lighter fluid to a live bed of coals.
Safe temperature management also includes tools and timing. Use heat-resistant gloves, long-handled utensils, and stable probe placement so you do not need to hover over the heat source. Keep kids and pets clear of the work zone, especially when you are checking burners or shifting coals. If you are using thermometers, make sure the cables and probes are rated for grill use and routed away from direct flame. Finally, remember that the grill itself remains hot long after cooking ends. Waiting for surfaces to cool before cleaning or covering the unit reduces the risk of burns and extends the life of the equipment.
Warning: A stable cooking temperature is only useful if it is managed safely. Never sacrifice airflow, clearances, or proper handling just to force a faster cook.
Mastering temperature control is really about building a repeatable system you can trust. Once you know how to create zones, read the grill accurately, adjust for weather, and match heat to the food, grilling becomes far more predictable and far less stressful. You will spend less time rescuing overcooked dinners and more time serving food that reflects the best of your grill and your own judgment. That is the practical payoff: better texture, better timing, and better confidence every time you cook outdoors.
If you want to keep improving, focus on one variable at a time. Practice zone control on a weeknight meal. Then practice probe placement on chicken or chops. Then see how your grill responds on a windy evening or after a colder preheat. Small improvements compound quickly. The most capable grillers are not the ones who never adjust; they are the ones who know exactly when and how to adjust. Use that approach and the grill starts working with you instead of against you.
Here's what sets us apart
We position ourselves as delivering high-end outdoor cooking features and performance without premium-brand pricing, emphasizing “Quality Grills. Unbelievable Value.”
We offer gas grills, pellet grills, griddles, smokers, pizza ovens, portable/tabletop grills, electric grills, accessories, and replacement parts — allowing customers to stay within one ecosystem for all outdoor cooking needs.
We differentiate ourselves through smart grilling products like the Oakford smart pellet grill, including app-connected cooking controls and modern outdoor cooking technology.
Don't just take our word for it
Keep reading
From our catalog