A comprehensive guide to selecting, preparing, and grilling steak to achieve restaurant-quality results at home.
Here's what sets us apart from the competition
We position ourselves as delivering high-end outdoor cooking features and performance without premium-brand pricing, emphasizing “Quality Grills. Unbelievable Value.”
We offer gas grills, pellet grills, griddles, smokers, pizza ovens, portable/tabletop grills, electric grills, accessories, and replacement parts — allowing customers to stay within one ecosystem for all outdoor cooking needs.
We differentiate ourselves through smart grilling products like the Oakford smart pellet grill, including app-connected cooking controls and modern outdoor cooking technology.

Expert tips, buying guides, comparisons, and inspiration for choosing and getting the most out of your grill.

Practical guides for cleaning, maintenance, common grill issues, and performance optimization.

Step-by-step grilling recipes, cooking techniques, and meal ideas for every occasion and skill level.

Backyard entertaining ideas, seasonal grilling inspiration, and stories that celebrate outdoor cooking culture.

Helpful articles covering grilling tools, cookware, maintenance gear, and must-have accessories for outdoor cooking.

Find griddle recipes, cooking techniques, cleaning tips, and outdoor meal ideas designed for Nexgrill griddles.
Find answers to common questions
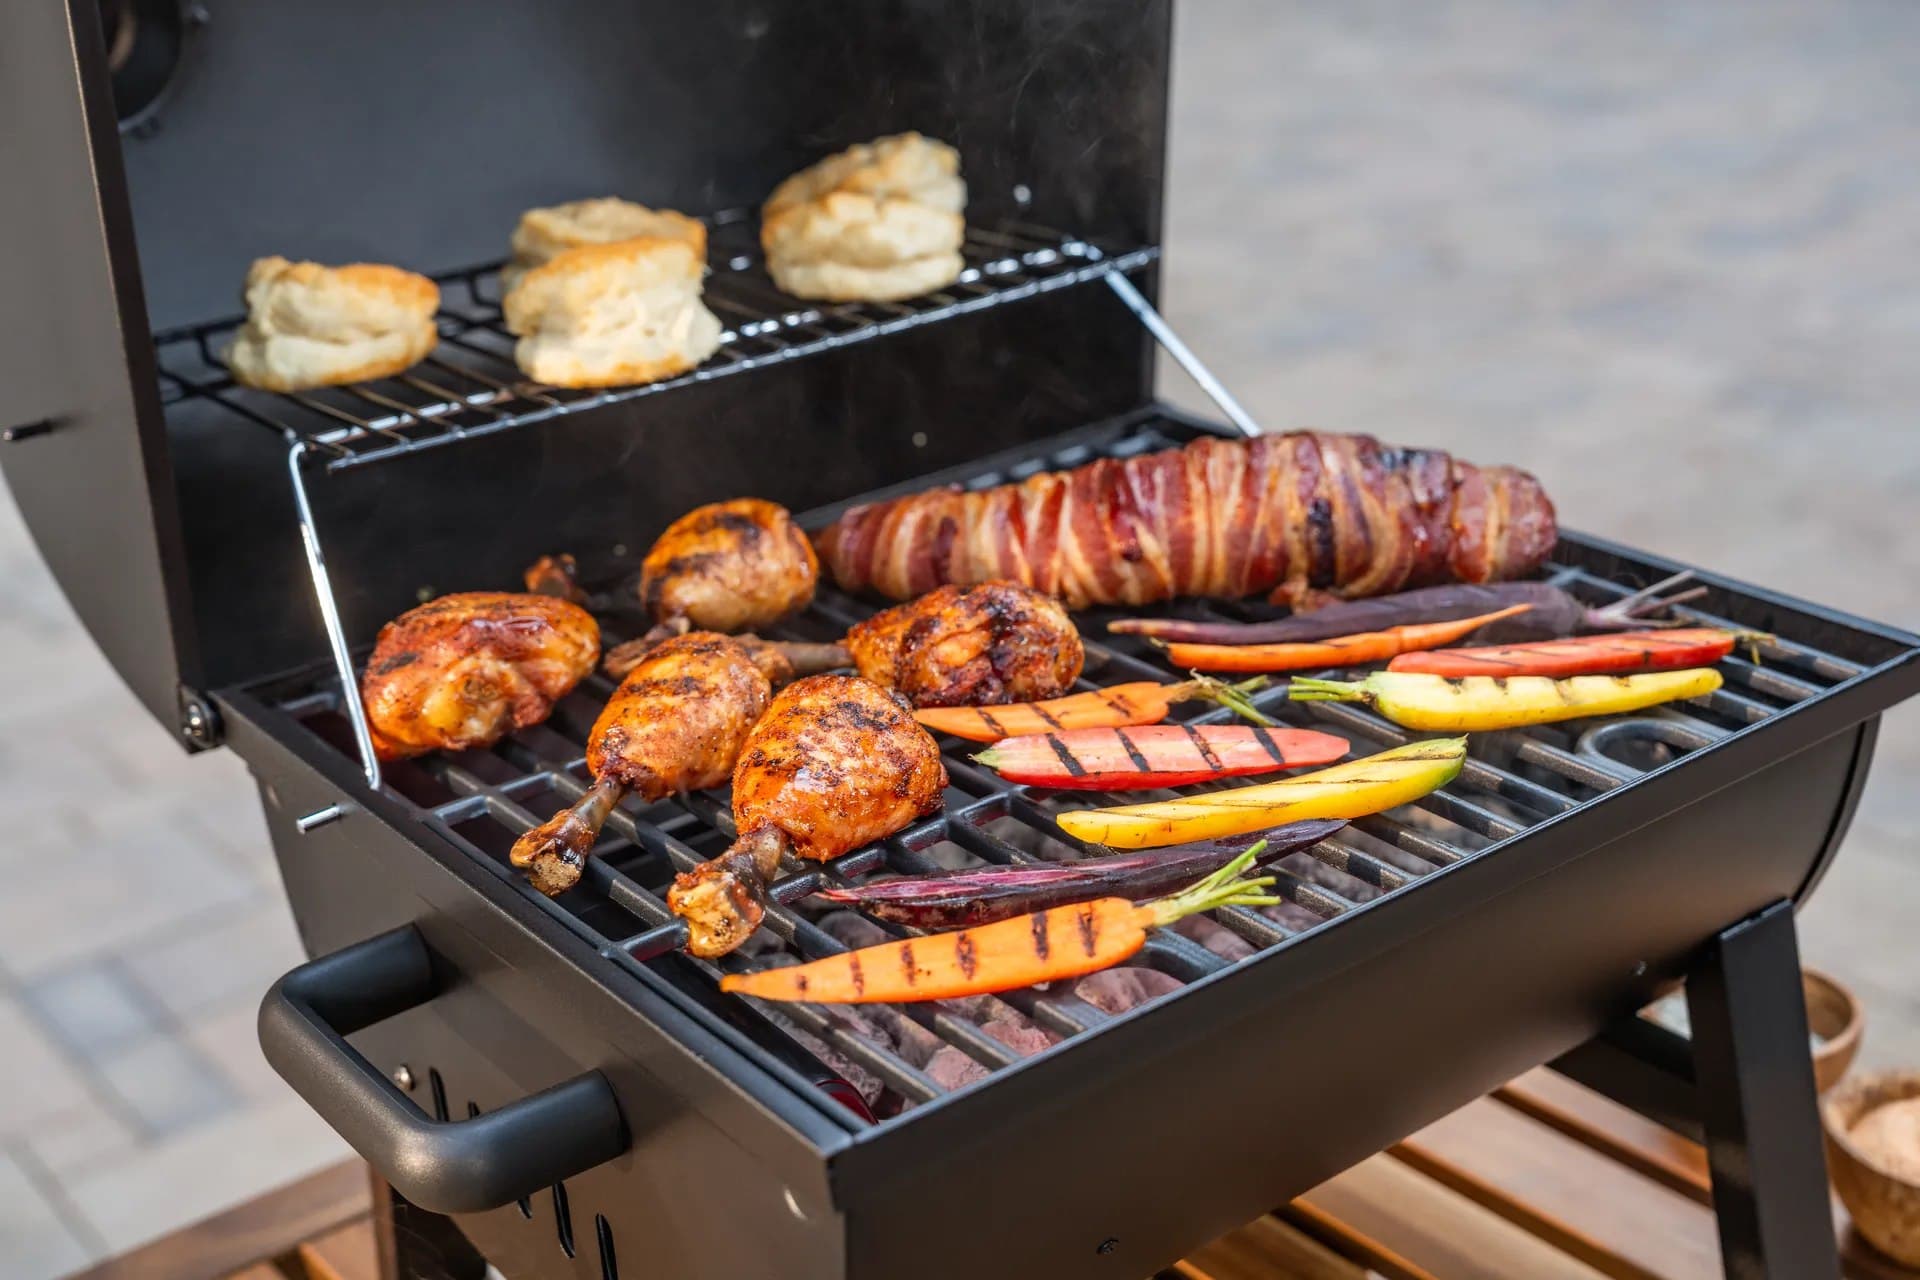
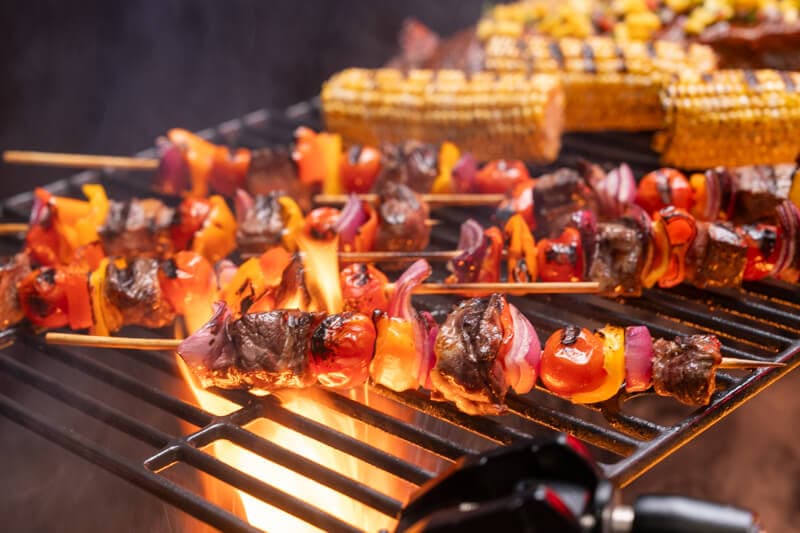
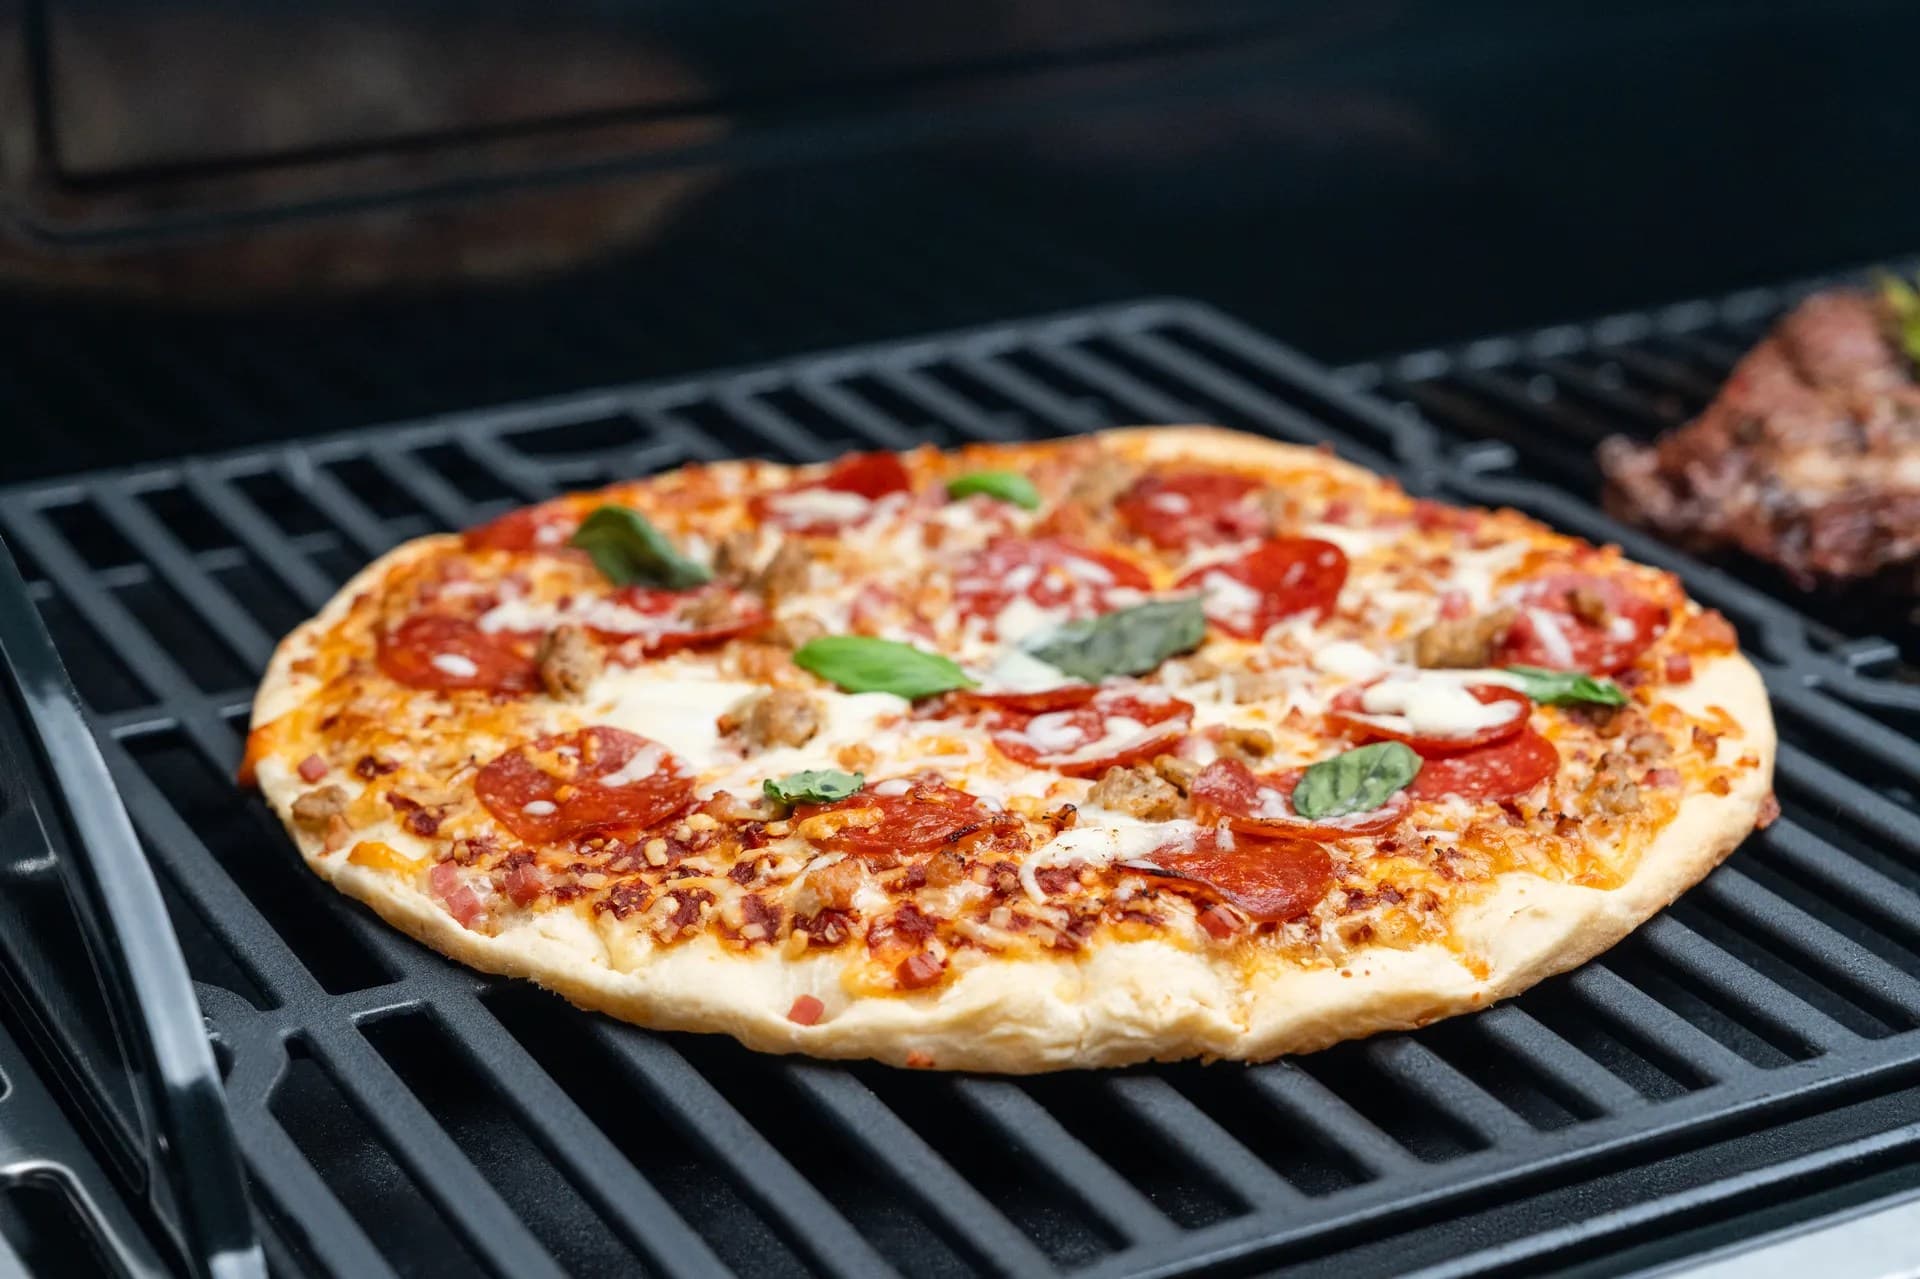
Nexgrill equipment is suitable for a variety of recipes including meats, vegetables, and even pizzas. Popular options include marinated steaks, grilled vegetables, and shrimp skewers.
To enhance the flavor of grilled vegetables, consider marinating them in olive oil, herbs, and spices before grilling. Alternatively, you can season them with salt and pepper during grilling for a more straightforward approach.
To achieve perfect grill marks, preheat your grill to a high temperature and ensure that the food is dry before placing it on the grill. Avoid moving the food too early, as it needs to sear properly to form those classic grill marks.
Using a meat thermometer is the most accurate way to ensure your grilled meat is at the desired temperature. For instance, chicken should reach an internal temperature of 165°F while medium-rare beef is typically at 135°F.
To clean your Nexgrill after cooking, allow it to cool and then use a grill brush to remove any residue from the grates. You can also wipe down the exterior with a damp cloth and mild soap to keep it looking its best.
In This Article
Selecting the Ideal Steak Cut
Essential Preparation Techniques
Grilling Methods and Tips
The first step in learning how to grill steak perfectly is choosing a cut that matches both your cooking style and your grill’s strengths. The steak itself sets the ceiling for what the final result can be, so this decision matters more than many first-time grillers realize. A great cut does not need complicated treatment; it needs the right amount of heat, the right amount of seasoning, and enough muscle or marbling to stay juicy over open flame. For most home cooks, the sweet spot is a steak that has enough fat to flavor the meat but not so much internal connective tissue that it needs long, slow cooking.
Rib-eye, strip steak, and tenderloin are the most dependable choices when you want a steakhouse-style finish on a backyard grill. Rib-eye gives you deep beef flavor and generous marbling, which helps it stay rich and tender even over aggressive heat. Strip steak, sometimes called New York strip, offers a firmer bite and a clean beef flavor that works especially well when seared on a hot gas grill. Tenderloin is the leanest and most delicate of the three; it rewards careful handling and is a strong choice when you want tenderness above all else. These cuts are consistent enough to grill confidently, yet distinct enough that you can match them to different guests and occasions.
Steak cuts to prioritize for reliable grilling results: rib-eye, strip, and tenderloin.
Thickness is just as important as cut. A steak that is too thin can overcook before it develops a proper crust, especially on a high-output gas grill. Aim for steaks around 1 to 1.5 inches thick when possible. That range gives you enough time to sear the exterior while protecting the center from overcooking. Thicker steaks are also easier to manage with a two-zone setup, because you can move them between direct and indirect heat without losing momentum. This is one reason Nexgrill gas grills are so useful for steak nights: you can create a hot searing area on one side and a gentler finishing area on the other, which gives you much more control than a single-temperature cooking surface.
Tip: If you are serving a mixed group, choose one well-marbled rib-eye for flavor and one strip steak for a leaner, firmer texture. The contrast makes a side-by-side tasting experience more interesting.
When shopping for steak, look for marbling, color, and uniform shape. Fine white streaks of fat running through the meat usually mean more flavor and better juiciness after grilling. A steak with an odd shape or a very narrow tail can cook unevenly, leaving one section overdone before the thicker end is ready. In practical terms, a compact, evenly cut steak is easier to grill on a weeknight, while a large bone-in rib-eye can be the right choice for a weekend cookout where presentation matters. Bone-in cuts often look impressive and can hold heat well, but they also require more care because the bone can slow down cooking near one side.
If you want to go beyond the usual steakhouse cuts, you can still get excellent results with flank, skirt, or flat iron steak, but those cuts demand a different approach and tighter attention to slicing. For this article’s purpose, the classic center-cut steaks are the better place to start because they are more forgiving and more aligned with the direct-heat grilling methods most readers want to master first. For a dependable grilling setup, pair those cuts with a stable burner system such as the Nexgrill 4-Burner Gas Grill with Side Burner in Black or the 4-Burner Propane Gas Grill in Black with Stainless Steel main lid, both of which give you enough flexibility to manage heat zones and timing for different steak thicknesses.
Preparation is where many home cooks either build flavor or accidentally remove it. The good news is that steak does not need a long ingredient list to taste exceptional. In fact, the most important prep work is usually simple: dry the surface, season correctly, and let the meat come to a temperature that will help it cook evenly. Before the steak ever touches the grill, take a moment to think about moisture. Water on the surface delays browning, and browning is what creates that savory crust everyone wants from a properly grilled steak.
A dry-brine approach is often the most effective technique for home grilling. That means salting the steak ahead of time so the seasoning has time to penetrate and the surface moisture can reabsorb or evaporate. For a steak that is about one inch thick, salt it at least 30 to 45 minutes before grilling; for thicker cuts, you can salt several hours ahead and refrigerate uncovered. This helps season the meat more evenly and encourages a drier exterior, which improves searing. If time is short, season right before the steak goes on the grill, but avoid leaving it salted for just a few minutes, because that can draw moisture to the surface without giving it enough time to reabsorb.
Tip: Set the steak on a wire rack over a tray while it rests in the refrigerator. Airflow helps the exterior dry more evenly, which supports better crust formation on the grill.
Room temperature is a useful concept, but it should be understood realistically. You do not need to leave steak out for hours. In most home settings, 20 to 30 minutes on the counter is enough to take the chill off the surface and reduce the temperature gap between the outside and center. That small change can make the cooking process more predictable. If you are grilling on a busy weeknight, use this time to preheat the grill, gather tongs, and prepare your resting plate instead of rushing straight to the fire.
Marinades can be useful, but they are not always necessary for premium cuts. Rib-eye, strip, and tenderloin usually shine with simple salt, pepper, and maybe a light coating of oil. Oil can help prevent sticking and encourage better contact with the grates, but too much oil can cause flare-ups. Save stronger marinades for cuts that benefit from extra flavor support or for cooks who want a specific profile such as garlic, citrus, or soy. If you do marinate, pat the steak dry before grilling so the surface can sear rather than steam.
| Preparation Step | Why It Matters | Best Practice |
|---|---|---|
| Salting | Builds flavor and improves crust | Salt 30 minutes to several hours ahead |
| Drying the surface | Reduces steaming | Pat with paper towels before grilling |
| Resting before grilling | Promotes even cooking | Let sit 20 to 30 minutes |
| Light oiling | Reduces sticking | Use a thin coat on the steak, not the grill |
For backyard cooks using a Nexgrill griddle or flat-top surface, preparation still matters, but the goal shifts slightly. On a griddle, oiling the surface lightly and keeping the steak dry supports fast browning and a clean sear. On a gas grill grate, the surface should be clean, hot, and lightly brushed so the steak can release naturally when the crust forms. Whether you use a Nexgrill Daytona 4-Burner Propane Gas Griddle in Black for a different steakhouse-style approach or a traditional gas grill for grill marks and smoke, the pre-cook prep determines how polished the final result feels.
Once the steak is seasoned and your grill is fully heated, the actual grilling method becomes a matter of controlling intensity rather than chasing it. For most steaks, the most dependable approach is a two-zone fire: one side of the grill set to high direct heat for searing, and the other side set lower or turned off for finishing. That setup is especially easy on a multi-burner Nexgrill gas grill because you can place the steak over the hottest area first, then move it if the outside is browning faster than the center is cooking.
A hot grill surface helps build a proper crust before the steak overcooks.
Preheat thoroughly. A steak should meet a grill that is already hot, not one that is warming up with the food on it. On gas grills, this usually means closing the lid and allowing the grates to get properly hot before cooking. Once the steak goes on, leave it alone long enough to develop a crust. Moving it too early can tear the surface and reduce browning. A well-seared steak should release more easily when it is ready to turn. If it sticks hard, give it another moment.
For thicker steaks, the reverse-sear method is a strong option. Start the steak over lower, indirect heat until it approaches the desired internal temperature, then finish with a hard sear over the hottest zone. This method gives you a more even interior and a more controlled crust. It is particularly useful when cooking premium cuts for guests because it reduces the risk of an overdone exterior and an underdone center. On a Nexgrill gas grill, this technique works well because the burners allow you to adjust heat with precision rather than improvising with a single fire source.
Warning: Avoid pressing the steak with a spatula. Pressing squeezes out flavorful juices and can leave the meat drier than intended.
Use tongs rather than a fork so you do not pierce the meat and lose juices. Turn the steak only once or twice if possible; frequent flipping can interrupt crust development. For a standard rib-eye or strip steak, a simple sear on both sides followed by a brief move to indirect heat is often enough. For a thick tenderloin, the reverse-sear method can be more accurate. In all cases, keep a reliable instant-read thermometer nearby. Steak grilling is much easier when you treat temperature as a guide rather than guessing from appearance alone.
If you are cooking for a group and want a more social, flexible setup, a large surface like the Nexgrill Daytona 5 Burner Nitroguard Propane Gas Griddle can be useful for building multiple steak zones at once, especially when serving different doneness preferences. For classic grill flavor and deeper char, a standard gas grill remains the better tool. The key is to match the equipment to the finish you want: grates for pronounced grill marks and smoke, griddle for fast, even browning, and dual-zone burners for control. Try comparing two products side by side below to see which fits best:
Once you've weighed two options against each other, the next question is how to hit the exact doneness your guests want without cutting into the steak too early. Doneness is not just a number; it is the intersection of time, heat, steak thickness, and carryover cooking after the meat leaves the grill. That is why a thermometer is the most dependable tool in the process. Visual cues can help, but they are not as accurate as a properly placed instant-read thermometer.
For a practical home-grilling benchmark in the United States, many cooks aim for about 125°F for rare, 130°F to 135°F for medium-rare, 140°F to 145°F for medium, and 150°F plus for medium-well to well-done. These temperatures are the point at which you should remove the steak from the grill, not necessarily the temperature it should finish at on the plate. Carryover cooking can raise the internal temperature several degrees during the rest period, especially on a thick steak. If you want medium-rare, taking the steak off a little early is usually smarter than waiting until it looks done.
| Desired Doneness | Pull From Grill At | What It Should Feel Like |
|---|---|---|
| Rare | 120°F to 125°F | Very soft and cool red center |
| Medium-rare | 130°F to 135°F | Warm red center with gentle resistance |
| Medium | 140°F to 145°F | Warm pink center, firmer texture |
| Medium-well | 150°F to 155°F | Mostly brown with a slight pink center |
The best way to use temperature is to check early and often once the steak gets close to the target. Insert the thermometer into the thickest part of the meat, avoiding fat pockets and the bone if present. If you are cooking multiple steaks at once, label or mentally track each one by thickness and placement on the grill. A thicker steak will usually need more time than a thinner one even if they started at the same moment. On larger setups such as the Nexgrill 4-Burner Gas Grill with Side Burner in Black, it is easier to keep different steaks separated by heat level so that one piece can finish while another stays in the sear zone.
Info: Rested steak temperature can rise about 5°F to 10°F after it leaves the grill, so plan for that increase when deciding when to pull it off.
If you're serving a crowd with mixed preferences, the cleanest approach is to cook all steaks to medium-rare or medium-rare plus, then extend the time on a finishing zone for the guests who want more doneness. This protects the meat from becoming dry while still allowing customization. It also mirrors the workflow many experienced grillers use during backyard dinners: cook in stages, finish selectively, and rest everything before slicing. This is one reason versatile gas grills are so valuable in practice; they give you room to make decisions as the food develops rather than forcing every steak into the same timing.
Resting is not a delay tactic; it is part of the cooking process. After a steak leaves the grill, the juices inside are still moving. If you slice immediately, a large amount of that moisture runs onto the cutting board instead of staying in the meat. A short rest helps the muscle fibers relax and reabsorb some of that internal liquid, which leads to a juicier bite and a cleaner slice. For most steaks, 5 to 10 minutes is enough. A very thick steak may benefit from a slightly longer rest, especially if it was cooked over strong direct heat.
While the steak rests, keep the serving setup simple. A warm platter, a sharp slicing knife, and a finishing salt are often all you need. Pepper can be added before grilling or after, depending on your preference, but if you like a crisper pepper flavor, a final grind after resting can be a nice touch. Butter, herb oil, or a light sauce can work too, yet a well-grilled steak should stand on its own. In many cases, the goal is to enhance the crust and juices rather than mask them.
Tip: Slice against the grain only when using cuts like flank or skirt. For rib-eye, strip, or tenderloin, serve whole unless you want to share portions or improve presentation.
Presentation matters, especially when steak is the centerpiece of a meal. If you are hosting friends or family, place the steak on a wooden board or a warm platter and let the crust remain visible. That crust is proof of proper searing and is part of the appeal. On Nexgrill setups designed for outdoor gatherings, the steak can move directly from grill to table, which keeps the experience relaxed and social. That is very much in line with Nexgrill’s approach to outdoor cooking: food should bring people together, not create unnecessary ceremony.
If you are building a full meal, think about balance. A steak cooked over high heat pairs well with roasted potatoes, a crisp salad, grilled corn, or a simple vegetable side. But the steak itself should remain the focus. For a home cook using a Nexgrill 4-Burner Gas Grill Black or the Oakford Pro 875 Pellet Smoker Grill for a more smoke-forward dinner, the plate should reflect the style of the cook. Gas-grilled steak tends to showcase clean char and direct sear; pellet-finished steak offers a deeper smoke impression. Both can be excellent when matched to the right occasion.
The most common steak mistakes are usually simple, and that is why they happen so often. One of the biggest is starting on a grill that is not fully preheated. If the grate is only warm, the steak can stick, steam, and fail to develop a proper crust. Another mistake is over-seasoning with sugar-heavy rubs that can burn on high heat before the steak is done. A classic steak usually needs far less embellishment than barbecue ribs or chicken.
A second frequent error is using the wrong heat strategy for the cut. Thin steaks do well with fast searing and very little time afterward, while thicker steaks benefit from a two-zone or reverse-sear approach. If you treat every steak the same, you will eventually overcook something. The smarter move is to look at thickness first, then decide how much direct heat the steak can handle. That kind of adjustment is where a flexible grill earns its place in the backyard.
Warning: Do not cut into the steak to check doneness. Each cut releases juices and makes the final texture drier, even if the temperature was close.
Overcooking during the rest period is another issue. If you cook the steak all the way to the final temperature you want on the grill, it may continue rising beyond that point while it rests. Pulling it a little early is the safer choice. Likewise, using the wrong tool can hurt the result. Tongs preserve the steak’s juices; forks do not. A thermometer provides confidence; guessing does not. Small habits like these separate an okay steak from one that feels intentionally cooked.
Finally, do not overlook the grill itself. Grease buildup, uneven burners, or a dirty grate can all affect heat delivery. A clean, well-maintained grill gives you more predictable results and less frustration. If you want to improve your steak nights further, compare a few Nexgrill options and choose the setup that best matches your routine. For detailed external guidance, see Food Network’s step-by-step steak grilling guide, Bon Appétit’s steak grilling tips, and The Home Depot’s how-to guide for grilling steak.
Here's what sets us apart
We position ourselves as delivering high-end outdoor cooking features and performance without premium-brand pricing, emphasizing “Quality Grills. Unbelievable Value.”
We offer gas grills, pellet grills, griddles, smokers, pizza ovens, portable/tabletop grills, electric grills, accessories, and replacement parts — allowing customers to stay within one ecosystem for all outdoor cooking needs.
We differentiate ourselves through smart grilling products like the Oakford smart pellet grill, including app-connected cooking controls and modern outdoor cooking technology.
Don't just take our word for it
Keep reading
From our catalog