Ensure a Safe and Long-Lasting Grilling Experience with Proper Care

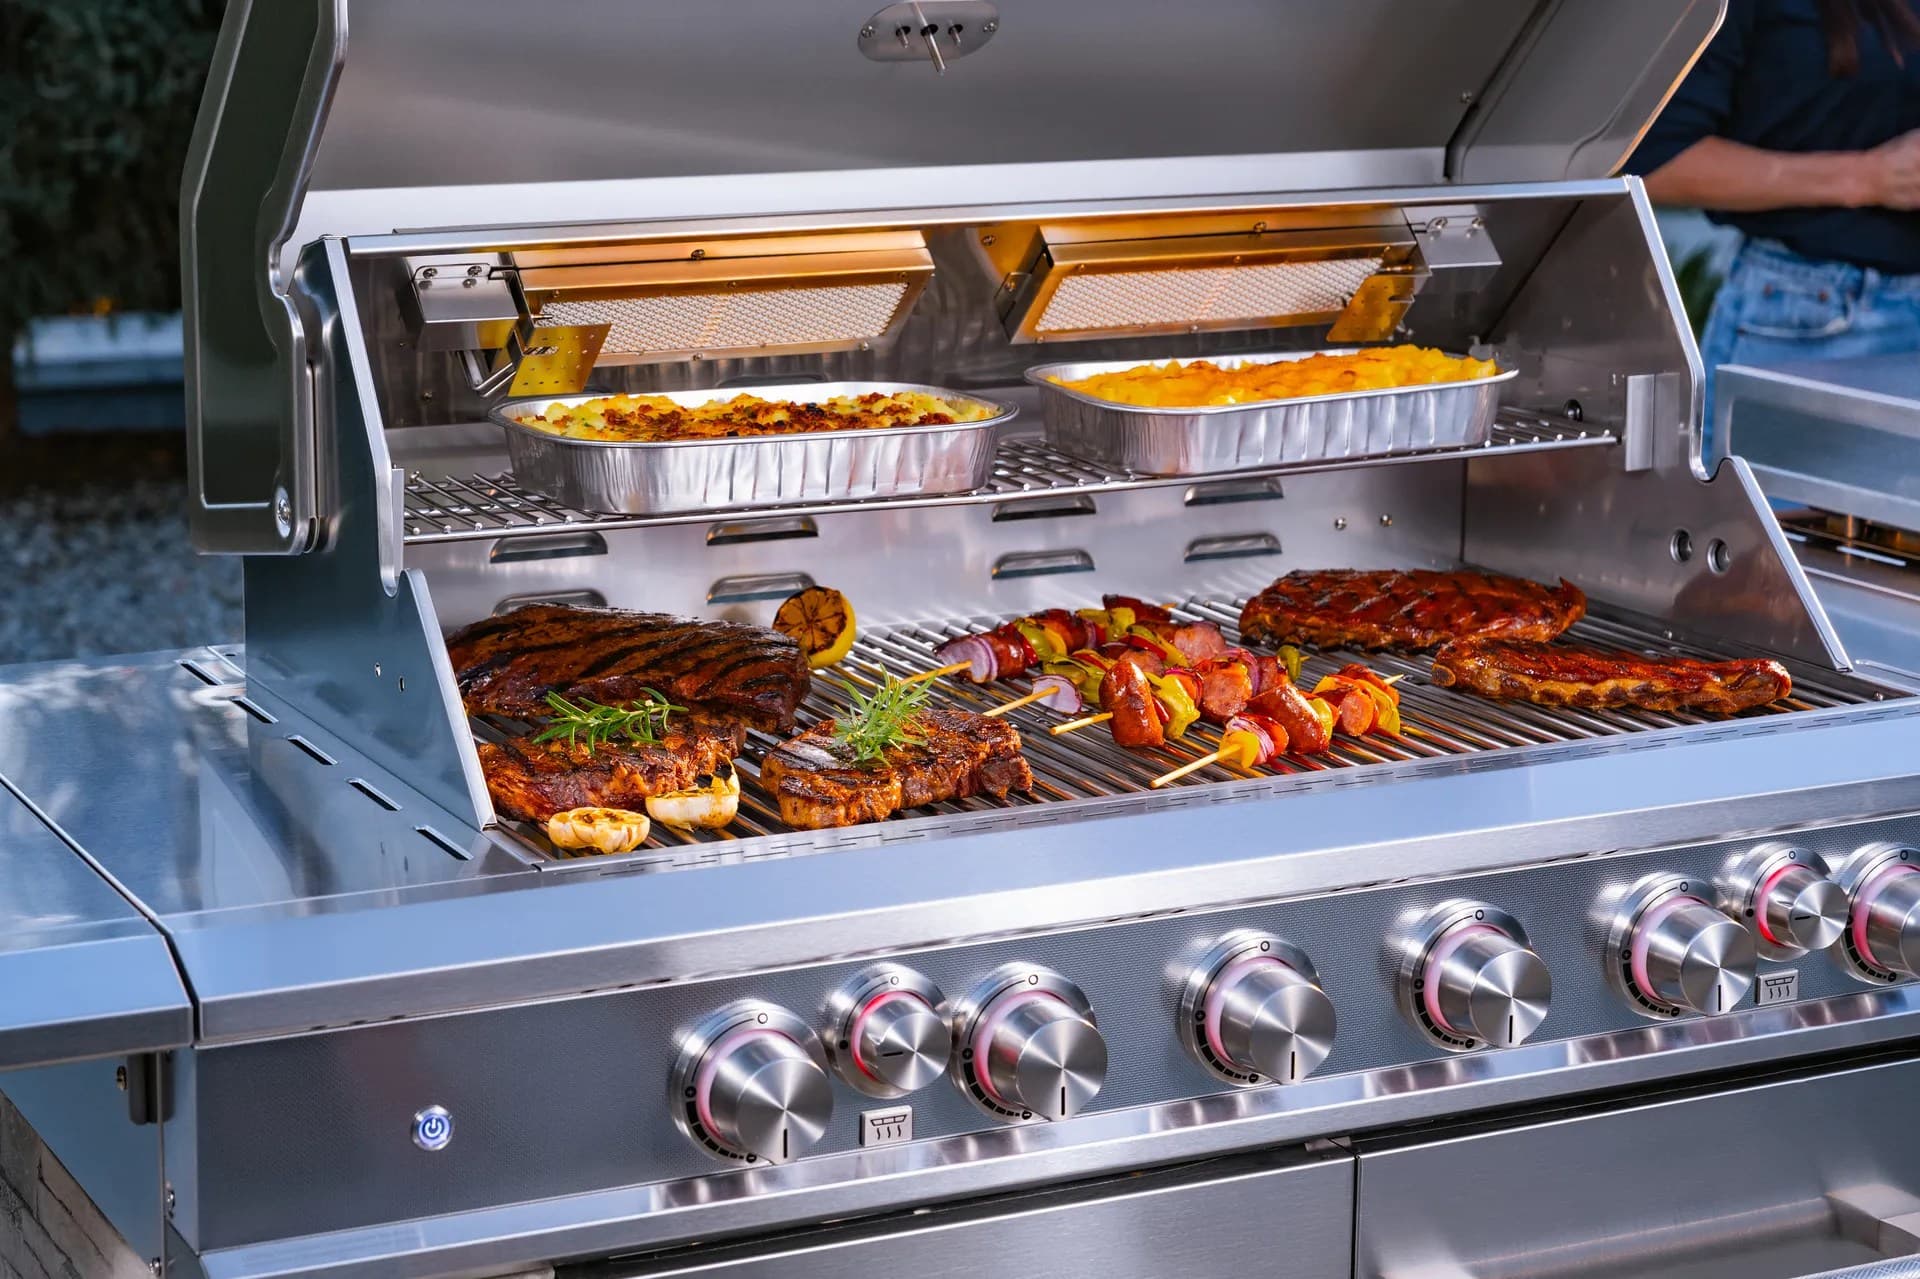
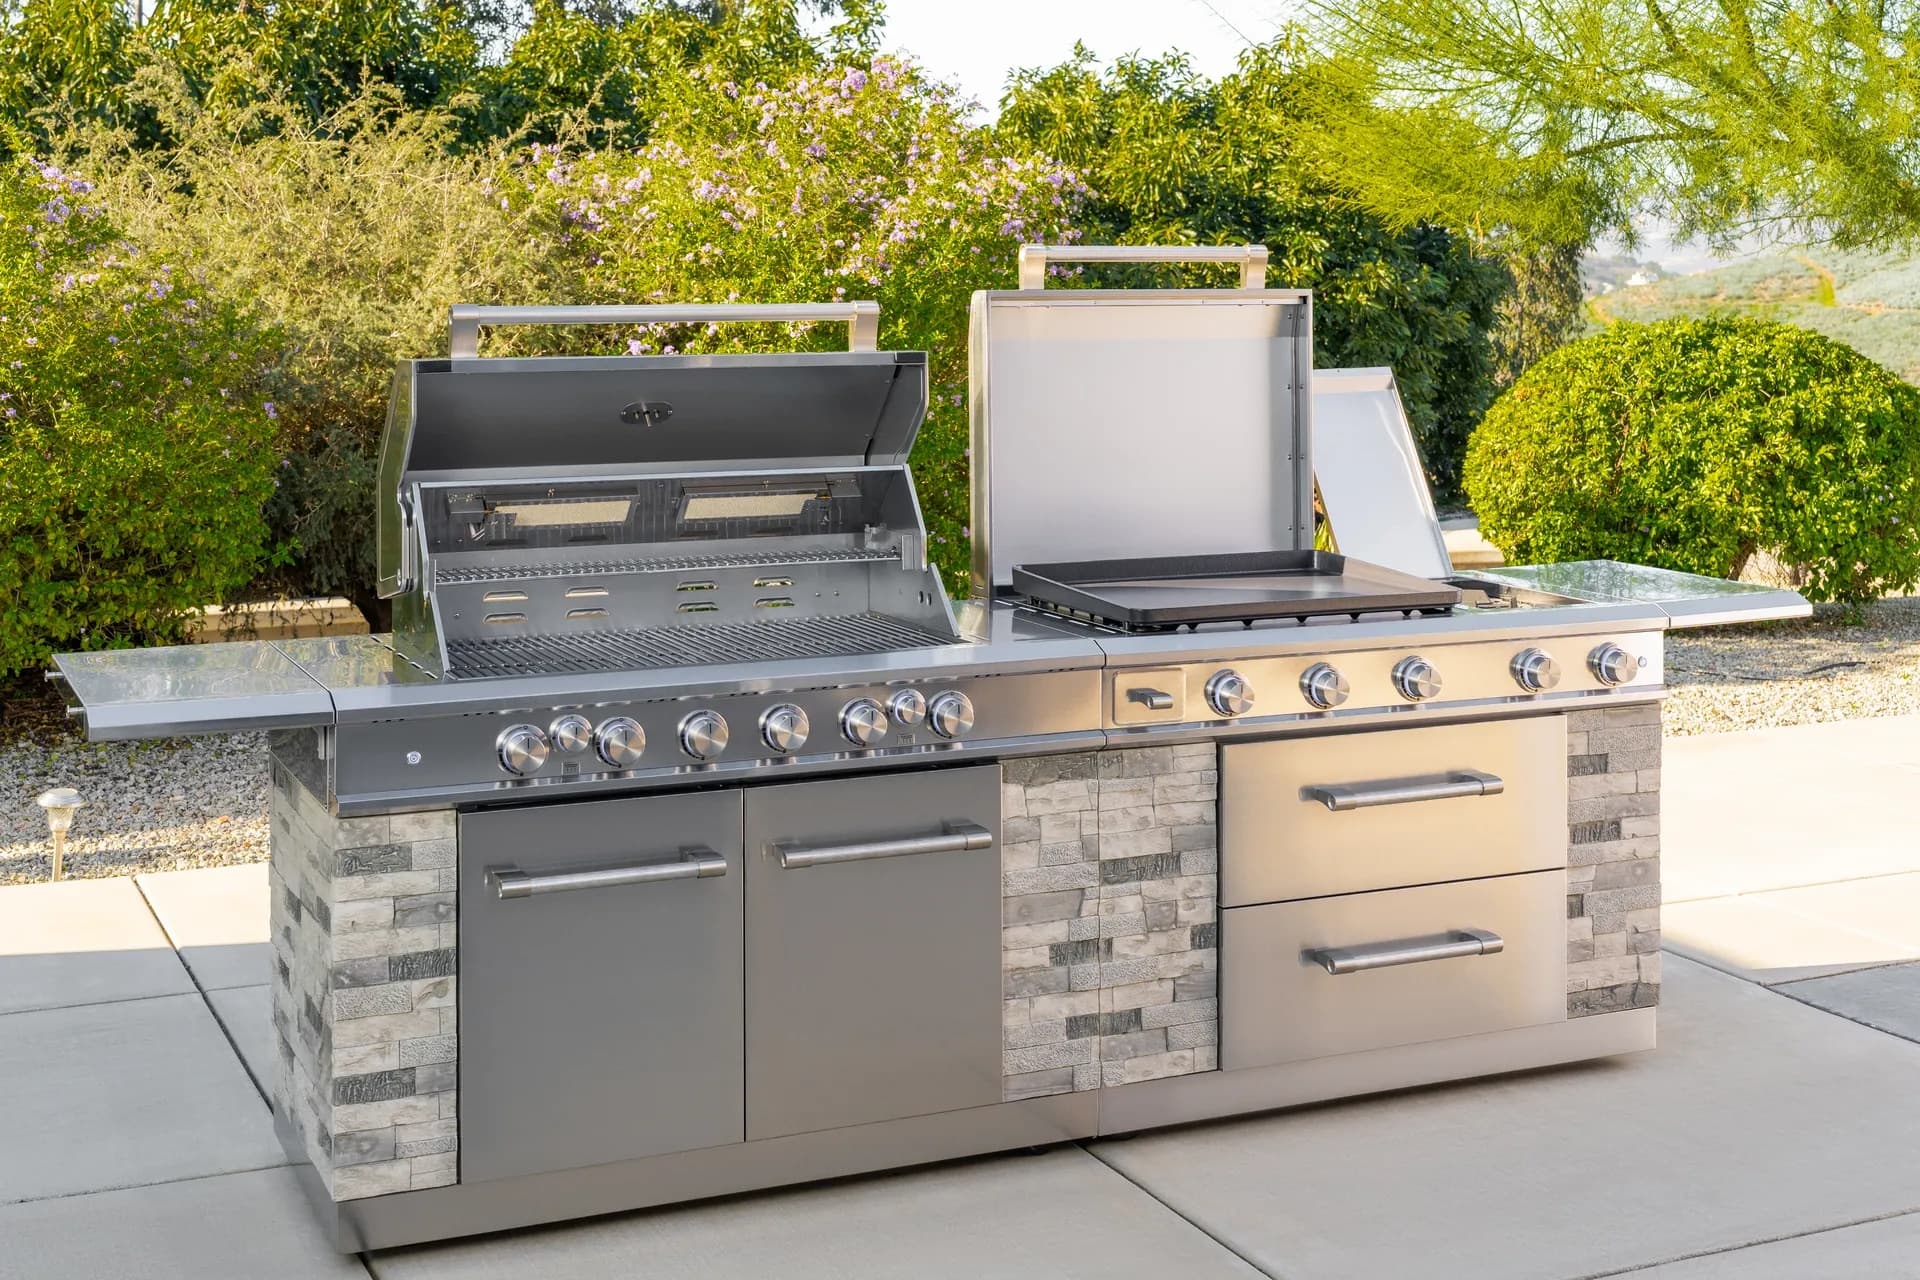
From sizzling breakfasts to smash burgers and teppanyaki-style dinners, the Daytona Pro 5 Burner NitroGuard™ Griddle delivers powerful heat, fast cooking, and a durable cooking surface built for every backyard cookout. Watch how easy outdoor cooking can be.
Here's what sets us apart from the competition
We position ourselves as delivering high-end outdoor cooking features and performance without premium-brand pricing, emphasizing “Quality Grills. Unbelievable Value.”
We offer gas grills, pellet grills, griddles, smokers, pizza ovens, portable/tabletop grills, electric grills, accessories, and replacement parts — allowing customers to stay within one ecosystem for all outdoor cooking needs.
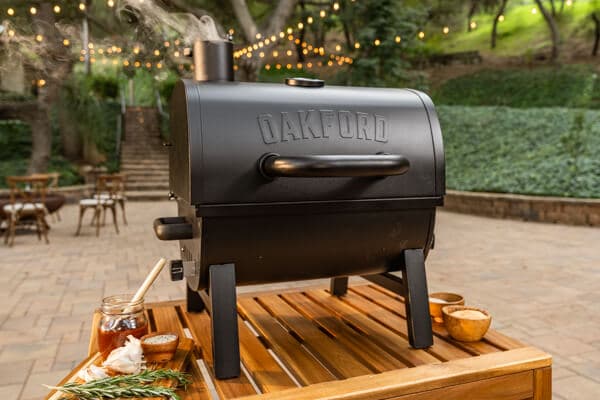
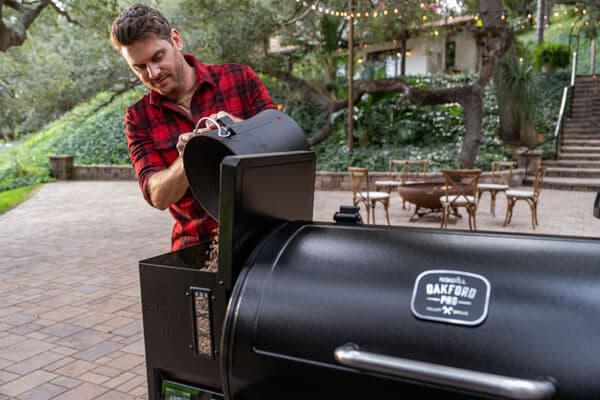
We differentiate ourselves through smart grilling products like the Oakford smart pellet grill, including app-connected cooking controls and modern outdoor cooking technology.

Expert tips, buying guides, comparisons, and inspiration for choosing and getting the most out of your grill.

Practical guides for cleaning, maintenance, common grill issues, and performance optimization.

Step-by-step grilling recipes, cooking techniques, and meal ideas for every occasion and skill level.

Backyard entertaining ideas, seasonal grilling inspiration, and stories that celebrate outdoor cooking culture.

Helpful articles covering grilling tools, cookware, maintenance gear, and must-have accessories for outdoor cooking.

Find griddle recipes, cooking techniques, cleaning tips, and outdoor meal ideas designed for Nexgrill griddles.
Find answers to common questions
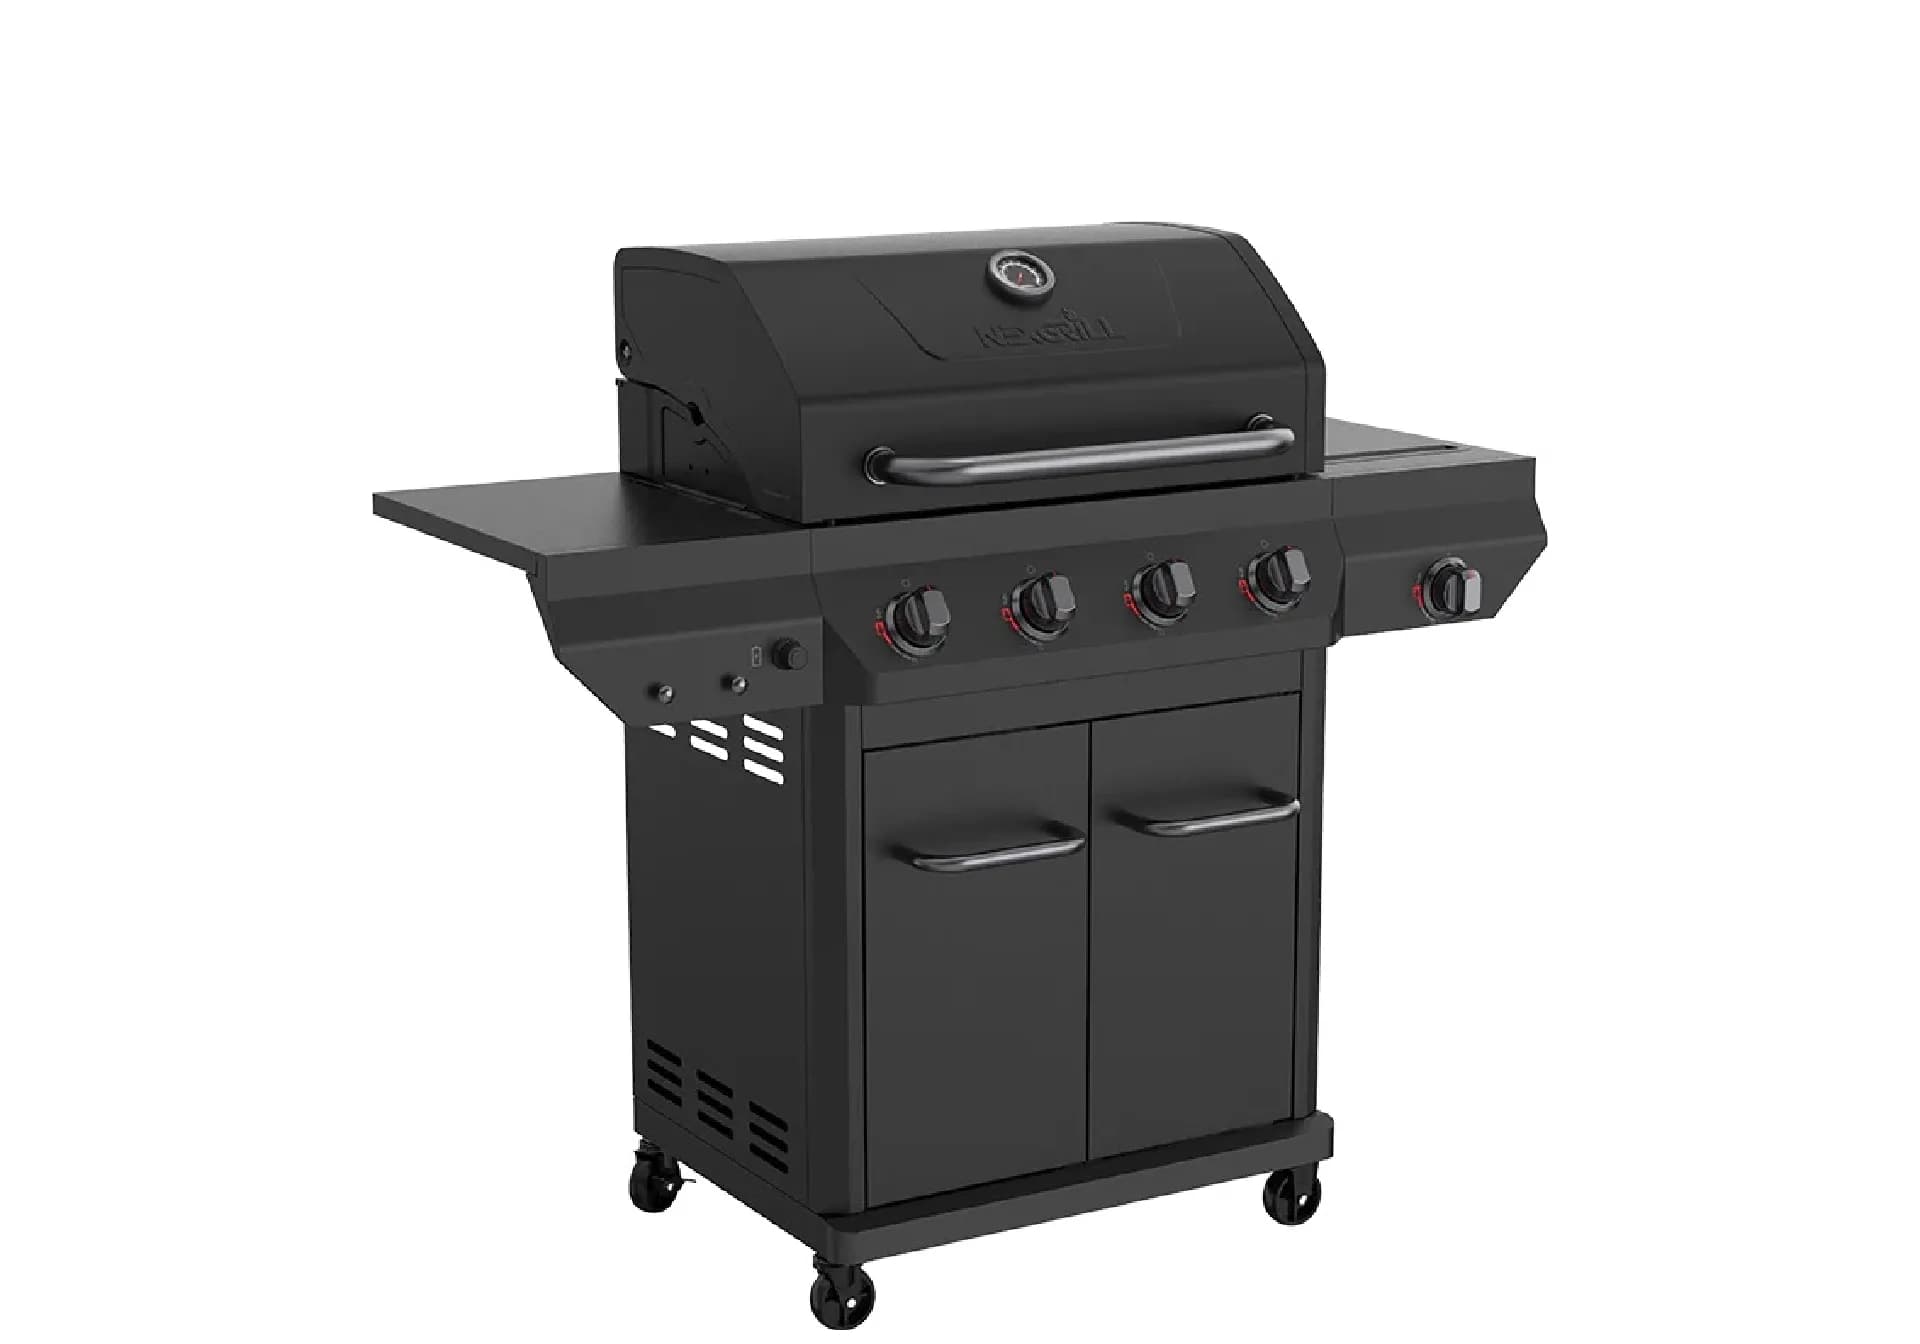
Gas grills provide instant heat and precise temperature control, making them easier to use. Charcoal grills offer a smoky flavor and high heat for searing but require more time to heat up and manage.
Pellet grills combine the convenience of gas with the flavor of wood, allowing for smoking, baking, and grilling. Traditional gas grills, however, are quicker to start and often easier to clean.
Charcoal grills typically reach higher temperatures quicker than gas grills, making them better for searing meat. However, high-quality gas grills can also provide adequate heat for effective searing.
Nexgrill offers models designed specifically for gas, charcoal, and pellets, allowing users to choose based on their cooking style and flavor preferences. Each type is built to optimize the characteristics of its respective fuel.
Choosing between gas and charcoal grills depends on your cooking preferences and lifestyle. If you value convenience and quick cooking, a gas grill may suit you better; if you prefer the taste and experience of traditional grilling, a charcoal grill would be ideal.
In This Article
Safe Grill Placement
Regular Cleaning Practices
Propane Tank Safety
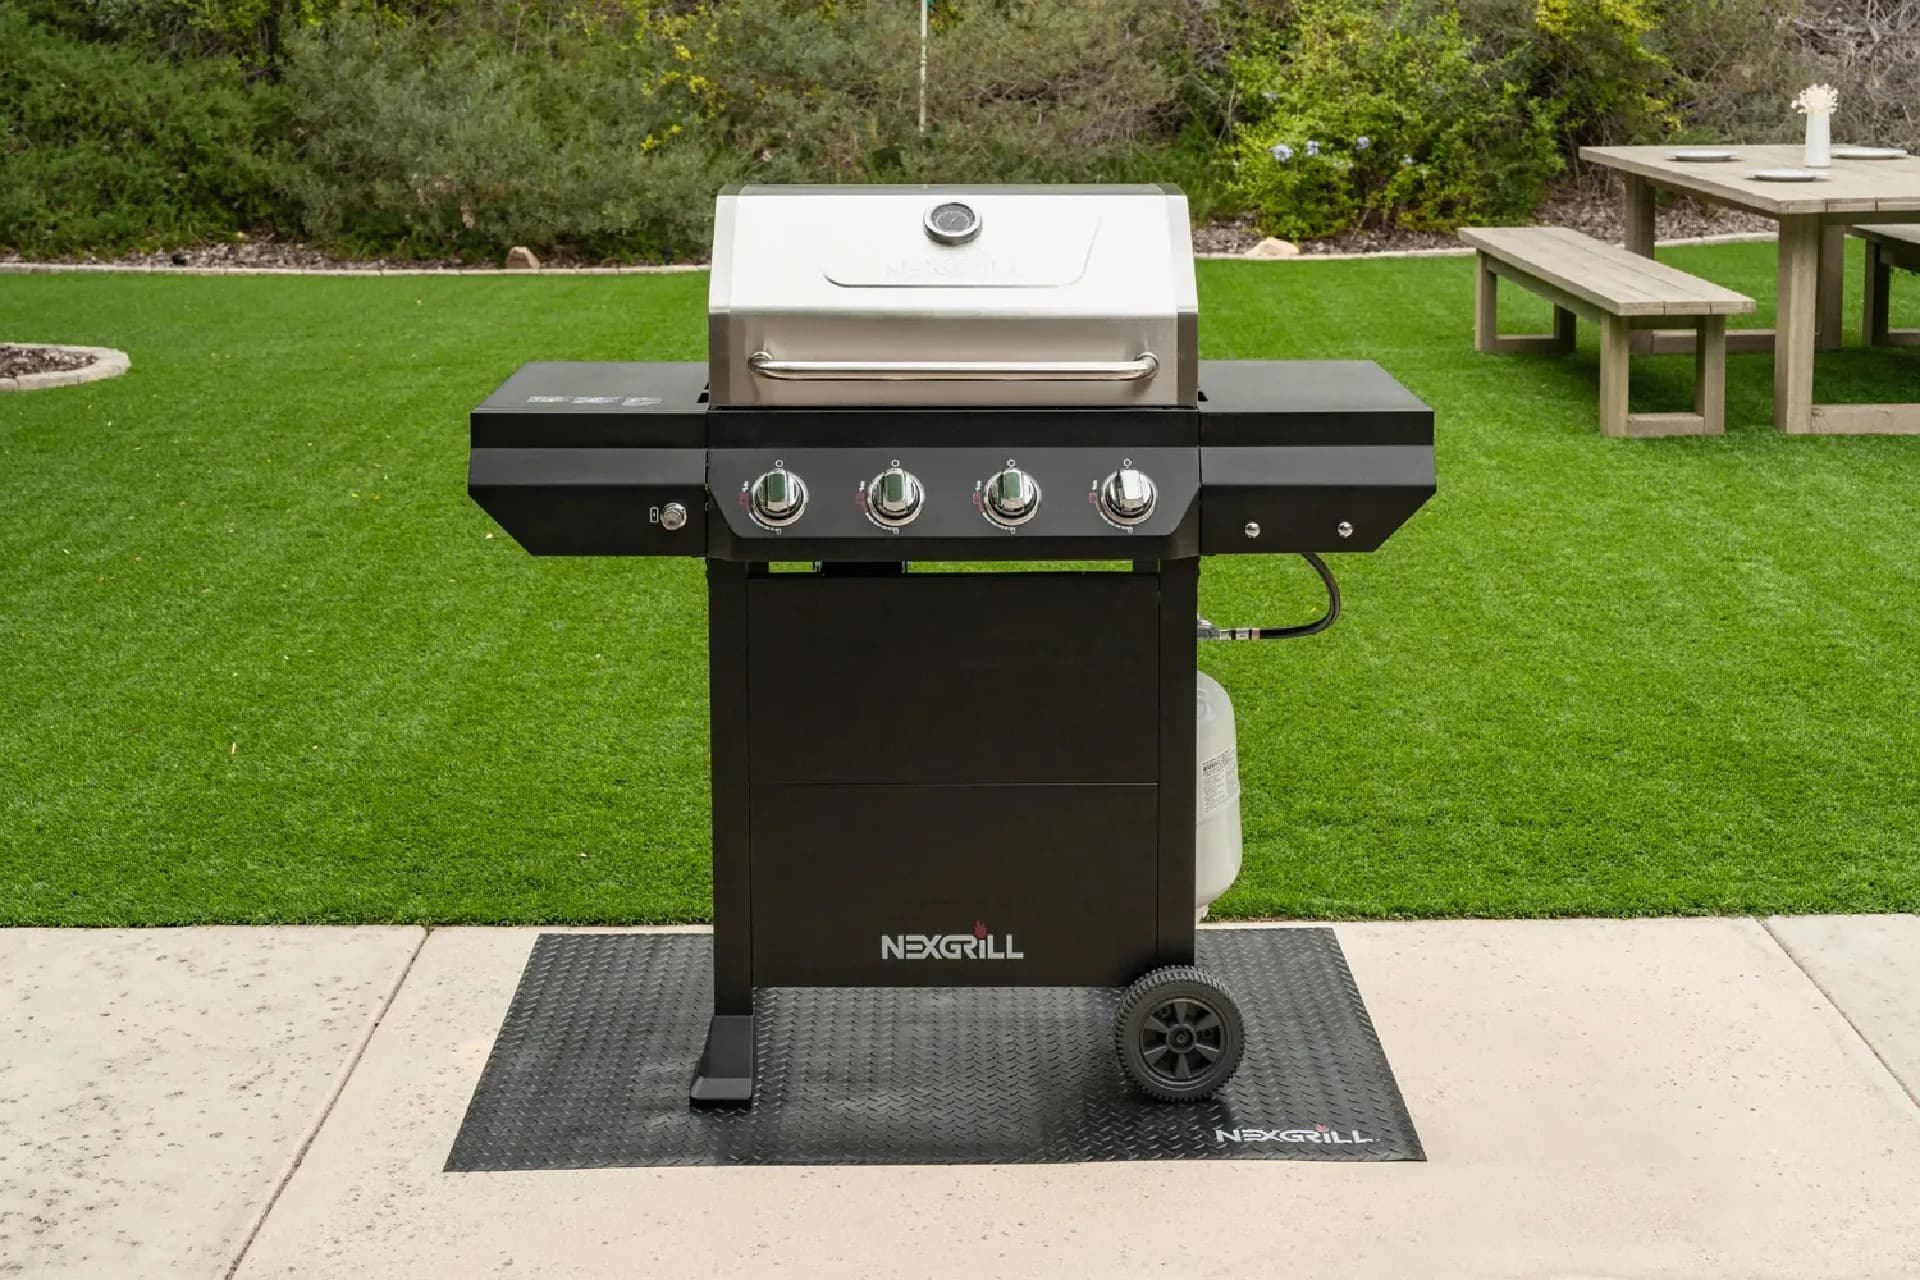
A safe grilling setup starts before the first burner is lit. The most practical habit is to choose a stable, level surface that keeps the grill away from anything that can catch heat or ember drift. A common rule of thumb is to place the grill at least 10 feet from structures, railings, deck overhangs, low branches, patio umbrellas, siding, and outdoor furniture. That distance matters because flare-ups do not stay small for long, especially when grease, wind, and dry surfaces are involved. For a backyard cookout, that might mean moving the grill farther into the yard than feels convenient, but the extra space gives you room to step back safely, open the lid without crowding a wall, and work around the grill without bumping into guests.
Different grill types benefit from different placement habits. Gas grills should be positioned where the propane tank hose will not be stretched, pinched, or exposed to hot surfaces. Charcoal grills need even more breathing room because ash, sparks, and live coals can travel farther than people expect. Pellet grills should also be kept clear of wind tunnels and covered corners where heat and smoke can build up unevenly. If you are grilling on a deck, use the manufacturer’s guidance for the specific surface and always protect the area beneath the grill from grease drips. Even a good grill can become a safety problem if it is wedged too close to siding or under a roof edge.
Tip: Before every cookout, do a 30-second “360-degree scan” around the grill. Look up for branches, down for stability, and behind the unit for clearance from walls and hoses.
Wind deserves special attention because it can change flame behavior and temperature control. A breezy patio can push heat toward side tables or make a charcoal fire burn hotter on one side, while a strong gust can move embers out of a firebox. If you notice the wind shifting steadily, reposition the grill if possible rather than trying to fight the conditions. Likewise, never place a grill under an enclosed balcony or inside a garage or shed. Outdoor cooking equipment needs open-air ventilation to function safely. That basic rule applies whether you are searing steaks on gas, managing a slow charcoal cook, or working a pellet setup on a calm weekend afternoon.
Good placement also supports better cooking. When the grill sits level, fat drains predictably, grates heat more evenly, and lids close properly. Uneven placement can tilt grease toward one burner zone, create unstable charcoal piles, or interfere with pellet feed performance. If your patio slopes, use a stable base or move the grill to a flatter section. A safe grill is not just about avoiding accidents; it is also about creating the conditions for consistent heat and easier cleanup later.
Cleaning after every use is one of the simplest ways to prevent flare-ups and keep your grill performing the way it should. Grease, food residue, and burnt sauce all build up quickly, and that buildup can create smoky flare-ups, uneven heating, and unpleasant flavors on the next cook. The best time to clean is while the grill is still warm, not scorching hot. Warm grates release residue more easily, so a quick brush or scrape takes less effort and removes more debris than waiting until everything has hardened.
For gas grills, start by running the burners briefly on high after cooking to burn off excess residue, then switch off the gas and brush the grates once they are safe to touch with tools. Empty the grease tray and check that the drip channel is not blocked. If you cook fatty foods like burgers, chicken thighs, or sausage links often, build grease tray inspection into your routine instead of treating it as an occasional task. For charcoal grills, let the ashes cool completely before disposal and remove ash often enough to keep airflow unobstructed. Ash buildup can choke the fire on the next use and create a much messier cleanup later. Pellet grills need careful attention around the fire pot, grease bucket, and drip tray because compressed food residue can affect airflow and temperature stability.
The right time to clean is right after cooking, when residue is easiest to remove.
A practical cleaning rhythm helps most owners stay ahead of buildup. Wipe exterior surfaces after the grill cools, brush the grates after each cook, and perform a deeper clean on a regular schedule based on how often you grill. Weekly users may need a more detailed session every few weeks, while occasional grillers can often stretch the interval a bit longer. The important thing is consistency. A grill that is cleaned a little at a time is far easier to maintain than one that is left until the first flare-up, unpleasant smell, or sticky grate forces a major cleanup.
Also pay attention to the tools you use. A stiff grill brush works for many setups, but if your grates are coated or delicate, choose a tool that matches the surface so you do not damage the finish. Always inspect the brush head for wear so loose wires or broken edges do not end up where food cooks. For the rest of the grill body, use a soft cloth and mild cleaner rather than harsh abrasives that can scratch finishes and expose surfaces to rust. Clean equipment lasts longer because the surfaces that matter most stay open, dry, and ready for the next meal.
If your grill runs on propane, the tank deserves the same respect you give the burners and grates. Store propane cylinders upright, outdoors, and away from direct heat, ignition sources, and enclosed spaces. Never keep a tank in a garage, basement, shed, or vehicle for long-term storage. Propane is designed for outdoor use, and upright storage helps the pressure relief system work as intended. If you are transporting a tank, keep it secure so it does not tip, roll, or strike other items in the trunk or cargo area.
Before each use, inspect the hose, regulator, and connection points for signs of wear, cracks, or damage. A quick leak check is worth the extra minute. After connecting the tank, open the valve and apply a soap-and-water solution to the fittings and hose connections. If you see bubbles forming, shut everything down immediately and correct the leak before lighting the grill. Never use a flame to test for leaks. That step is not only unnecessary, it is dangerous. If you smell strong gas or hear hissing, move away from the area and follow safe shutoff procedures.
Warning: If a propane cylinder shows visible rust, impact damage, or a failing valve connection, do not use it until it has been inspected or replaced by a qualified provider.
It also helps to know the basic signs that your propane system needs attention. If the flame is weak, uneven, or hard to maintain, the problem may be a nearly empty tank, a clogged burner, or a regulator issue. A healthy system should light predictably and maintain steady heat once adjusted. If a tank feels excessively cold during use, frost can indicate high demand or an issue with the regulator, which should be evaluated carefully. Good propane habits are mostly about patience and routine: check before lighting, store properly after cooking, and never ignore the small warning signs that point to a bigger problem.
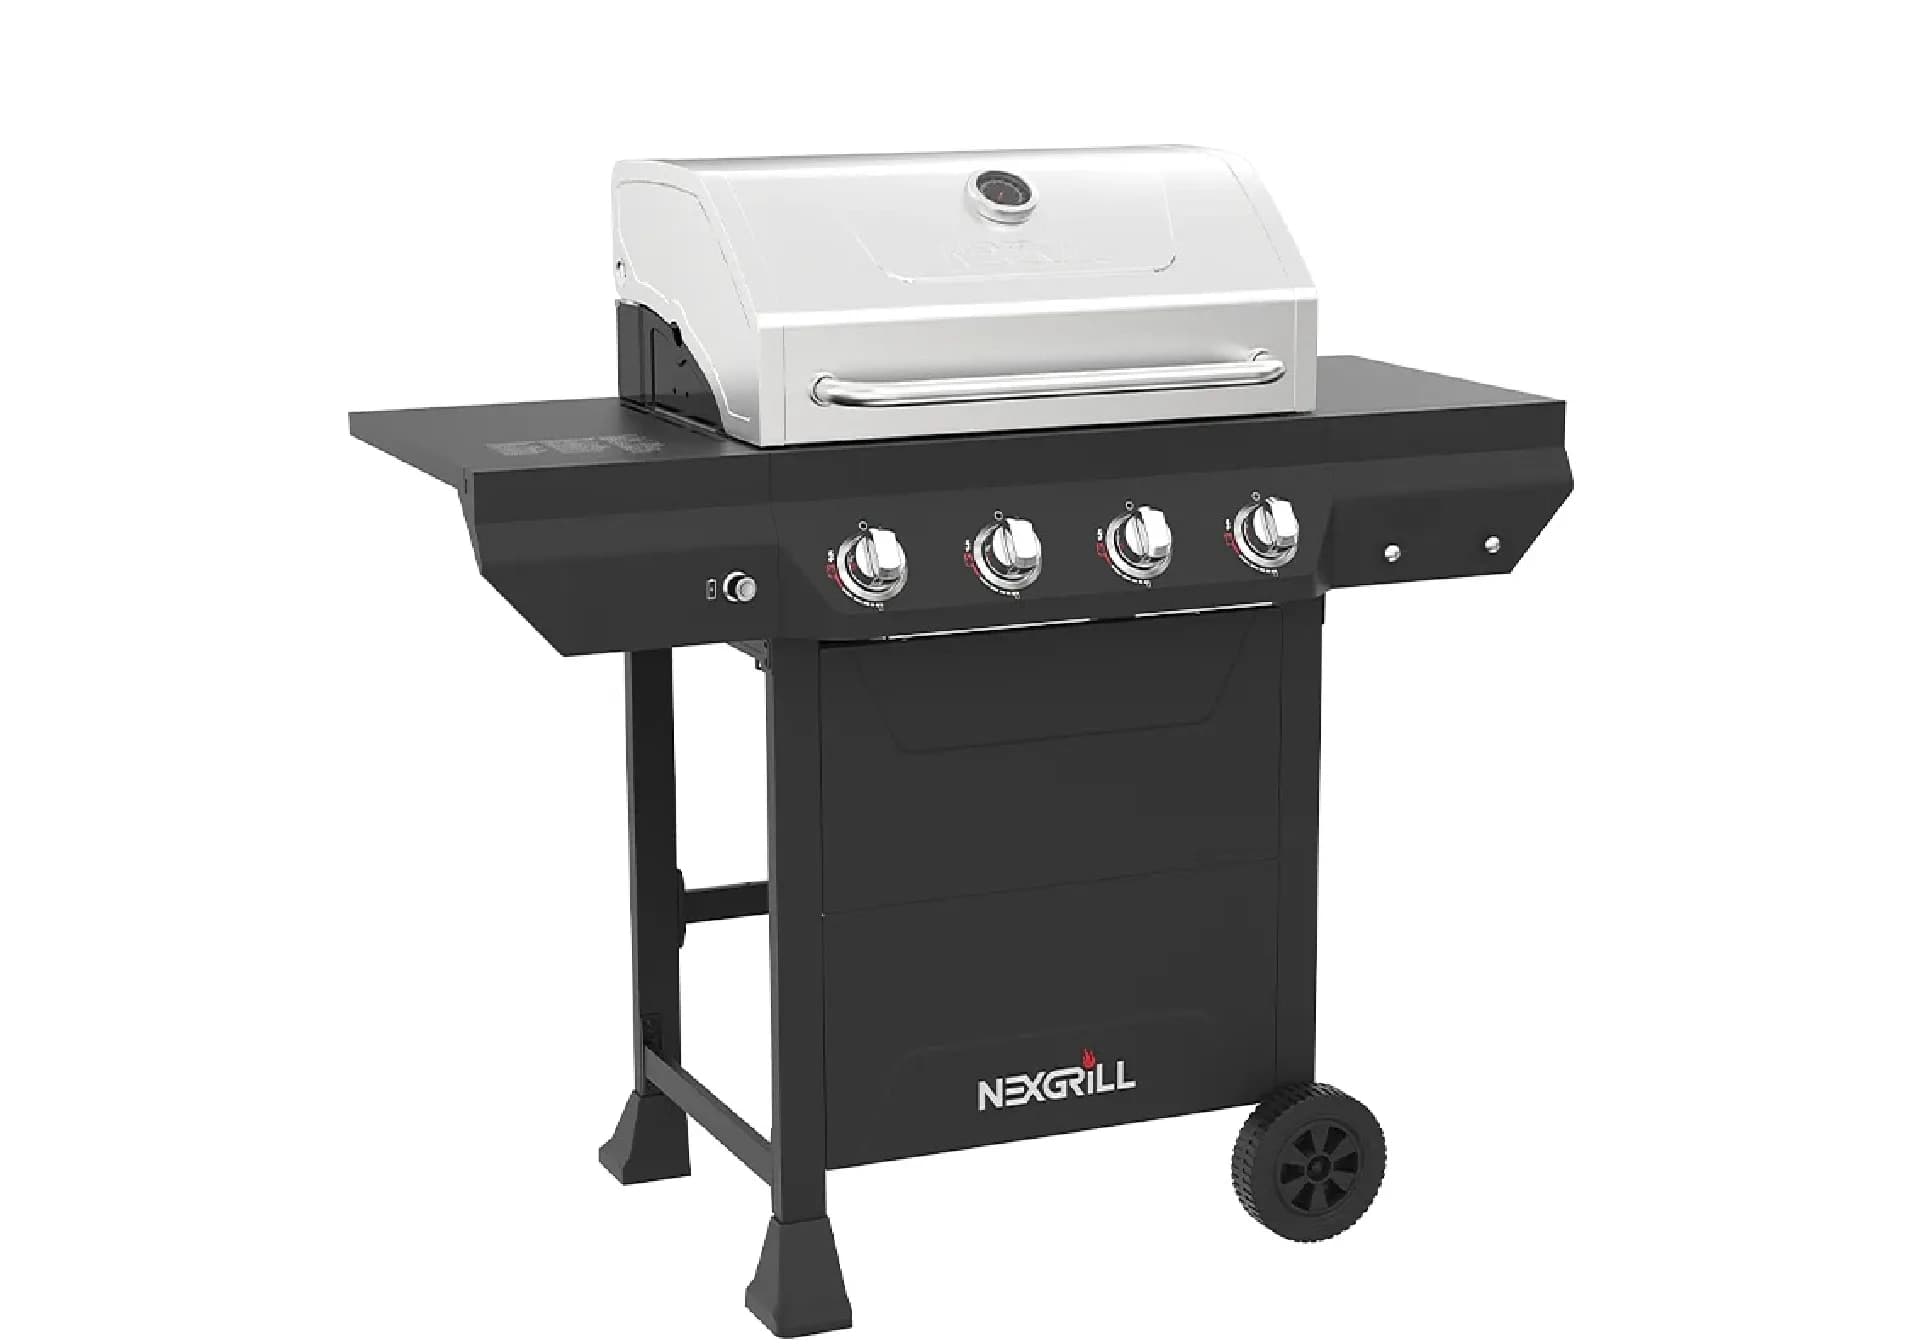
Try comparing two products side by side below to see which fits best:
Once you have weighed two options against each other, the next question is how to keep the grill ready through changing weather. Seasonal maintenance is where small habits pay off in a big way. The first step is to match your maintenance routine to how you actually cook. A gas grill used every weekend in a warm climate needs frequent grease management, burner checks, and exterior wipe-downs. A charcoal grill used mainly in summer may need deeper ash removal and airflow checks before and after the busy season. A pellet grill benefits from keeping pellets dry, clearing ash from the fire pot, and inspecting moving parts before the first cold-weather cook. The goal is not to turn grill care into a major project; it is to keep the equipment predictable, clean, and ready when you want it.
A simple spring opening routine is a smart way to reset the grill. Remove the cover, inspect for pests or moisture, confirm the ignition works, check hoses and seals, and look for any winter corrosion or residue on the burners and grates. For gas grills, test each burner and make sure flames are even. For charcoal grills, verify the grate supports, vents, and ash system are clear. For pellet grills, inspect the hopper for clumps or damp pellets, vacuum loose ash, and confirm the auger and fan area are unobstructed. If the grill has sat unused for months, take your time during the first startup rather than rushing straight into a full meal. A short test burn helps reveal weak ignition, strange odors, or airflow issues before food is on the line.
Info: In seasonal checkups, the most useful habit is to inspect the parts you do not see during normal cooking: burners, vents, trays, seals, and connectors.
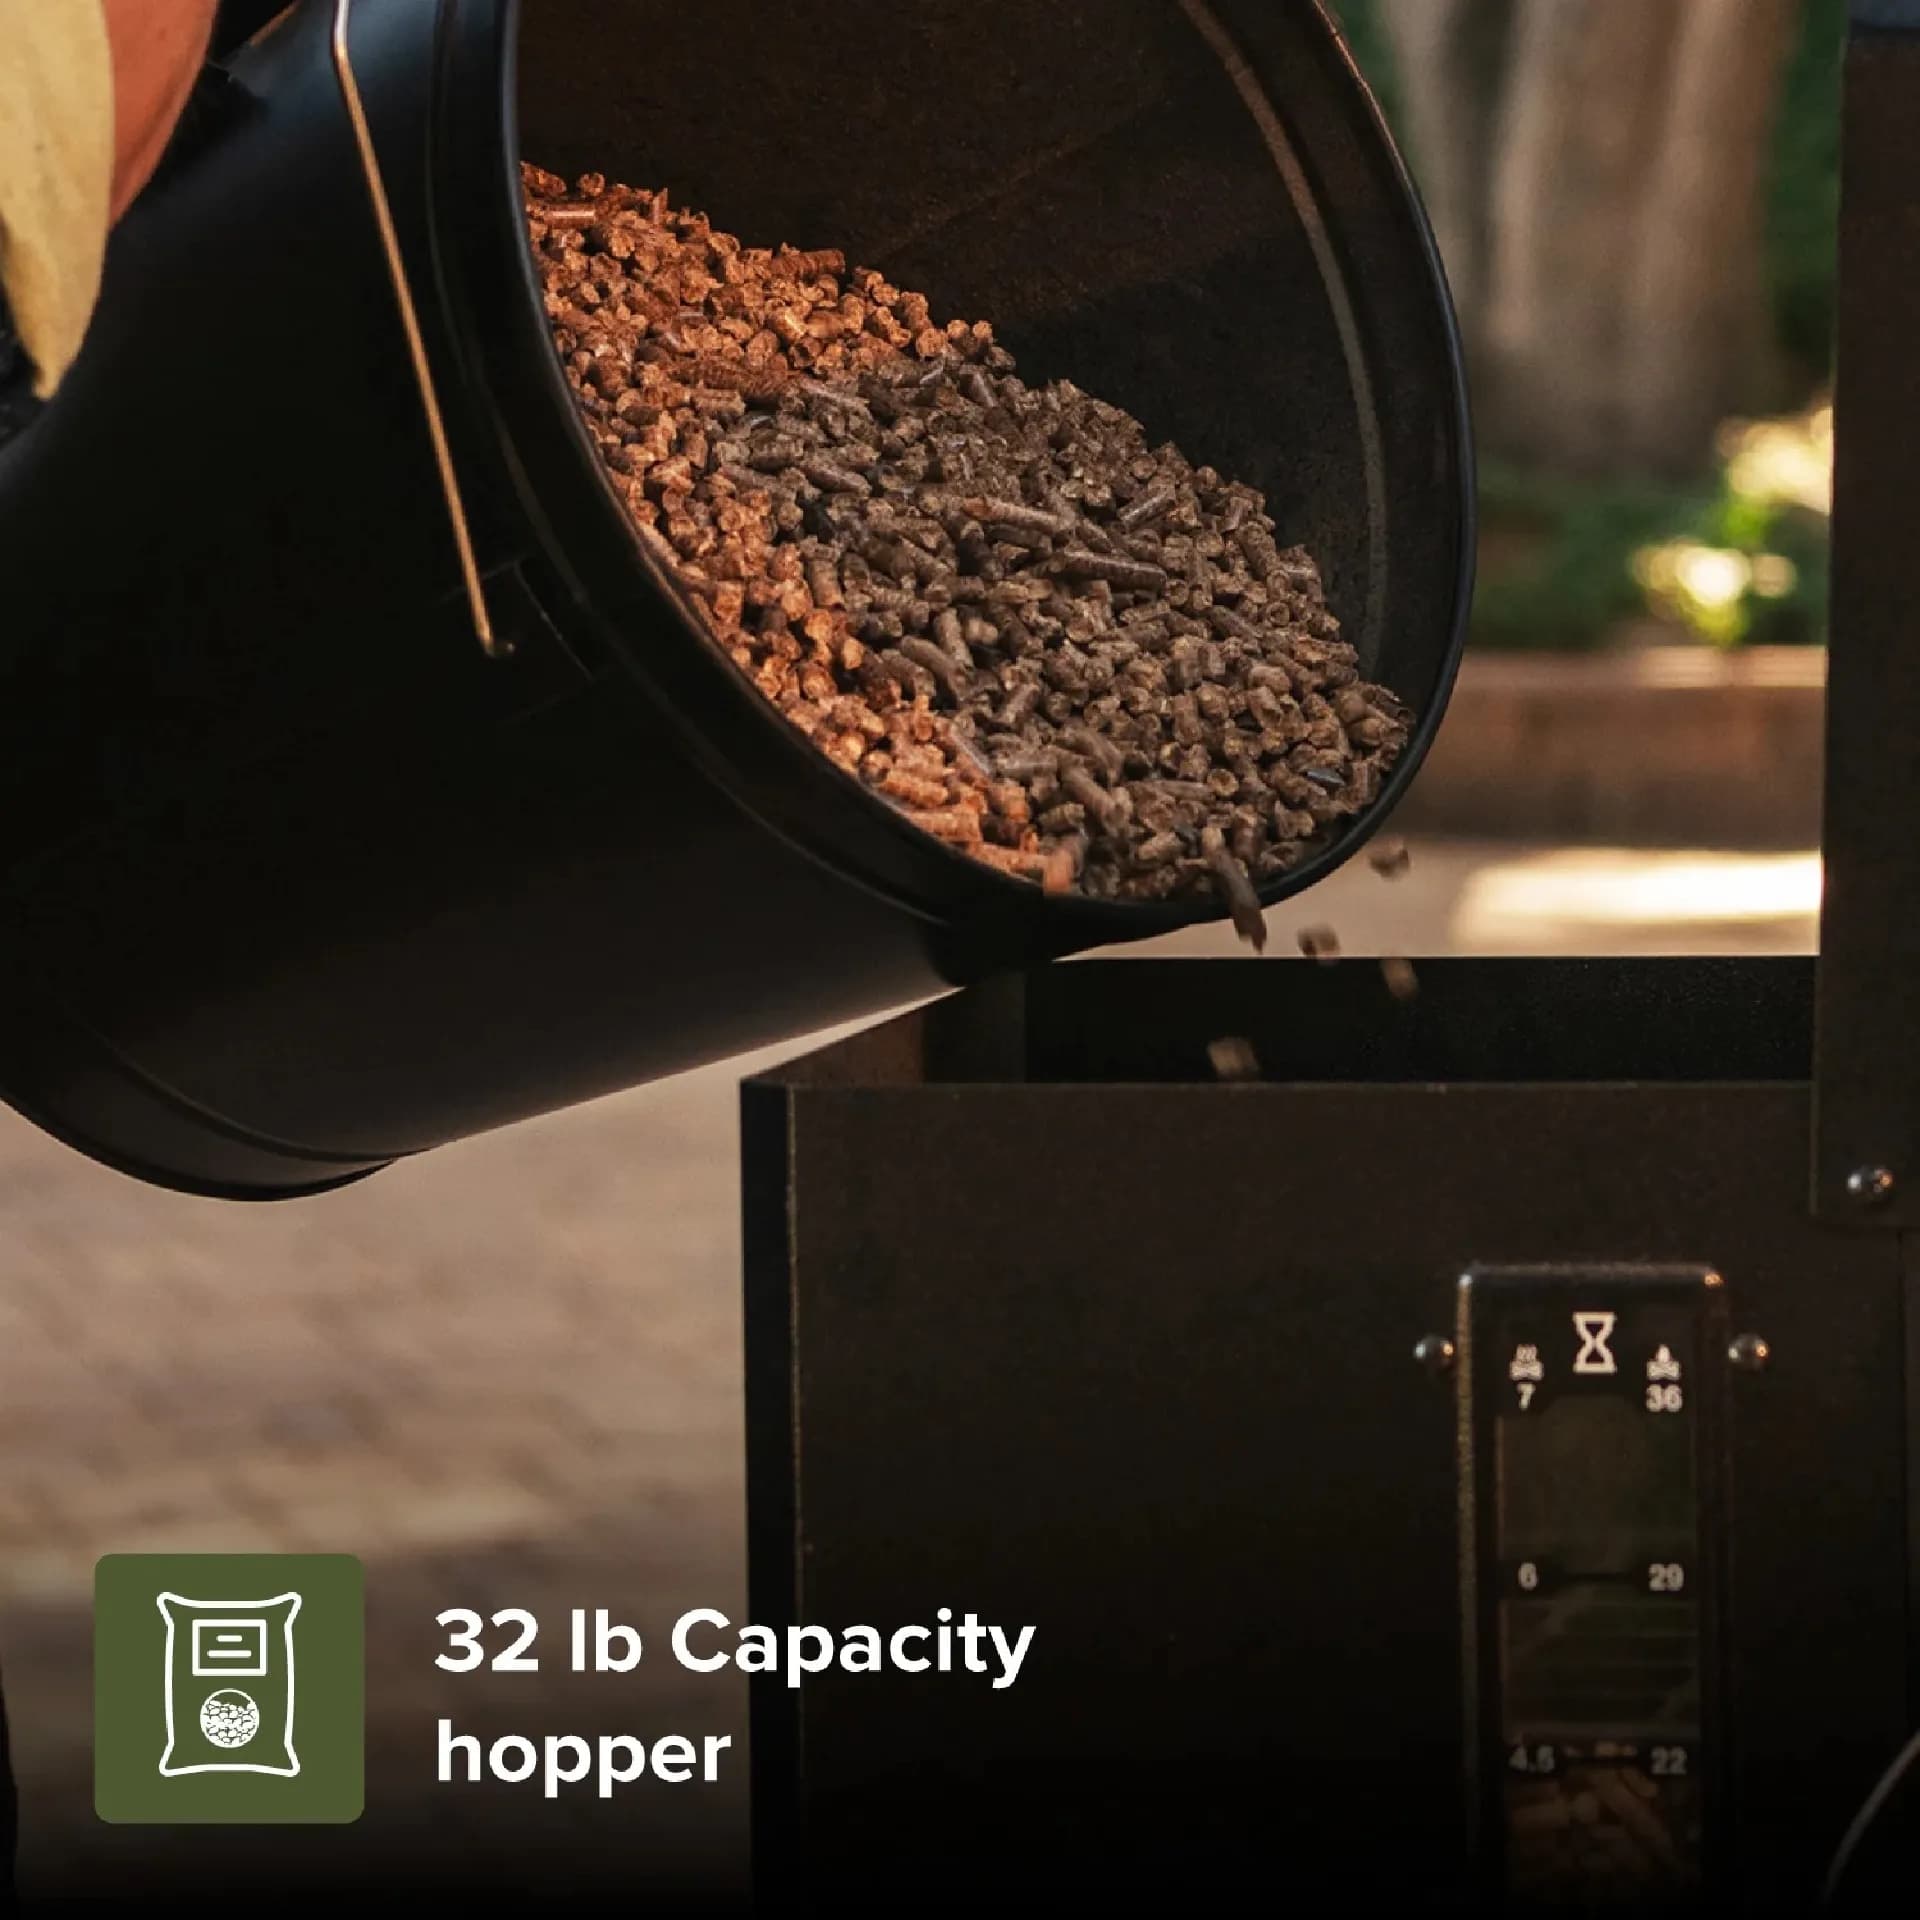
Fall and winter care focus more on protection and preparation. If you live where temperatures drop sharply or where snow, rain, and freeze-thaw cycles are common, clean the grill thoroughly before the off-season. Remove grease, empty ash, and wipe down surfaces so residue does not harden over time. Moisture trapped under old food particles is one of the fastest routes to corrosion. On gas models, disconnect and store propane tanks according to safe outdoor storage practices if the grill will not be used for a while. On pellet grills, empty the hopper if your pellets may absorb moisture during long storage. Wet pellets can swell and create feeding problems later.
For owners who grill year-round, the maintenance calendar should still change with the weather. Spring and summer often bring heavier use, so grease and grate cleaning may need to happen more often. Late summer can be a good time to inspect ignition systems and replace worn brush heads or cleaning tools. Before major holidays or large backyard gatherings, do a full system check so you are not discovering problems with guests already arriving. A little planning helps prevent the classic scenario where the grill is moved out, turned on, and only then reveals a clogged burner, a dead igniter, or a grease tray that should have been emptied days earlier.
Rust on grates does not always mean the grill is finished, but it does mean you need to act carefully. Surface rust often develops when grates are left damp, covered while wet, or not cleaned after cooking. The restoration process starts with removing loose rust and food residue using a grill brush, nylon pad, or non-scratch scraper appropriate for the grate material. If the rust is more stubborn, a soak in warm soapy water can help loosen debris before scrubbing. After cleaning, dry the grates completely so moisture does not restart the corrosion cycle immediately.
Once the grate is clean and dry, oil it lightly with a high-smoke-point cooking oil and heat it to help season the surface again. This creates a protective layer that can reduce sticking and slow future rusting. Cast iron grates need particularly careful drying and oiling because they are more vulnerable to moisture than stainless steel. Stainless steel may still discolor or spot-rust if left dirty, but it generally handles regular use better when cleaned consistently. If a grate is deeply pitted, flaking badly, or structurally compromised, replacement may be a better choice than continued restoration. Cooking on damaged metal is not worth the risk if the surface can no longer hold food securely or cleanly.
Tip: After restoring rusty grates, run a short burn-in cycle and lightly oil them again before the next cook to help protect the surface.
Charcoal and gas grills can both develop rust if they are stored wet or uncovered, but pellet grills add one more concern: ash and moisture together can create a crusty buildup around the fire pot and grate supports. In all cases, the most effective rust prevention is a mix of cleaning, drying, and covering only when the grill is fully cool and dry. If you catch rust early, you usually do not need dramatic measures. Regular attention is enough to preserve cooking surfaces and keep the grill looking and working the way it should.
Proper storage is the difference between a grill that comes out ready for use and one that needs repairs before the first meal. Start with a full cleaning so grease, ash, and food residue do not sit on the grill through weeks or months of inactivity. Once the surfaces are clean and dry, make sure every component is in a stable condition for storage. For gas grills, that means checking that burners, knobs, and hoses are intact, then disconnecting and storing propane safely if the grill will not be used soon. For charcoal grills, remove old coals and ash completely. For pellet grills, empty the hopper if needed and clear any residual fuel and ash from the burn area.
A cover can help, but only if the grill is dry first. Covering a damp grill traps moisture and encourages rust, mold, and odor. Look for a cover that fits snugly without scraping the finish or leaving large gaps for rain and dust. If the grill will be stored in a shed or garage, remember that propane cylinders should remain outdoors and upright, even when the grill body itself is protected. In smaller spaces, consider moving accessories, brushes, and fuel supplies separately so the grill itself has enough airflow and space around it. Avoid stacking heavy items on top of the grill, which can warp lids, dent side shelves, or damage igniters and thermometer housings.
A clean, completely dry grill stores better and resists corrosion far longer than a covered damp one.
If your grill is stored outdoors year-round, check it periodically even when not in use. Lift the cover, inspect for moisture, and make sure pests have not nested in the storage compartments or burner area. In climates with heavy rain or snow, a mid-season inspection can prevent minor moisture exposure from becoming a major cleanup later. A storage habit that includes cleaning, drying, protecting, and periodic checks will preserve the grill’s finish and reduce the chance of unpleasant surprises when grilling season returns. For more official guidance on grilling safety and maintenance habits, see consumer safety resources such as American Family Insurance’s grilling safety tips, WebMD’s safe grilling season guide, and Forbes Home’s grilling maintenance overview.
Here's what sets us apart
We position ourselves as delivering high-end outdoor cooking features and performance without premium-brand pricing, emphasizing “Quality Grills. Unbelievable Value.”
We offer gas grills, pellet grills, griddles, smokers, pizza ovens, portable/tabletop grills, electric grills, accessories, and replacement parts — allowing customers to stay within one ecosystem for all outdoor cooking needs.
We differentiate ourselves through smart grilling products like the Oakford smart pellet grill, including app-connected cooking controls and modern outdoor cooking technology.
Don't just take our word for it
Keep reading
From our catalog