Nexgrill 720-1046A Review: How to Evaluate a 4-Burner Grill in 20 Minutes
A repeatable inspection protocol for buyers and owners - decode the label, test the burners, and decide with confidence.
In This Article
Label First
Test, Don't Trust
Parts & Value
What a '720-1046A Review' Really Means (It Starts With Identification)
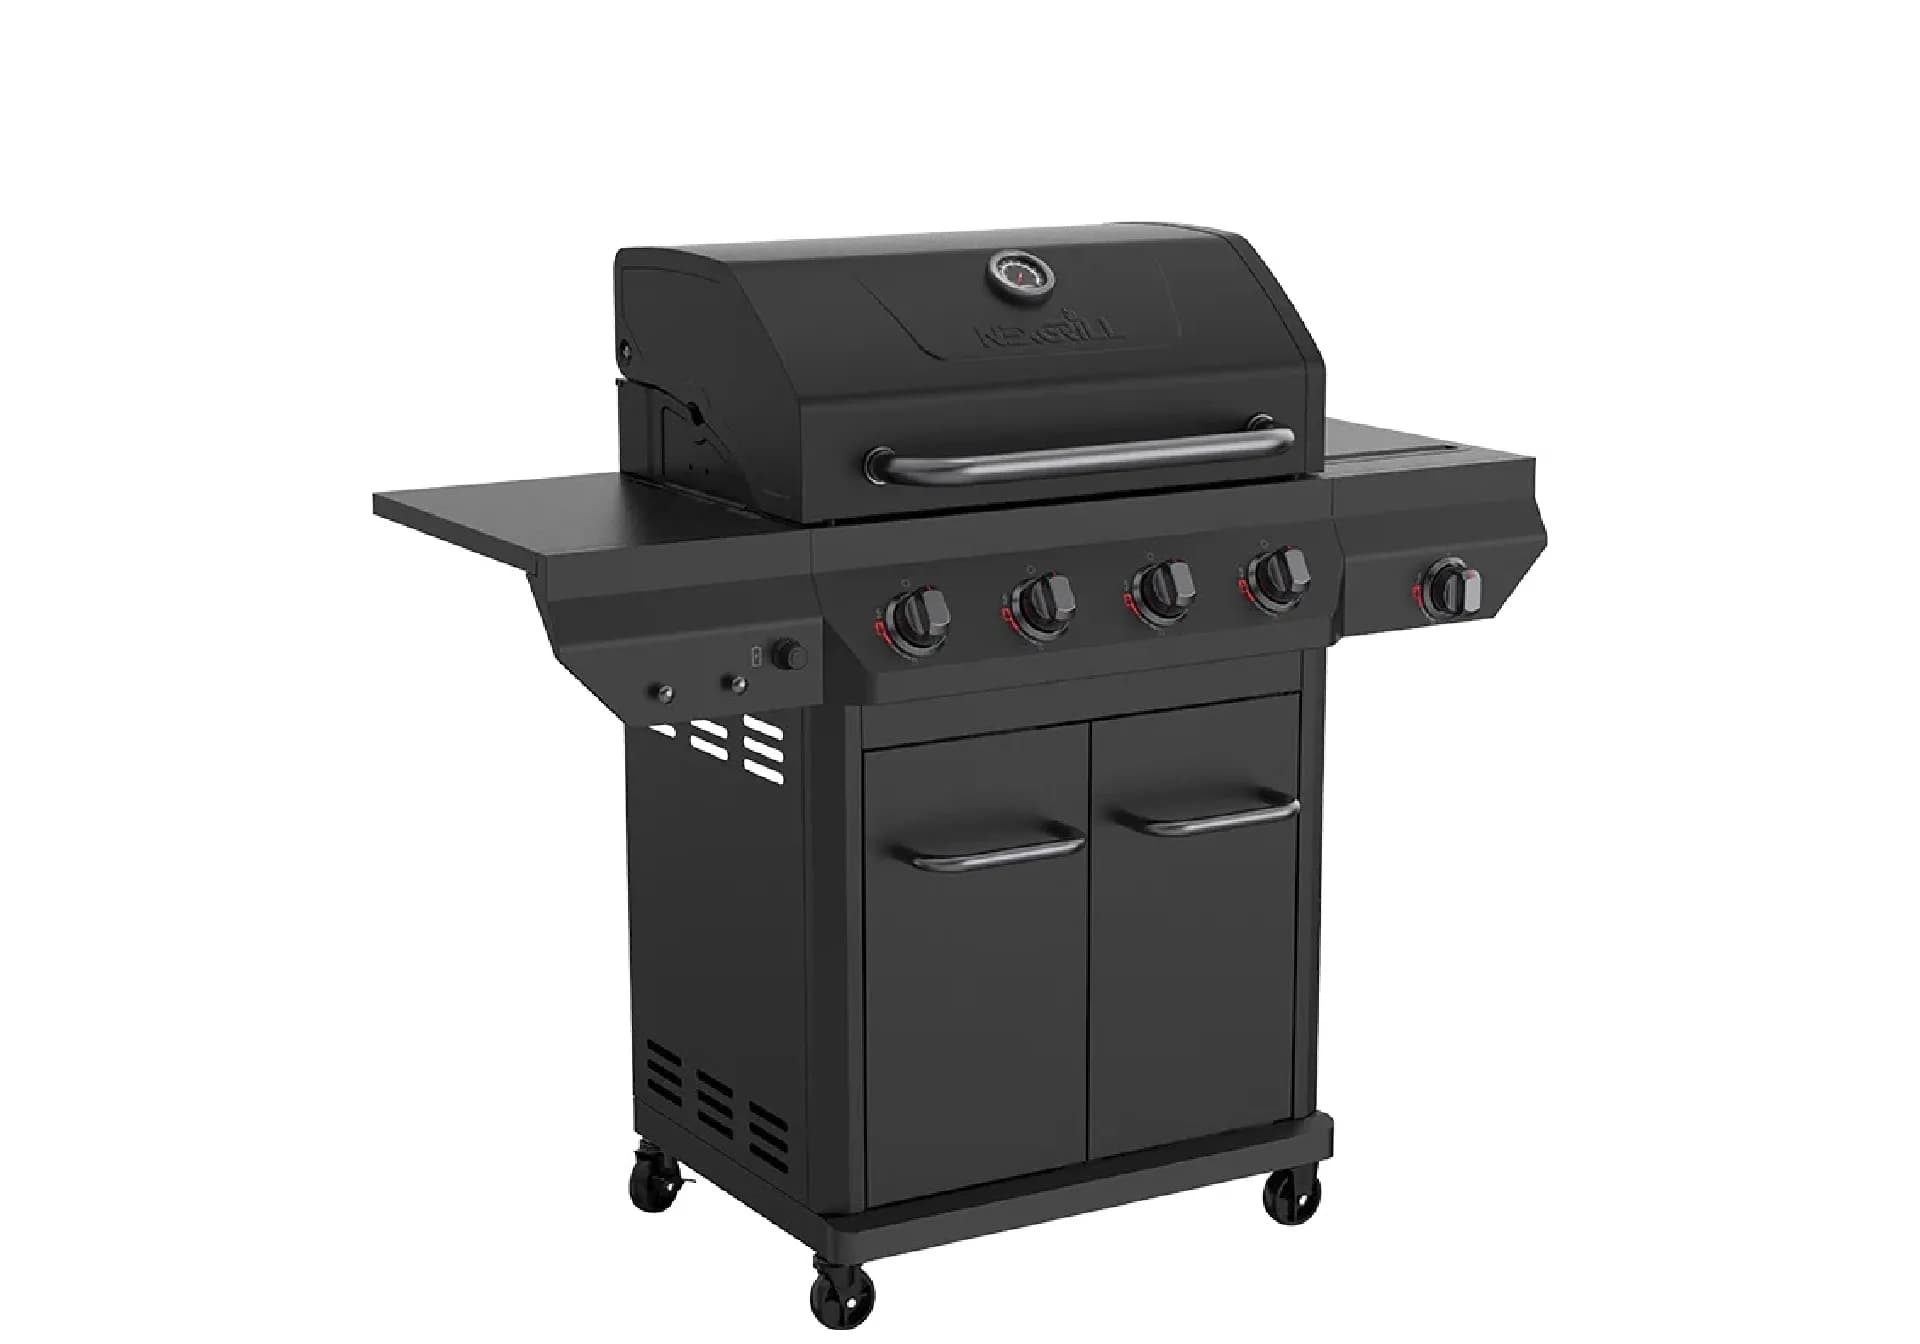
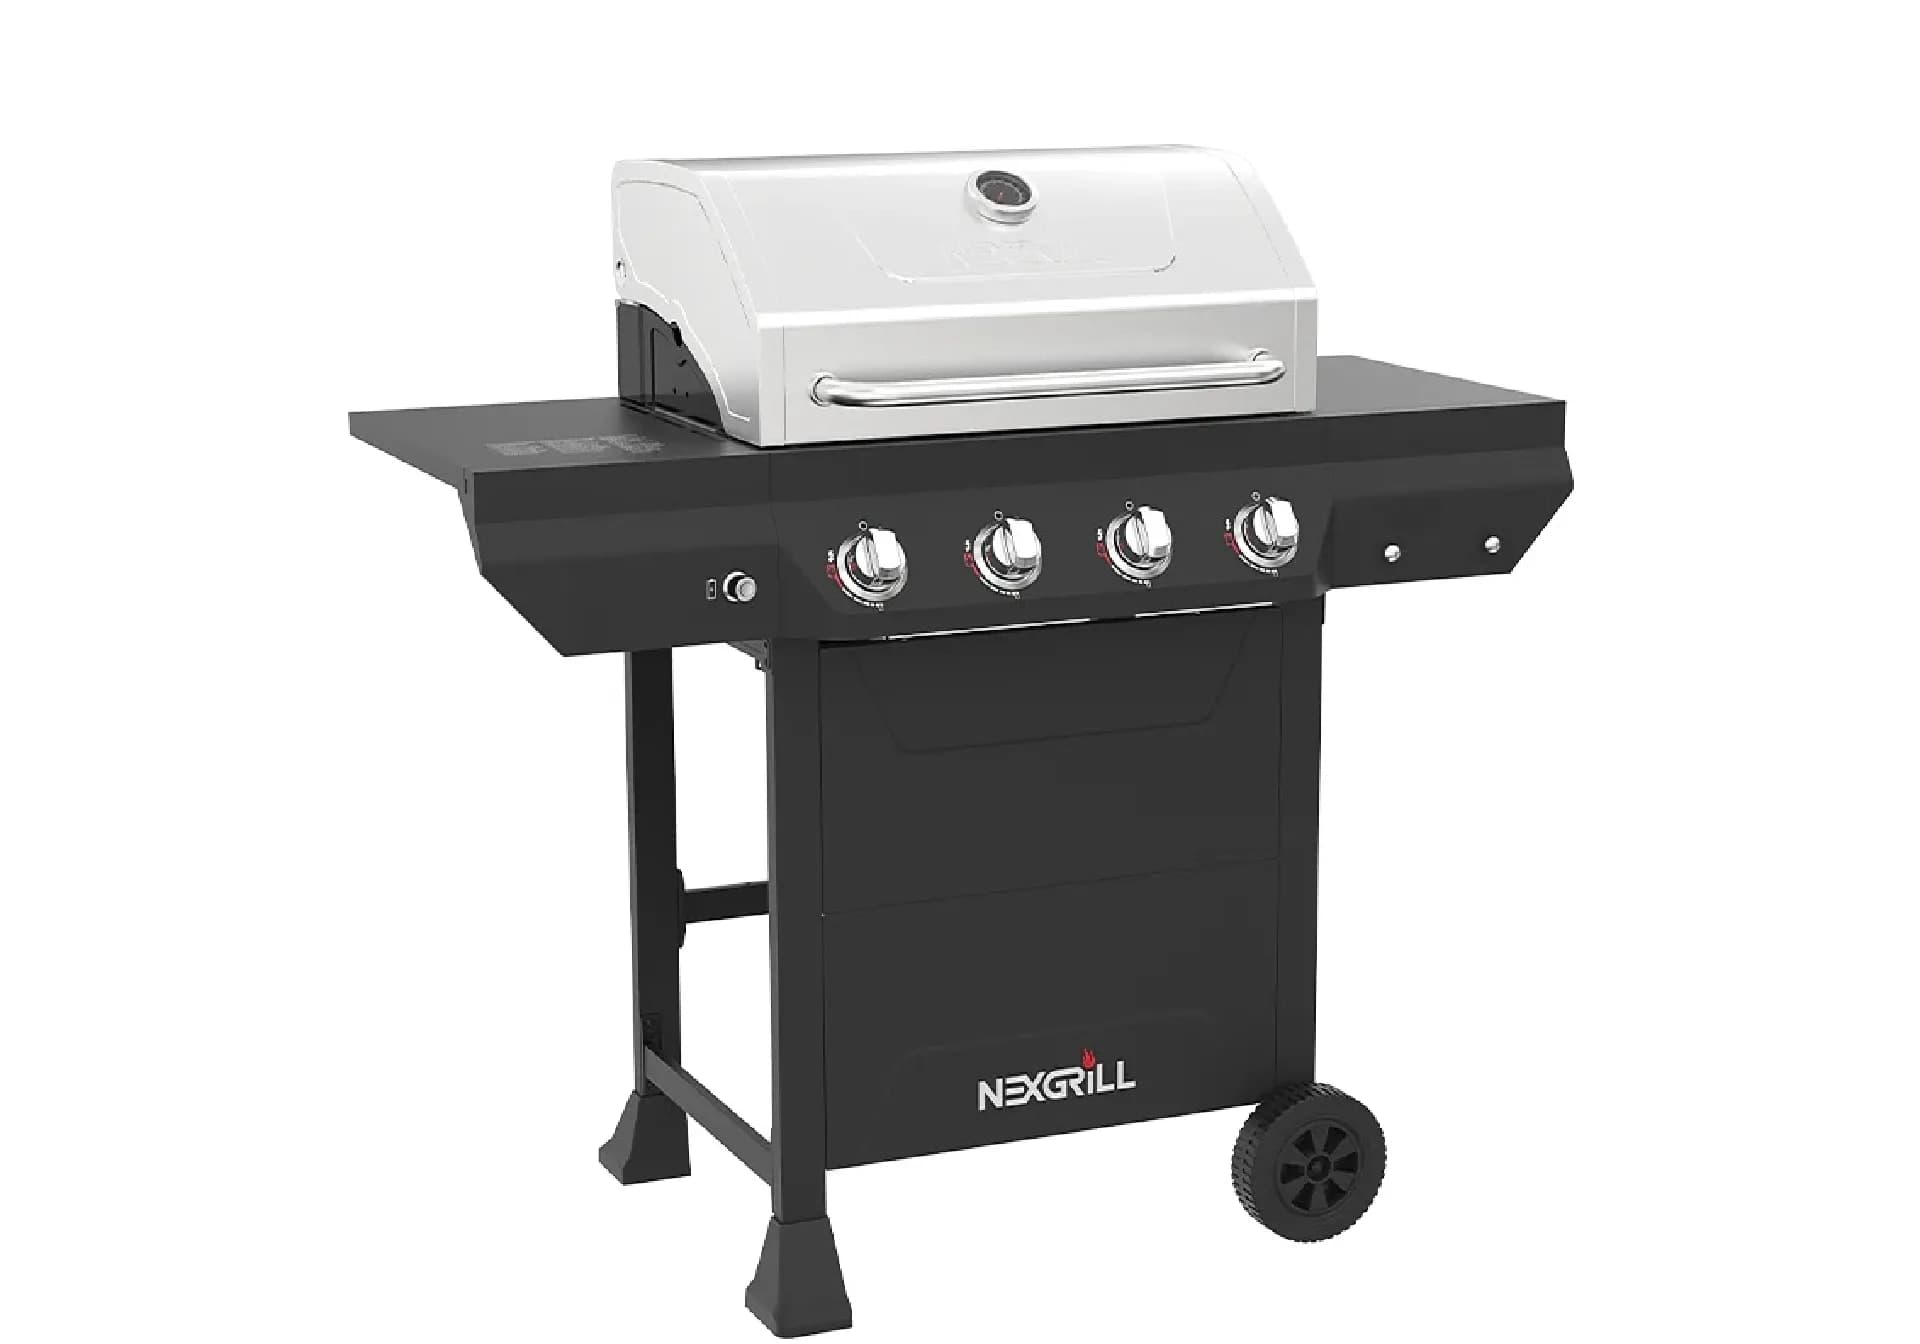
Searching for a “Nexgrill 720-1046A review” usually means one of three things: you’re eyeing a used unit on Facebook Marketplace, you need a part and want to match the SKU exactly, or you’re cross-checking a retailer listing that uses a marketing name instead of the model number. The 720-1046A is not a grill family - it’s a specific SKU printed on the rating label. Retail listings often sell the same grill as the “4-Burner Gas Grill with Side Burner in Black,” so the label is your only reliable identifier. This guide gives you a 20-minute inspection protocol you can run on any 720-1046A before you buy, sell, or fire it up for the season. No spec-sheet guessing - just observable tests.
The 720-1046A label is usually inside the cabinet door or on the back panel. Photograph it before you commit to a used grill - it’s your key to parts matching later.
What You Need Before You Start (and What to Bring to a Used-Grill Meetup)
For a thorough review, gather these items. Most fit in a small bag and cost under $20 total.
- A bright flashlight (phone light works but a focused beam is better)
- A spray bottle with soapy water (1 part dish soap to 3 parts water)
- A clean rag or paper towels
- A thermometer (instant-read or infrared) to verify hood temperature
- Your phone to photograph the label and any damage
- A notepad or notes app to record condition signals
If you’re inspecting a used grill at a seller’s location, also bring a small adjustable wrench and a propane tank - you’ll need gas to run the leak and heat-up tests. Ask the seller beforehand if the tank is included; if not, bring your own. Plan for 20 minutes of hands-on time, plus setup.
Step 1: Read the Rating Label - Where to Find 720-1046A and What Each Line Tells You
Open the cabinet door and look for a silver or white sticker, typically on the inside left panel or the back of the firebox. You’re looking for the model number “720-1046A” and a serial number. The label also lists gas type (propane), manifold pressure, and clearance requirements. Photograph the entire label - you’ll need it for parts lookup. If the label is missing or unreadable, treat the grill as unidentified and walk away unless the price is negligible.
Cross-check the label against any paperwork or the seller’s listing. The 720-1046A appears in Nexgrill’s catalogue under a descriptive name; you can confirm current listings on the All Products page. Don’t rely on BTU or cooking-area figures from memory - those vary by production year. The label is the authority.
Step 2: Inspect the Burner Tubes and Heat Tents With a Flashlight
Remove the cooking grates and set them aside. Shine your flashlight down each burner tube. You’re checking for three things: blockages (spider webs, grease clogs), rust-through, and warping. A healthy burner tube is straight, with clean ports (the small holes) and no flaking metal. If you see heavy rust or holes, plan on replacing burners - a set typically costs $40-$80 USD, depending on the year.
Next, lift out the heat tents (the V-shaped metal shields above the burners). They should be intact, not rusted through, and sit flat. Warped or heavily corroded tents cause uneven heating and flare-ups. Replacement tents run about $25-$50 USD for a set. If both burners and tents are shot, factor that into your offer.
Step 3: Run a Soapy-Water Leak Test on Every Connection
Safety first: never test for leaks with a flame. Connect a propane tank (if available) and turn the tank valve on slowly. Brush or spray soapy water on the tank-to-regulator connection, the regulator-to-manifold hose, and the manifold-to-burner connections if accessible. Watch for bubbles - growing bubbles mean a leak. If you see bubbling, turn off the tank and tighten the connection; if it persists, the hose or regulator needs replacement.
NFPA and USFA both recommend a soapy-water leak test before first use each season and after any gas component change. Never use a match or lighter to check for leaks.
Step 4: Test the Igniter and Check Burner-to-Burner Continuity
With the lid open and gas off, press the igniter button. You should hear a sharp click and see a spark at each burner’s electrode. If you don’t see a spark, check the battery (usually AA) and the wire connections. A weak or intermittent spark often means a corroded electrode or a failing igniter module - replacement parts are usually under $20.
If the igniter works, turn the gas on and light one burner at a time, starting from the left. As each burner lights, the flame should carry over to the next through the crossover tube. If a burner fails to light, turn everything off and investigate that burner’s tube for blockages. A burner that lights but has a lazy, yellow flame indicates a spider egg sac or grease clog in the tube.
Step 5: Examine the Grease Tray, Cart, and Lid for Corrosion
Slide out the grease tray. It should be intact, with no holes or heavy rust. A tray that’s rusted through will drip grease onto your patio and is a fire hazard. Replacement trays are often available for $20-$40 USD. Check the cart legs and bottom panel for rust - surface rust is common and manageable, but flaking metal or holes indicate structural decay.
Open and close the lid. It should move smoothly without binding. Inspect the lid interior for peeling enamel or heavy grease buildup (a sign of neglected cleaning). The lid’s exterior should be free of deep scratches or dents that could compromise the metal.
Step 6: Time the Heat-Up - A 10-Minute Proxy for Burner Health
Light all burners on high, close the lid, and start a timer. A healthy 4-burner grill should reach 400-450°F within 10-12 minutes on a moderate day (70°F). If it takes longer than 15 minutes, or if the hood temperature plateaus below 400°F, you likely have clogged burner tubes, a weak regulator, or low gas flow. Record the time and temperature - this baseline helps you track performance after cleaning or part replacements.
Once you’ve completed these steps, you have a clear picture of the grill’s condition and the likely cost to bring it to top shape. Try comparing two products side by side below to see which fits best - for example, a used 720-1046A versus a new 4-burner model from Nexgrill’s current line.
Once You've Weighed Two Options, Here's What Else Matters
Having compared a used 720-1046A against a new grill, you’re now facing the real decision: is the savings worth the risk, and can you get parts if something fails? This section covers the ownership math, parts availability, and the mistakes that make a 720-1046A review worthless.
Used vs. New: A Realistic Cost-of-Ownership Comparison for the 720-1046A
Used 720-1046A grills typically ask $120-$200 USD on marketplaces, depending on condition and accessories. A new equivalent 4-burner with side burner often sells around $300 USD, though prices vary by retailer and season. The table below lays out a realistic three-year cost picture, assuming you perform a few common repairs on the used unit.
| Cost Category | Used 720-1046A (estimated) | New 4-Burner (estimated) |
|---|---|---|
| Purchase price | $120-$200 | ~$300 |
| Immediate repairs (burners, tents, igniter) | $0-$150 (condition-dependent) | $0 |
| Replacement cover (recommended) | $30-$50 | $30-$50 |
| 3-year total (rough) | $150-$400 | $330-$350 |
The used route can save money if you buy a unit that passes the inspection with only minor needs. But if burners, tents, and igniter all need replacing, the total can approach new-grill pricing - without a fresh set of components. Use the inspection results to negotiate: a grill that fails the heat-up test or has rusted-through burners is a $75-$100 grill, not a $175 one.
How to Confirm Parts Availability by SKU Before You Commit
The 720-1046A is an older model, so parts may not be stocked indefinitely. Before buying used, photograph the rating label and contact Nexgrill support with the model and serial number to ask about availability of common wear parts: burner tubes, heat tents, igniter, and grease tray. The Nexgrill contact page is the fastest way to reach them. If key parts are discontinued, factor that into your decision - a grill you can’t repair is a disposable grill.
Pro tip: Ask the seller to send a close-up photo of the rating label before you drive out. That gives you the serial number to check parts availability in advance.
Five Mistakes That Make a 720-1046A Review Useless
- Judging by looks alone. A clean exterior can hide rusted burners. Always run the heat-up test.
- Skipping the leak test. A $2 soapy-water test prevents a $200 fire.
- Not photographing the label. Without the SKU, you can’t order parts or verify the model year.
- Assuming all 4-burner Nexgrills are the same. The 720-1046A differs from other SKUs in burner configuration and parts fit.
- Ignoring the grease tray. A rusted tray is a fire hazard and a sign of deeper corrosion.
The 20-Minute Pre-Purchase Checklist (Condition Signals and What Each Means)
Use this quick-reference table during your inspection. Each signal maps to a likely issue and a rough repair cost (USD estimates).
| Check | Good Sign | Bad Sign | Likely Cost to Fix |
|---|---|---|---|
| Rating label | Clear, legible 720-1046A | Missing or unreadable | N/A - walk away |
| Burner tubes | Straight, clean ports | Rust-through, clogged | $40-$80 |
| Heat tents | Intact, flat | Warped, rusted through | $25-$50 |
| Igniter | Strong spark at each burner | No spark or weak | $10-$20 |
| Grease tray | Solid, minor surface rust | Holes or heavy flaking | $20-$40 |
| Heat-up (10 min) | Reaches 400-450°F | Below 400°F after 15 min | Diagnose first |
Safety Notes: Propane Handling and Grill Placement
Always store propane tanks upright in a well-ventilated area, away from heat sources. Never store a tank indoors or in a garage. When grilling, place the grill at least 10 feet from your house, siding, and any combustible materials. Keep the lid open when lighting to prevent gas buildup. The NFPA and USFA both recommend these practices; following them prevents the most common grill fires.
If you smell gas while grilling, turn off the burners and the tank valve immediately. Do not attempt to relight until the smell dissipates and you’ve checked for leaks. For more details, see the NFPA grilling safety page.