A comprehensive guide to mastering the art of grilling with essential techniques and tips.
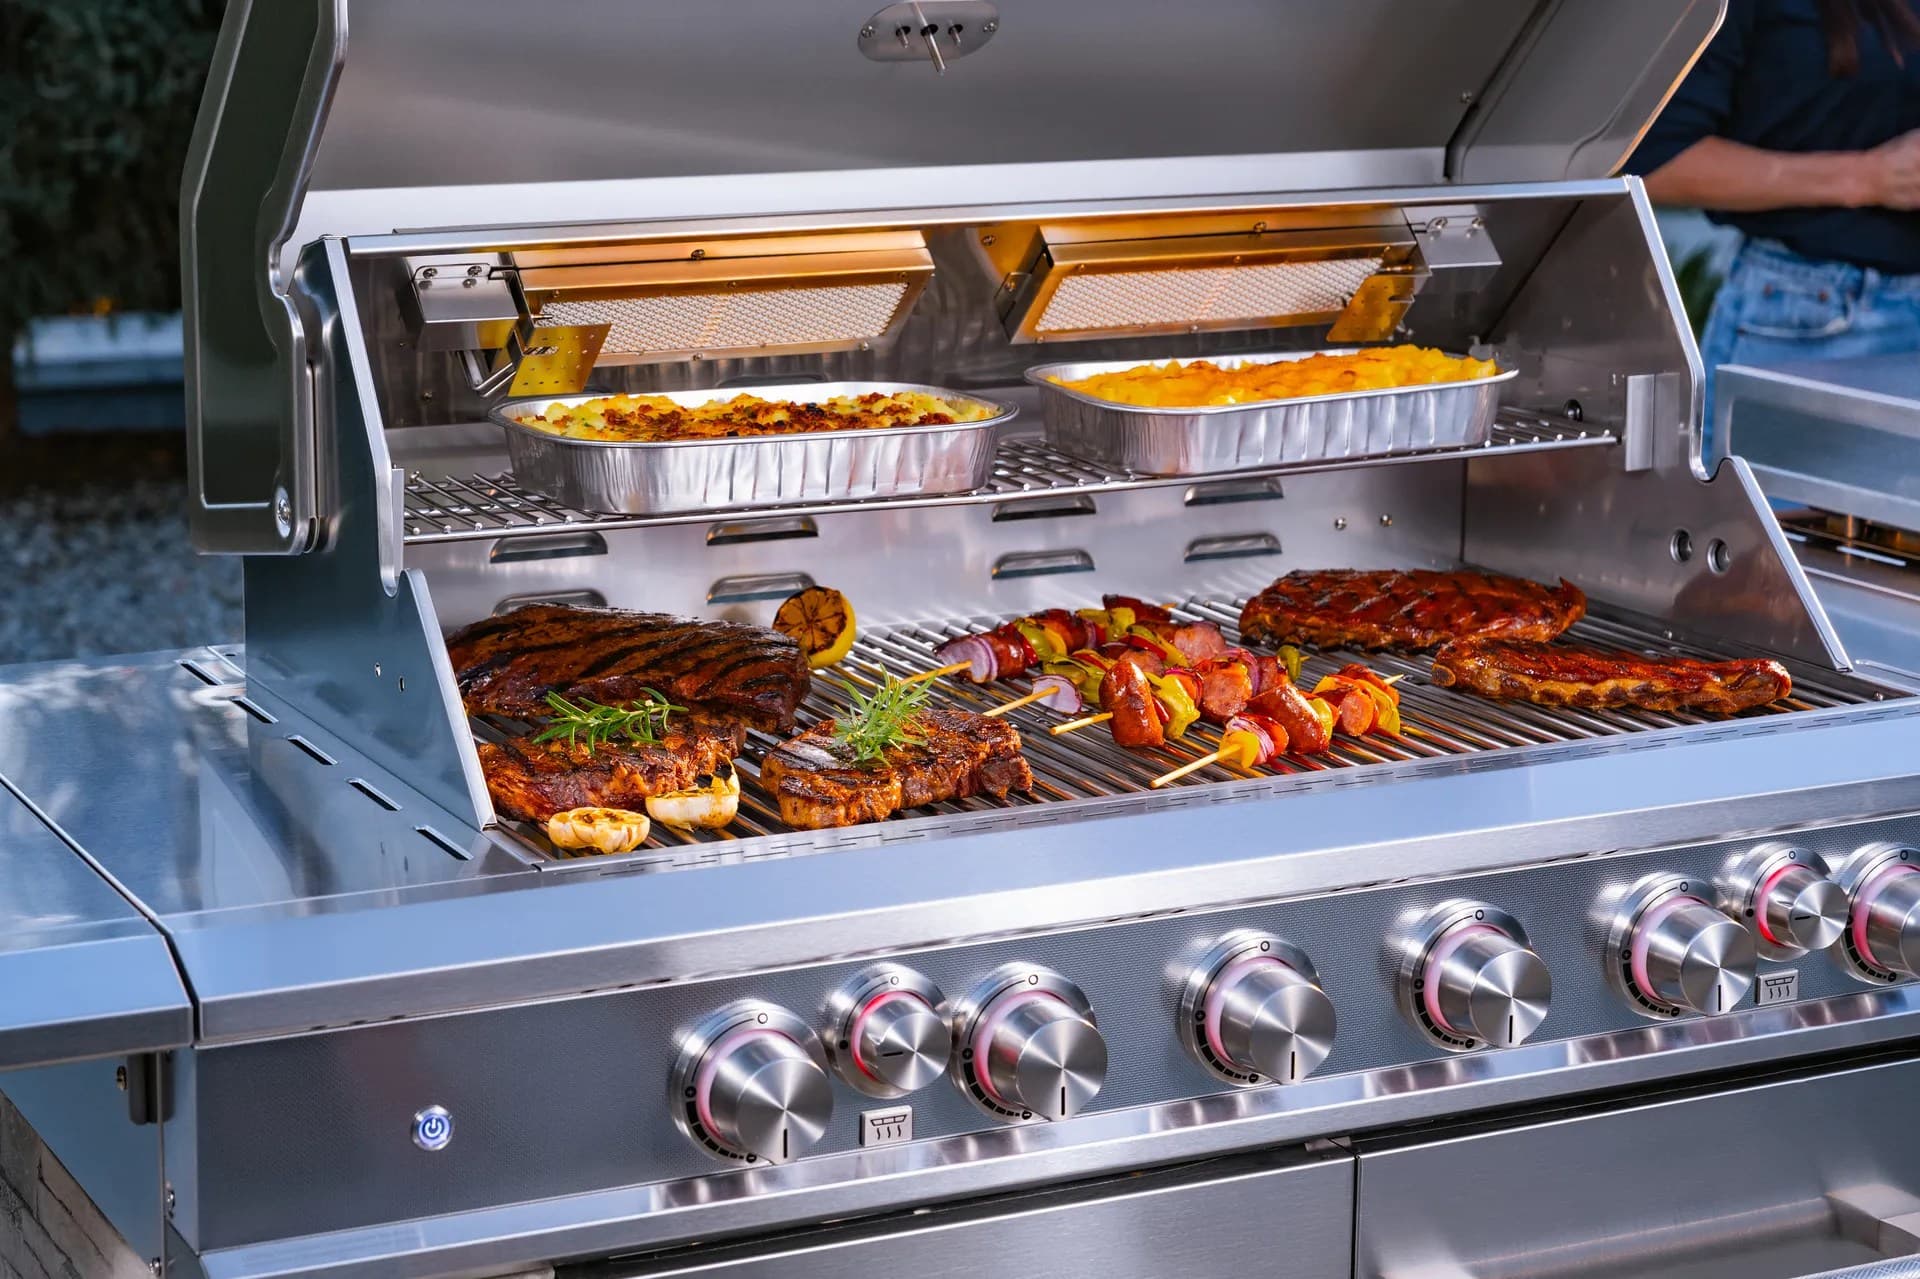
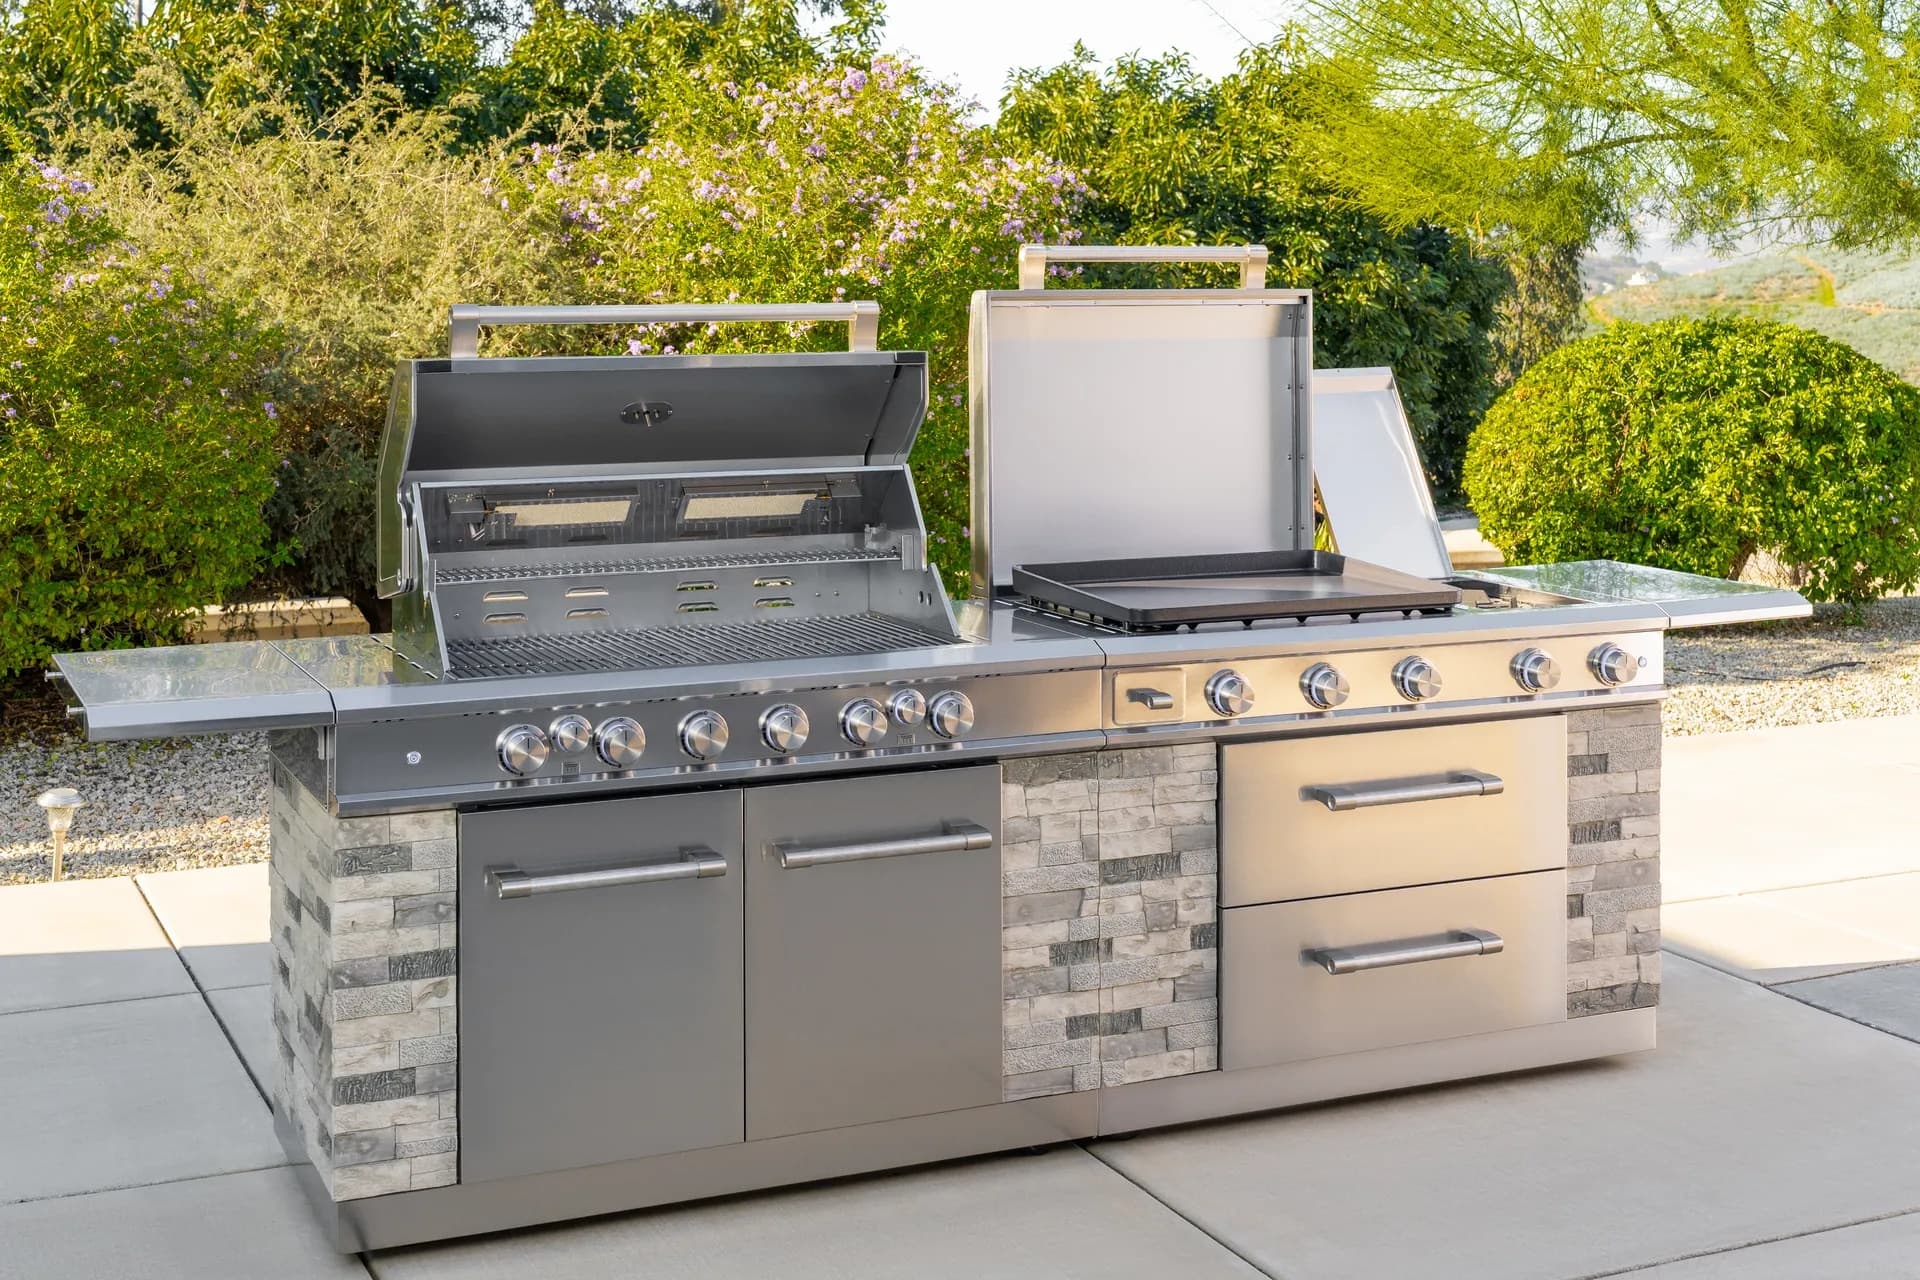
From sizzling breakfasts to smash burgers and teppanyaki-style dinners, the Daytona Pro 5 Burner NitroGuard™ Griddle delivers powerful heat, fast cooking, and a durable cooking surface built for every backyard cookout. Watch how easy outdoor cooking can be.
Here's what sets us apart from the competition
We position ourselves as delivering high-end outdoor cooking features and performance without premium-brand pricing, emphasizing “Quality Grills. Unbelievable Value.”
We offer gas grills, pellet grills, griddles, smokers, pizza ovens, portable/tabletop grills, electric grills, accessories, and replacement parts — allowing customers to stay within one ecosystem for all outdoor cooking needs.
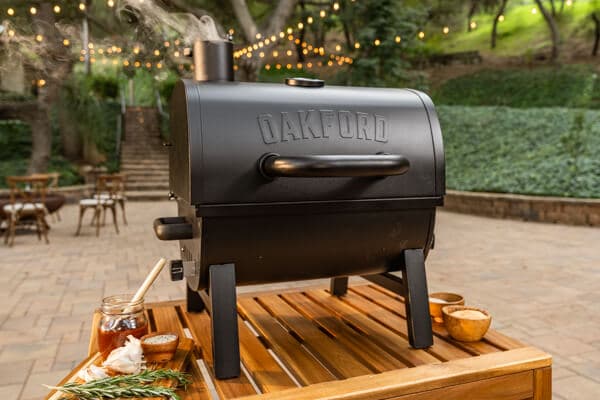
We differentiate ourselves through smart grilling products like the Oakford smart pellet grill, including app-connected cooking controls and modern outdoor cooking technology.

Expert tips, buying guides, comparisons, and inspiration for choosing and getting the most out of your grill.

Practical guides for cleaning, maintenance, common grill issues, and performance optimization.

Step-by-step grilling recipes, cooking techniques, and meal ideas for every occasion and skill level.

Backyard entertaining ideas, seasonal grilling inspiration, and stories that celebrate outdoor cooking culture.

Helpful articles covering grilling tools, cookware, maintenance gear, and must-have accessories for outdoor cooking.

Find griddle recipes, cooking techniques, cleaning tips, and outdoor meal ideas designed for Nexgrill griddles.
Find answers to common questions
Gas grills provide instant heat and precise temperature control, making them easier to use. Charcoal grills offer a smoky flavor and high heat for searing but require more time to heat up and manage.
Pellet grills combine the convenience of gas with the flavor of wood, allowing for smoking, baking, and grilling. Traditional gas grills, however, are quicker to start and often easier to clean.
Charcoal grills typically reach higher temperatures quicker than gas grills, making them better for searing meat. However, high-quality gas grills can also provide adequate heat for effective searing.
Nexgrill offers models designed specifically for gas, charcoal, and pellets, allowing users to choose based on their cooking style and flavor preferences. Each type is built to optimize the characteristics of its respective fuel.
Choosing between gas and charcoal grills depends on your cooking preferences and lifestyle. If you value convenience and quick cooking, a gas grill may suit you better; if you prefer the taste and experience of traditional grilling, a charcoal grill would be ideal.
In This Article
Preheating the Grill
Direct vs. Indirect Heat
Essential Grilling Tools
For a beginner, grilling can look like a skill reserved for people who already know how to read flames, judge heat by instinct, and turn out perfectly browned food without thinking twice. In reality, the best grillers started by learning a few dependable habits and repeating them until they became second nature. That is what this guide is built around: the techniques that give new grillers a predictable starting point, reduce stress, and make outdoor cooking feel manageable from the first cookout.
Nexgrill’s product range reflects a simple truth about outdoor cooking: different cooks need different setups. A compact two-burner gas grill, a larger four-burner model, or a flat-top griddle all support the same beginner goal in different ways. Some people want weeknight convenience, others want weekend entertaining, and some want a cooking surface that makes breakfast, burgers, and vegetables easier to manage. The right technique matters more than the “best” tool, but understanding your equipment makes every technique easier to apply.
A practical preheat window that helps most beginner cooks get stable heat before food goes on
The biggest beginner advantage is not perfection; it is repeatability. If you learn how to preheat, create heat zones, use the right tools, and keep food safe, you can grill chicken breasts, burgers, pork chops, shrimp, or vegetables with far more confidence. Those same fundamentals also help you avoid the most common early mistakes: food sticking to the grates, flare-ups that char the outside before the inside is done, and overhandling food that should be left alone once it hits the grill.
In practical terms, grilling starts before the lid closes. It begins with how you arrange your cooking zones, how long you preheat, and how you decide which foods need direct heat versus indirect heat. Beginners often worry that they need to master dozens of tricks at once, but most great results come from using just a few methods correctly. That is why this guide focuses on the core techniques that matter first, then shows how those techniques work together on a normal backyard grill session.
Begin with one simple habit: preheat the grill fully before cooking. A stable cooking surface makes seasoning, searing, and temperature control much more forgiving.
If you are cooking on a gas grill, your learning curve is usually shorter because heat control is immediate and adjustable. If you prefer charcoal, the reward is a deeper charcoal flavor and a more hands-on rhythm, but you will need to pay more attention to fuel setup and airflow. Both are good choices for beginners when the goal is to learn how heat behaves. The important part is to match the method to the meal and to your comfort level rather than forcing every cook to work the same way.
This article is designed to help you build that comfort step by step. By the end, you should understand how to choose a cooking approach, how to use basic tools with confidence, and how to keep safety central from start to finish. Try comparing two products side by side below to see which fits best:
The first choice many beginners face is fuel type, and that choice affects the entire learning experience. A gas grill typically gives you faster startup, easier temperature adjustment, and more predictable day-to-day cooking. That makes it especially helpful if you want to get dinner on the table without waiting around for fuel to fully catch or for coals to settle. Gas also supports straightforward zone cooking because you can turn burners up or down independently on many models.
Charcoal grills ask for more patience, but they can be excellent teachers. They force you to think about airflow, spacing, and how to build a hotter or cooler zone with the fuel itself. For beginners who want to understand heat behavior rather than just turn a dial, charcoal can be a good classroom. It is less forgiving than gas, but that is not a flaw if your goal is to improve your instincts over time.
| Grill type | Beginner benefit | Main trade-off |
|---|---|---|
| Gas | Fast startup and easy adjustments | Less flavor involvement than charcoal |
| Charcoal | Hands-on heat learning and strong flavor | More setup time and less instant control |
A beginner does not need to declare a permanent allegiance. It is completely reasonable to start with gas for convenience and later try charcoal when you want more control over flavor and fire management. If you already own one type, use it well before worrying about switching. The technique matters more than the label on the lid.
New charcoal users should plan extra time. Rushing the fire often leads to food that cooks unevenly or picks up bitter smoke from fuel that has not fully settled.
You do not need a drawer full of accessories to begin grilling well. In fact, too many tools can distract you from the fundamentals. A beginner’s kit should focus on control, safety, and cleanliness during the cook. The essentials are tongs, a spatula, a reliable meat thermometer, a grill brush, and heat-safe gloves or mitts if you are working close to a hot grate for longer periods.
Tongs matter because they let you turn food without puncturing it. That keeps juices inside chicken breasts, pork chops, and sausages. A spatula is the better choice for burgers, fish, and delicate foods that can break if squeezed. A meat thermometer is the tool that saves beginners the most guesswork. It turns doneness from a vague feeling into a measurable check, which is especially useful for chicken and thicker cuts that may look done before they actually are.
If you buy only one precision tool, make it a meat thermometer. It is the simplest way to reduce undercooking and overcooking at the same time.
Beginners also benefit from a clean prep setup nearby: a tray for raw food, a separate tray for cooked food, and a small area for seasoning or sauces. This separation is not just tidy; it helps prevent cross-contamination and keeps your workflow calm. A grill basket can be helpful for vegetables or small items like shrimp, but it is optional. Start with the essentials first, then add accessories only when you have a clear use case for them.
One overlooked tool is a folded paper towel and a little oil for the grates, used carefully and in moderation. That simple step can help reduce sticking when you are grilling proteins that like to cling to the metal. The key is not to soak the grates or create excess flare-up risk, but to use a light, controlled approach that supports a better release.
Heat control is where beginner grilling becomes real cooking. Direct heat means the food sits over the flame or hot coals. This is the right choice for quick-cooking items such as burgers, thin steaks, hot dogs, shrimp, and sliced vegetables. These foods need fast surface browning and do not require a long time on the grill.
Indirect heat means the food is placed beside the heat source rather than directly above it. On a gas grill, that often means turning on one side burner and leaving the other side off. On charcoal, it means pushing coals to one side or arranging them around the edges. Indirect cooking is ideal for larger cuts, bone-in chicken, whole sausages that need time to cook through, or anything that benefits from gentler heat after a quick sear.
| Cooking method | Best for | Beginner note |
|---|---|---|
| Direct heat | Burgers, steaks, shrimp, vegetables | Watch closely; food can overcook quickly |
| Indirect heat | Chicken pieces, thicker cuts, mixed meals | Slower but more forgiving |
A useful beginner approach is the two-stage method: start with direct heat to build color, then move the food to indirect heat to finish. This works especially well for bone-in chicken thighs, sausages, and thicker pork chops. It gives you better control because you are no longer asking one heat zone to do every job at once.
The main mistake beginners make is walking away too long after setting a strong flame. Even a simple burger can go from seared to charred quickly if the heat is too high or if the lid stays closed at the wrong time. Learning to manage timing and placement is more important than trying to memorize a perfect minutes-per-side rule, since grill output varies by model, weather, and food thickness.
Sear marks and grill marks are the visible proof that heat has been managed well, but they are not just for looks. Proper browning improves flavor and texture by creating a well-cooked exterior. Beginners sometimes chase dramatic crosshatch marks too early, when what they really need is better contact with a hot grate and enough patience to let the surface brown before moving the food.
To get better marks, start with a preheated grill, clean grates, and food that has been lightly dried before it goes on the surface. Moisture slows browning. Once the food is down, resist the urge to keep lifting it. If you move it too soon, you interrupt the browning process and risk tearing the surface. For burgers and steaks, a good rule is to let one side develop color before turning it once.
Grill marks improve when the grates are hot, the food is dry on the surface, and the first side is left alone long enough to sear cleanly.
If you want crosshatch marks, rotate the food about a quarter turn halfway through the first searing side, then flip and repeat on the second side. But do not treat that as the only measure of success. Many excellent grillers focus more on even browning and doneness than on picture-perfect lines. For beginners, the goal should be a flavorful crust and proper internal temperature, not just visual style.
A flat-top griddle can be a helpful training ground for learning browning, especially with foods like onions, breakfast items, or smash burgers. It removes some of the randomness of open-grate contact and gives beginners a steadier surface on which to practice timing and heat awareness.
Confidence on the grill comes from knowing you have the basics under control, and safety is a major part of that confidence. Always set up your grill in an open, stable outdoor area away from walls, low branches, and anything that could catch heat or flame. Keep kids and pets away from the cooking zone, and make sure the grill is steady before you begin.
Food safety matters just as much as fire safety. Keep raw and cooked foods separate, wash your hands after handling raw proteins, and use a thermometer to confirm doneness rather than guessing. The easiest beginner habit is to keep one clean plate for finished food and never return cooked food to a plate that held raw meat. That small detail prevents one of the most common kitchen-to-grill contamination mistakes.
Never leave a lit grill unattended. Even a quick distraction can turn a controlled cook into a flare-up or overcooked meal.
For gas grilling, inspect the hose and connections before use and follow the manufacturer’s ignition instructions. For charcoal, let starter fluid fully burn off before cooking food and avoid adding more fluid once the fire is lit. In both cases, use long-handled tools so your hands stay comfortably away from the heat. Safety gear is not about being overly cautious; it is what makes grilling relaxed enough to enjoy.
Every beginner becomes better by repeating a few reliable techniques: preheating properly, choosing between direct and indirect heat, using the right tools, and respecting safety from the start. Those habits create consistency, and consistency creates confidence. Once you know how your grill responds, you can cook with more freedom and less second-guessing.
The best way to learn is to start with simple meals and notice how the grill behaves from one session to the next. A batch of burgers, a few chicken thighs, or a mix of vegetables can teach more than a complicated recipe ever will. As your comfort grows, you will begin to sense when the heat is right, when food is ready to move, and when it is best to leave it alone.
Grilling mastery is less about fancy tricks and more about calm repetition. If you keep the focus on heat management, food safety, and clean technique, your grill will become an easy, dependable part of cooking at home. The next step is simply to pick a model, set up your workspace, and put these basics into practice. Then try comparing two products side by side below to see which fits best:
Once you have compared a couple of grill options, the next step is understanding how those differences affect the way you actually cook. Beginners often assume grilling is mostly about buying the right model, but the real learning happens when you see how heat, timing, and food placement work together. A grill is a tool, and the confidence you build comes from knowing how to use it in a consistent, repeatable way.
That is why beginners benefit from starting with simple expectations. Your goal is not to produce restaurant-level barbecue on day one. Your goal is to make a hamburger that is evenly browned, chicken that is safely cooked through, vegetables that stay crisp-tender, and steak that has a good crust without becoming overdone. Those results are absolutely within reach when you build from technique instead of relying on luck.
Nexgrill’s grill lineup is a useful starting point for this learning curve because different styles support different habits. A two-burner gas grill encourages smaller, more manageable cook sessions. A four-burner grill gives you more room to separate direct and indirect zones. A pellet smoker or charcoal setup adds another layer of heat management for cooks who want to expand later. Beginners do not need the most complex setup; they need a setup that helps them practice and improves with them.
Grilling becomes easier when you treat every cook as a small experiment: note the heat, the timing, and how the food responded.
Gas and charcoal are both beginner-friendly when you understand what each one teaches you. Gas is the smoother on-ramp. It gives you instant ignition and quick adjustments, which is especially helpful if you are cooking after work or with a hungry group waiting nearby. You can preheat, adjust, and recover heat quickly if you open the lid too often or if the weather is cooler than expected.
Charcoal, by contrast, asks you to think about how fuel placement shapes the cook. It takes longer to start, but it rewards attention. You learn how a hotter center, a cooler edge, or a banked coal setup changes the way food finishes. For beginners who want to understand why some foods cook faster than others, charcoal can be a very instructive place to begin. It teaches patience and observation in a way that transfers well to future grilling.
Neither option is “better” for all beginners. If your priority is convenience, gas is the more direct choice. If your priority is flavor involvement and learning fire management, charcoal may be the better classroom. One of the best ways to avoid frustration is to choose the fuel type that matches your tolerance for setup time. A beginner who dislikes waiting is more likely to enjoy gas. A beginner who likes the ritual of cooking outdoors may find charcoal more engaging.
| Fuel type | What beginners learn fastest | Typical challenge |
|---|---|---|
| Gas | Temperature changes and fast recovery | Can tempt you to rush before the grate is fully hot |
| Charcoal | Airflow, fuel distribution, and patience | Requires more planning before the first bite |
For a first-time griller, the best choice is often the one that makes repeat practice realistic. If a grill is easy to fire up, easy to clean, and easy to understand, you are more likely to use it often enough to build skill. That regular repetition matters more than any single “perfect” cook.
The right tools help beginners stay calm because they make each step clearer. Long-handled tongs are the most important starting point. They let you move food without squeezing it, which preserves texture and keeps you farther from heat. A sturdy spatula is ideal for burgers and anything delicate enough to break if you try to turn it with tongs. A reliable instant-read thermometer is the tool that replaces guesswork with confidence, especially for poultry and thicker cuts.
A grill brush or scraper helps keep the cooking surface clear before you place food on it, which improves contact and reduces sticking. Heat-safe gloves are useful when you need to adjust grates, move a hot pan, or handle items near the back of the grill. Beginners often underestimate how much smoother the experience becomes when they are not constantly worried about touching hot metal.
Good tools do not make you a better griller by themselves, but they make it much easier to practice good technique.
It also helps to set up a simple workflow. Keep raw food on one tray, cooked food on another, and seasoning or sauces within easy reach before lighting the grill. That way, you are not hunting for supplies while the grill is already hot. If you cook often, you may later add a grill basket, a basting brush, or a second set of tongs for finished food. But at the beginner stage, the smartest move is to keep the kit lean and functional.
One practical habit is to keep a small notepad or note app nearby and record what worked. For example, if burgers browned too quickly at one setting, write that down. If vegetables needed a little more time on indirect heat, note that too. A few simple records can help you improve much faster than relying on memory alone.
Direct heat is the technique most people picture when they think of grilling. Food sits over the flame or glowing coals, so it browns quickly and develops a crust. This works especially well for burgers, thin steaks, sliced zucchini, asparagus, and shrimp. The main advantage is speed. The main risk is overcooking if the heat is too aggressive or if you spend too much time checking the food.
Indirect heat solves a different problem: cooking food through without burning the outside. On a gas grill, you create this effect by turning off one or more burners and placing food over the unlit section. On charcoal, you move the coals to one side and cook on the cooler side of the grate. This method is ideal for chicken pieces, thicker chops, sausages that need time to heat evenly, or mixed meals where one item needs more time than another.
A beginner-friendly pattern is to start with direct heat for color and then finish with indirect heat for doneness. This approach works well for foods that benefit from both browning and slow completion. It also reduces the pressure to guess exactly how long a cut will take, because you can monitor progress in stages rather than trying to finish everything on a single hot zone.
| Technique | When to use it | Why it helps beginners |
|---|---|---|
| Direct heat only | Fast, thin foods | Simple and quick to learn |
| Indirect finish | Thicker or bone-in foods | Reduces charring while the inside finishes cooking |
If your food is browning too fast, move it sooner rather than later. Beginners often wait for the perfect moment and end up with a burned exterior.
Temperature control is easier when you think in zones instead of trying to make the entire grill behave the same way. One hot zone and one cooler zone give you a backup plan. If something is ready too early, move it. If something needs more color, bring it back to the hotter side. That flexibility is what turns grilling from a test into a process you can manage.
Sear marks are a byproduct of good heat and good contact. They are attractive, but they are also a sign that the food touched a properly heated surface long enough to brown. Beginners sometimes chase dark grill marks by constantly rotating food or pressing it down with a spatula. That usually makes things worse. Pressing forces out juices, and too much moving interrupts the browning process.
The best path to stronger marks is straightforward: preheat fully, clean the grates, and dry the food lightly before it goes on. Once the food is placed, let it sit undisturbed long enough to form a crust. If you want a crosshatch pattern, turn the item once after it has browned on the first side, then rotate it again on the second side only if the cut is thick enough and the surface is stable enough to support that pattern.
Great grill marks come from patience, not force. If the food sticks when you try to lift it, it usually needs more time to release naturally.
For beginners, it helps to think about searing as one part of doneness, not the whole goal. A steak with beautiful lines but an underdone center is still not finished. A burger with modest browning and a safe internal temperature is far more useful than an overly dark, dry result. That perspective keeps the focus on cooking success instead of presentation alone.
If you are practicing with vegetables, try items like halved peppers, onions, or thick slices of zucchini. These show browning well and help you learn how surface contact changes texture. Over time, you will start to notice how quickly different foods color, which is one of the most useful instincts any griller can develop.
Safety is not separate from grilling skill; it is part of the skill. A beginner who understands basic safety can relax more and focus on cooking. Start by setting the grill on a stable surface in an open outdoor area with enough distance from walls, fences, overhangs, and anything that could be affected by heat or flame. Keep the surrounding area clear so you can move around the grill without bumping into objects or people.
Food safety is equally important. Raw meat should stay separate from cooked food, cutting boards should not be reused without washing, and a meat thermometer should be used whenever you are unsure about doneness. These habits are simple, but they prevent the most common beginner errors. They also make it easier to serve food confidently because you do not have to rely on guesswork.
For gas grills, follow the startup sequence carefully and check connections before cooking. For charcoal, allow starter fuel to burn down completely before adding food and never introduce more starter fluid once the fire is established. Keep long-handled tools nearby and use them consistently so your hands stay out of the hottest area. The more organized your station is, the less likely you are to make rushed decisions near open heat.
A calm setup is a safe setup: prep first, ignite second, and keep distractions away while the grill is hot.
Beginners improve fastest when they practice the same core habits over and over: preheat properly, choose the right heat zone, use the right tools, and respect safety. Those basics create better food and reduce stress at the same time. They also make every future recipe easier because you already understand the environment in which the food is cooking.
Think of your first several grilling sessions as training, not tests. Burgers teach browning and timing. Chicken teaches patience and doneness checks. Vegetables teach you how quickly moisture and heat interact. Each of those experiences builds a practical understanding that no checklist can fully replace. The more you notice what happens, the faster your instincts sharpen.
If you keep the experience simple and repeatable, grilling stops feeling intimidating and starts feeling like one of the most satisfying ways to cook. That is the real payoff of beginner technique: not perfection, but confidence. Start with one manageable meal, learn from it, and build from there. Over time, those small wins add up to real grilling mastery.
Here's what sets us apart
We position ourselves as delivering high-end outdoor cooking features and performance without premium-brand pricing, emphasizing “Quality Grills. Unbelievable Value.”
We offer gas grills, pellet grills, griddles, smokers, pizza ovens, portable/tabletop grills, electric grills, accessories, and replacement parts — allowing customers to stay within one ecosystem for all outdoor cooking needs.
We differentiate ourselves through smart grilling products like the Oakford smart pellet grill, including app-connected cooking controls and modern outdoor cooking technology.
Don't just take our word for it
Keep reading
From our catalog