A comprehensive guide to maintaining your grill for optimal performance and longevity.
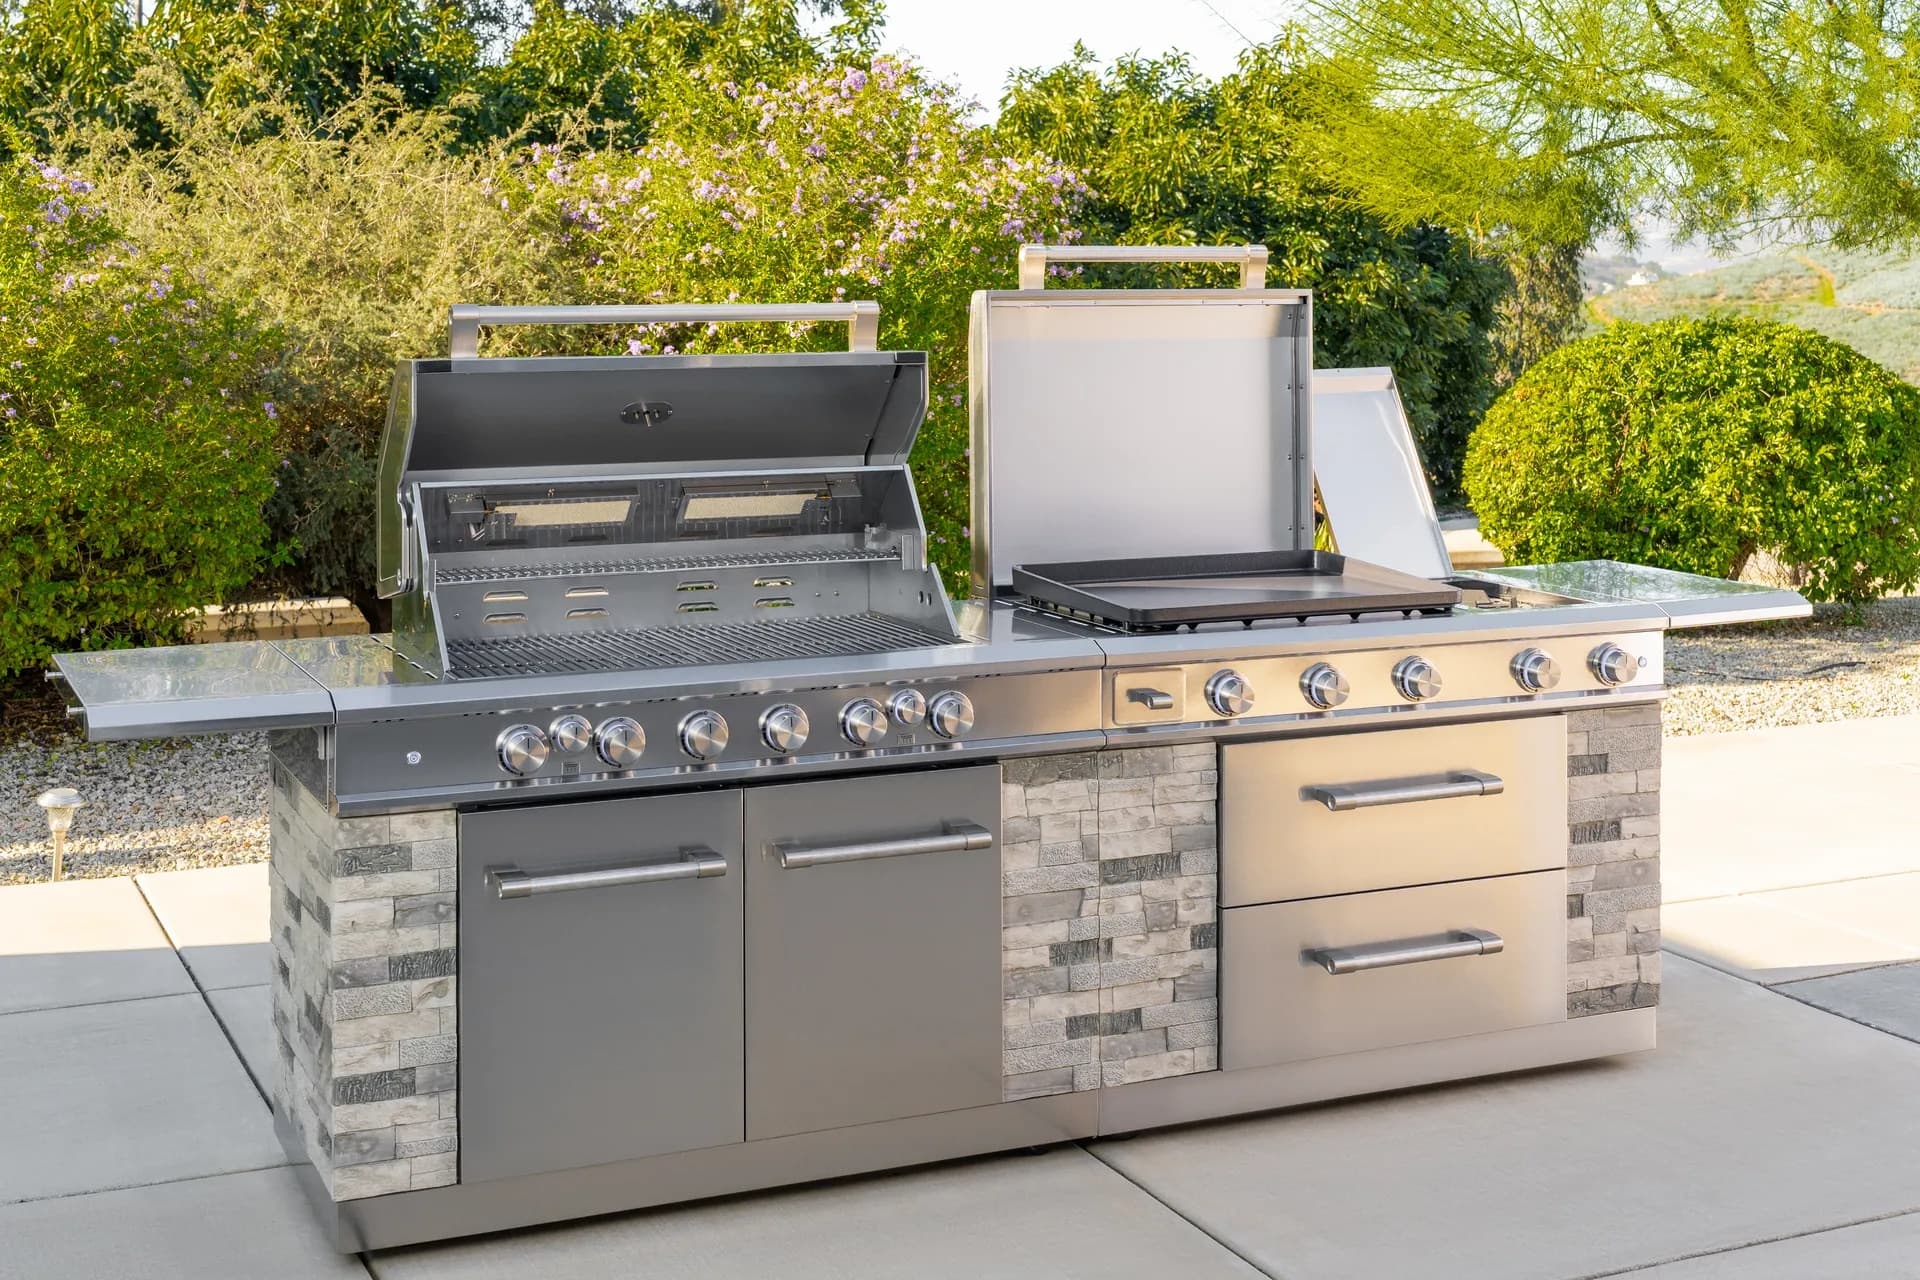
From sizzling breakfasts to smash burgers and teppanyaki-style dinners, the Daytona Pro 5 Burner NitroGuard™ Griddle delivers powerful heat, fast cooking, and a durable cooking surface built for every backyard cookout. Watch how easy outdoor cooking can be.
Here's what sets us apart from the competition
We position ourselves as delivering high-end outdoor cooking features and performance without premium-brand pricing, emphasizing “Quality Grills. Unbelievable Value.”
We offer gas grills, pellet grills, griddles, smokers, pizza ovens, portable/tabletop grills, electric grills, accessories, and replacement parts — allowing customers to stay within one ecosystem for all outdoor cooking needs.
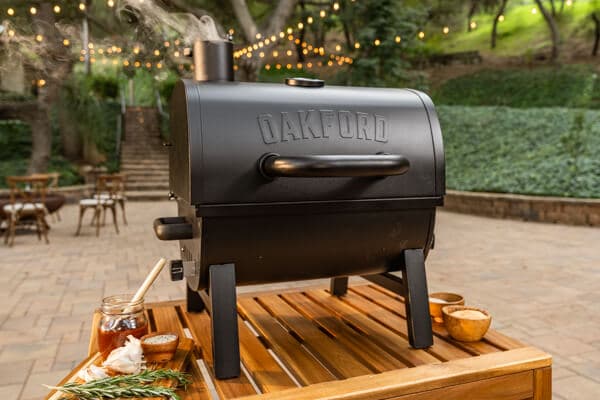
We differentiate ourselves through smart grilling products like the Oakford smart pellet grill, including app-connected cooking controls and modern outdoor cooking technology.

Expert tips, buying guides, comparisons, and inspiration for choosing and getting the most out of your grill.

Practical guides for cleaning, maintenance, common grill issues, and performance optimization.

Step-by-step grilling recipes, cooking techniques, and meal ideas for every occasion and skill level.

Backyard entertaining ideas, seasonal grilling inspiration, and stories that celebrate outdoor cooking culture.

Helpful articles covering grilling tools, cookware, maintenance gear, and must-have accessories for outdoor cooking.

Find griddle recipes, cooking techniques, cleaning tips, and outdoor meal ideas designed for Nexgrill griddles.
Find answers to common questions
Gas grills provide instant heat and precise temperature control, making them easier to use. Charcoal grills offer a smoky flavor and high heat for searing but require more time to heat up and manage.
Pellet grills combine the convenience of gas with the flavor of wood, allowing for smoking, baking, and grilling. Traditional gas grills, however, are quicker to start and often easier to clean.
Charcoal grills typically reach higher temperatures quicker than gas grills, making them better for searing meat. However, high-quality gas grills can also provide adequate heat for effective searing.
Nexgrill offers models designed specifically for gas, charcoal, and pellets, allowing users to choose based on their cooking style and flavor preferences. Each type is built to optimize the characteristics of its respective fuel.
Choosing between gas and charcoal grills depends on your cooking preferences and lifestyle. If you value convenience and quick cooking, a gas grill may suit you better; if you prefer the taste and experience of traditional grilling, a charcoal grill would be ideal.
In This Article
Grill Brushes
Scrapers
Cleaning Solutions
A clean grill cooks better, lasts longer, and is far easier to use when it is time to get dinner on the table. Regular maintenance is not just about making the outside look polished; it affects how heat moves across the grates, how food releases from the surface, and how much grease and carbon build up inside the firebox or burner area. That matters whether you use a compact gas grill on a weeknight or a larger charcoal setup for weekend gatherings. When residue is allowed to harden, it can create flare-up points, uneven heat, and stubborn odors that cling to the next cook.
Nexgrill’s brand approach emphasizes dependable outdoor cooking that brings people together, and that only works well when the grill is treated like a regular-use tool rather than a once-in-a-while appliance. The most practical way to think about grill cleaning is to match the job to the residue: light cleanup after a session, deeper cleaning every few cooks, and seasonal inspection before periods of heavy use. The goal is not perfection. The goal is safe, efficient cooking with less effort every time you light the burners or dump the charcoal.
A fast post-cook cleaning routine usually takes less time than scrubbing baked-on grease later, and it helps protect both flavor and hardware.
In practical terms, the difference shows up on the plate. A grate freed from stuck-on debris gives you clearer sear marks, more predictable browning, and less transfer of old food residue into fresh ingredients. If you cook vegetables, seafood, or delicate proteins, that cleaner surface is especially important because those foods pick up off-flavors more quickly than heartier cuts. A consistent cleaning routine also helps you spot wear early, such as rust forming on a grate edge, buildup around a burner port, or ash accumulation that could restrict airflow in a charcoal grill.
The best cleaning setup is simple, durable, and suited to your grill type. A good grill brush is the core tool for grate cleanup, but not every brush is equally useful. Look for a brush with stiff bristles or a bristle-free design, a comfortable handle length, and a head shape that can reach between grate bars without forcing your hand too close to the heat. For many owners, a 16- to 18-inch handle is a practical sweet spot because it gives leverage without feeling awkward. If you prefer a safer option, bristle-free brushes and coil-style heads can reduce the chance of loose wire bristles becoming a concern during cleaning.
| Tool | Best Use | What to Look For |
|---|---|---|
| Grill brush | Routine grate cleaning | Stiff head, long handle, heat-safe grip |
| Grill scraper | Stuck-on carbon and grease | Rigid edge, flat profile, durable metal or wood |
| Cleaning solution | Grease on grates, lids, and exterior surfaces | Non-corrosive, grill-safe formula |
| Microfiber cloths | Wiping residue and drying surfaces | Low-lint, washable, absorbent |
| Putty knife or scraper blade | Heavy buildup on flat surfaces | Controlled edge, comfortable grip |
For grill brushes and scrapers, choose tools that match the material of your cooking grates. Porcelain-coated grates benefit from gentler pressure and non-abrasive tools, while bare cast iron and stainless steel can handle firmer scraping. A well-made scraper is especially useful on the underside of grates and around drip-tray edges where grease can harden into a thick layer. Cleaning solutions should be selected carefully too. You want something strong enough to break down grease but not so harsh that it damages painted surfaces, seasoning, or internal components. Household degreasers can work on exteriors, but always test a small area first and avoid getting liquid into burner ports, ignition parts, or charcoal vents.
A separate brush for exterior detailing and a tougher scraper for grates keeps your cleaning kit more effective and reduces cross-contamination from grease to painted surfaces.
The safest and most efficient cleaning process starts before the grill cools completely, but after it is no longer at peak cooking temperature. For gas grills, turn the burners off after cooking, then let trapped heat loosen residue for a few minutes. Use a brush or scraper to remove loose debris from the warm grates. Once the grill is cool enough to handle, lift the grates and wipe away any remaining grease from the bars, flavorizer area, and drip tray. A full gas-grill cleaning should also include checking burner covers, clearing debris from the firebox, and emptying the grease tray so buildup does not become a flare-up source on the next cook.
Charcoal grills need a slightly different sequence. After the coals are fully extinguished and cold, remove the ash from the bowl and vents. Ash is not harmless left in place; it can trap moisture, restrict airflow, and create a corrosive environment. Then clean the grates with a brush or scraper, paying close attention to any carbon buildup around the edges. If your charcoal grill has a lid or ash catcher, wipe those components too so odor and residue do not accumulate over time. The key is to separate ash removal from grate cleaning rather than treating them as the same step.
| Cleaning Stage | Gas Grill | Charcoal Grill |
|---|---|---|
| After cooking | Brush warm grates and close lid briefly to loosen residue | Let coals burn out safely before handling any parts |
| Deep clean | Remove grates, clean drip tray, inspect burners and ignition | Empty ash, brush grates, clean bowl and vents |
| Drying | Wipe all surfaces dry before reassembly | Dry bowl, vents, and grates fully before covering |
A structured approach prevents the common mistake of over-wetting the grill. Too much liquid can push grime into places it should not go, especially around igniters and burner tubes. Use cloths instead of soaking, and work from top to bottom so dirt does not fall onto clean areas. If you are dealing with tough carbon on stainless steel grates, let a warm solution sit briefly, then scrape in the direction of the bars. On porcelain-coated parts, use lighter pressure to avoid chipping the finish. The best routine is the one you can repeat after most cooks, not just the one you do when the grill already looks neglected.
If you prefer to avoid heavy chemical cleaners, natural cleaning methods can handle much of the everyday residue on your grill. Baking soda is useful as a gentle abrasive paste when mixed with a little water. Lemon adds acidity and can help lift lighter grease films while leaving a fresher scent. These options are especially helpful for exterior lids, side shelves, and removable parts where you want a simpler clean without strong odors. A paste made from baking soda and water can be applied to a cool grate, allowed to sit briefly, and then scrubbed away with a brush or cloth. Lemon halves can also be rubbed over warm-but-not-hot surfaces to loosen light residue.
Natural methods work best for routine cleanup. For thick grease or burnt-on carbon, use them as a first pass rather than expecting them to replace scraping entirely.
Vinegar is another practical household cleaner for external surfaces and lids when diluted properly. It can help cut through film, but it should not be poured indiscriminately into internal components or used where it may contact sensitive metal finishes for long periods. The most effective way to use natural methods is to combine them with mechanical cleaning. In other words, let the baking soda or lemon loosen the residue, then finish with a scraper or brush. That saves effort and reduces the risk of over-scrubbing.
Rust prevention begins with dryness. Even a perfectly scrubbed grill can corrode if it is stored damp. After every cleaning session, dry the grates, bowl, and exterior surfaces completely before closing the lid or covering the grill. If you live in a humid part of the United States or keep your grill outside year-round, this step matters even more. A weather-resistant cover helps, but it should go over a dry grill only. Trapping moisture beneath a cover is one of the fastest ways to encourage rust, especially on uncoated edges and hardware.
Seasonal maintenance should also include inspecting fasteners, checking for finish wear, and clearing vents so the grill continues to breathe properly. For cast iron grates, a light coat of oil after cleaning can help protect the surface and support seasoning, while stainless steel parts benefit more from drying and gentle wiping than heavy oiling. If you notice surface rust early, address it right away with a non-abrasive pad or scraper before it spreads. Small touch-ups are much easier than trying to restore a neglected cookbox later. Good cleaning habits do more than preserve appearance; they help keep heat distribution, airflow, and safety conditions closer to the way the grill was designed to perform.
If a grill is cleaned thoroughly but stored wet, the moisture can undo much of the effort. Drying is just as important as scrubbing.
The most effective grill cleaning routine is not complicated, but it is consistent. Keep a brush, scraper, microfiber cloths, and a safe cleaning solution nearby so cleanup feels like part of the cook rather than a separate project. Clean warm grates after most uses, deep clean the interior on a regular schedule, and use natural cleaners when you want a lighter-touch option for day-to-day upkeep. Whether your grill runs on gas or charcoal, the same principle applies: less buildup means better heat control, cleaner flavor, and fewer repair headaches later.
For Nexgrill owners, that mindset fits naturally with the brand’s emphasis on accessible, practical outdoor cooking. A well-maintained grill supports the kind of welcoming backyard meals the brand celebrates, where the focus stays on the food and the company, not on fighting stuck grates or uneven heat. Try comparing two products side by side below to see which fits best:
Once you have weighed two grill-cleaning approaches against each other, the bigger lesson is that maintenance works best when it is built into the way you use the grill. A clean cooking surface is not only about appearance. It affects heat transfer, food release, flare-up control, and the lifespan of the equipment itself. In a practical household setting, that means the difference between a quick wipe-down after burgers and a frustrating battle with hardened residue before a weekend cookout. The more often you grill, the more important a repeatable routine becomes. For busy households, especially those using their grill for weeknight meals, a small amount of cleaning after each session prevents the kind of heavy buildup that turns a 10-minute task into an hour-long project.
Nexgrill’s approach to outdoor cooking emphasizes tools and equipment that are approachable and dependable, and that idea extends naturally to care and upkeep. When maintenance is routine, not reactive, your grill stays ready for the next meal instead of becoming a seasonal project. That means checking the grates, removing grease from the tray, emptying ash on charcoal models, and keeping surfaces dry. It also means recognizing that different grill materials call for different levels of pressure and different cleaners. A porcelain-coated grate should be treated more gently than bare cast iron, and stainless steel surfaces benefit from wiping and drying more than aggressive abrasive treatment. The more you understand the material, the better your cleaning results will be.
Rust prevention depends on removing moisture after every cleaning session.
A thoughtful cleaning kit does not need to be large, but it should be specific. The most useful grill brush is one you will actually reach for after cooking. For most households, that means a brush with a long handle, a head that matches the grate spacing, and a cleaning edge that can work while the grill is still warm. For buyers who want a lower-risk option, a bristle-free brush or a stainless coil brush can offer reliable debris removal without the concern of stray wire bristles. A scraper is equally important, especially for cooked-on sugar glazes, marinades, and grease that has carbonized into a hard shell. You want a scraper that feels solid in the hand and is narrow enough to get into corners, but wide enough to move material efficiently.
| Recommended tool type | Best for | Buying note |
|---|---|---|
| Bristle-free grill brush | Everyday grate maintenance | Good for users who want simpler cleanup and less abrasion |
| Stainless scraper | Hard carbon and thick residue | Choose a rigid edge that stays flat against the grate |
| Non-corrosive grill cleaner | Lid, side shelves, and exterior film | Avoid harsh formulas near ignition parts |
| Microfiber cloths | Drying and finish work | Useful for stainless, painted, and enamel surfaces |
For specific product recommendations, look for a brush that has a stable handle and a head that covers enough surface area to cut down on effort. A grill brush with a wider cleaning face works well for larger gas grates, while a more compact head can be better around burner barriers or charcoal grates with tight spacing. If your cooking routine often involves sticky marinades, seafood, or sauces, a scraper should be part of your base kit because those residues tend to harden in a way that brushing alone cannot solve. Cleaning solution choices matter too. A simple spray bottle of diluted vinegar can be useful for light exterior wipe-downs, while a dedicated grill-safe degreaser may be more practical when cleaning the lid and side shelves after repeated use.
If you only buy one upgrade beyond a brush, choose a solid scraper. It solves more stubborn residue problems than most first-time buyers expect.
Start with safety and sequence. For gas grills, turn off the burners, close the lid for a short period if you want the remaining heat to soften residue, and then brush the grates while they are still warm enough to help release stuck particles. Once the grill is cool, remove the grates and clean the drip tray, flavorizer bars, and interior surfaces with a scraper and cloth. Clear out any blocked burner openings only with dry tools or a soft brush, because liquids can interfere with ignition systems and burner performance. Reassemble only after everything is fully dry. This prevents trapped moisture and makes the next preheat cycle more effective.
For charcoal grills, the order is slightly different because ash management is essential. After the grill has cooled completely, remove all spent coals and ash from the bowl. Ash left in place can hold moisture and accelerate corrosion, and it can also clog vents. Then brush the grates, scrape any caked-on residue, and wipe down the bowl and lid. If your grill has a lower vent or removable ash catcher, clean those areas thoroughly because airflow is the key to charcoal performance. Without enough air movement, charcoal grilling becomes harder to control and more frustrating to repeat.
| Task | Gas grill best practice | Charcoal grill best practice |
|---|---|---|
| Grate cleaning | Brush warm, then wipe cooled grates | Brush after coals are out and grates are safe to handle |
| Interior cleanup | Scrape tray and firebox, inspect burners | Empty ash and clear vents |
| Final prep | Dry completely before closing cover | Dry bowl and grates before storage |
One helpful rule is to clean from the top down. That keeps loose debris from falling onto already cleaned parts. Another useful habit is to work in short passes rather than trying to scrub one area too aggressively. If grime resists after the first pass, let your cleaner sit for a minute and return with the scraper. This is often more effective than forcing the residue immediately. On the exterior, use a separate cloth for final drying so you are not smearing grease back onto the finish. For people who grill often, building this sequence into your routine can make the whole process feel faster and far less overwhelming.
Household ingredients can do a respectable job on everyday grime when you want a simpler, low-odor cleanup method. Baking soda mixed with water creates a paste that can sit on stubborn spots long enough to loosen them before scrubbing. Lemon is useful for light grease and for freshening surfaces after a meal because the acidity helps break up oily film. A diluted vinegar solution can help on lids, shelves, and exteriors where you need to cut through residue without relying on heavy chemical products. These methods are especially practical for smaller cleanup jobs between deep cleans, or when you want to avoid stronger cleaners near food-contact surfaces.
Natural cleaners are best when you pair them with a tool. Let the solution loosen residue, then finish with brushing or scraping for a real clean.
For charcoal grills, natural options also help with ash-adjacent messes because they are gentle enough for periodic maintenance on metal parts that do not need harsh chemical treatment. For gas grills, they are best on the lid, shelves, and removable surfaces rather than inside ignition or burner areas. The main limitation is that natural methods take more time and work best on residue that has not fully baked on. If your grill has gone several sessions without cleaning, baking soda and lemon can still help, but they usually need the support of a scraper. That makes them a good maintenance habit, not a miracle fix.
Rust prevention is about controlling three things: moisture, residue, and exposure. Moisture is the most obvious problem, but residue matters too because grease, ash, and carbon can trap water against metal surfaces. Exposure includes both weather and storage habits. If your grill is kept outdoors, it should be covered only after every surface is dry. A cover helps, but only when it is protecting a clean, dry grill rather than sealing in dampness. In many United States climates, especially humid or coastal areas, this small step has an outsized effect on how long the grill stays in serviceable shape.
Regular inspections are just as important as cleaning itself. Check grates, screws, hinges, vent openings, drip trays, and any painted edges for early signs of oxidation. If you use cast iron grates, a light oiling after cleaning can help support the surface, while stainless steel parts should be dried thoroughly and wiped down rather than heavily coated. Charcoal grills benefit from prompt ash removal because ash can be acidic when damp and can pit metal over time. Gas grills benefit from keeping burner ports and trays clear so heat stays even and grease does not pool where corrosion can start.
The fastest way to shorten a grill’s life is to store it dirty and damp. Clean, dry, and cover is the order that protects metal best.
Good grill cleaning is a routine, not a rescue mission. With the right brush, scraper, cloths, and cleaning solution, you can keep a grill ready for repeat use with far less effort than most people expect. The best strategy is simple: brush after cooking, scrape the stubborn spots when the grill is still warm or just cooled, wipe dry surfaces fully, and use natural alternatives when the mess is light or you want a gentler approach. Then finish by checking for moisture, ash, or grease that could create the next problem.
That approach does more than keep the grill looking good. It helps food cook more evenly, supports safer ignition and airflow, and extends the life of the metal parts that take the most heat. For Nexgrill owners, that means more time enjoying the cookout and less time wrestling with cleanup. If you are comparing tools for your own setup, focus on the surface material, the size of your grill, and the kind of residue your cooking style produces most often. Try comparing two products side by side below to see which fits best:
Here's what sets us apart
We position ourselves as delivering high-end outdoor cooking features and performance without premium-brand pricing, emphasizing “Quality Grills. Unbelievable Value.”
We offer gas grills, pellet grills, griddles, smokers, pizza ovens, portable/tabletop grills, electric grills, accessories, and replacement parts — allowing customers to stay within one ecosystem for all outdoor cooking needs.
We differentiate ourselves through smart grilling products like the Oakford smart pellet grill, including app-connected cooking controls and modern outdoor cooking technology.
Don't just take our word for it
Keep reading
From our catalog