Direct vs Indirect Grilling: Choosing the Right Method for Your Food
Learn the differences between direct and indirect grilling to enhance your outdoor cooking skills.
In This Article
Direct Grilling Explained
Indirect Grilling Benefits
Setup Techniques
Understanding Direct and Indirect Grilling
The easiest way to think about direct vs indirect grilling is location. With direct grilling, the food sits right over the heat source, so the surface of the food is exposed to intense radiant heat and develops browning quickly. That is why direct heat is the method most people reach for when they want burgers, hot dogs, thin steaks, kebabs, or vegetables that cook in minutes rather than half an hour.
Indirect grilling keeps the food away from the flame or burning coals while the lid is closed. The grill works more like a convection oven, circulating hot air around the food. That slower, gentler environment is better for thicker cuts and larger items that need time for the center to cook through without burning the outside. If you have ever pulled chicken off the grill with nice color on the outside but a raw center, indirect heat is the fix.
Quick rule: direct heat builds crust fast, while indirect heat finishes food evenly. Most experienced grillers use both in the same cook.
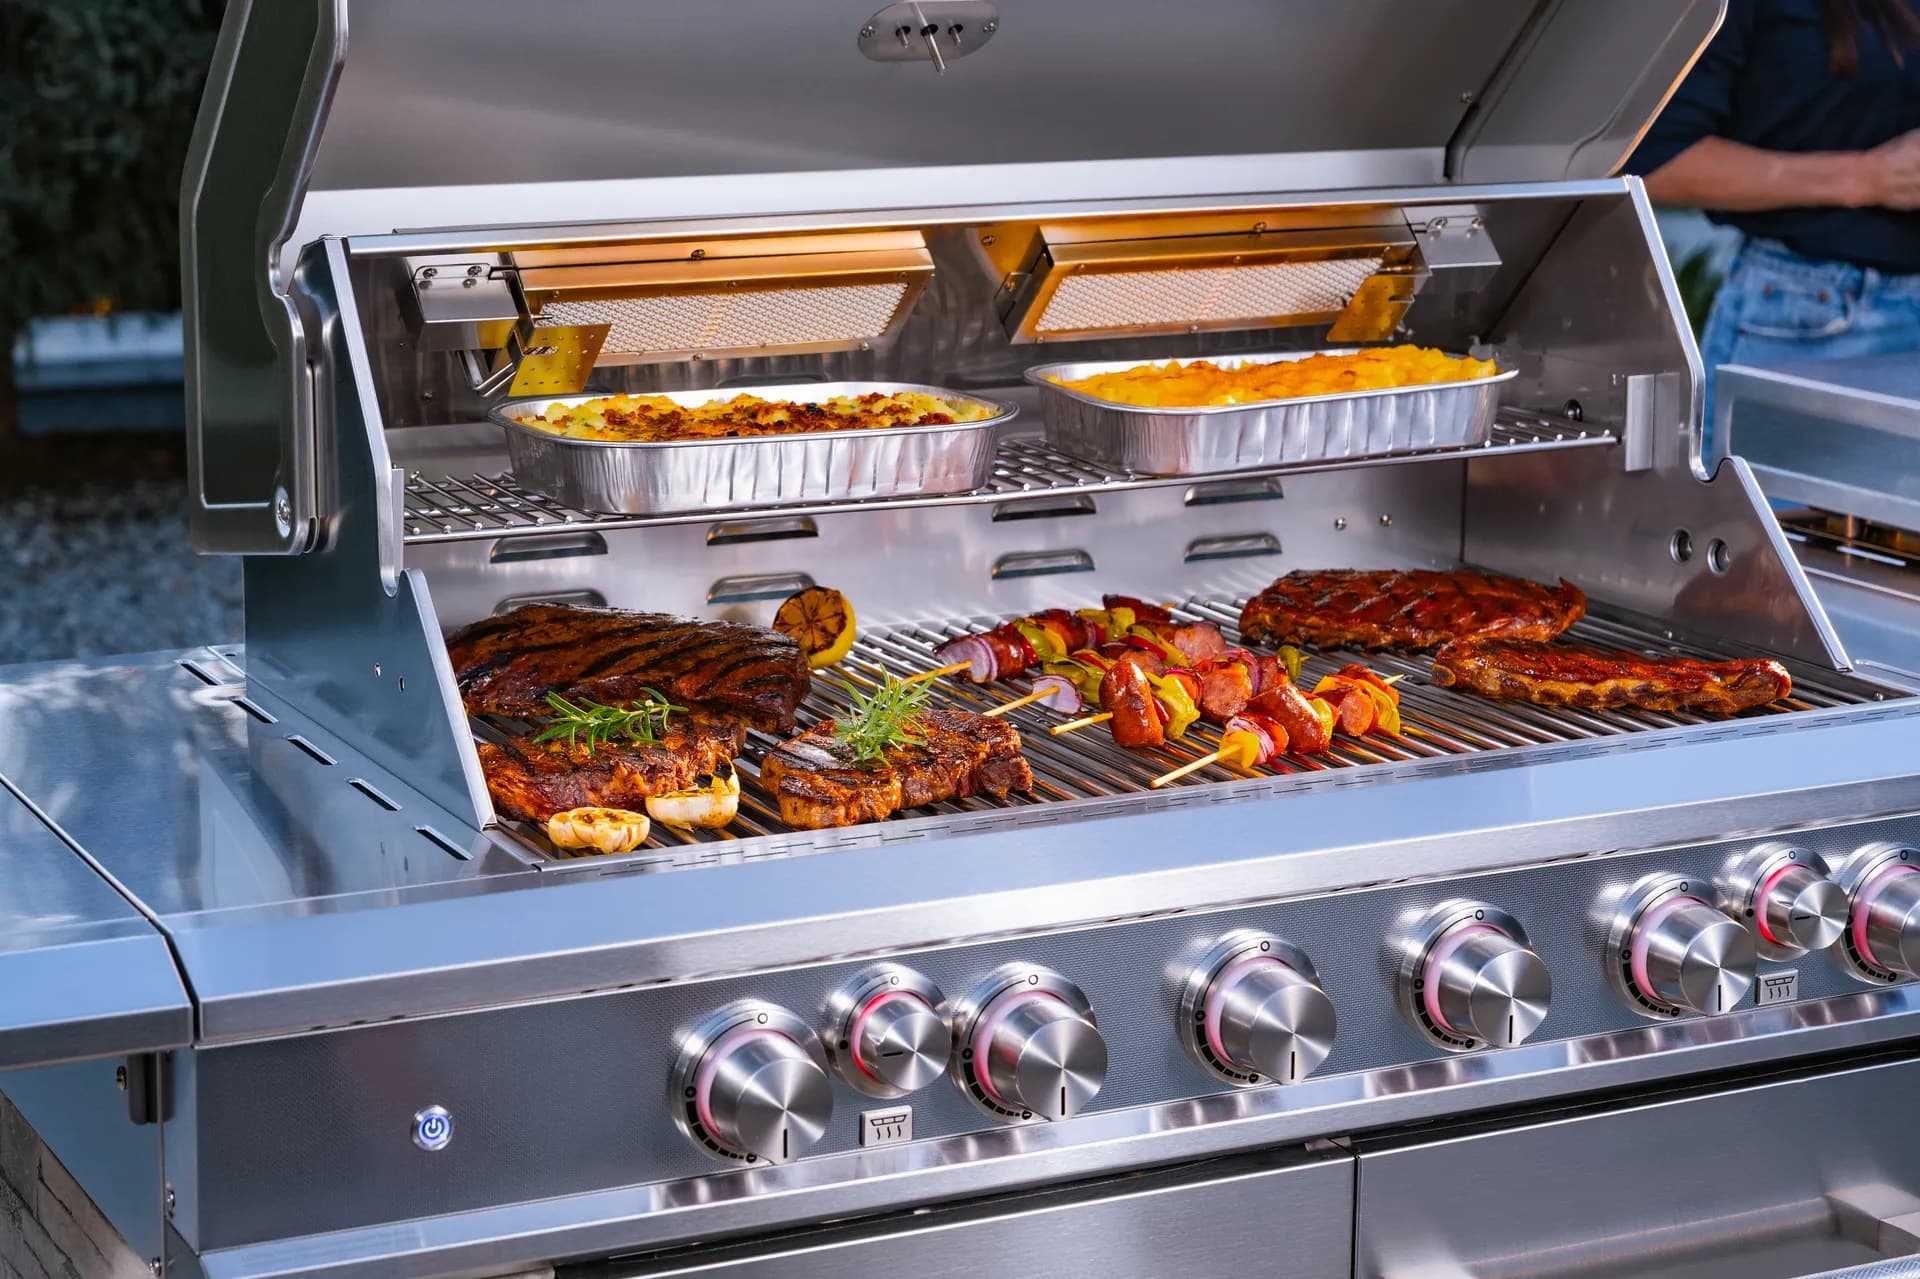
Typical direct-heat zone for fast searing and browning on a hot grill.
Setting Up Your Grill: Two-Zone and Three-Zone Techniques
The most useful setup for beginners is the two-zone grill. On a gas grill, that means lighting one side and leaving the other side off. On a charcoal grill, it means banking most of the coals to one side and leaving the other side without coals. The hot side gives you direct heat for searing, while the cooler side gives you indirect heat for slower cooking or for moving food away from flare-ups.
A three-zone setup adds a low-heat buffer in the middle. On charcoal, you can create this by pushing coals to both outer sides and leaving the center less intense. On gas, you can use one burner high, one burner medium, and one burner off. That layout is helpful when you want more control over a thick steak, a rack of ribs, or chicken pieces that need different levels of heat during the same cook.
How to build the setup on charcoal
- Light the charcoal fully before cooking so you are working with stable heat, not struggling briquettes.
- For two zones, pile the coals on one side and keep the opposite side empty.
- For a half-moon arrangement, concentrate more coals on one side of the fire basket and fewer on the other for a gentler transition.
- Use the lid to trap heat when finishing thicker foods, especially chicken and roasts.
How to build the setup on gas
- Preheat with all burners on, then turn off or lower the burners on the cooler side.
- Place the food over the lit burners to sear, then shift it to the unlit side to cook through.
- Keep the lid down during indirect cooking so hot air can circulate and avoid long cook times.
| Method | Heat setup | Lid position | Best for |
|---|---|---|---|
| Direct grilling | Food over active heat | Often open for quick checks | Burgers, thin steaks, shrimp, vegetables |
| Indirect grilling | Food beside heat source | Closed | Chicken, ribs, roasts, thick chops |
| Combo grilling | Start hot, finish cool | Closed for finishing | Thick steaks, bone-in poultry, larger cuts |
Comparison Table: Heat, Lid Position, and Cooking Times
Heat level matters, but lid position matters almost as much. Open-lid direct grilling gives you quick surface browning and easy access for flipping. Closed-lid indirect grilling traps heat and makes the grill behave more like an outdoor oven. That is why a whole chicken can cook beautifully at about 350°F on the indirect side, while a burger at the same temperature would feel like it is taking too long to finish if you never use the hot zone first.
| Food | Recommended method | Approx. grill temp | Typical lid use | Practical timing |
|---|---|---|---|---|
| Burgers | Direct, then move if thick | 450-550°F | Open for quick flips; close briefly if needed | Fast cook; thicker patties can finish on indirect heat |
| Thin steaks | Direct | 500°F+ | Open or briefly closed | Short sear, frequent checking |
| Chicken pieces | Indirect for most of cook | 325-375°F | Closed | Often 25-40 minutes depending on cut |
| Whole chicken | Indirect | 325-375°F | Closed | Cook until the thickest part reaches 165°F |
| Ribs or roasts | Indirect, sometimes with a direct finish | 225-300°F | Closed | Long, steady cook for tenderness |
Decision Framework for Food Choices
A simple way to choose is to ask two questions: how thick is the food, and how quickly do I need to cook it? If the food is thin or already tender, direct heat is usually the best first move because you want browning before the surface dries out. If the food is thick, bone-in, or needs time for connective tissue to soften, indirect heat usually belongs in the plan.
For burgers, the right answer is often direct heat first. Thin patties can stay over the hot zone the whole time, but thicker burgers benefit from a quick sear and then a move to indirect heat so the middle can reach the desired doneness without a burnt crust. For chicken, especially bone-in pieces or whole birds, indirect heat is the default because the goal is safe, even cooking. You can always finish with a short direct pass at the end if you want extra color.
If you are unsure, start with indirect heat for thick or bone-in food and direct heat for thin or fast-cooking food. It is easier to add browning than to rescue burnt edges.
Exploring the Three Types of Grilling
Most cooks use one of three approaches. The first is pure direct grilling, where the food stays over the heat source the entire time. The second is pure indirect grilling, where the food cooks beside the heat until done. The third is combo grilling, sometimes called sear-then-move or reverse finish, where you start with direct heat for color and end on the cooler side for control. That third method is especially useful for thick steaks, bone-in pork chops, and chicken breasts that need both a good crust and a safer interior finish.
Once you understand those three patterns, the method becomes less about memorizing rules and more about matching heat to the food in front of you. Try comparing two products side by side below to see which fits best:
Common Mistakes to Avoid When Grilling
Once you have compared direct and indirect methods side by side, the next step is avoiding the errors that cause most disappointing results. The most common mistake is using direct heat for everything. That works for a quick burger or a thin steak, but it can scorch the outside of chicken thighs before the interior is done. The opposite mistake is using indirect heat for foods that should be seared hot and fast, which can leave them pale and dry instead of browned and flavorful.
Another frequent issue is forgetting the lid. Indirect grilling without a closed lid is not really indirect grilling at all; the food is sitting beside the heat source, but the air around it is not circulating properly. On a gas grill, that usually means longer cook times and less even results. On a charcoal grill, it means the temperature swings wildly and the meat can dry out before it is ready.
Tip: If flare-ups start during direct grilling, move the food to the cooler side instead of lowering the heat all the way. That keeps the cook moving while protecting the surface from burning.
Beginners also underestimate carryover cooking. A thick steak or chicken breast can keep rising in temperature after it leaves the grill, so pulling it a little early is often smarter than waiting for the exact second it looks done. Resting after grilling matters too, especially for combo cooks where the food starts hot and finishes gently. Letting juices redistribute improves texture and makes it easier to slice without losing moisture.
Quick Reference Chart for Grilling Methods
If you want a fast decision tool, use the chart below as a practical shortcut. It is not meant to replace a thermometer or common sense, but it does help when you are standing at the grill deciding whether to move food, close the lid, or keep searing. For the most reliable results, think of the method as a match between thickness, fat content, and desired finish.
| Food type | Best method | Suggested temp range | Lid rule | Why it works |
|---|---|---|---|---|
| Thin burgers, hot dogs, shrimp | Direct | 450-600°F+ | Open or mostly open | Fast browning without overcooking |
| Thick burgers, bone-in chops | Direct then indirect | Sear hot, finish 325-375°F | Closed for finishing | Builds crust, then cooks center evenly |
| Chicken pieces, whole chicken | Indirect | 325-375°F | Closed | Prevents burnt skin and underdone centers |
| Ribs, roasts, very thick cuts | Indirect only or mostly indirect | 225-300°F | Closed | Gentle heat breaks down texture over time |
Best habit: decide on the method before the food hits the grill, then set up your zones so you can switch without scrambling.
Final Thoughts on Choosing Your Grilling Technique
Direct and indirect grilling are not competing styles so much as tools for different jobs. Direct heat is the right choice when you want speed, char, and visible browning. Indirect heat is the right choice when the food needs time, steady temperature, and more control from edge to center. Combo grilling gives you the best of both when the cut is thick enough to need a two-stage approach.
If you are still deciding, start with the food rather than the method. Burgers, thin steaks, vegetables, and quick-cooking items usually belong over direct heat. Chicken, ribs, roasts, and thick cuts usually benefit from indirect heat or a direct-then-indirect finish. That simple habit will solve most beginner confusion and help you cook more confidently on either gas or charcoal.
Sources are listed below for further reading on direct and indirect grilling methods and setup variations.