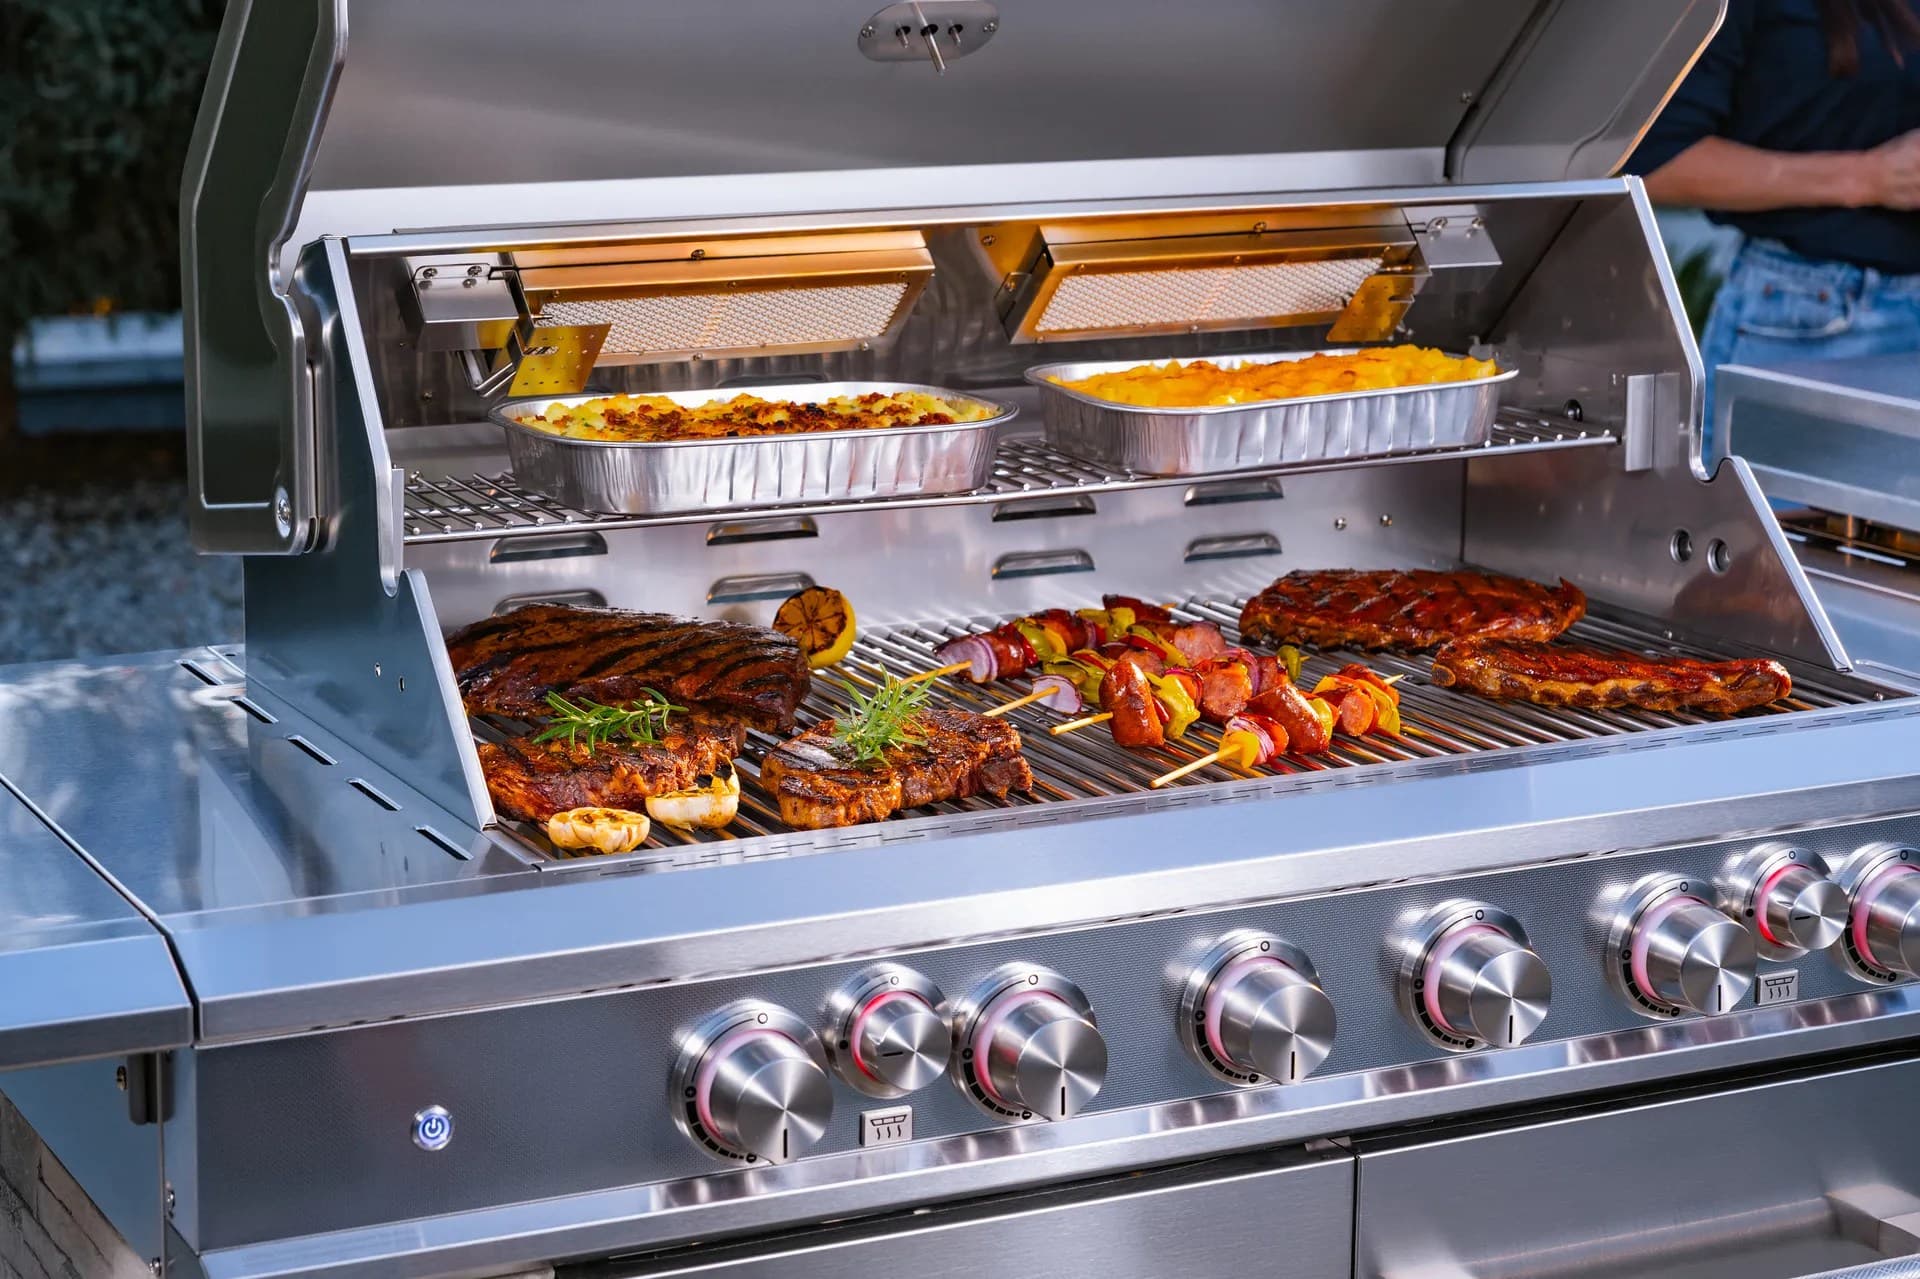
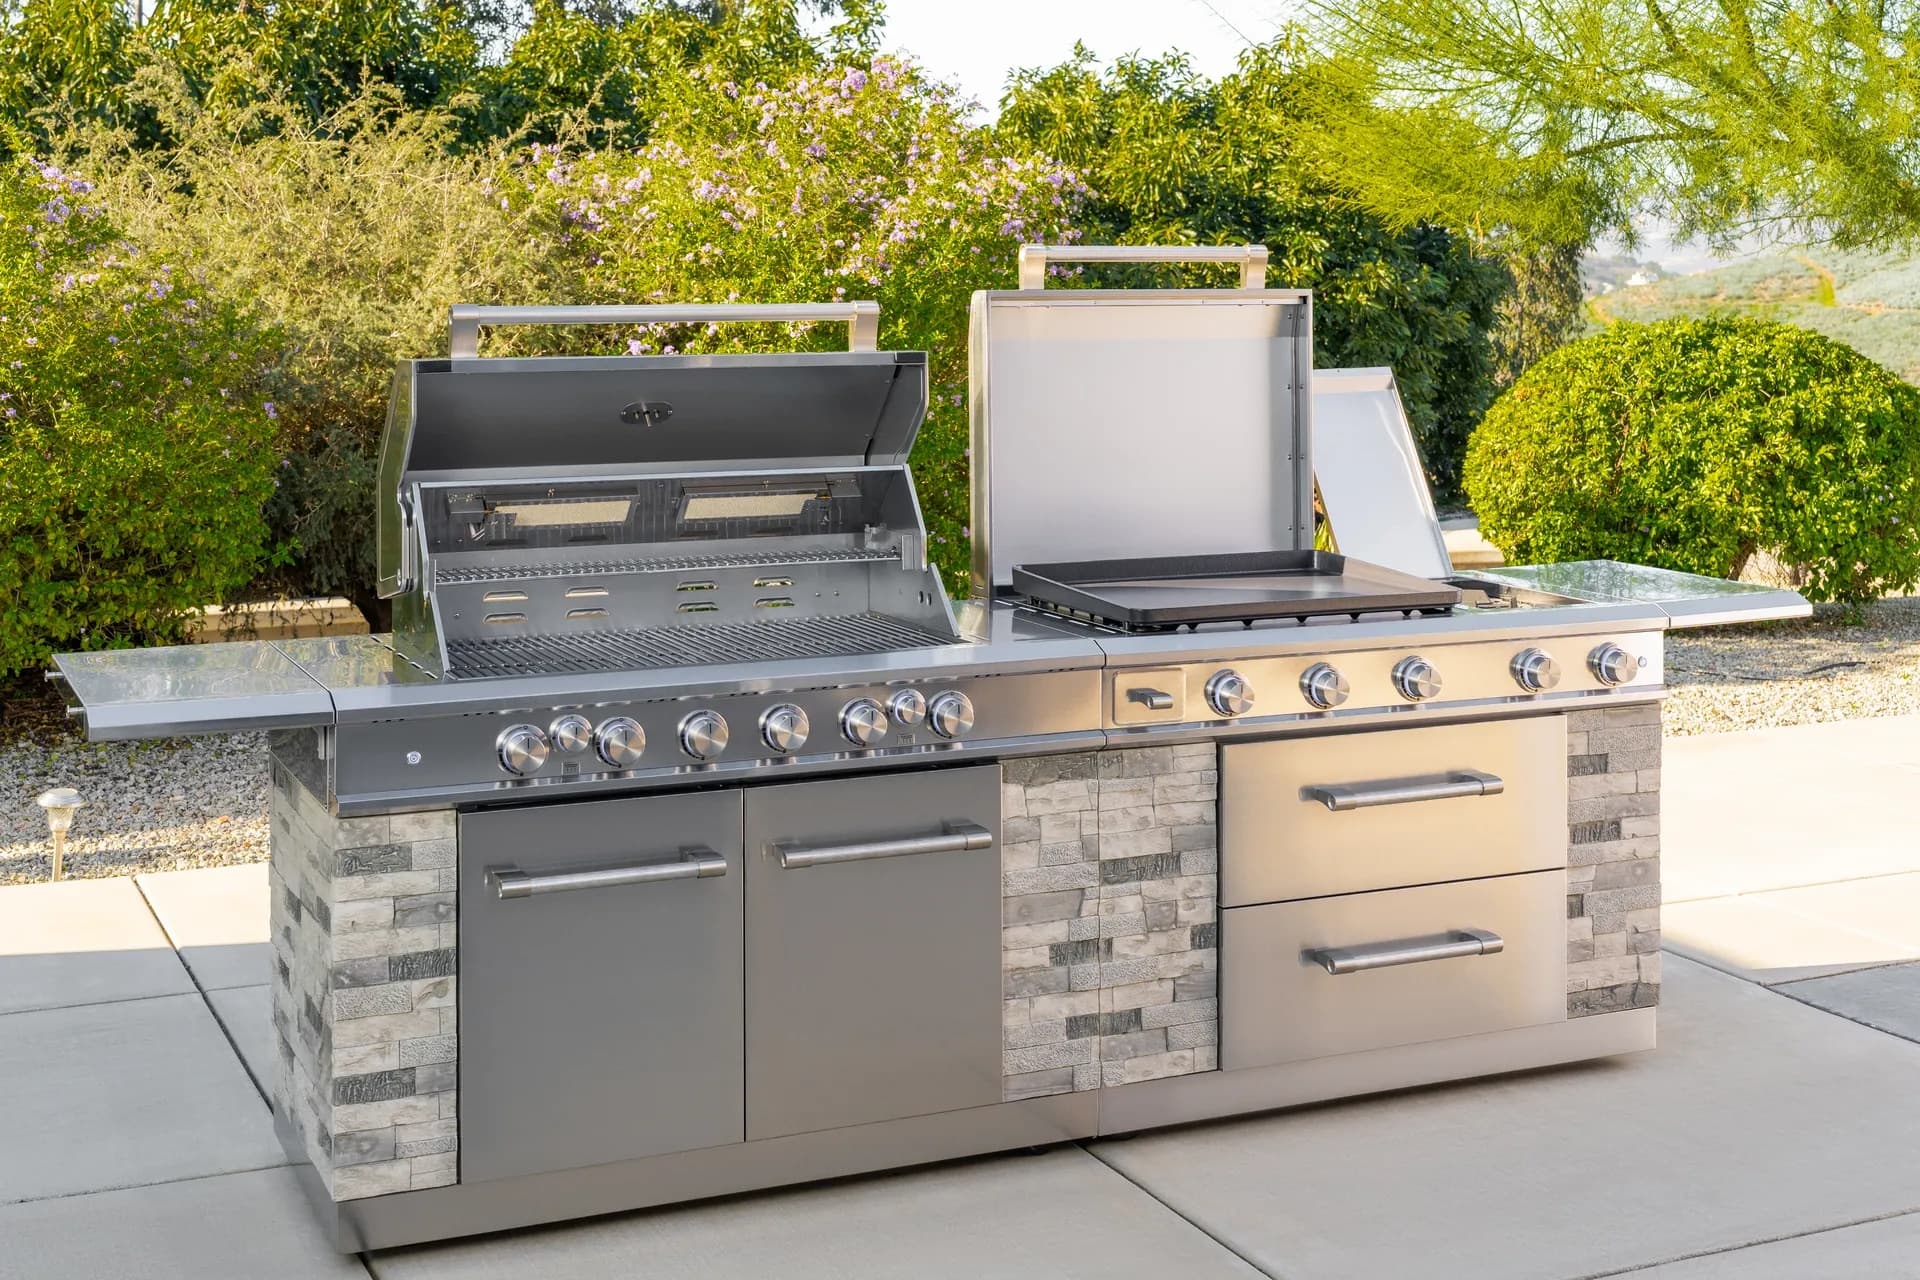
Elevate your grilling skills with expert methods and tips for exceptional outdoor cooking.
From sizzling breakfasts to smash burgers and teppanyaki-style dinners, the Daytona Pro 5 Burner NitroGuard™ Griddle delivers powerful heat, fast cooking, and a durable cooking surface built for every backyard cookout. Watch how easy outdoor cooking can be.
Here's what sets us apart from the competition
We position ourselves as delivering high-end outdoor cooking features and performance without premium-brand pricing, emphasizing “Quality Grills. Unbelievable Value.”
We offer gas grills, pellet grills, griddles, smokers, pizza ovens, portable/tabletop grills, electric grills, accessories, and replacement parts — allowing customers to stay within one ecosystem for all outdoor cooking needs.
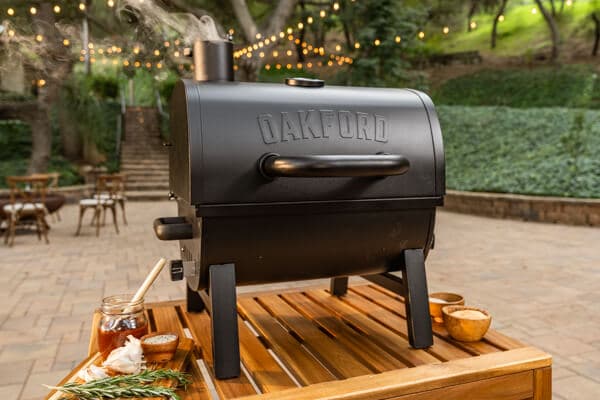
We differentiate ourselves through smart grilling products like the Oakford smart pellet grill, including app-connected cooking controls and modern outdoor cooking technology.

Expert tips, buying guides, comparisons, and inspiration for choosing and getting the most out of your grill.

Practical guides for cleaning, maintenance, common grill issues, and performance optimization.

Step-by-step grilling recipes, cooking techniques, and meal ideas for every occasion and skill level.

Backyard entertaining ideas, seasonal grilling inspiration, and stories that celebrate outdoor cooking culture.

Helpful articles covering grilling tools, cookware, maintenance gear, and must-have accessories for outdoor cooking.

Find griddle recipes, cooking techniques, cleaning tips, and outdoor meal ideas designed for Nexgrill griddles.
Find answers to common questions
Gas grills provide instant heat and precise temperature control, making them easier to use. Charcoal grills offer a smoky flavor and high heat for searing but require more time to heat up and manage.
Pellet grills combine the convenience of gas with the flavor of wood, allowing for smoking, baking, and grilling. Traditional gas grills, however, are quicker to start and often easier to clean.
Charcoal grills typically reach higher temperatures quicker than gas grills, making them better for searing meat. However, high-quality gas grills can also provide adequate heat for effective searing.
Nexgrill offers models designed specifically for gas, charcoal, and pellets, allowing users to choose based on their cooking style and flavor preferences. Each type is built to optimize the characteristics of its respective fuel.
Choosing between gas and charcoal grills depends on your cooking preferences and lifestyle. If you value convenience and quick cooking, a gas grill may suit you better; if you prefer the taste and experience of traditional grilling, a charcoal grill would be ideal.
In This Article
Reverse Searing
Two-Zone Grilling
Smoking with Wood Chips
Advanced outdoor grilling is less about showing off and more about gaining control. Once you move beyond the basic “hot grill, food on grate, flip once” approach, you start using heat as a tool instead of a blunt force. That shift changes everything: the texture of a ribeye, the juiciness of chicken thighs, the balance of smoke on a pork shoulder, and even how confidently you cook for a crowd. Nexgrill’s brand philosophy leans into that same spirit of shared, approachable outdoor cooking: a place where different styles, skill levels, and appetites come together around the fire . Advanced technique is not about intimidation; it is about making good results repeatable.
The three core methods in this guide, reverse searing, two-zone grilling, and smoking with wood chips, work especially well for home cooks who want restaurant-level control without turning their patio into a full commercial setup. Each technique solves a different problem. Reverse searing gives you a wider margin for error on thick cuts. Two-zone grilling lets you sear, roast, and rest on the same grill. Smoking with wood chips adds layered flavor without requiring a dedicated smoker. If you learn how to combine them, you can cook a whole meal with one fire and a lot less guesswork.
Think of advanced grilling as heat management, not just cooking time. The more intentionally you set up your grill, the more control you have over doneness, browning, and smoke flavor.
Foundational techniques that can unlock far better consistency on home grills
To make these techniques work, you also need to think like a cook who is planning an entire sequence, not just a single steak. Preheat matters. Resting matters. Grill layout matters. So does the order in which food goes on and comes off. A thick pork chop may need a low-temperature start, a high-heat finish, and a brief rest before slicing. A tray of vegetables may need a quick char on the hot side, then a gentle finish on the cooler side. Even a simple chicken breast can benefit from a two-zone setup because it allows you to avoid burning the exterior before the interior reaches safe and steady doneness.
Nexgrill’s lineup gives home cooks several practical ways to practice these skills, from multi-burner gas grills that make zone control intuitive to pellet and charcoal options that reward more deliberate temperature management. For example, a multi-burner gas grill such as the Nexgrill 4-Burner Gas Grill with Side Burner in Black or a larger cooking platform like the Oakford Pro 875 Pellet Smoker Grill gives you enough space and flexibility to separate direct and indirect heat clearly. That matters because advanced techniques depend on having a defined hot side, a cooler side, and enough room to move food without juggling pans off to the side.
Reverse searing is one of the best techniques for thick steaks, bone-in chops, tri-tip, and even some roasts because it flips the usual cooking order. Instead of searing first and hoping the inside finishes evenly, you gently bring the food up to temperature first, then sear at the end. This approach reduces the gray overcooked band just under the crust and gives you more control over the final doneness. In practical terms, reverse searing is especially helpful when you are cooking cuts that are at least 1.5 inches thick and when you want a pronounced crust without overcooking the center.
A reliable reverse-sear workflow starts with a two-zone setup or a low-temperature cooker environment. Place the meat on the cooler side and cook it slowly until it is a little below your target internal temperature. For steak, that usually means pulling it before the final sear so it has room to rise during the hot finish. Dry the surface well first; moisture is the enemy of browning. Light seasoning is enough at the start, and a final salt touch or compound butter can come after the sear if desired. Once the center is nearly ready, move the meat directly over high heat and sear briefly on each side until the crust forms. You want aggressive browning, not prolonged blasting.
Do not reverse sear thin cuts. A thin skirt steak or delicate pork chop can overcook before you get the sear you want. Reserve this method for thicker portions that need interior control.
A simple sequence for a 1.75-inch ribeye on a gas grill looks like this: preheat one side of the grill to medium-low and the other side to high; place the steak on the cooler side; close the lid and monitor internal temperature with a probe; remove the steak when it is roughly 10 to 15 degrees below the final target; rest briefly while you bring the hot zone fully up to searing heat; sear 45 to 90 seconds per side, including the edges. If you are using a pellet grill, keep the temperature low at first, then finish in a separate scorching-hot skillet or on a grill grate if the unit supports it. The point is the same: steady warm-up first, hard finish second.
Troubleshooting matters here. If your crust is dull, the surface was probably wet or the final heat was too mild. If the center is overdone, you held the meat in the first stage too long or forgot to account for carryover cooking. If the exterior charred before the center finished, your sear stage was too aggressive or your two-zone setup was not truly separated. A good thermometer solves more reverse-sear problems than any clever seasoning blend ever will. For home grillers, this is one of the clearest places where technique beats guesswork.
| Cut | Why reverse sear helps | Best finish cue |
|---|---|---|
| Ribeye | Thick fat cap and interior marbling benefit from gentle heating first | Deep brown crust with a pink center |
| Pork chop | Prevents dry edges while the center finishes evenly | Firm surface, juicy center |
| Tri-tip | Helps manage uneven thickness and preserve tenderness | Uniform doneness across the roast |
For a visible step-by-step reference, it helps to picture the method as a two-stage path: low and slow on one side, fast and fierce on the other. If you are creating content for your own grill station or recipe notes, a simple diagram showing the cooler zone, hot zone, and resting area can clarify the transition points for everyone at the cookout. That kind of visual is especially useful when teaching beginners or when you want different family members to handle different steps without confusion.
Two-zone grilling is the backbone of smarter outdoor cooking because it gives you a direct-heat zone and an indirect-heat zone on the same grill. On a gas grill, that often means turning one or two burners high while leaving the others lower or off. On charcoal, it usually means banking the coals on one side and leaving the other side open. Once you understand the layout, you can use the hot side for searing and the cooler side for finishing, holding, or gently roasting. This is the technique that makes advanced grilling feel calm instead of chaotic.
The biggest advantage of two-zone grilling is flexibility. If chicken thighs are browning too quickly, you move them to the indirect side. If asparagus needs a little char but not a full burn, you start over direct heat and finish indirectly. If a burger needs a quick crust but the cheese has not melted yet, you shift it to the cooler side under the lid. Even with a simple weeknight meal, two-zone cooking prevents panic because it gives you somewhere safe to move food when flare-ups happen. That alone is worth learning the method well.
A two-zone setup is your safety valve. It protects food from scorching and lets you recover from flare-ups without starting over.
On a multi-burner gas grill, create the zones before the food ever goes on. Preheat all burners, then turn one section down to medium or off while keeping the other side hot. On a charcoal grill, stack lit coals on one side, then place a drip pan or empty area on the other. Keep the lid closed when you want the indirect side to act like an oven. This is especially effective for bone-in chicken, sausages, whole peppers, corn, and thicker vegetables that need more than a quick kiss of flame.
Two-zone grilling also helps with timing. If you are cooking proteins and sides together, you can begin with the item that needs the longest indirect finish, then layer in the faster-cooking foods later. For example, start with thick chicken thighs on the cooler side, add zucchini and mushrooms nearer the end, and finish with a short sear over direct heat if you want extra color. You are not just cooking each ingredient; you are orchestrating the whole meal. That kind of control is the difference between a rushed plate and a composed outdoor dinner.
One common challenge is reading the grill by feel instead of by setup. If the indirect side is still too hot, food may overbrown before it actually roasts through. If the direct side is too weak, you will not get the crust you want. Use the lid, monitor temps, and adjust burner output in small increments. On a pellet grill such as the Oakford 1125 Pro Pellet Smoker Grill, the logic is similar even if the mechanics differ: treat the hotter area and the cooler area as cooking zones, not as one uniform surface. The key is to decide where browning happens and where doneness happens.
Smoking with wood chips is the easiest way to add real smoke character on a standard grill without buying a dedicated smoker. The technique works by smoldering wood slowly so it releases aromatic compounds that season the food as it cooks. It is not about burying the meat in smoke; it is about using the right amount of smoke at the right stage. On a gas grill, wood chips usually live in a smoker box or foil packet with a few vent holes. On charcoal, chips can be sprinkled over hot coals or added in small handfuls as the fire settles.
The first decision is wood choice. Hickory is assertive and works well with beef and pork. Apple and cherry are milder and pair nicely with poultry, pork chops, and vegetables. Oak sits in the middle and can support longer cooks without becoming harsh. If you are new to smoke flavor, start lighter than you think you need. Too much smoke can turn food bitter, especially on shorter cooks like fish, shrimp, or chicken breasts. A little smoke, applied cleanly, is usually better than a heavy plume that overwhelms the dish.
For most home cooks, the sweet spot is modest smoke early in the cook, then a cleaner finish. Smoke should support the food, not hide it.
The process is straightforward. Soak is optional and often unnecessary for thin chips; dry chips usually ignite and smolder more predictably. Preheat your grill with the wood source in place, close the lid to trap the initial smoke, then add food once the smoke has turned from thick white to thinner and more fragrant. On longer cooks, refresh the chips in small amounts so the smoke stays steady rather than suddenly spiking. If you are cooking salmon, chicken quarters, or a pork roast, the smoke window can be short and powerful. For ribs or a larger roast, you can sustain it longer, but still avoid overdoing it.
A frequent mistake is adding too many chips at once. When that happens, the grill may smother or the smoke becomes dirty and acrid. Another problem is cooking with wet chips that refuse to catch consistently. If your setup is producing heavy white smoke and a bitter result, reduce the quantity and improve airflow. A steady ember-like burn is the goal. And always remember that smoke flavor works best when the food surface has enough time to dry before it gets too much smoke. Patting meat dry and leaving a little room in the grill chamber both help.
Once the core techniques are in place, small habits start to matter more than dramatic tricks. Preheating your grill fully gives you cleaner sear marks and more predictable zone behavior. Letting food sit at room temperature for a short time can help it cook more evenly, though you should never leave it out longer than food-safety guidance allows. Dry seasoning the surface before cooking improves browning. Resting meat after it comes off the grill allows juices to redistribute instead of spilling onto the cutting board the moment you slice.
Advanced grilling also rewards clean staging. Keep tongs, a probe thermometer, a tray for rested food, and a foil tent ready before you start. When the food is ready to move from one zone to another, you do not want to be hunting for tools while the crust burns. If you are cooking for guests, this matters even more, because advanced grilling is often about keeping the meal flowing with less stress. Nexgrill’s inclusive, community-minded approach to outdoor cooking fits that rhythm well: the cook is simply the person keeping the flame organized so everyone else can enjoy it .
For visual learners, this is another place where a simple grill map or photo sequence is worth adding to your own notes. A top-down diagram showing burner layout, coal placement, smoker box location, and resting tray placement can turn a complicated cook into a repeatable system. That is especially helpful if different grills in your household have different layouts. The more you document what works on your specific equipment, the easier it becomes to reproduce results on a weeknight or during a weekend cookout.
Try comparing two products side by side below to see which fits best:
Once you have compared two grills side by side, the next question is not which one looks better in a photo; it is which one gives you enough control to execute the techniques you want. Advanced grilling depends on equipment that can hold temperatures, create separate heat zones, and recover quickly after you lift the lid. That makes burner layout, grate material, fuel type, and usable cooking space far more important than flashy extras. A grill that cannot create a stable indirect zone will make reverse searing frustrating. A cooker that runs too hot with no easy adjustment will turn smoking into a guessing game.
For gas grilling, a multi-burner platform is usually the most practical starting point. A model like the Nexgrill 4-Burner Gas Grill with Side Burner in Black gives you the control needed for direct and indirect cooking, while a smaller two-burner model may be fine for simpler meals but less forgiving when you need distinct temperature zones. If your goal is more flat-top style versatility, the Daytona griddle line can be a better training ground for heat management because it teaches you how different areas of the cooking surface behave. For smoke-focused cooks, the Oakford Pro 875 Pellet Smoker Grill and Oakford 1125 Pro Pellet Smoker Grill provide a different kind of precision, especially when you want longer, steadier cooks with less hands-on fire tending.
| Technique | Best equipment traits | What to avoid |
|---|---|---|
| Reverse searing | Reliable indirect zone, accurate thermometer, good lid seal | Tiny cooking area, weak temperature recovery |
| Two-zone grilling | Multiple burners or coal space with room to separate heat | One-zone hot spots with no cooler landing area |
| Wood-chip smoking | Covered cooking chamber, controllable airflow, smoker box or foil packet setup | Open grill with no way to trap smoke |
The other piece of equipment is not the grill itself but the tools around it. A probe thermometer is essential because advanced grilling is temperature-driven. Long-handled tongs, a sturdy spatula, a drip pan, and a heat-resistant glove also reduce mistakes. If you are working with wood chips, you may want a dedicated smoker box or a heavy-duty foil packet with vent holes. These details sound minor, but they are often what make the difference between a deliberate cook and a disorganized one. Nexgrill’s product ecosystem is strongest when you pair the right grill with the right prep and monitoring tools, so the cooking method works with the hardware instead of fighting it.
If you cook thick meats more than once a month, prioritize a grill with strong zone control over a grill with the highest-looking output number. Control matters more than bragging rights.
Many advanced techniques fail for ordinary reasons. One of the biggest mistakes is trying to manage everything at once without setting the grill up before the food goes out. If the burners are not preheated, the indirect side is not really indirect. If the coals are spread too evenly, two-zone cooking becomes one-zone chaos. If wood chips are piled on top of a roaring fire, the smoke can become harsh instead of clean. The fix is usually not harder cooking; it is better staging.
Another common error is ignoring carryover cooking. Food keeps cooking after it leaves the grill, especially thick cuts and bone-in proteins. If you wait until the center is already at the final target temperature before removing the meat, it will usually overshoot by the time you slice it. That is why reverse searing and two-zone grilling depend on removing food a little early and letting residual heat do part of the work. If the outside looks done but the inside is lagging, it usually means the heat was too aggressive, not that the meat needed more time in the fire.
Do not chase color alone. A dark crust is great only if the inside is where you want it. Temperature, not appearance, should make the final call.
Over-smoking is another trap. A little wood-chip smoke can give chicken, ribs, vegetables, and fish great character, but too much smoke creates bitterness and can mask the food itself. Likewise, constantly opening the lid makes it harder to hold a stable cooking environment. Every peek dumps heat and smoke, and every adjustment changes the timing. If you need to check progress, use a thermometer and work quickly. For charcoal cooks, avoid the temptation to spread coals repeatedly unless you are intentionally rebuilding zones. For gas cooks, resist the urge to turn all burners high when one side should remain cooler.
There is also a planning mistake that shows up on busy weekends: starting advanced techniques too late. Reverse searing and smoking both reward patience. If guests are already arriving and you still need to build the zone, preheat the cooker, and manage smoke, you will feel rushed. The better approach is to treat the fire as part of the menu plan. Build in enough time for the low-and-slow phase, the transition, and the rest before serving. The food will taste better, and you will enjoy the cook more.
Advanced techniques only stay advanced if the grill itself is in good shape. Grease buildup changes airflow, clogs flavor with old residue, and makes flare-ups more likely. Dirty grates interfere with browning. Weak ignition systems turn a simple two-zone setup into a frustrating delay. After each session, clean the grates while they are still warm, scrape the cooking surface, and empty grease-catching components once the grill is cool. On gas grills, check burners and ignition areas periodically so you catch blockages before they affect heat distribution. On charcoal models, clear ash so air can move freely through the firebox.
Weather protection matters too. Outdoor equipment that sits exposed to rain, snow, dust, and UV light will wear faster than equipment that is covered and stored properly. Nexgrill’s brand materials emphasize bright, authentic outdoor cooking environments, but they also point to the reality that good outdoor gear needs care to stay dependable over time . A fitted cover, dry storage for accessories, and a habit of checking fasteners and handles can extend the useful life of the grill and keep heat behavior more predictable from season to season.
If you are the kind of cook who wants repeatable results, create a simple maintenance routine: brush grates after every cook, deep-clean the firebox and drip areas regularly, inspect fuel connections before peak season, and verify thermometer accuracy occasionally with boiling or ice water checks. Those small checks pay off because advanced grilling is built on consistency. If the grill behaves the same way each time, your technique can improve faster, and your results become easier to reproduce for family meals, weekend gatherings, or holiday spreads.
Once you are comfortable with reverse searing, two-zone grilling, and wood-chip smoking, you can branch into other methods that build on the same principles. Indirect roasting is a natural next step for whole chickens, pork loins, and stuffed vegetables. Plank cooking can add a different layer of aroma and is especially useful for fish when you want gentle heat and subtle smoke. Rotisserie cooking, when your equipment supports it, turns the grill into a moving oven that bastes meat in its own juices. Even high-heat wok-style cooking on a griddle or flat top can be treated as an advanced technique because it depends on sequencing ingredients and managing surface heat very tightly.
The common thread is not the food; it is the control. Advanced grilling asks you to think about heat direction, resting time, fat rendering, airflow, and smoke quality in the same way you think about seasoning. Once those variables start making sense, you can adapt quickly to what is on hand. A tri-tip, a chicken spatchcock, a tray of vegetables, and a salmon fillet may all need different temperatures, but the same basic decision tree applies: where should the heat hit first, where should the food finish, and when should it come off the grill?
For readers who like to teach or document their process, this is where photo sequences and simple diagrams become valuable again. A top-down layout of a gas grill with labeled hot and cool zones, or a side-view image showing low stage, sear stage, and rest stage, can be more useful than a paragraph of instructions alone. That is especially true when you are cooking with friends or family and want everyone at the table to understand how the meal came together.
Advanced outdoor grilling techniques are really about expanding what your grill can do and how calmly you can do it. Reverse searing gives thick cuts a better crust and a more tender center. Two-zone grilling turns one cooker into multiple temperature environments. Smoking with wood chips adds flavor depth that feels intentional rather than accidental. Together, these methods create a more versatile, more forgiving, and more rewarding way to cook outside.
The best part is that none of these skills require a professional kitchen or a complicated setup. With the right equipment, a thermometer, a little patience, and a willingness to watch the fire closely, you can improve quickly. That is very much in step with Nexgrill’s view of outdoor cooking as something welcoming, practical, and shared: a place where people gather, learn, and enjoy the process as much as the meal . Once you are comfortable with the basics inside each advanced method, the grill becomes less of a mystery and more of a reliable part of how you cook for the people you like most.
Here's what sets us apart
We position ourselves as delivering high-end outdoor cooking features and performance without premium-brand pricing, emphasizing “Quality Grills. Unbelievable Value.”
We offer gas grills, pellet grills, griddles, smokers, pizza ovens, portable/tabletop grills, electric grills, accessories, and replacement parts — allowing customers to stay within one ecosystem for all outdoor cooking needs.
We differentiate ourselves through smart grilling products like the Oakford smart pellet grill, including app-connected cooking controls and modern outdoor cooking technology.
Don't just take our word for it
Keep reading
From our catalog