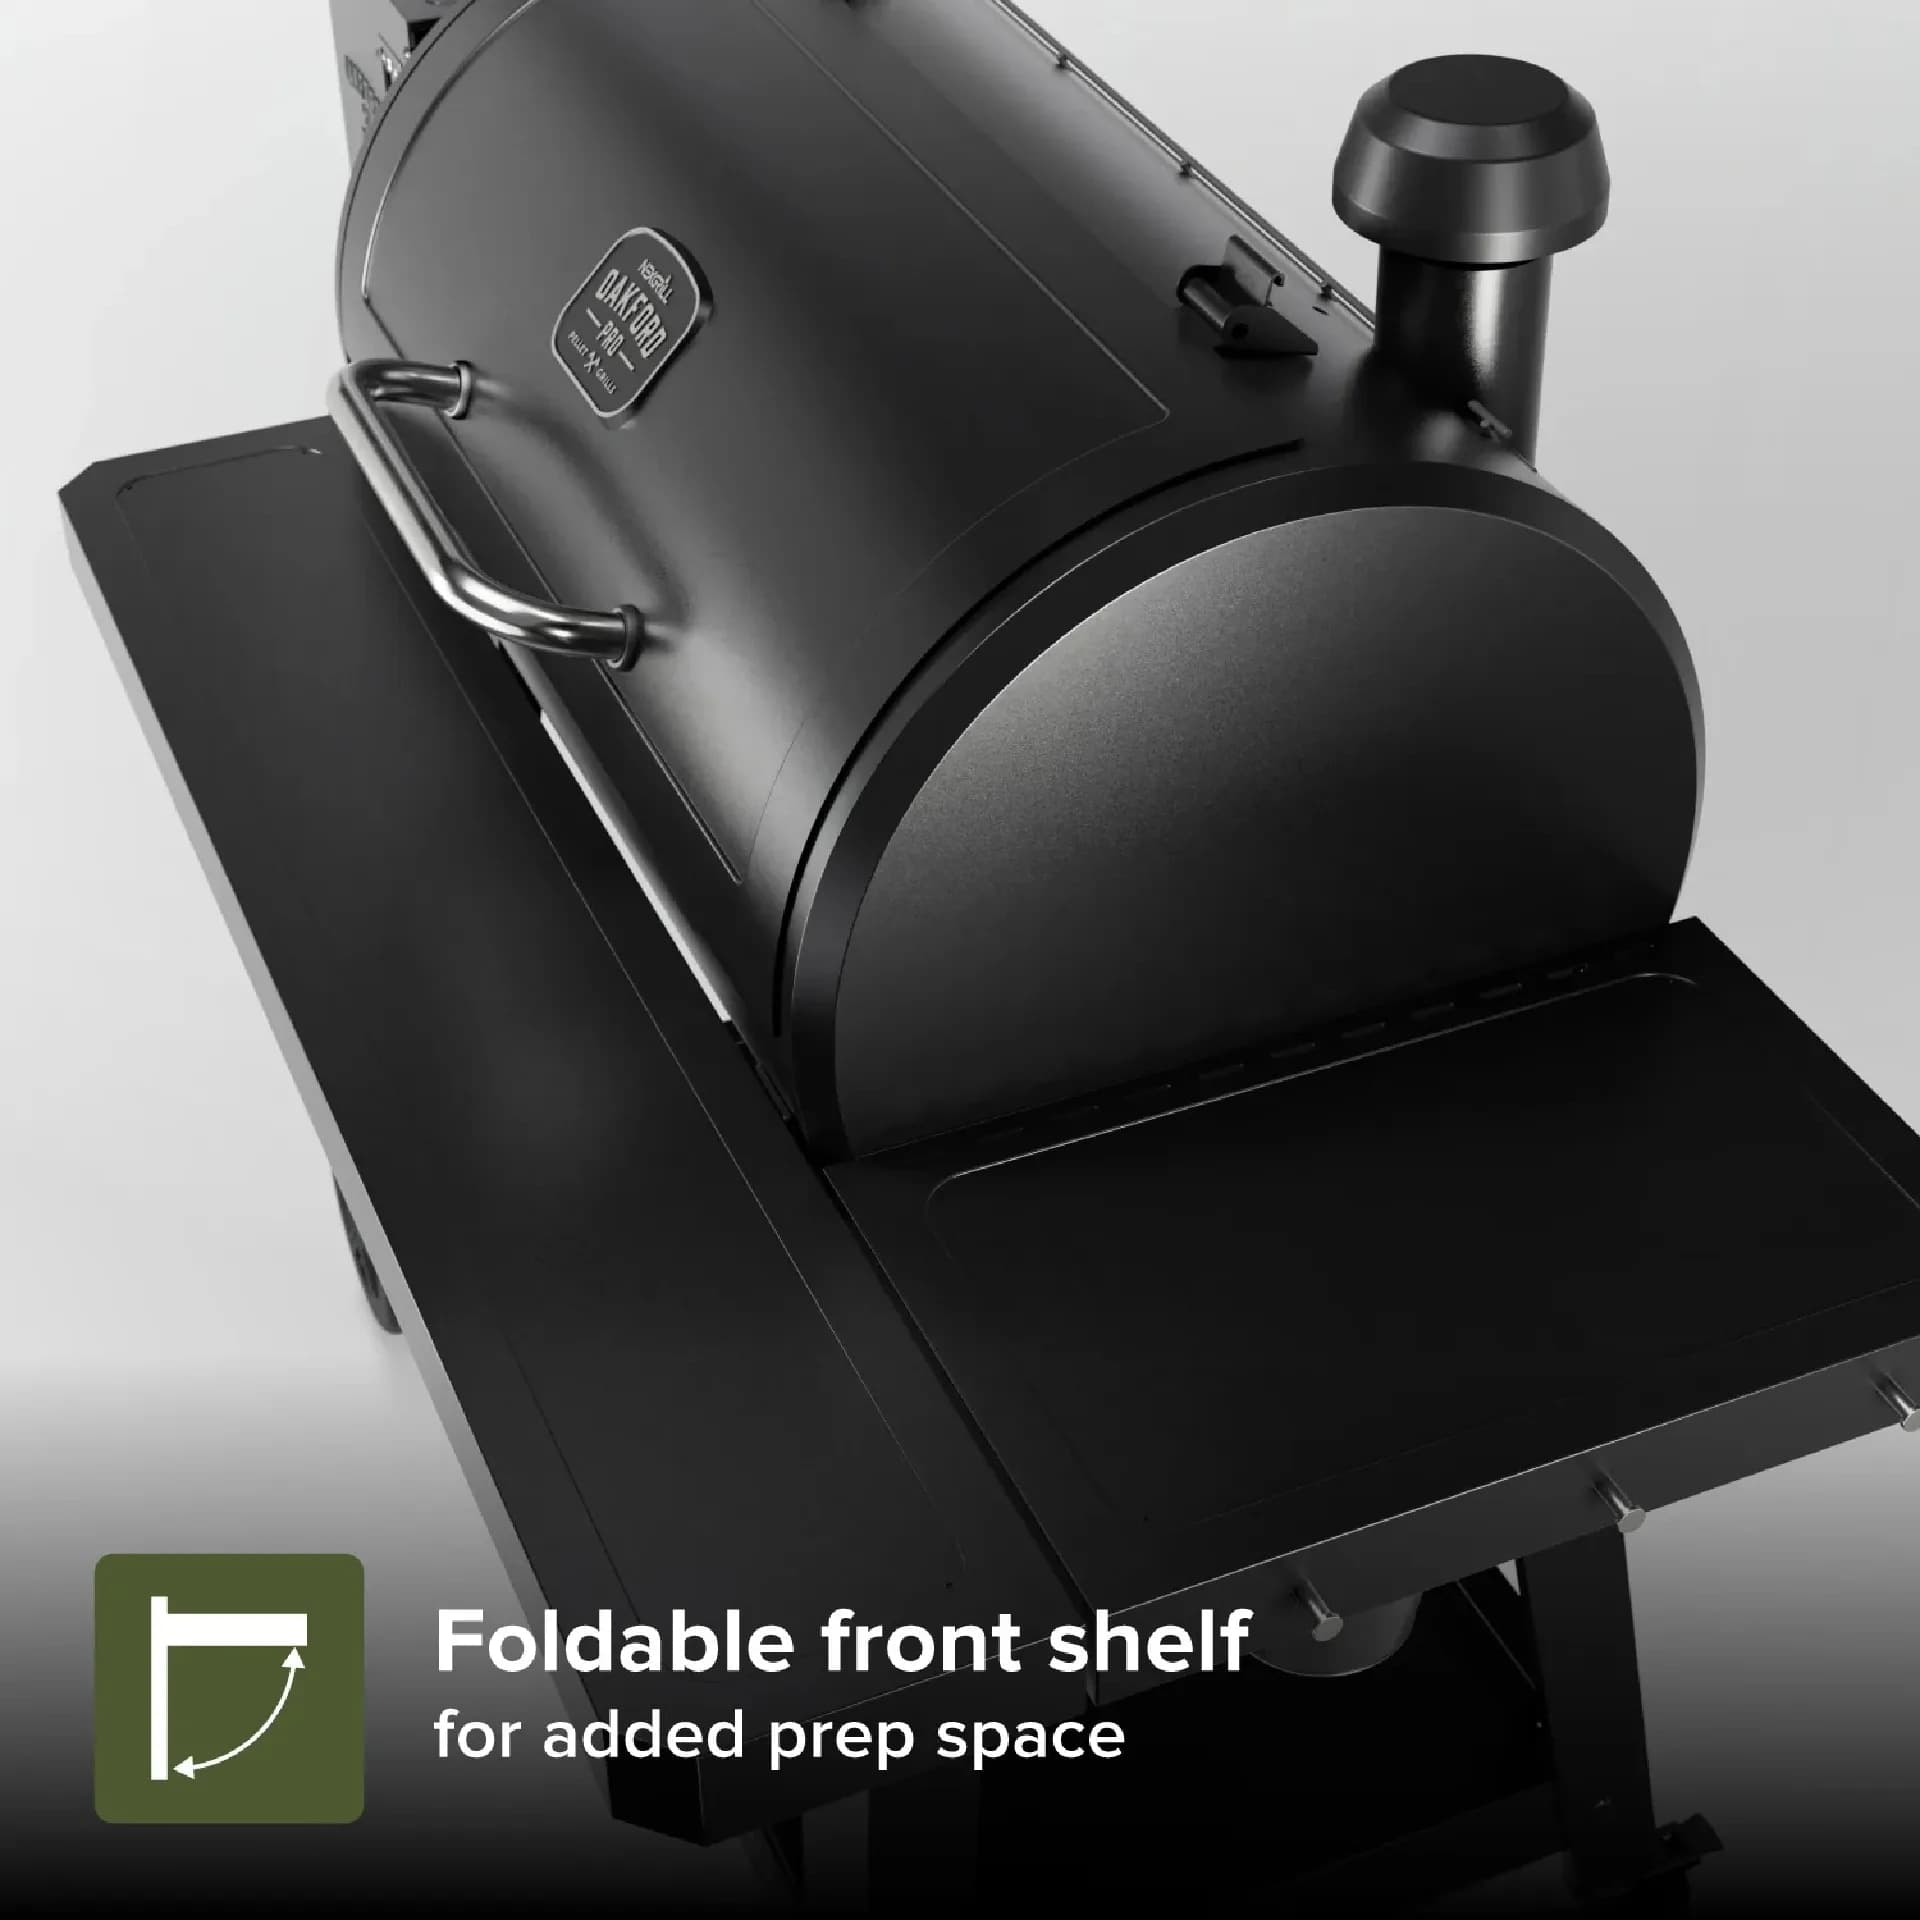
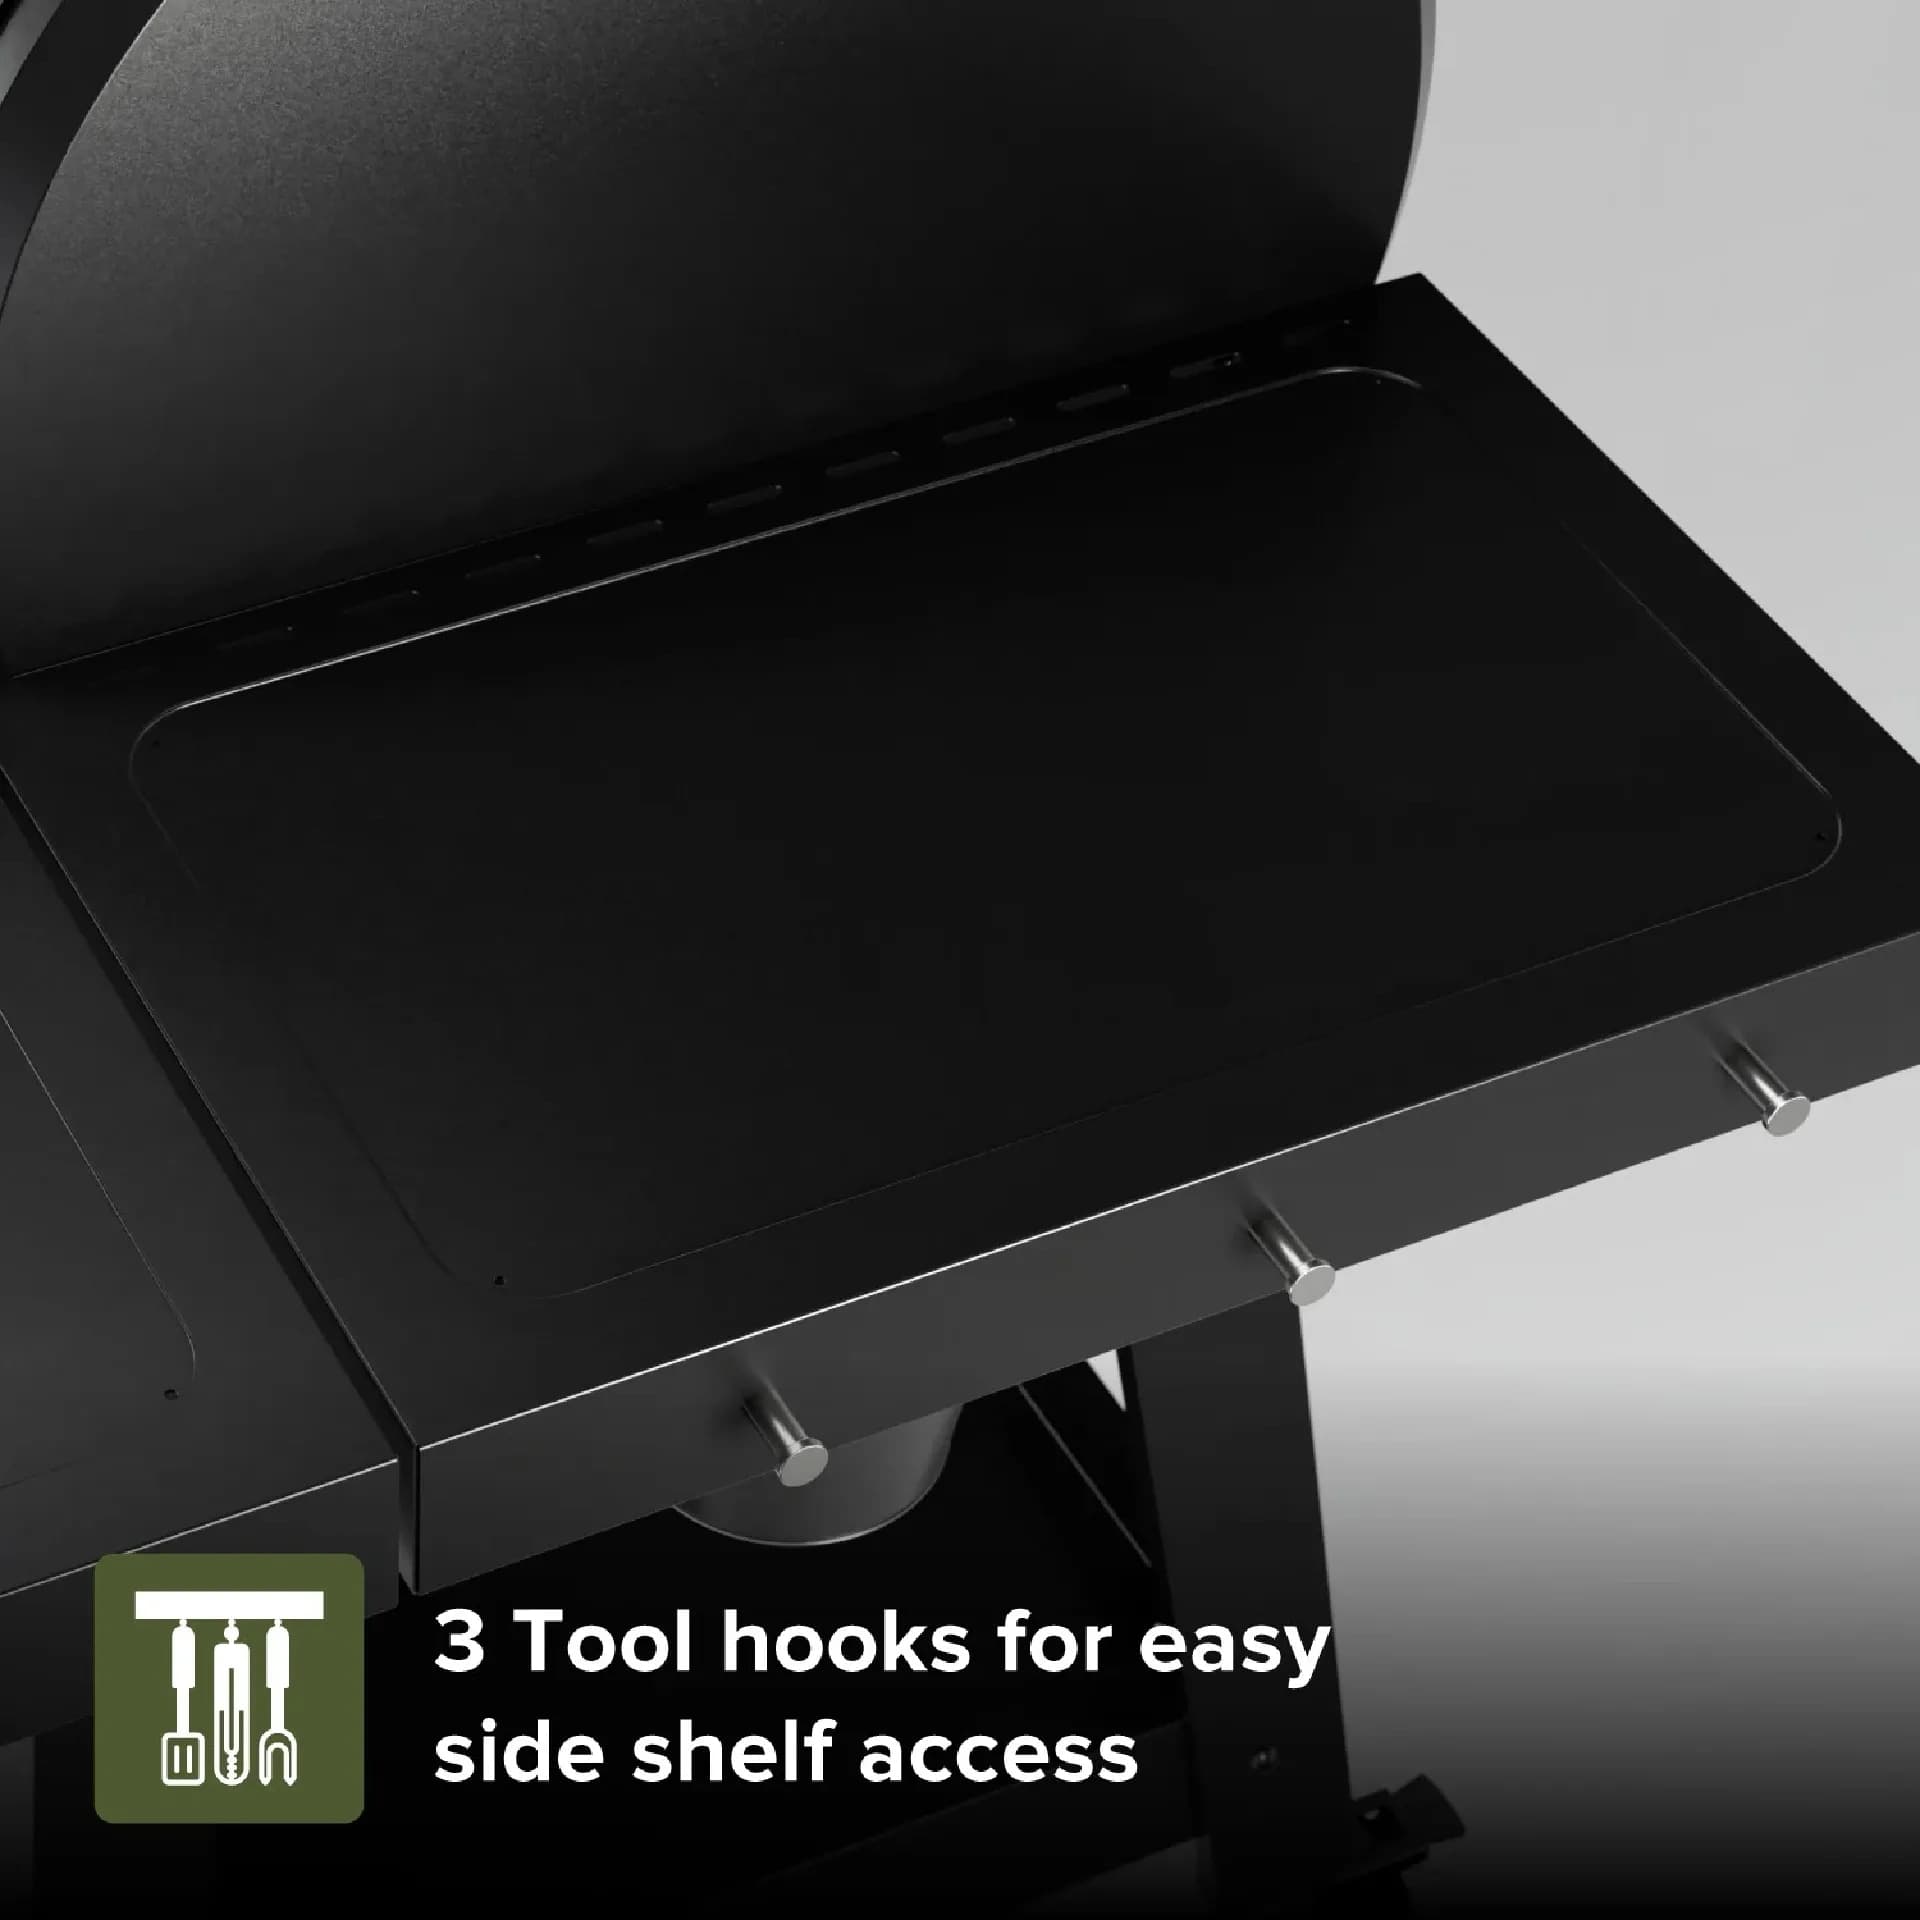
Ensure optimal performance and flavor by properly seasoning your pellet grill before the first use.
Here's what sets us apart from the competition
We position ourselves as delivering high-end outdoor cooking features and performance without premium-brand pricing, emphasizing “Quality Grills. Unbelievable Value.”
We offer gas grills, pellet grills, griddles, smokers, pizza ovens, portable/tabletop grills, electric grills, accessories, and replacement parts — allowing customers to stay within one ecosystem for all outdoor cooking needs.
We differentiate ourselves through smart grilling products like the Oakford smart pellet grill, including app-connected cooking controls and modern outdoor cooking technology.

Expert tips, buying guides, comparisons, and inspiration for choosing and getting the most out of your grill.

Practical guides for cleaning, maintenance, common grill issues, and performance optimization.

Step-by-step grilling recipes, cooking techniques, and meal ideas for every occasion and skill level.

Backyard entertaining ideas, seasonal grilling inspiration, and stories that celebrate outdoor cooking culture.

Helpful articles covering grilling tools, cookware, maintenance gear, and must-have accessories for outdoor cooking.

Find griddle recipes, cooking techniques, cleaning tips, and outdoor meal ideas designed for Nexgrill griddles.
Find answers to common questions
Pellet grills offer versatility by allowing you to smoke, grill, and bake with precise temperature control. They use wood pellets as fuel, providing a unique flavor to your food that is difficult to achieve with other types of grills.
Consider factors such as cooking capacity, temperature range, and additional features like digital controls or Wi-Fi connectivity. Assessing your cooking habits and space availability can also help in selecting a suitable model.
You can use a variety of food-grade wood pellets, including oak, hickory, mesquite, cherry, and apple. Each type of wood imparts a different flavor to your food, allowing for a unique grilling experience.
Regular cleaning involves emptying the ash pan, cleaning the heat diffusers, and wiping down the exterior. It's also important to check for any pellet obstructions in the hopper and ensure the grill's components are in good working order.
Nexgrill pellet grills are designed to smoke effectively, offering low-temperature settings to infuse food with rich, smoky flavors. They also provide adjustable temperature controls to suit various cooking styles.
In This Article
Why Seasoning Matters
Step-by-Step Seasoning Process
Common Mistakes to Avoid
Seasoning a pellet grill is one of those first steps that looks optional until you understand what it actually does for the cooker. Before a pellet grill is asked to smoke ribs, roast chicken, or sear a weeknight dinner, it benefits from a controlled heat cycle that burns off any manufacturing residue, dries out internal surfaces, and begins building a thin protective layer on the metal components. That first burn-in is not about seasoning food flavor into the grill body; it is about preparing the cooking chamber so it behaves more predictably the next time you use it. For a Nexgrill pellet grill owner, that matters because a cleaner initial interior, steadier startup, and properly conditioned surfaces help support the dependable, welcoming outdoor cooking experience the brand is known for. Nexgrill’s brand philosophy emphasizes approachable, dependable outdoor cooking and the idea that everyone should feel invited around the grill, which fits naturally with a careful first-use process rather than a rushed one
The practical reason to season a pellet grill is simple: the grill is a heat appliance with moving air, fuel, grease pathways, and food-contact surfaces. If those parts start life with leftover dust, light oils from production, or moisture from storage and transport, you can get off-putting smells, uneven smoke, or sticky residue during the first few cooks. A proper seasoning cycle helps the grill settle into normal operation before you start chasing smoke flavor or exact doneness. That is especially useful with pellet grills, because they are designed around controlled heat and smoke management; the earlier you establish stable airflow and a clean burn, the easier it is to trust the grill later when you are cooking something more expensive than a test tray of burgers or vegetables. Nexgrill’s Oakford pellet line reinforces this idea of dependable, real-world backyard use, with brand materials that frame pellet cooking as a social, flavorful experience rather than a complicated technical exercise
The most important burn-in is the first one, because it clears the grill before food ever touches it.
A smart way to think about seasoning is that you are teaching the grill its baseline behavior. New pellet grills often arrive with machining oils, packaging dust, or a surface that has never been fully heated through. During the initial warm-up, those compounds break down or burn off, and the interior surfaces begin to accept light oiling more evenly. In the long run, this can help protect metal parts from moisture and reduce the chance that the first few cooks taste like factory residue instead of hardwood pellets. This is why so many seasoned pitmasters treat the first burn seriously: it is a short process that can prevent avoidable frustration later. Pellet cooking guides commonly recommend a controlled idle run before cooking, and that practical advice is echoed in established pellet-grill resources that focus on startup, smoke production, and proper initial use
Seasoning a pellet grill is not the same as seasoning cast iron, and it is not a flavoring step in the usual culinary sense. Instead, it is a preparation cycle that uses heat, airflow, and a small amount of high-smoke-point oil to stabilize the grill before regular cooking begins. The goal is to dry and condition the chamber, grates, and any exposed metal surfaces that benefit from a protective finish. On a pellet grill, this process usually includes three actions: inspecting and cleaning the cooker, running it at a controlled temperature for a period of time, and then allowing it to cool naturally without wiping away the protective film you intentionally created. That sequence matters because skipping directly to cooking can leave manufacturing residue in place and make the first meal carry aromas you do not want near food.
The process also helps create a better operating baseline for smoke generation. Pellet grills depend on a burn pot, fan movement, and a balanced fuel feed. If the cooker is seasoned correctly, you are less likely to mistake normal startup smoke for a problem and more likely to notice genuine issues such as a weak ignition, too much ash, or erratic temperature swings. In other words, seasoning is the first troubleshooting checkpoint. If the grill behaves strangely during its first heat cycle, you learn that before you add steaks, poultry, or a long smoke session. That can save both food and time.
Tip: use a neutral, high-smoke-point oil such as canola, avocado, or refined grapeseed oil. Heavy olive oil can smoke sooner and may leave a stronger odor during the burn-in.
For most pellet grill owners, the seasoning process also creates confidence. A new grill can feel intimidating because every part looks clean, dry, and unfamiliar. Seasoning gives you a safe, low-pressure way to learn where the hot spots are, how long startup takes, whether the lid seals well, and how quickly the cooker comes up to target temperature. That is especially helpful if you bought a pellet grill for convenience but still want the smoke flavor that makes backyard cooking special. Pellets are often used for a range of dishes, from brisket and ribs to vegetables, baked sides, and even desserts; a seasoned grill gives all of those dishes a cleaner foundation from the first cook onward.
Before you press the ignition button, take a few minutes to prepare the cooker properly. Start by reading the model-specific manual, because pellet grill layouts can differ in hopper capacity, drip tray design, access panels, and startup procedures. Nexgrill’s pellet products are designed for accessible outdoor cooking, but the exact shape of the burn pot, the grate size, and the way heat shields are arranged can vary by model, so it is worth confirming the basic setup before the first fire
Once you have the manual nearby, inspect the grill inside and out. Remove any packaging material, stickers, or protective foam, and check that the grates are seated correctly. If the grill shipped with loose dust or debris, wipe it out with a dry cloth or lightly damp paper towel, then dry everything completely. Pellets themselves should also be checked before use; if they have absorbed moisture, they may swell, crumble, or light inconsistently. Fresh, dry pellets are important not just for seasoning but for the life of the grill overall, because weak fuel quality can lead to excess ash and a messier burn pot. If your grill has a drip tray or heat deflector, make sure it is positioned exactly as the manual requires. A misaligned tray can change airflow and create uneven heat during seasoning.
Warning: do not coat electrical components, temperature probes, or the inside of the fire pot with oil. Seasoning should target cooking grates and approved metal surfaces, not wiring or sensors.
It also helps to think about the environment where you are seasoning the grill. Pick an outdoor area with good ventilation and enough clearance away from structures, overhangs, and dry plants. The grill may produce some smoke and odor during the initial heat cycle, and that is normal. Have a clean brush, a soft cloth, and your oil application tool ready before you start so you are not stopping midway through the process. If your model includes a side shelf or prep space, use it to organize the seasoning tools the same way you would set up ingredients before cooking. That habit makes the process smoother and lowers the chance of forgetting a step while the grill is warming.
If you want the first seasoning cycle to count as real learning, document a few details: how long ignition takes, how quickly the grill reaches temperature, and whether you notice any unusual smoke patterns. This is useful on a pellet grill because the startup profile tells you a lot about future performance. A new owner who pays attention here will be better prepared later when they are trying to hold a specific temperature for low-and-slow cooking or recover heat after opening the lid. Think of preparation as the difference between merely turning the grill on and actually introducing it to your cooking routine.
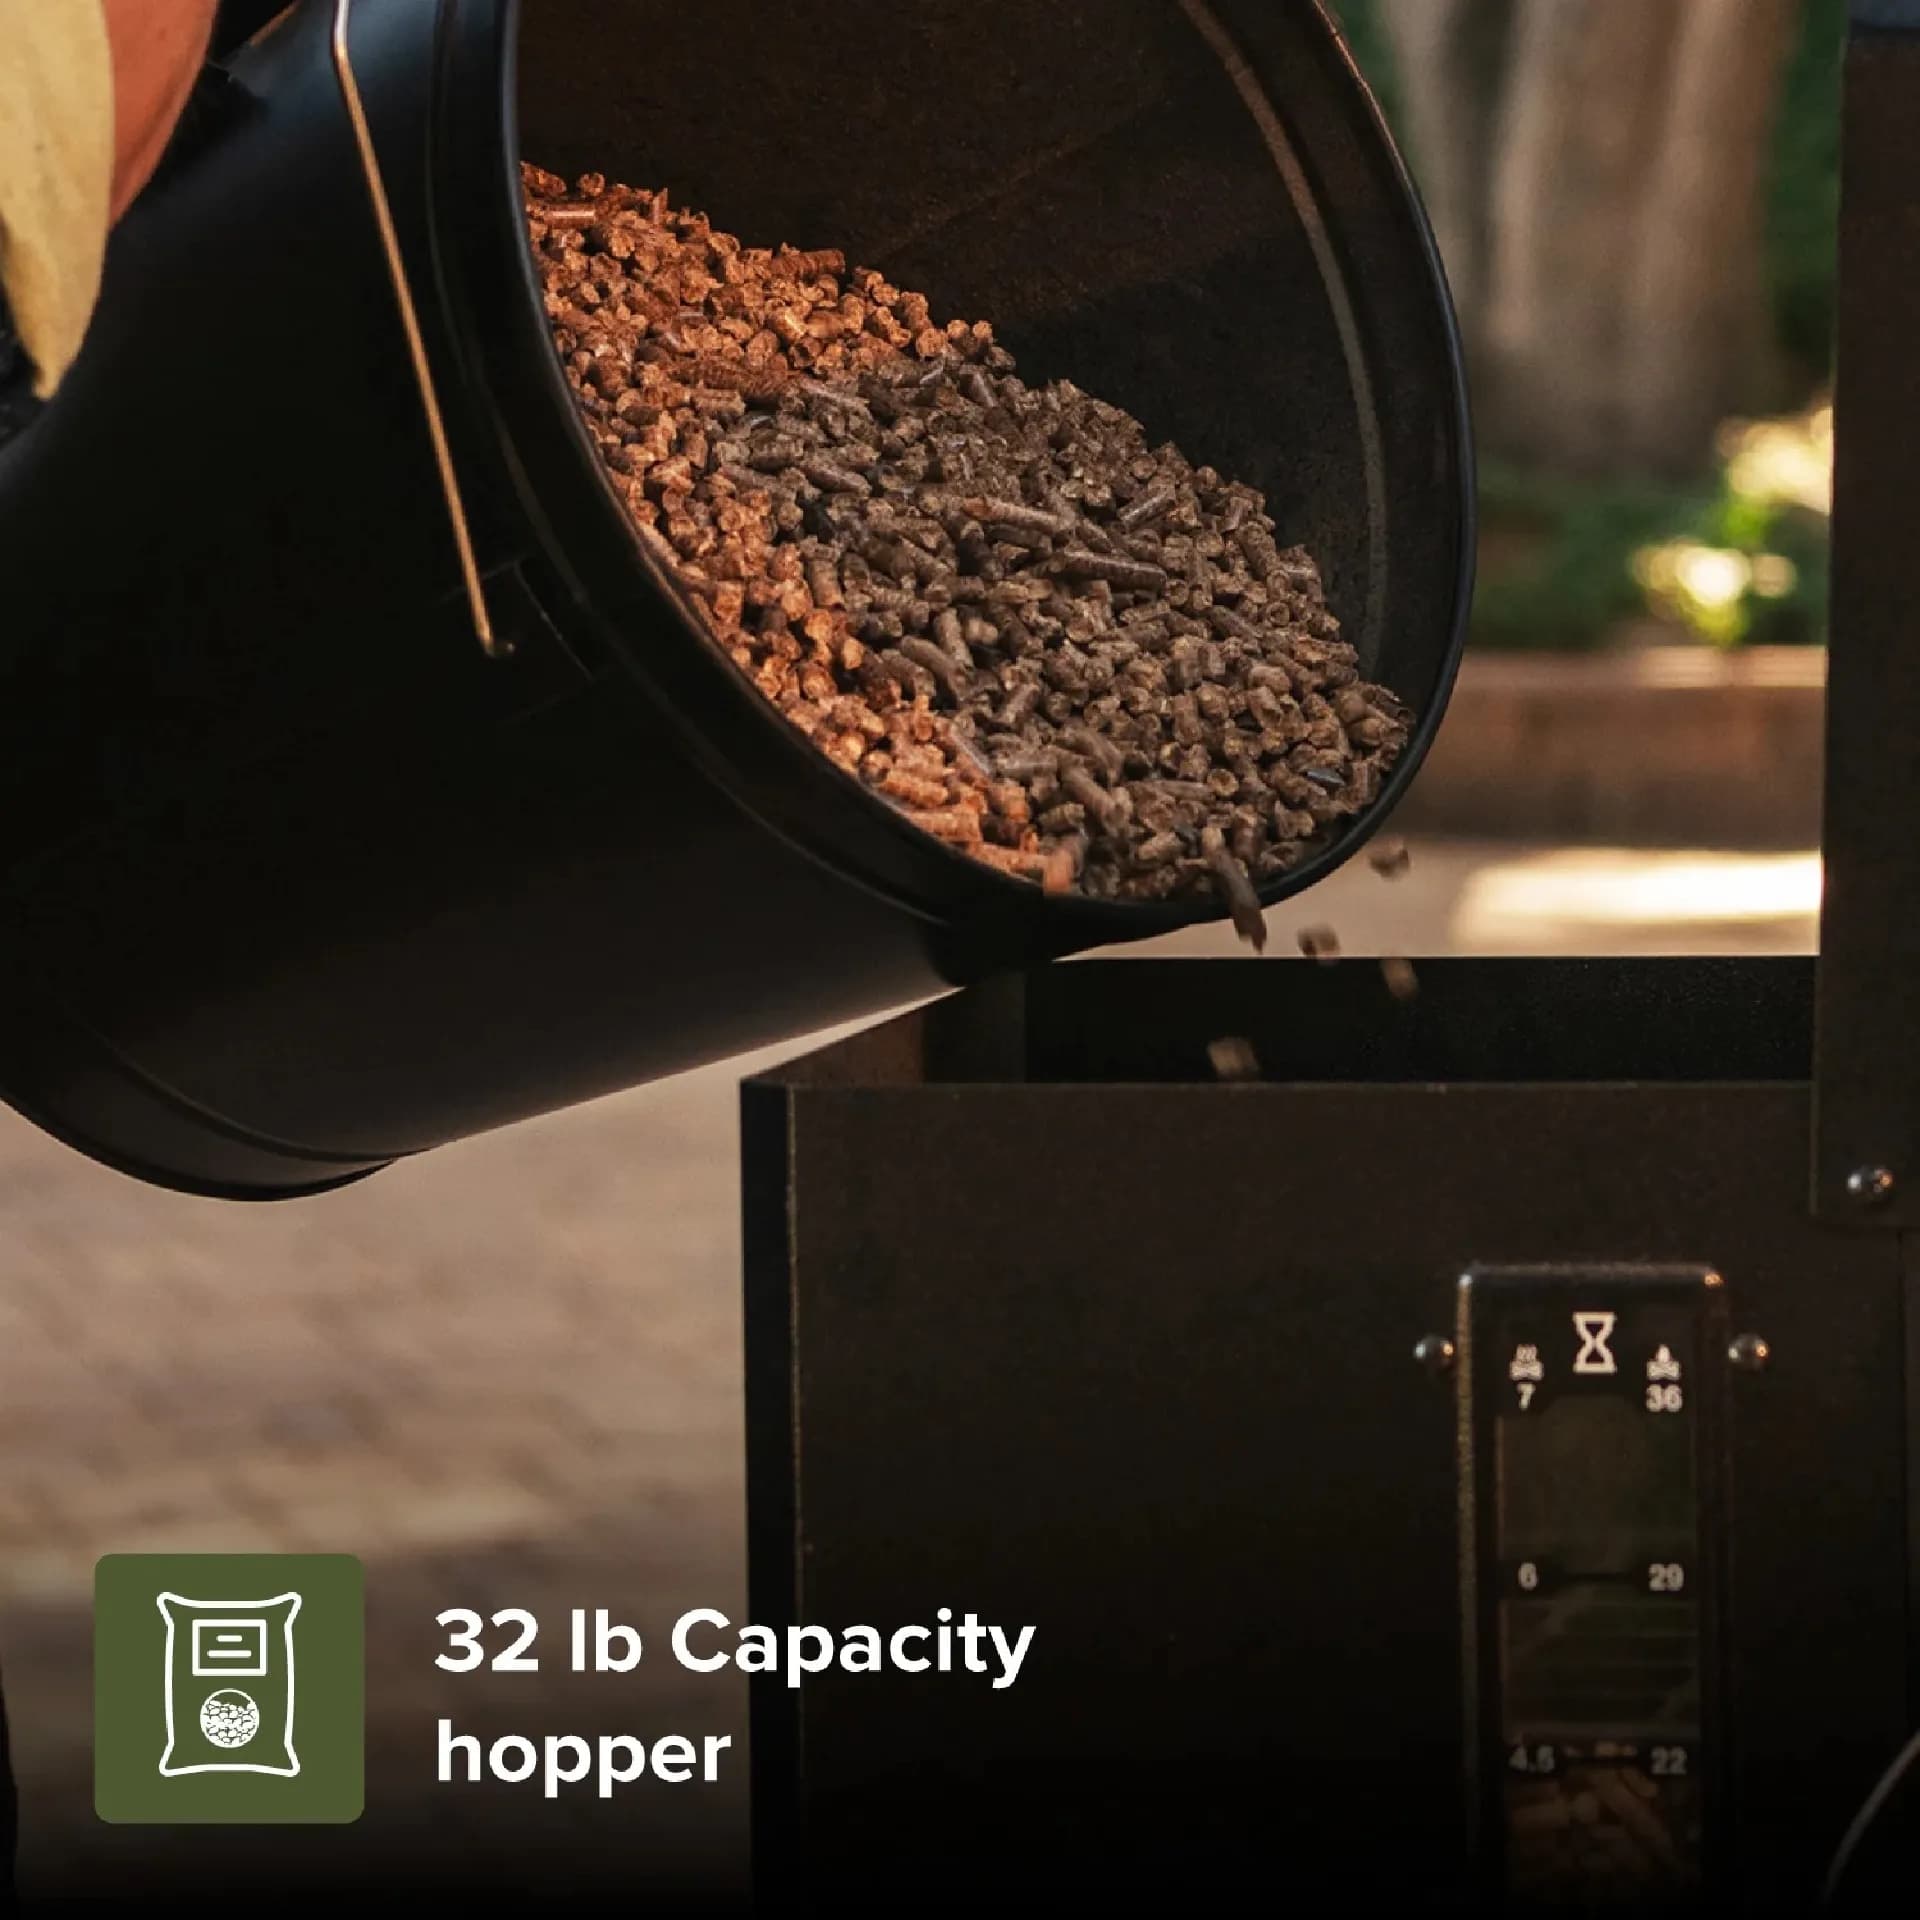
The safest way to season a pellet grill is to work methodically and avoid shortcuts. First, make sure the cooking grates are clean and dry. Then apply a thin coat of high-smoke-point oil to the grates and any other food-contact metal surfaces the manual says are safe to coat. The coat should be light enough that the metal looks barely glossy rather than wet. Too much oil can pool, smoke excessively, or leave a sticky film instead of a protective layer. After that, fill the hopper with dry wood pellets and power on the grill according to the manufacturer’s ignition steps. Let it cycle through startup, then raise the temperature to a moderate seasoning range, usually around 350°F to 400°F, unless your manual recommends something different. Hold that temperature for about 30 to 45 minutes so the oil bonds to the metal and the chamber heat evens out.
During this run, keep the lid closed as much as possible. Opening the lid repeatedly lets heat escape and makes the grill work harder to recover. You are not cooking food yet, so the goal is consistency, not speed. If you notice a light white or gray smoke at startup, that is normal. The smell should gradually change from new-metal and oil odor to a cleaner wood-smoke scent as the seasoning cycle continues. Once the timer ends, shut the grill down according to the manual and let it cool naturally. Do not wash the grates right away. You want that initial protective layer to remain in place until the next cook. After cooling, apply a second very light coat of oil to the grates if the surfaces look dry, then close the lid and store the grill covered if possible.
| Step | What to do | Why it matters |
|---|---|---|
| 1 | Inspect, clean, and dry the interior | Removes residue and prevents moisture from interfering with the first burn |
| 2 | Apply a thin oil coat to grates | Creates a light protective layer without sticky buildup |
| 3 | Start the grill with dry pellets | Confirms ignition and airflow are working properly |
| 4 | Hold 350°F to 400°F for 30 to 45 minutes | Conditions the chamber and evens out heat |
| 5 | Cool naturally and store carefully | Preserves the protective coating for your first cook |
Different pellet grill setups may need slightly different handling. A compact tabletop or portable model may reach temperature more quickly and require closer attention so it does not overshoot the seasoning range. A larger backyard model, such as a hopper-fed pellet grill with a more substantial cooking chamber, may take longer to stabilize and benefit from a longer hold at the target temperature. If your grill has a digital controller with multiple cooking modes, use the standard grill or smoke setting rather than any specialty mode the first time. The point is to understand the grill in its most basic operating state before experimenting with advanced settings.
If you are seasoning a Nexgrill pellet model for the first time, treat that first cycle as a system check. Pay attention to how the lid fits, how the pellets feed, and whether the unit maintains heat without frequent drops. That information is useful later when you move from preseasoning to actual cooking, especially for low-and-slow barbecue where stable temperature matters more than raw heat output. Try comparing two products side by side below to see which fits best:
The most common seasoning mistake is using too much oil. Heavy application can create puddles, smoke more than necessary, and leave a gummy residue on the grates. A pellet grill needs a light protective layer, not a frying pan coating. Another frequent error is rushing the process. If the grill has not reached a steady temperature or you cut the cycle short, the surfaces may remain unevenly conditioned. That can show up later as sticking, off aromas, or a grill that seems to need extra cleaning after only one use. The process is short, but it should still be deliberate.
Skipping the manual is another mistake worth avoiding. Pellet grills are similar in concept, but the exact startup and shutdown procedures can differ. Some units require a priming step, some need a particular shutoff sequence, and others have components that should never be coated with oil. Reading the instructions protects both the grill and the warranty terms tied to proper use. It is also a mistake to season indoors, under an enclosed patio roof with poor ventilation, or in a confined area where smoke can accumulate. Even a clean burn can create enough odor to make the process unpleasant and unnecessary risky.
Tip: if the grill smells strongly metallic after the first run, perform one more empty heat cycle before cooking food. That often helps clear out residual factory odor.
New owners also sometimes forget to check pellet quality. Moist, crumbling, or inconsistent pellets can make the seasoning process look like a grill problem when the fuel is really the issue. If the flame struggles to stay lit, the pellets may be the first thing to inspect. Finally, do not scrub the grates aggressively immediately after seasoning. A light wipe is fine if the manual suggests it, but deep cleaning too soon can remove the protective layer you just built. The objective is to create a ready-to-cook surface, not a polished surface stripped back to bare metal.
Handled correctly, seasoning is a small investment of time that pays off in cleaner starts, better flavor, and a more predictable first season of grilling. It is also a good reminder that pellet grilling is a craft built on preparation. When the cooker is introduced to heat carefully, it tends to reward you with steadier performance and a more enjoyable learning curve. That is the kind of dependable experience Nexgrill owners expect when they bring home a pellet grill designed for practical backyard cooking and shared meals
Once the seasoning cycle is complete, the grill does not need to be babied, but it does need consistent, simple care. The most important post-seasoning habit is to keep the cooking grates lightly oiled and cleaned after each use. After cooking, while the grill is still warm, brush away loose residue and wipe the grates if needed so food does not bond to the surface. A pellet grill that has been properly seasoned will still collect grease and ash over time, but routine cleaning keeps those byproducts from interfering with airflow or creating stale smoke. That is especially relevant for backyard cooks who use their grill several times a week, because residue builds faster with frequent use than many people expect.
After the first few cooks, inspect the burn pot, drip tray, and grease management path. These areas do not usually need obsessive cleaning after every meal, but they should not be left to fill with ash or grease until performance changes. A light ash layer is normal; thick ash can restrict ignition and heat flow. Likewise, the drip tray should be checked regularly so grease does not accumulate into a stubborn deposit. If your pellet grill includes removable components, take advantage of that design and clean them on a schedule rather than waiting for a problem. A well-maintained grill retains its seasoning better, starts more reliably, and is less likely to surprise you with flareups or temperature drift.
Info: a grill cover is not just about appearance. It helps reduce moisture exposure between uses, which matters for the conditioned metal surfaces you created during seasoning.
Storage matters too. If you live in a region with humid summers or wet winters in the United States, covering the grill after it cools is a practical way to preserve the work you put into seasoning. Moisture is the enemy of a protective oil layer, especially on exposed grates and lid interiors. If you know the grill will sit unused for more than a couple of weeks, consider doing a quick pre-use warm-up before the next cooking session to refresh the seasoning layer and confirm everything is still running normally. That quick warm-up is not a full seasoning cycle, just a useful maintenance habit that keeps the grill ready.
If your pellet grill smokes too heavily during seasoning, the first thing to check is the amount of oil you applied. Excess oil is usually the reason, followed by leftover packaging residue that was not cleaned off before the first burn. Heavy smoke can also happen if pellets are damp or if the grill has not established a clean burn yet. In most cases, the fix is simple: let the grill continue at temperature until the smoke thins, then examine whether any sticky areas need a very light wipe after cooling. If the smoke is black rather than light gray or white, shut the grill down and inspect for oil pooling, poor airflow, or pellet quality issues before continuing. If the grill struggles to reach seasoning temperature, check the pellets, the hopper feed, and the fire pot. New pellet grills sometimes need a little time to stabilize, but a failure to climb at all can signal an ignition issue or obstruction. Empty, dry fuel and an unobstructed fire path are essential. Likewise, if temperature swings wildly during the seasoning run, make sure the lid is closed and that the grill is on a level surface away from strong wind. Pellet grills regulate heat with airflow and fuel delivery, so any interruption there can make the cooker seem less consistent than it really is. A careful first run helps you separate a normal warm-up quirk from a genuine mechanical problem.
Another common concern is a lingering chemical or metallic odor after seasoning. That can happen on the first heat cycle, especially if the grill was stored in packaging for a long time or if some residues remain in corners that are not visible from the main cooking area. In those cases, a second empty burn at a moderate temperature often helps. If the smell persists beyond that, clean the accessible interior surfaces more carefully and check that no stickers, tape, or shipping materials were left behind. The point is not to force the grill through every odor with more heat; the point is to remove the source of the odor before cooking food.
Seasoning a pellet grill is mostly about protection and cleanliness, but it can also shape the early flavor profile of the cooker. A well-seasoned grill develops a cleaner internal surface that supports better smoke movement and reduces the chance that the first cooks taste like raw metal or manufacturing residue. That cleaner baseline matters because pellet grills are often chosen for their ability to add gentle wood smoke without overpowering food. When the cooker has been properly broken in, flavors from your pellets can come through more clearly, whether you prefer hickory, mesquite, apple, cherry, or a blended hardwood profile. The result is not a dramatic flavor transformation from seasoning alone, but rather a more faithful expression of the pellet fuel you choose later.
Different foods benefit from different smoke intensities, and a seasoned grill helps you notice those differences. Chicken and fish often taste best with milder smoke, while pork shoulder and beef brisket can handle a stronger wood profile. Vegetables, baked beans, mac and cheese, and even desserts can pick up a pleasant background note when the grill is clean and properly conditioned. If the first cook after seasoning tastes flat or harsh, you can more easily diagnose the issue when the grill itself has already been eliminated as a source of contamination. That is one of the hidden benefits of seasoning: it gives you a reliable starting point for flavor experiments.
Tip: choose one pellet flavor for the first few cooks after seasoning so you can learn the grill’s natural smoke character before blending fuels.
For Nexgrill-style backyard cooking, that translates into better confidence when you move from simple test cooks to family meals. A seasoned pellet grill is ready to support everything from a quick salmon dinner to a long weekend brisket session, and it does so with less guesswork. You are not trying to make the grill itself taste like anything. You are preparing it so the ingredients, rubs, and pellets can shine on their own.
Not every pellet grill behaves the same during its first burn, so your seasoning routine should flex to match the model. A compact pellet grill or portable tailgating unit usually has a smaller chamber and can heat up quickly. For those models, the biggest risk is overshooting temperature because the chamber volume is limited, so check the grill more often and avoid cranking it to maximum heat right away. A mid-size backyard pellet grill is usually the easiest to season because it has enough internal mass to stabilize without being overly sluggish. Larger pellet grills or smoker-style units, especially those designed for longer smoke sessions, may need a longer preheat and a more patient hold at temperature before the oil fully bonds to the grates and chamber surfaces.
If the model includes advanced controls, use them conservatively during the first seasoning cycle. Keep the setup simple: standard startup, moderate temperature, closed lid, and a basic shutdown. After the grill is seasoned, you can begin exploring smoke levels, high-heat searing, or multi-zone cooking if your unit supports it. For newer owners, that simplicity is a feature, not a limitation. It lets you learn the grill on its own terms. Nexgrill’s approach to outdoor cooking emphasizes accessibility across different experience levels, so this model-by-model caution is especially useful for anyone who wants a confident first experience rather than a steep learning curve
| Pellet grill type | Seasoning emphasis | Practical note |
|---|---|---|
| Compact / portable | Prevent overheating and oversmoking | Check temperature more frequently during the first burn |
| Mid-size backyard model | Establish a stable baseline | Usually the easiest style for a first seasoning cycle |
| Large smoker-style pellet grill | Allow extra time for full heat soak | Hold the seasoning temperature longer if needed |
A well-seasoned pellet grill is easier to trust, easier to clean, and more pleasant to cook on. The process itself is not complicated, but it rewards care: clean the grill first, use a thin coat of high-smoke-point oil, run a controlled heat cycle, and let the cooker cool naturally before its first real meal. From there, simple habits like brushing the grates, checking the ash and grease path, and covering the grill between uses help preserve the benefits of that initial effort. In a practical sense, seasoning is the first step in turning a new piece of outdoor equipment into a dependable part of your cooking routine.
For Nexgrill owners, that matters because pellet grilling is about more than heat. It is about approachable, reliable, and welcoming outdoor cooking that fits real backyard life. Taking the time to season properly supports that experience from the start and gives you a cleaner foundation for everything that follows, whether you are cooking weeknight chicken, weekend ribs, or a full holiday spread. Once you have weighed two options against each other, here’s what else matters when you’re choosing how you’ll use your pellet grill most often.
Here's what sets us apart
We position ourselves as delivering high-end outdoor cooking features and performance without premium-brand pricing, emphasizing “Quality Grills. Unbelievable Value.”
We offer gas grills, pellet grills, griddles, smokers, pizza ovens, portable/tabletop grills, electric grills, accessories, and replacement parts — allowing customers to stay within one ecosystem for all outdoor cooking needs.
We differentiate ourselves through smart grilling products like the Oakford smart pellet grill, including app-connected cooking controls and modern outdoor cooking technology.
Don't just take our word for it
Keep reading
From our catalog