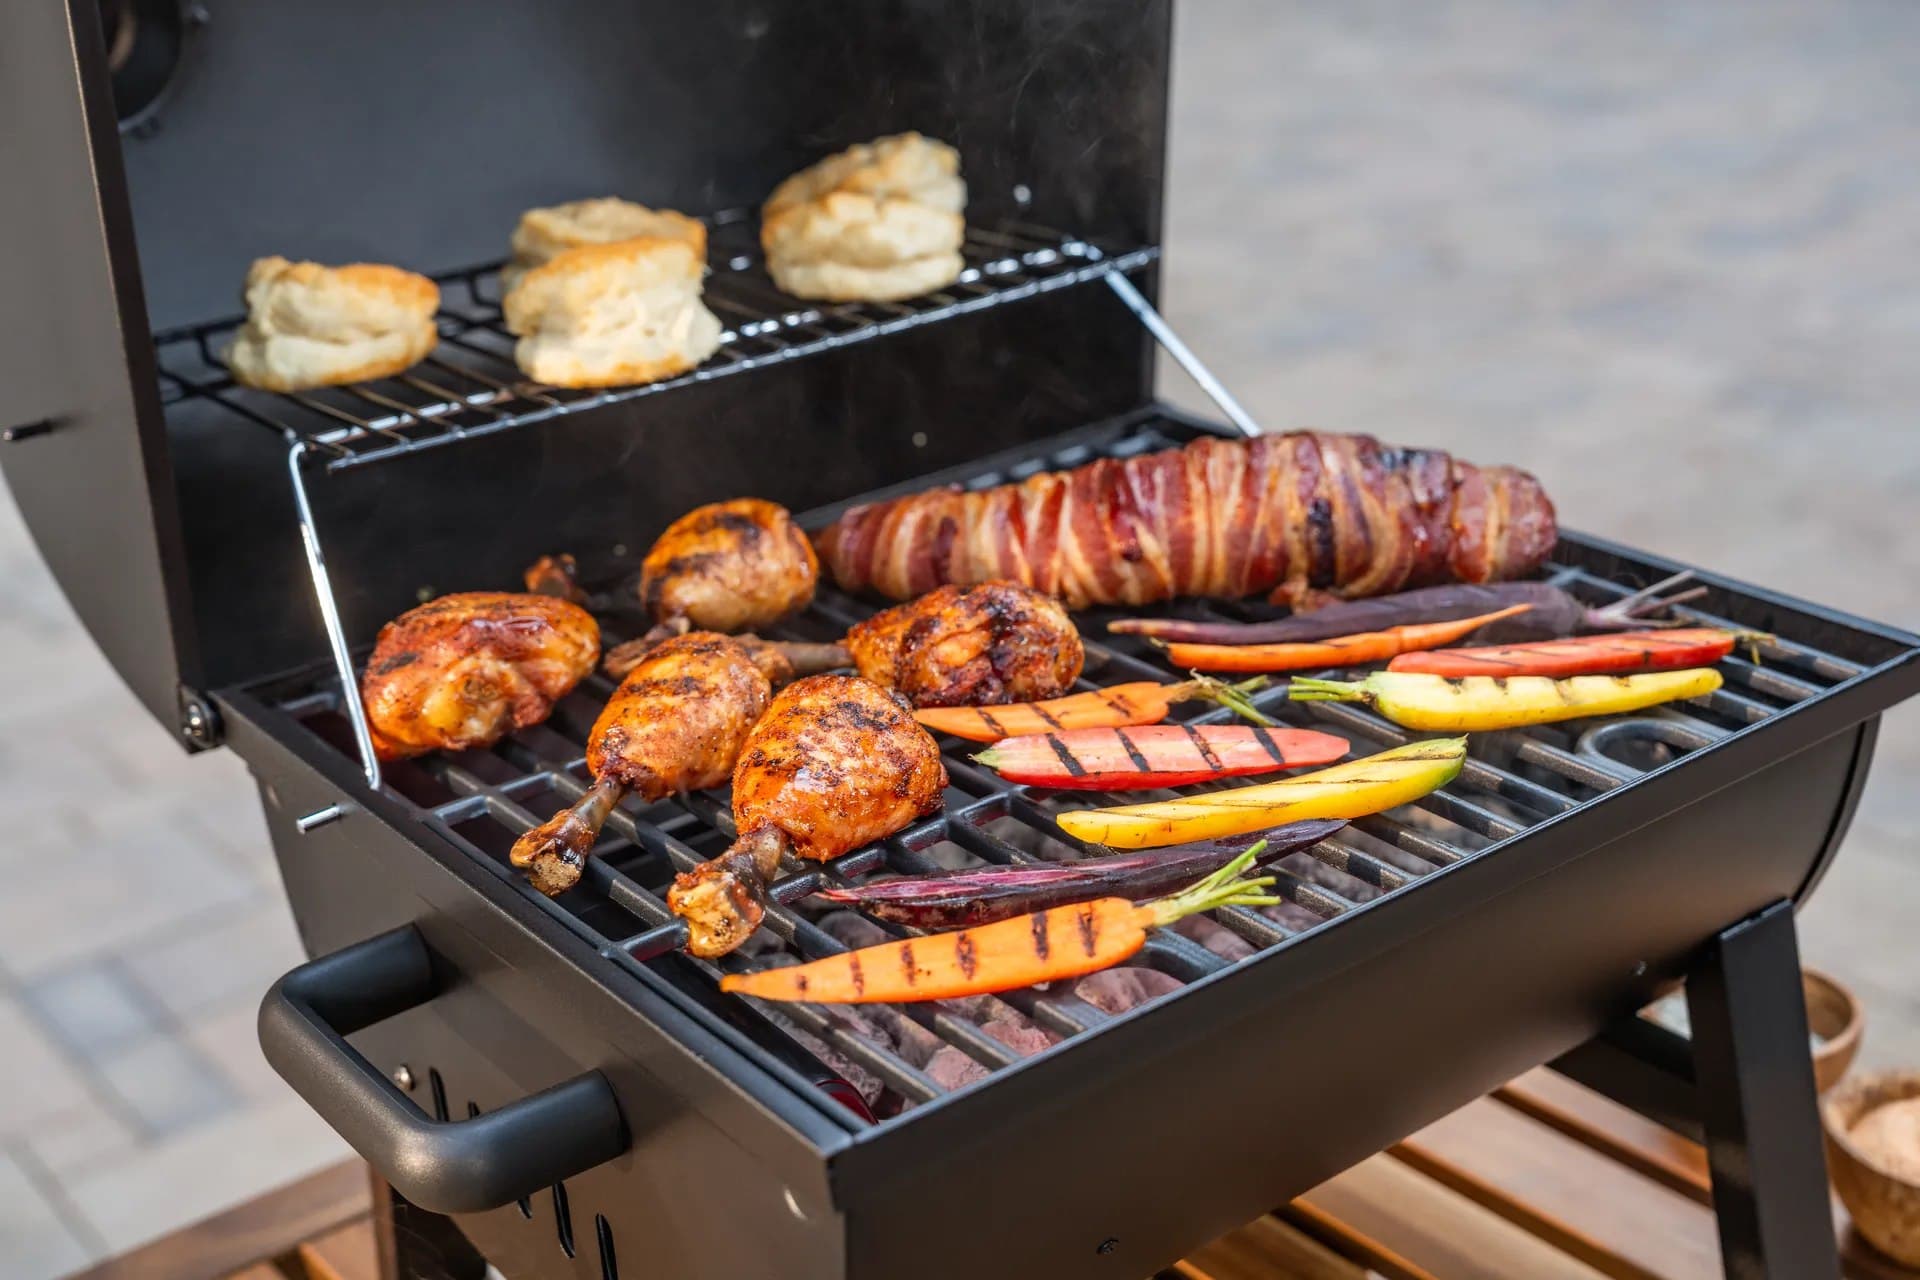
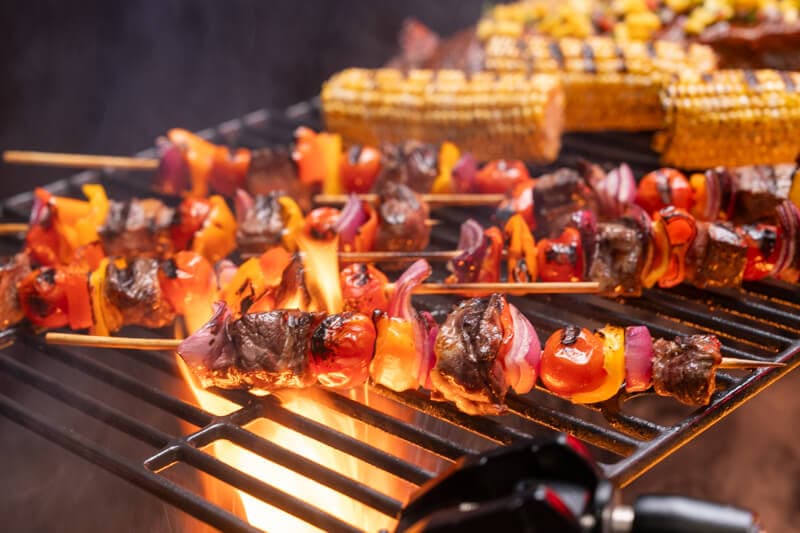
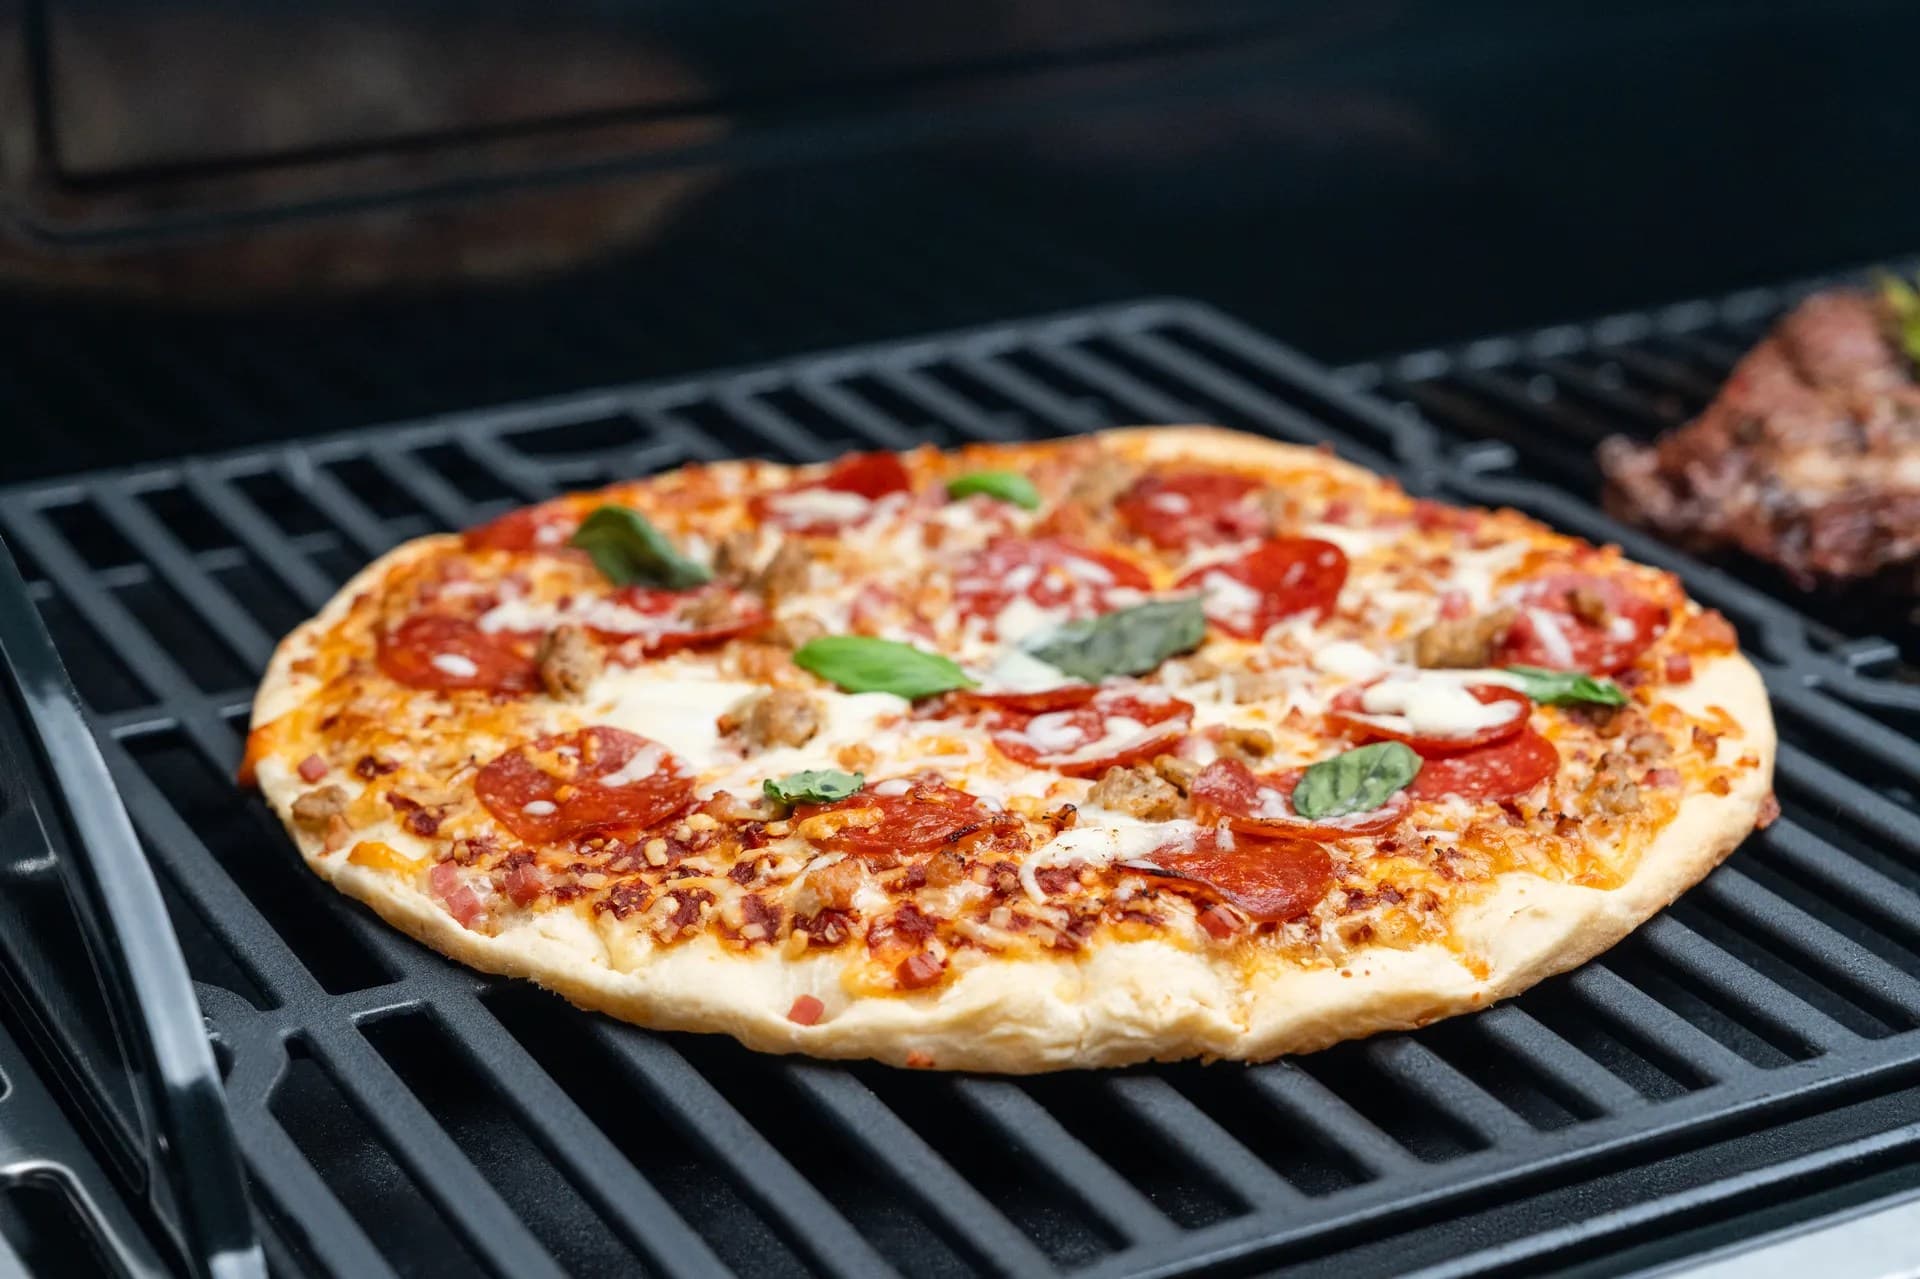
Discover innovative methods to enhance your grilling experience and impress your guests.
Here's what sets us apart from the competition
We position ourselves as delivering high-end outdoor cooking features and performance without premium-brand pricing, emphasizing “Quality Grills. Unbelievable Value.”
We offer gas grills, pellet grills, griddles, smokers, pizza ovens, portable/tabletop grills, electric grills, accessories, and replacement parts — allowing customers to stay within one ecosystem for all outdoor cooking needs.
We differentiate ourselves through smart grilling products like the Oakford smart pellet grill, including app-connected cooking controls and modern outdoor cooking technology.

Expert tips, buying guides, comparisons, and inspiration for choosing and getting the most out of your grill.

Practical guides for cleaning, maintenance, common grill issues, and performance optimization.

Step-by-step grilling recipes, cooking techniques, and meal ideas for every occasion and skill level.

Backyard entertaining ideas, seasonal grilling inspiration, and stories that celebrate outdoor cooking culture.

Helpful articles covering grilling tools, cookware, maintenance gear, and must-have accessories for outdoor cooking.

Find griddle recipes, cooking techniques, cleaning tips, and outdoor meal ideas designed for Nexgrill griddles.
Find answers to common questions
Nexgrill equipment is suitable for a variety of recipes including meats, vegetables, and even pizzas. Popular options include marinated steaks, grilled vegetables, and shrimp skewers.
To enhance the flavor of grilled vegetables, consider marinating them in olive oil, herbs, and spices before grilling. Alternatively, you can season them with salt and pepper during grilling for a more straightforward approach.
To achieve perfect grill marks, preheat your grill to a high temperature and ensure that the food is dry before placing it on the grill. Avoid moving the food too early, as it needs to sear properly to form those classic grill marks.
Using a meat thermometer is the most accurate way to ensure your grilled meat is at the desired temperature. For instance, chicken should reach an internal temperature of 165°F while medium-rare beef is typically at 135°F.
To clean your Nexgrill after cooking, allow it to cool and then use a grill brush to remove any residue from the grates. You can also wipe down the exterior with a damp cloth and mild soap to keep it looking its best.
In This Article
Salt Block Grilling
Clay Pot Grilling
Grilling with Fruit Woods
Unique grilling techniques are the kind of methods that turn an ordinary cookout into a memorable meal. They are not about abandoning the fundamentals of fire management, seasoning, and timing. Instead, they invite you to think differently about how heat, smoke, texture, and aromatics interact with food. Some approaches, like salt block grilling, are valued for the subtle seasoning they create. Others, like clay pot grilling, are about moisture retention and gentle heat. Fruit woods add aroma and a soft layer of sweetness, while inverted grilling and hay grilling challenge the usual expectations of how a grill can be used.
For many backyard cooks in the United States, these methods are a way to make a familiar setup feel new again without buying an entirely different cooker. If you already have a gas grill, charcoal grill, griddle, or smoker-style setup, you can often adapt it with careful preparation and the right accessories. The biggest shift is not the gear itself; it is the mindset. These techniques reward patience, attention, and a willingness to test with smaller batches before cooking for a crowd.
The best results usually come from treating each technique as its own cooking system, not as a novelty add-on to standard grilling.
Techniques explored here, each with a different flavor and heat behavior.
The five methods in this guide are intentionally different from one another so you can match the technique to the dish and the occasion. Salt blocks work best when you want a clean, mineral-driven finish on thin proteins or vegetables. Clay pots are better when you want steam, gentle cooking, and a more enclosed environment. Fruit woods are ideal when you want smoke that supports rather than overwhelms the food. Inverted grilling is a playful but practical way to rethink indirect heat and presentation. Hay grilling is the most rustic of the group, bringing aroma and a lightly pastoral character to foods that can tolerate a delicate smoke note.
If you are cooking for family and friends, these techniques also create a strong sense of theater. A salt block on the table, the smell of cherry wood, or a clay vessel lifted from the grill can make the meal feel special before anyone takes a bite. That matters because grilling is often as much about the shared experience as the finished plate, and Nexgrill’s brand philosophy emphasizes bringing people together around food and fire. In that spirit, the goal is to give you methods that are approachable, creative, and practical enough to use at home.
Salt block grilling uses a heated slab of salt, usually Himalayan pink salt or a similar food-grade block, as both cooking surface and seasoning source. The appeal is not that the food becomes aggressively salty. In fact, when the block is heated correctly, it often imparts a restrained salinity that enhances natural flavors rather than masking them. This makes it especially useful for delicate proteins such as shrimp, scallops, thin fish fillets, and sliced vegetables.
The setup matters. A salt block should be warmed gradually, usually over low to medium heat, so moisture does not cause cracking. Once the temperature stabilizes, the surface can be used for very quick searing. Because the block holds heat differently from metal grates, it is less forgiving if rushed. A gentle ramp-up and a modest cooking load are much safer than trying to blast it with high heat right away.
Never place a cold salt block directly over intense heat. Rapid temperature change is the fastest way to crack it.
For beginner-friendly use, start with ingredients that cook quickly and benefit from restrained seasoning. Shrimp skewers, asparagus spears, sliced zucchini, and thin-cut salmon are all strong candidates. A salt block also works well as a finishing surface for serving chilled dishes like sashimi-style fish if the block has been properly chilled and sanitized according to food-safe handling practices. The key is to understand that the block itself is part of the seasoning system, so additional salt should usually be minimal or omitted entirely.
Clay pot grilling brings an enclosed, earthy character to the grill. Rather than exposing food directly to open flame or broad grate heat, you place ingredients in a clay vessel that functions like a miniature cooking chamber. That environment traps moisture, softens harsh heat spikes, and encourages layered flavor development. It is a smart approach for dishes that can dry out on a conventional grate, such as bone-in chicken, root vegetables, rice-based mixtures, or marinated seafood.
The most important preparation step is to use a clay pot that is rated for high-heat cooking and to follow the manufacturer’s soaking or preheating instructions if applicable. Some clay vessels benefit from a brief soak; others are designed to stay dry. That detail is not optional, because an improperly prepared vessel can crack or absorb food odors too strongly. Modern home grillers often pair clay pots with indirect heat, which keeps the bottom from scorching while still allowing the contents to cook through evenly.
Clay pot grilling shines when you want tenderness first and browning second. It is a flavor-building method, not a fast-searing one.
One practical way to start is to layer aromatics at the bottom, add vegetables and protein above them, and season with herbs, citrus, or a light marinade. As the vessel heats, the ingredients steam in their own juices while picking up subtle char and smoke from the grill environment. This is especially appealing for cooks who enjoy dishes with a more composed, almost oven-like structure but still want the outdoor character that comes from cooking over fire.
Fruit woods such as apple, cherry, peach, and pear are prized for the gentle smoke they produce. Compared with stronger woods, they usually contribute a sweeter aroma and a lighter finish, which makes them useful when you want smoke flavor without overpowering the food. This is why fruit woods are often chosen for poultry, pork tenderloin, salmon, vegetables, and even fruit desserts.
The practical trick is balance. Fruit woods are forgiving, but they still can create bitterness if overloaded or burned too aggressively. On a gas grill, you can use a smoker box or a foil packet with small ventilation holes. On charcoal, a handful of chunks or a measured amount of chips works well. The goal is thin, clean smoke rather than dense white clouds. If the smoke looks heavy and acrid, the fire is too cool or the wood is smoldering poorly.
| Fruit Wood | Best Match | Flavor Character |
|---|---|---|
| Apple | Pork, chicken, pork ribs | Mild, sweet, rounded |
| Cherry | Duck, salmon, vegetables | Sweet, fruity, slightly floral |
| Peach | Poultry, stone fruit, seafood | Soft, fragrant, lightly sweet |
For backyard cooks, fruit woods are one of the easiest ways to add distinction without forcing a complicated process. If you already know how to control grill temperature, the learning curve is mostly about smoke management. Use smaller amounts at first, taste the results, and build your own preferred intensity from there.
Inverted grilling is a technique that reverses the usual order or placement of heat exposure so the final texture and presentation are different from standard grilling. Depending on the cook, that may mean starting items on a cooler zone and finishing over direct heat, or building a reverse sequence so the side that is usually hidden or less cooked becomes the visual and textural star. It is particularly useful for layered foods, stuffed vegetables, or items that need a controlled finish after they have already absorbed some smoke or gentle heat.
Because the term can mean slightly different things to different pitmasters, the safest way to approach inverted grilling at home is to define the result you want before you start. Do you want a crisp outer shell and a tender interior? Do you want a more dramatic presentation where the browned side is turned at the end? Or are you trying to reduce flare-ups by beginning with indirect heat? Once you know the goal, the sequence becomes much easier to manage.
For beginners, inverted grilling is easiest when you practice with vegetables or chicken thighs before moving to expensive cuts of meat.
Grilling with hay is one of the most rustic techniques in this guide, and it works because hay introduces a very light grassy aroma when it is used correctly and safely. The method is usually about perfume and presentation rather than heavy smoke. It is best suited for gentle foods such as potatoes, carrots, fish, or soft cheeses that can tolerate a brief smoky lift without being overwhelmed.
Because hay is extremely combustible, this technique demands more attention than the others. You should use only clean, food-safe hay that has not been treated with chemicals, and it should be introduced carefully in a controlled environment. The technique often works best when hay is used as a brief aromatic layer rather than as the main fuel source. In practice, that means using a small amount, keeping a close eye on flare behavior, and having a plan to move food if the flame becomes too aggressive.
Hay grilling is not a good choice for distracted cooking. Stay present, keep tools ready, and use small quantities only.
The techniques above all reward a disciplined approach to heat management. Preheat the grill thoroughly, keep clean zones available, and think in terms of timing windows instead of fixed minutes. A salt block may only need a few seconds per side for shrimp, while a clay pot might need a longer, more patient cook. Fruit woods should be chosen for the right flavor intensity, inverted grilling should be planned around your desired finish, and hay should be treated with caution as a specialized accent rather than a casual extra.
Another smart habit is to test each method with one familiar ingredient before trying a full menu. For example, compare the taste of apple wood on chicken thighs with cherry wood on salmon. Try a salt block with sliced zucchini before moving to scallops. Use a clay pot for a small batch of vegetables before filling it with an entire meal. The fastest way to learn is to change only one variable at a time so you can identify what each technique actually contributes.
Try comparing two products side by side below to see which fits best:
Once you've weighed two options against each other, the next step is learning how salt block grilling behaves in real use. The main advantage is precision seasoning combined with even surface contact, but that only works when the block is protected from thermal shock. Start by placing the salt block on a cool grill and bringing the heat up gradually over a span of several minutes. If you are using a gas grill, begin on low, then shift to medium once the block has warmed evenly. With charcoal, let the coals settle before positioning the block above a more moderate heat zone.
The food you choose should match the block’s strengths. Thin proteins and vegetables are ideal because they pick up the salt’s effect quickly and can be removed before overcooking. Thicker cuts are usually better cooked by another method and finished briefly on the block. This is one of the most common beginner mistakes: expecting the salt block to do all the work. It performs best as a finishing surface or quick sear tool, not as a deep-heat roasting chamber.
If the block starts smoking, cracking, or making loud popping sounds, move it off heat and let it cool naturally. Do not shock it with water.
Cleaning is also part of mastery. Let the block cool completely, scrape off residues gently, and wipe it with a barely damp cloth if needed. Avoid soaking or using soap unless the manufacturer specifically says it is acceptable. Store it dry in a place where it will not absorb moisture. The better you protect the block, the more reliable its seasoning performance will be over time. For a simple first cook, try asparagus, shrimp, or paper-thin beef slices and keep the seasoning light so you can taste the mineral effect clearly.
Clay pot grilling becomes much easier when you treat the vessel like a heat buffer rather than a decorative container. Place it in the grill only after you have confirmed it can tolerate the temperature and the surface beneath it is stable. Many cooks get better results using indirect heat, because the goal is to create a humid chamber that gently cooks the contents while preserving natural juices. If you want browned notes, you can finish the dish with the lid off for a short period near the end.
This technique is excellent for dishes that benefit from layering. Start with ingredients that release moisture and flavor, such as onions, garlic, citrus slices, herbs, or tomato. Then add vegetables or proteins that need more structured heat. A small amount of broth, wine, or marinade can help create steam, but too much liquid can flatten flavors. Think in terms of subtle moisture, not soup.
| Clay Pot Use | Best Method | Main Benefit |
|---|---|---|
| Stuffed vegetables | Indirect heat, lid on | Tender texture and even cooking |
| Bone-in chicken | Moderate heat, finish uncovered | Juicy interior with light browning |
| Rice or grain dishes | Low and steady heat | Even steaming without scorching |
Safety is mostly about patience and restraint. Do not drag a hot clay pot across a cold surface, and do not expose it to sudden temperature shifts. Use sturdy gloves and a stable resting area when removing it from the grill. Beginners should avoid overfilling the pot, because steam circulation is part of the magic. Leave enough headroom for the ingredients to move and for moisture to circulate gently around them.
Fruit woods are easiest to use when you think about them as seasoning in vapor form. They should support the natural profile of the food, not bury it. Apple wood is a strong match for pork because it adds sweetness without leaning resinous. Cherry brings a deeper color and a slightly richer aroma, which works well with poultry and salmon. Peach is lighter and can give seafood or vegetables a pleasant lift. The best way to learn is to pair one wood with one ingredient and note the difference.
On a gas grill, fruit wood chips can be used in a smoker box or foil pouch. Punch a few small holes so the smoke escapes gradually. On charcoal, place chunks near the edge of the fire rather than directly in the hottest part if you want a longer, cleaner smoke. The timing is just as important as the wood choice. Introduce smoke early enough for flavor to set, but not so long that the food becomes bitter or dry.
A little fruit wood goes a long way. Build flavor slowly, especially with delicate foods like fish and vegetables.
For a practical backyard menu, try cherry wood with chicken thighs, apple wood with pork chops, and peach wood with grilled peaches or plums. Each pairing gives you a different version of the same idea: smoke that feels bright, food-friendly, and easy to enjoy in a casual cookout setting.
Inverted grilling is best understood as a deliberate reversal of the usual sequence. One useful approach is reverse-sear style cooking, where you start with indirect heat and finish with direct heat to build crust last. Another is presentation inversion, where the food is assembled or turned so the side that normally stays hidden becomes the visual finish. Either way, the technique works because it gives you more control over texture and doneness.
This is especially useful for thicker vegetables, stuffed items, and proteins that need a gentle start. For example, you might begin a pork chop away from direct flame so the center cooks evenly, then move it over heat for color. Or you might roast a pepper or stuffed mushroom slowly and flip it only at the end to preserve shape. The point is not to be clever for its own sake; it is to solve a cooking problem that standard direct grilling can create.
When learning inverted grilling, write down your heat zones and flip timing. A simple note can save a better meal next time.
Because the term can vary, the important habit is consistency. Choose one definition for a given session, test it on a forgiving food, and repeat until you can predict the results. That is how a novelty technique becomes a dependable part of your grilling routine.
Hay should be treated as an aromatic accent and handled carefully. The cleanest applications tend to be brief and controlled, often with food lightly nestled among the hay or exposed to the aroma of a small quantity near heat. Its signature effect is a faint grassy fragrance that can make simple foods feel more layered and countryside-inspired. Root vegetables, small potatoes, and mild cheeses are better candidates than strongly flavored meats.
Because hay burns quickly, use only a minimal amount and keep the grill area clear of loose material that could ignite unexpectedly. Avoid windy conditions, keep tongs and heat-resistant gloves close, and never step away while this technique is active. If you are cooking in a backyard setting, let the technique remain the accent, not the centerpiece. That approach makes it more repeatable and less risky.
| Hay Technique | Suggested Food | Result |
|---|---|---|
| Aromatic nest | Potatoes, carrots | Light grassy aroma |
| Brief smoke accent | Fish, soft cheese | Subtle rustic note |
| Short heat exposure | Sliced vegetables | Fast char with herbal aroma |
The biggest success factor across all of these methods is sequence. Build a cook plan before you light anything, and decide which ingredients need the most control. Salt block grilling rewards dryness and speed. Clay pot grilling rewards patience and restraint. Fruit woods reward measured smoke. Inverted grilling rewards planning. Hay grilling rewards caution. When you know the role each technique plays, you are less likely to overcomplicate the meal.
It also helps to keep a simple test log. Write down the food, the wood type, the heat level, and the results. That habit turns experimentation into knowledge instead of guesswork. If one combination is too sweet, too salty, or too smoky, change only one variable next time. That is the fastest path to consistency.
Start small, keep notes, and repeat what works. Unique techniques become dependable once you can predict their outcomes.
Before your next cook, compare two products side by side below to see which fits best. Once you have the right setup, these techniques can turn a standard weekend meal into something people will remember.
Here's what sets us apart
We position ourselves as delivering high-end outdoor cooking features and performance without premium-brand pricing, emphasizing “Quality Grills. Unbelievable Value.”
We offer gas grills, pellet grills, griddles, smokers, pizza ovens, portable/tabletop grills, electric grills, accessories, and replacement parts — allowing customers to stay within one ecosystem for all outdoor cooking needs.
We differentiate ourselves through smart grilling products like the Oakford smart pellet grill, including app-connected cooking controls and modern outdoor cooking technology.
Don't just take our word for it
Keep reading
From our catalog