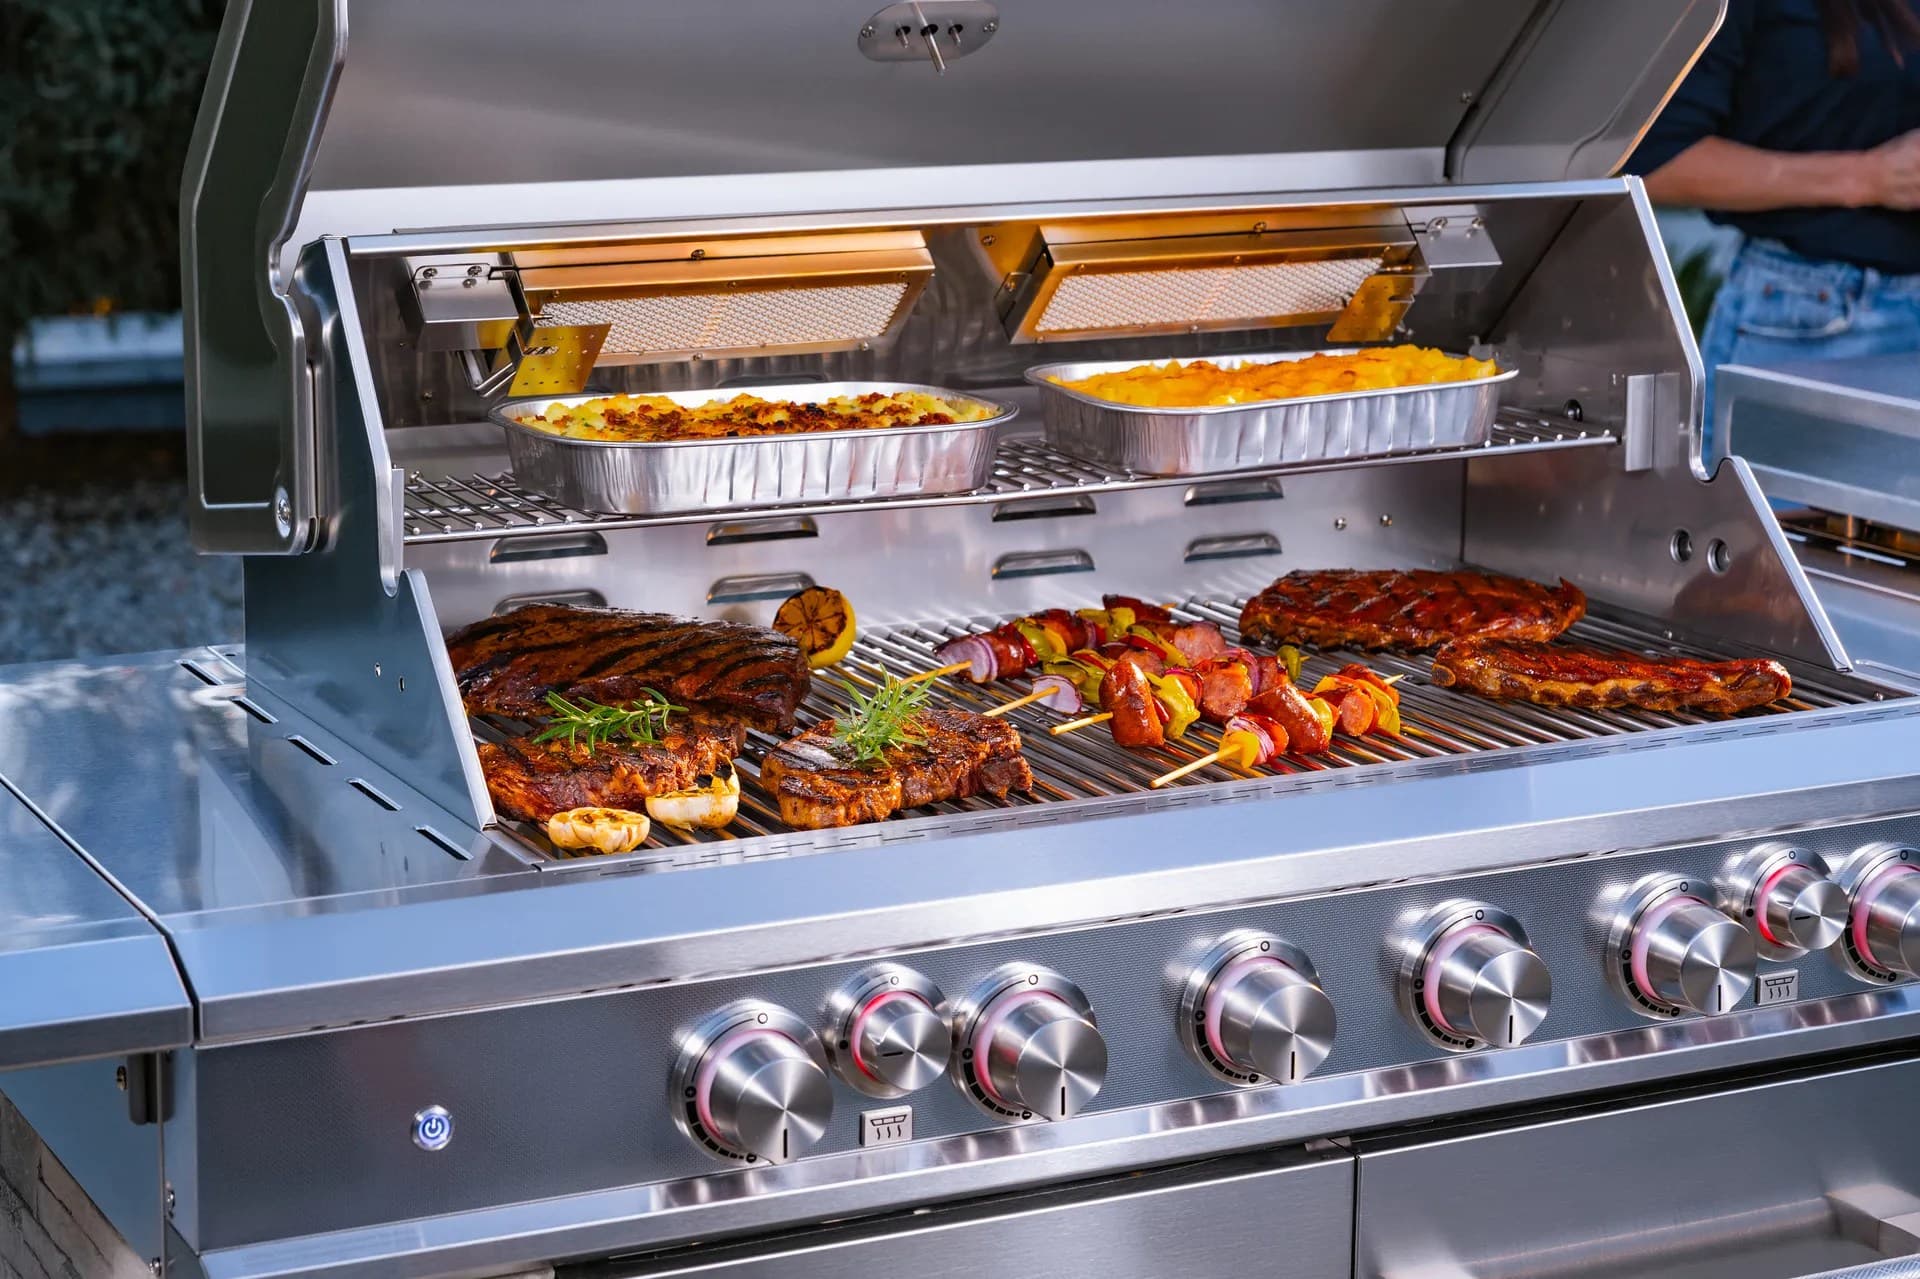
A comprehensive guide to getting your grill ready for a safe and enjoyable grilling season.
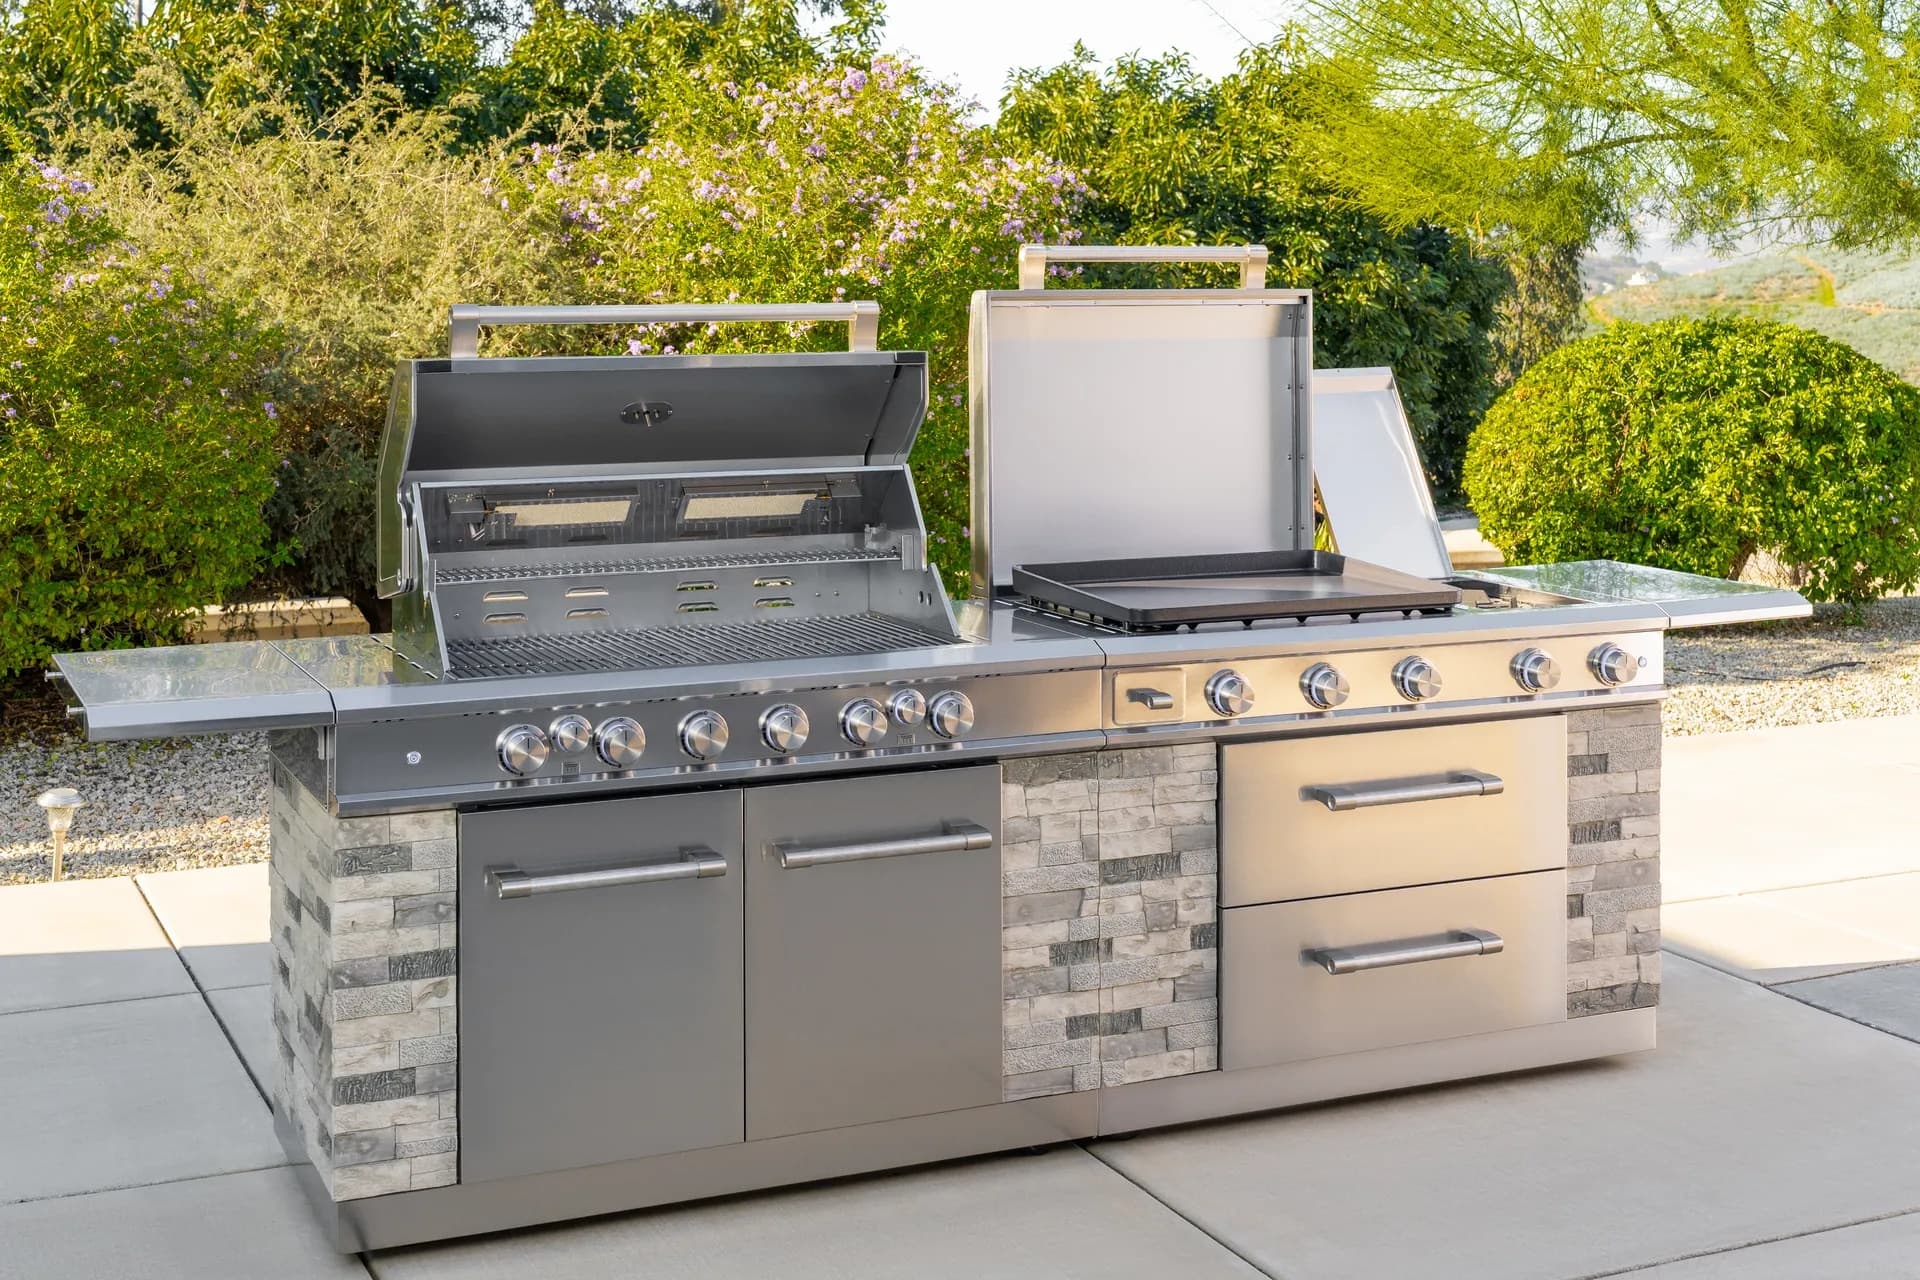
From sizzling breakfasts to smash burgers and teppanyaki-style dinners, the Daytona Pro 5 Burner NitroGuard™ Griddle delivers powerful heat, fast cooking, and a durable cooking surface built for every backyard cookout. Watch how easy outdoor cooking can be.
Here's what sets us apart from the competition
We position ourselves as delivering high-end outdoor cooking features and performance without premium-brand pricing, emphasizing “Quality Grills. Unbelievable Value.”
We offer gas grills, pellet grills, griddles, smokers, pizza ovens, portable/tabletop grills, electric grills, accessories, and replacement parts — allowing customers to stay within one ecosystem for all outdoor cooking needs.
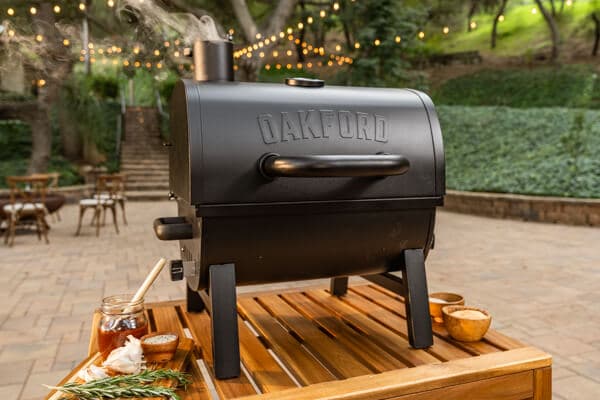
We differentiate ourselves through smart grilling products like the Oakford smart pellet grill, including app-connected cooking controls and modern outdoor cooking technology.

Expert tips, buying guides, comparisons, and inspiration for choosing and getting the most out of your grill.

Practical guides for cleaning, maintenance, common grill issues, and performance optimization.

Step-by-step grilling recipes, cooking techniques, and meal ideas for every occasion and skill level.

Backyard entertaining ideas, seasonal grilling inspiration, and stories that celebrate outdoor cooking culture.

Helpful articles covering grilling tools, cookware, maintenance gear, and must-have accessories for outdoor cooking.

Find griddle recipes, cooking techniques, cleaning tips, and outdoor meal ideas designed for Nexgrill griddles.
Find answers to common questions
Gas grills provide instant heat and precise temperature control, making them easier to use. Charcoal grills offer a smoky flavor and high heat for searing but require more time to heat up and manage.
Pellet grills combine the convenience of gas with the flavor of wood, allowing for smoking, baking, and grilling. Traditional gas grills, however, are quicker to start and often easier to clean.
Charcoal grills typically reach higher temperatures quicker than gas grills, making them better for searing meat. However, high-quality gas grills can also provide adequate heat for effective searing.
Nexgrill offers models designed specifically for gas, charcoal, and pellets, allowing users to choose based on their cooking style and flavor preferences. Each type is built to optimize the characteristics of its respective fuel.
Choosing between gas and charcoal grills depends on your cooking preferences and lifestyle. If you value convenience and quick cooking, a gas grill may suit you better; if you prefer the taste and experience of traditional grilling, a charcoal grill would be ideal.
In This Article
Safety First
Deep Cleaning
Component Check
Spring grill maintenance is less about making your grill look new and more about making sure it is ready for a season of safe, predictable cooking. After months of storage, cold weather, dust, moisture, and leftover grease can change how a grill heats, ignites, and even how it smells on the first cookout. A well-maintained grill tends to light more reliably, heat more evenly, and deliver cleaner flavor, which matters whether you are planning quick weeknight dinners or weekend gatherings with neighbors. Nexgrill’s brand guidance emphasizes that grilling is about people gathering around the fire, and that experience works best when the equipment is dependable and ready for use .
The best spring routine is practical and methodical. Instead of jumping straight into scrubbing, start by thinking like a service technician: check the fuel path, inspect the cooking system, remove the build-up that accumulated over winter, and then reassemble with purpose. That order matters because it helps you spot issues before you invest time in cleaning. For example, a clogged burner tube or cracked hose can be easy to miss if you only focus on shiny grates and the exterior lid. Likewise, a grease tray that is full from last season can create smoke and flare-ups the moment the grill is heated again. In a busy household, those small oversights can turn a relaxed Saturday cookout into a troubleshooting session.
Can prevent a whole season of uneven cooking, ignition trouble, and avoidable cleanup.
A good spring reset also protects the investment you already made in your grill. Many owners focus on replacing parts only after something fails, but proactive maintenance helps you stretch the useful life of burners, grates, igniters, and drip systems. Nexgrill’s product philosophy centers on accessible outdoor cooking for a wide range of budgets and experience levels, which makes simple upkeep especially valuable: if your grill is designed to be dependable and approachable, then keeping it in working order is part of getting the most from that value proposition .
Tip: Treat spring maintenance like a pre-season checklist, not a last-minute cleanup. The goal is to identify problems before your first meal is on the grates.
If you have more than one style of outdoor cooker, the same broad process still applies, but the details shift slightly. A gas grill needs fuel-line checks and burner inspection. A pellet grill needs ash removal and an inspection of the fire pot and auger area. A charcoal grill needs ash cleanup, vent inspection, and confirmation that airflow is not restricted. Because Nexgrill offers gas grills, pellet smokers, charcoal options, and griddles, a spring routine should be adapted to the type of cooker you actually own rather than forced into a one-size-fits-all approach .
For a homeowner in the United States, spring often means the first time in months that the grill is being used in warm weather, sometimes after sitting through rain, snow, or temperature swings. That seasonal change can expose weak seals, corroded fasteners, or debris in the burner area. The good news is that most issues are visible if you inspect deliberately. The sections below walk through the maintenance sequence in the same order many experienced grillers use: safety checks, deep cleaning, component inspection, and final preparation. Follow that order, and you will be much more likely to start the season with a grill that performs the way it should.
Before you clean anything, begin with safety checks. This is the most important part of spring grill maintenance because it addresses the systems that can create hazards if ignored. For gas grills, make sure the propane cylinder is connected correctly, the regulator is seated properly, and the hose shows no signs of cracking, brittleness, or abrasion. If you smell gas before lighting, stop immediately and investigate the connection points. A soap-and-water leak test is simple and effective: brush or spray a small amount of soapy water on the hose fittings and valve connections, then open the gas very slightly and look for bubbles. Bubbling indicates a leak and means the grill should not be used until the issue is corrected.
Spring is also a good time to inspect the ignition system. Push the igniter and listen for the click, then visually confirm that the burners light in a reasonable pattern. If one burner lights slowly, or if the flame is weak and uneven, the ignition module, battery, or burner port may need attention. In a real-world scenario, a family that grills once a week may not notice a weak ignition in fall, but by spring that small problem becomes annoying fast, especially when you are trying to cook for guests. It is much easier to address before the first large gathering of the season.
Warning: Never test for gas leaks with a flame. Use a soap solution and check fittings carefully before lighting the grill.
If your grill has a side burner or auxiliary burner, test that system separately. Side burners are often exposed to more grease splatter and can collect spider webs or dust during storage. A burner that seems fine at the main cooking area may still have a blocked side burner port. It is also wise to inspect the heat tent or flame shield area for rust-through or distortion, because damaged shields can affect heat distribution and increase flare-ups. Spring prep is not just about whether the grill can light; it is about whether it can cook safely and consistently.
For charcoal grills, safety checks look a little different but are just as important. Confirm that the firebox, ash catcher, vents, and handles are secure and free of excess rust. Make sure intake and exhaust vents move freely, because airflow control is central to safe charcoal cooking. If vents are stuck shut or packed with residue, the grill can be difficult to manage and may create excessive smoke. For pellet grills, check the hopper for old pellets that may have absorbed moisture, inspect the burn cup area, and clear any ash from the fire pot before the first burn. Moisture-damaged pellets can cause startup problems and inconsistent ignition.
Once the grill passes safety checks, move into deep cleaning. This is where spring maintenance pays off in better flavor and steadier performance. Start with the grates, since they are usually the dirtiest visible surface. Remove them and use a grill brush, scraper, or warm soapy water depending on the material and the level of buildup. If your grates have thick carbonized residue from last season, let them soak rather than attacking them aggressively, because harsh scraping can damage seasoning on cast iron or scratch coated surfaces. Clean grates improve searing and reduce the risk of old grease transferring to fresh food.
After the grates, clean the interior surfaces. This includes the cookbox, heat plates, flavor bars, grease tray, drip pan, and any removable trays or liners. A lot of grill owners focus on what they can see from the top down and forget the lower components, but that is where sticky grease and ash often build up. Remove loose debris with a plastic scraper or soft brush, then wipe the surfaces with a damp cloth. On gas grills, take care not to push debris into burner ports or ignition areas. On pellet grills, vacuum ash from the fire pot and interior corners. On charcoal grills, empty the ash pan and clean the bowl so air can move freely under the fire.
Tip: Warm residue comes off more easily than old, cold grease. If your grill is safe to do so, light heat for a short period first, then let it cool slightly before cleaning the interior.
The exterior matters too, especially after winter storage. Clean the lid, shelves, control knobs, and cart surfaces with a mild soap solution and a soft cloth. Stainless steel should be wiped with the grain to reduce streaking. Painted surfaces can usually be cleaned with a non-abrasive sponge. This is also the time to inspect the underside of the lid for grease flakes and soot, which can fall onto food if left unattended. Many spring grill maintenance problems are not dramatic; they are small accumulations that gradually affect the cooking experience. A grill that looks clean from a distance can still have a grease tray waiting to smoke at the worst possible time.
If you own a griddle rather than a traditional grate-style grill, deep cleaning shifts toward the flat-top surface. Remove cooked-on residue from the cook surface, empty the grease collection area, and make sure the heating zones are unobstructed. Flat-top owners often cook breakfast, vegetables, and smash burgers, so leftover oil can turn rancid if it sits too long. A careful spring cleaning removes that stale residue and restores a more neutral cooking surface. No matter the cooker type, the goal is the same: remove old material so the grill starts the season with a clean thermal path.
After cleaning exposes the internal parts, inspect each major component closely. This is the stage where you identify wear and tear before it becomes a breakdown during a cookout. Start with burners. Look for rust, cracking, blocked ports, or uneven flame patterns. Burners that show repeated rust or flame inconsistency may no longer distribute heat properly. If you see significant corrosion, replacement is usually better than trying to stretch another season out of a failing part. Uneven burners create hot spots that can burn one side of a chicken breast while leaving the other underdone.
Next, inspect grates and cooking surfaces. Cast iron grates should be free from flaking rust and should have an even cooking face. Stainless steel grates should not show sharp warping or broken welds. Warming racks, heat tents, and flame tamers should also be checked for alignment. If these pieces have shifted or bent, they can affect how heat spreads through the cabinet. A grill with a damaged heat shield may still function, but it may cook less evenly and require more babysitting. That is a common spring issue for grills that were stored outdoors with only partial cover.
Inspect knobs, hinges, latches, wheels, and cart hardware as well. A loose caster or sticking lid hinge may not affect ignition, but it affects safety and convenience. If the grill rolls poorly, you are less likely to move it into a better position for cooking or storage. If the lid doesn’t close correctly, temperature retention can suffer. Small mechanical issues often matter more than owners expect because grilling depends on a controlled environment. In real use, a misaligned lid can be the difference between steady roasting and constant heat loss.
If your grill includes accessories or add-ons, inspect those too. Side shelves should be firm, utensil hooks should hold weight securely, and bottle openers or tool mounts should not wobble. For pellet grills, check the hopper lid seal, auger access area, and chimney if present. For charcoal grills, inspect the charcoal grate and ash management system. These parts are not decorative; they determine airflow, heat consistency, and how easy the grill is to manage during longer cooks. Nexgrill’s broad product lineup means owners may be maintaining very different kinds of equipment, but the principle is always the same: identify damage before you fire up the grill for the first meal of the season .
Try comparing two products side by side below to see which fits best:
Once you have compared two options side by side, the next question is what else matters before the first cookout begins. Spring grill maintenance is not only a cleaning task; it is the bridge between winter storage and a safe, reliable grilling season. If you skipped a thorough fall shut-down or the grill sat through months of temperature swings, moisture, and dust, spring is when those problems tend to surface. A careful reset helps you restore heat consistency, reduce flare-ups, and avoid the frustration of discovering a failed igniter or clogged burner just as guests arrive. Nexgrill’s brand position emphasizes accessible, dependable outdoor cooking for a wide range of users, and that philosophy fits spring maintenance well: a few deliberate checks can preserve both performance and value.
The best way to think about spring preparation is as a sequence. First, confirm the grill is safe to power on. Second, clean away the residue left from the previous season. Third, inspect the components that do the actual work of heating and cooking. Finally, reassemble with care and test the grill before your first full meal. That sequence is useful because it mirrors how problems show up in real life. A dirty burner can cause weak flames, a rusted grate can ruin a sear, and a worn hose can stop the whole process before it starts. By moving in order, you identify the most serious issues first and avoid wasting effort on cosmetic cleanup if the grill is not yet ready for operation.
Safety, cleaning, and inspection are the core of a reliable spring reset.
In practical terms, spring maintenance is also about matching the grill to your actual cooking habits. A household that grills burgers and vegetables a few times a month will need less intensive intervention than someone who smokes brisket, roasts whole chickens, or uses a griddle for breakfast service on weekends. Nexgrill offers gas grills, pellet smokers, charcoal grills, and griddles, so the maintenance steps should be adapted to the fuel system and cooking style you use most often. Gas users should focus on burners and hoses, pellet users on ash and pellet condition, charcoal users on airflow and ash removal, and griddle owners on flat-top seasoning and grease management.
There is also a value argument for spring maintenance. Replacing worn parts after they fail usually costs more in time and inconvenience than catching them early. A loose fitting, dirty firebox, or blocked port may be a small fix if discovered during a tune-up, but it can become an afternoon of troubleshooting right when you planned to cook for the family. Nexgrill’s approachable outdoor-cooking model is built around the idea that grill ownership should be welcoming and practical, not intimidating. That makes a clear maintenance routine especially useful for newer owners who want confidence as much as convenience.
Spring maintenance also supports better food quality. Grease buildup can create stale smoke, ash can affect airflow, and residue on grates can transfer old flavors to new food. If your goal is a clean-tasting steak, crisp vegetables, or a full backyard meal, starting with a clean cooking chamber matters. The grill may still heat without this work, but it will rarely cook at its best. That distinction is what separates a quick wipe-down from an actual seasonal reset.
Safety checks should always come before deep cleaning, because there is no point scrubbing the inside of a grill if the fuel system itself needs attention. For gas grills, begin by confirming the propane tank or gas supply is properly connected and the hose is secure from end to end. Inspect the hose for cracking, brittleness, melted spots, or abrasion, especially near bends and connection points. If your grill uses quick-connect fittings, verify that they lock in firmly. Then do a soap-and-water leak test on the fittings. Brush the solution onto the connection points, open the gas slightly, and watch for bubbles. Bubbles indicate a leak and mean the grill should not be lit until the problem is corrected.
Ignition systems deserve a separate test. Turn the control knob, push the igniter, and make sure the burner lights quickly and evenly. If it takes several clicks, or if only part of the burner lights, you may be dealing with a weak battery, a dirty electrode, or a blocked burner port. It is better to find that out in the driveway than while dinner is waiting. A common spring scenario is a grill that worked fine in late fall but now starts slowly after sitting through moisture and dust. The issue is often minor, but only if you catch it early.
Warning: If you smell gas or see repeated ignition failure, shut the system off and inspect it before using the grill again. Do not keep cycling the igniter.
Inspect the burner tubes and venturi area for debris, insect nests, or residue. Small blockages can change how gas mixes with air and create weak or uneven flames. Side burners, rotisserie burners, and auxiliary burners should be tested individually because they can collect grime even when the main firebox looks fine. If your grill uses a lid thermometer, verify that it still moves and reads sensibly. While lid thermometers are not precision instruments, a stuck gauge is a clue that the grill experienced moisture damage or corrosion during storage.
Charcoal grills require a different set of safety checks. Make sure the bowl, vents, ash catcher, and charcoal grate are intact and not excessively rusted. Open and close the dampers to confirm they move smoothly. Good airflow control is essential because it affects how quickly charcoal lights, how hot the grill becomes, and how stable the heat stays during cooking. Pellet grills should be checked for moisture in the hopper, packed sawdust, ash around the fire pot, and any obstructions in the auger feed path. If pellets are swollen, soft, or clumped, discard them rather than trying to power through the season with questionable fuel.
Once the safety pass is complete, deep cleaning becomes the most visible part of spring grill maintenance. Start by removing all cooking grates, warming racks, drip trays, grease cups, and any other removable components. Clean them individually so you can reach hidden buildup. For tough grease, warm water and a non-abrasive scrub pad are usually enough. If the residue is heavy, let the parts soak for a short time before scrubbing. On cast iron grates, avoid soaking too long and dry them thoroughly after cleaning to reduce the chance of rust. On stainless steel, wipe in the direction of the grain for a cleaner finish and to reduce streaking.
Inside the grill, remove all loose debris before wiping anything down. In a gas grill, pay special attention to the bottom of the cookbox, the flavorizer bars or heat shields, the grease management system, and the area around the burners. In a pellet grill, remove ash from the fire pot and any corners where fine dust tends to settle. In a charcoal grill, clear the ash bed completely so air can flow through the fire chamber. This is not simply a cosmetic step. Ash and grease change airflow patterns and can affect how the next cook starts and finishes.
Tip: Clean the grease system before the first full-length cook of the season. That is the moment when old residue is most likely to smoke, flare, or drip onto hot surfaces.
The exterior deserves a thorough wipe-down as well. Clean the lid, shelves, control panel, side burner lid, cart, and handles using mild soap and a soft cloth. If the grill is stored outdoors, inspect the underside of the lid and the back panel for dirt and moisture marks. Wipe out any spider webs or dust around the control area. For stainless steel, follow the grain and avoid abrasive cleaners that can dull the finish. If your grill has a painted cart or powder-coated shell, treat it gently so you do not strip the coating. The goal is a clean exterior, but more importantly, the goal is to reveal any rust or damage that may have been hidden by grime.
If you are maintaining a griddle, deep cleaning includes removing cooked-on oil, scraping the surface clean, and checking the grease trough and drip path. A griddle that has been left with old oil can develop sticky patches that affect how food releases. If you cook eggs, pancakes, vegetables, or smash burgers, you want a smooth surface before the first meal. Similarly, a smoker requires attention to the fire pot, hopper, drip tray, and interior walls because smoke flavor is best when old residue is cleared first. The right cleaning process depends on the appliance, but the principle is universal: start the season with a cooking chamber that is clean enough to heat predictably.
With the grill stripped and cleaned, you can inspect the parts that affect performance most directly. Burners are the first place to look on a gas grill. Check each burner for rust, holes, warped metal, or blocked ports. An even row of blue flame is what you want; flickering yellow flames, dead sections, or weak output can signal a burner problem. If one side of the grill runs hotter than the other, or if food takes much longer to cook than it did last year, burner wear may be part of the reason. Burners are consumable components in the practical sense, and spring is the right time to decide whether a replacement is smarter than another season of patchwork use.
Next inspect the grates and cooking surfaces. Look for deep rust, distortion, broken welds, or areas where coating has flaked away. Grates influence everything from sear marks to food release. If the surface is rough or pitted, delicate foods are more likely to stick. Heat shields, flame tamers, and warming racks should sit flat and secure. Bent shields can create localized hot spots or poor heat circulation. In an everyday backyard setting, that might show up as burgers burning in the center while vegetables on the side lag behind.
Do not ignore the smaller moving parts. Tighten loose cart hardware, verify that wheels roll freely, and check that the lid opens and closes without scraping. The hinge tension should feel balanced, not jerky. Inspect knobs for cracking and make sure the markings still line up with the burner positions. A loose knob or weak caster does not always stop the grill from lighting, but those issues often point to broader wear. They also make the grill less pleasant to use, which matters if you want spring cooking to feel easy rather than fiddly.
For pellet grills, inspect the hopper interior, auger feed area, burn pot, and deflector plate. Moisture can cause pellets to swell and feed poorly, which leads to startup trouble. Ash buildup around the fire pot can interfere with ignition. For charcoal grills, inspect the charcoal grate, cooking grate, bowl, vents, and ash catcher. If airflow controls are rusted or clogged, temperature management becomes much harder. Nexgrill’s product range covers these different formats, so the maintenance checklist should stay specific to the appliance you own rather than treating every cooker like a gas grill.
After inspection, put everything back together carefully. Reinstall the burners, grates, shields, trays, and grease management pieces in the correct order. Make sure nothing is crooked or resting where it should not. Reassembly is the point where maintenance either becomes useful or gets undone; one misplaced heat shield can alter the way the whole grill performs. Once the grill is assembled, test the ignition again and let it run for a short preheat. Watch for even flame and make sure the lid thermometer, if present, moves into a believable range as the grill warms.
Info: The first preheat after maintenance is a test run. Use it to confirm ignition, flame pattern, and heat recovery before cooking a full meal.
If your grill has been moved out of storage, check placement as part of final prep. Keep the cooker on a stable, level surface away from overhanging branches, railings, and anything that might block airflow. Reconnect accessories only after the main unit is confirmed safe. This is also a smart time to replace the propane cylinder if it is low, verify you have enough fuel for the first few meals, and clean or replace any accessories that were stored with the grill. A worn grill brush, cracked scraper, or damaged cover will not help you once the season starts.
For first cooks, start with something simple that helps you confirm performance without a lot of variables. Chicken thighs, vegetables, or steaks are better test cases than a complicated multi-component meal. Simple food makes it easier to spot whether the grill is running hot in the center, slow to recover after lid openings, or producing unexpected flare-ups. If the equipment passes that first cook, you can move confidently into bigger spring gatherings.
Spring grill maintenance is ultimately about confidence. When you take the time to check safety systems, clean thoroughly, inspect components, and reassemble carefully, the grill becomes easier to trust on busy weeknights and during larger weekend gatherings. That confidence is worth the effort because it reduces surprises and helps your food cook the way you intended. It also aligns with Nexgrill’s welcoming approach to outdoor cooking: dependable gear makes it easier for more people to gather around the fire and enjoy the season together.
If you finish the spring reset and the grill lights cleanly, heats evenly, and holds temperature well, you are ready for the season. Keep the maintenance habit going with light cleaning after each use and a quick check of grease, ash, and burners every few weeks. That small amount of ongoing care will make your spring work last longer and help your grill stay ready for every cookout that follows.
Here's what sets us apart
We position ourselves as delivering high-end outdoor cooking features and performance without premium-brand pricing, emphasizing “Quality Grills. Unbelievable Value.”
We offer gas grills, pellet grills, griddles, smokers, pizza ovens, portable/tabletop grills, electric grills, accessories, and replacement parts — allowing customers to stay within one ecosystem for all outdoor cooking needs.
We differentiate ourselves through smart grilling products like the Oakford smart pellet grill, including app-connected cooking controls and modern outdoor cooking technology.
Don't just take our word for it
Keep reading
From our catalog