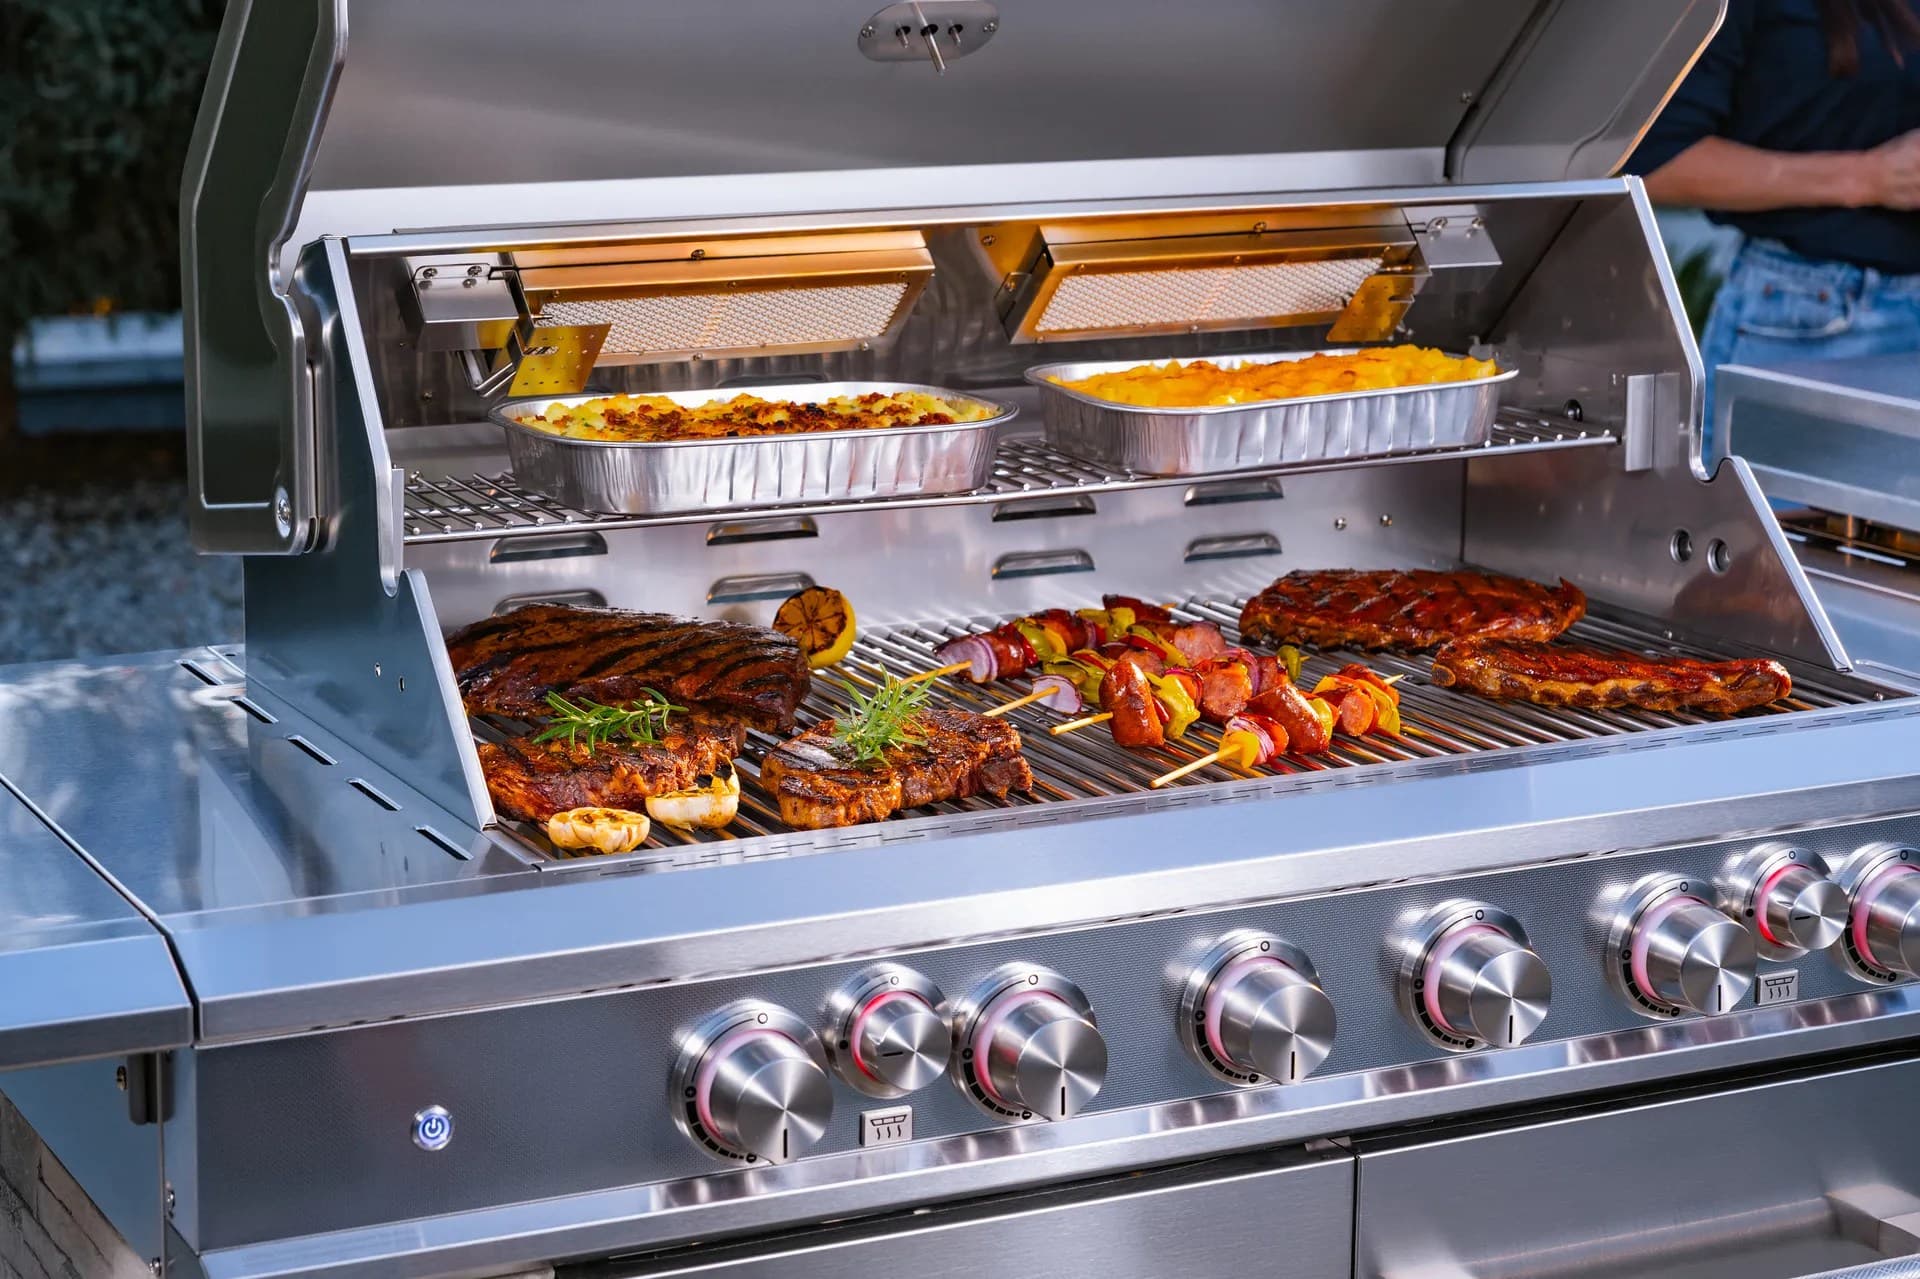
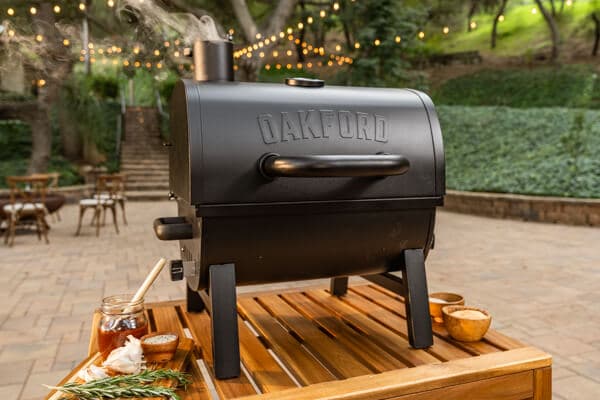
A comprehensive guide to achieving authentic smoked flavors using your charcoal grill.
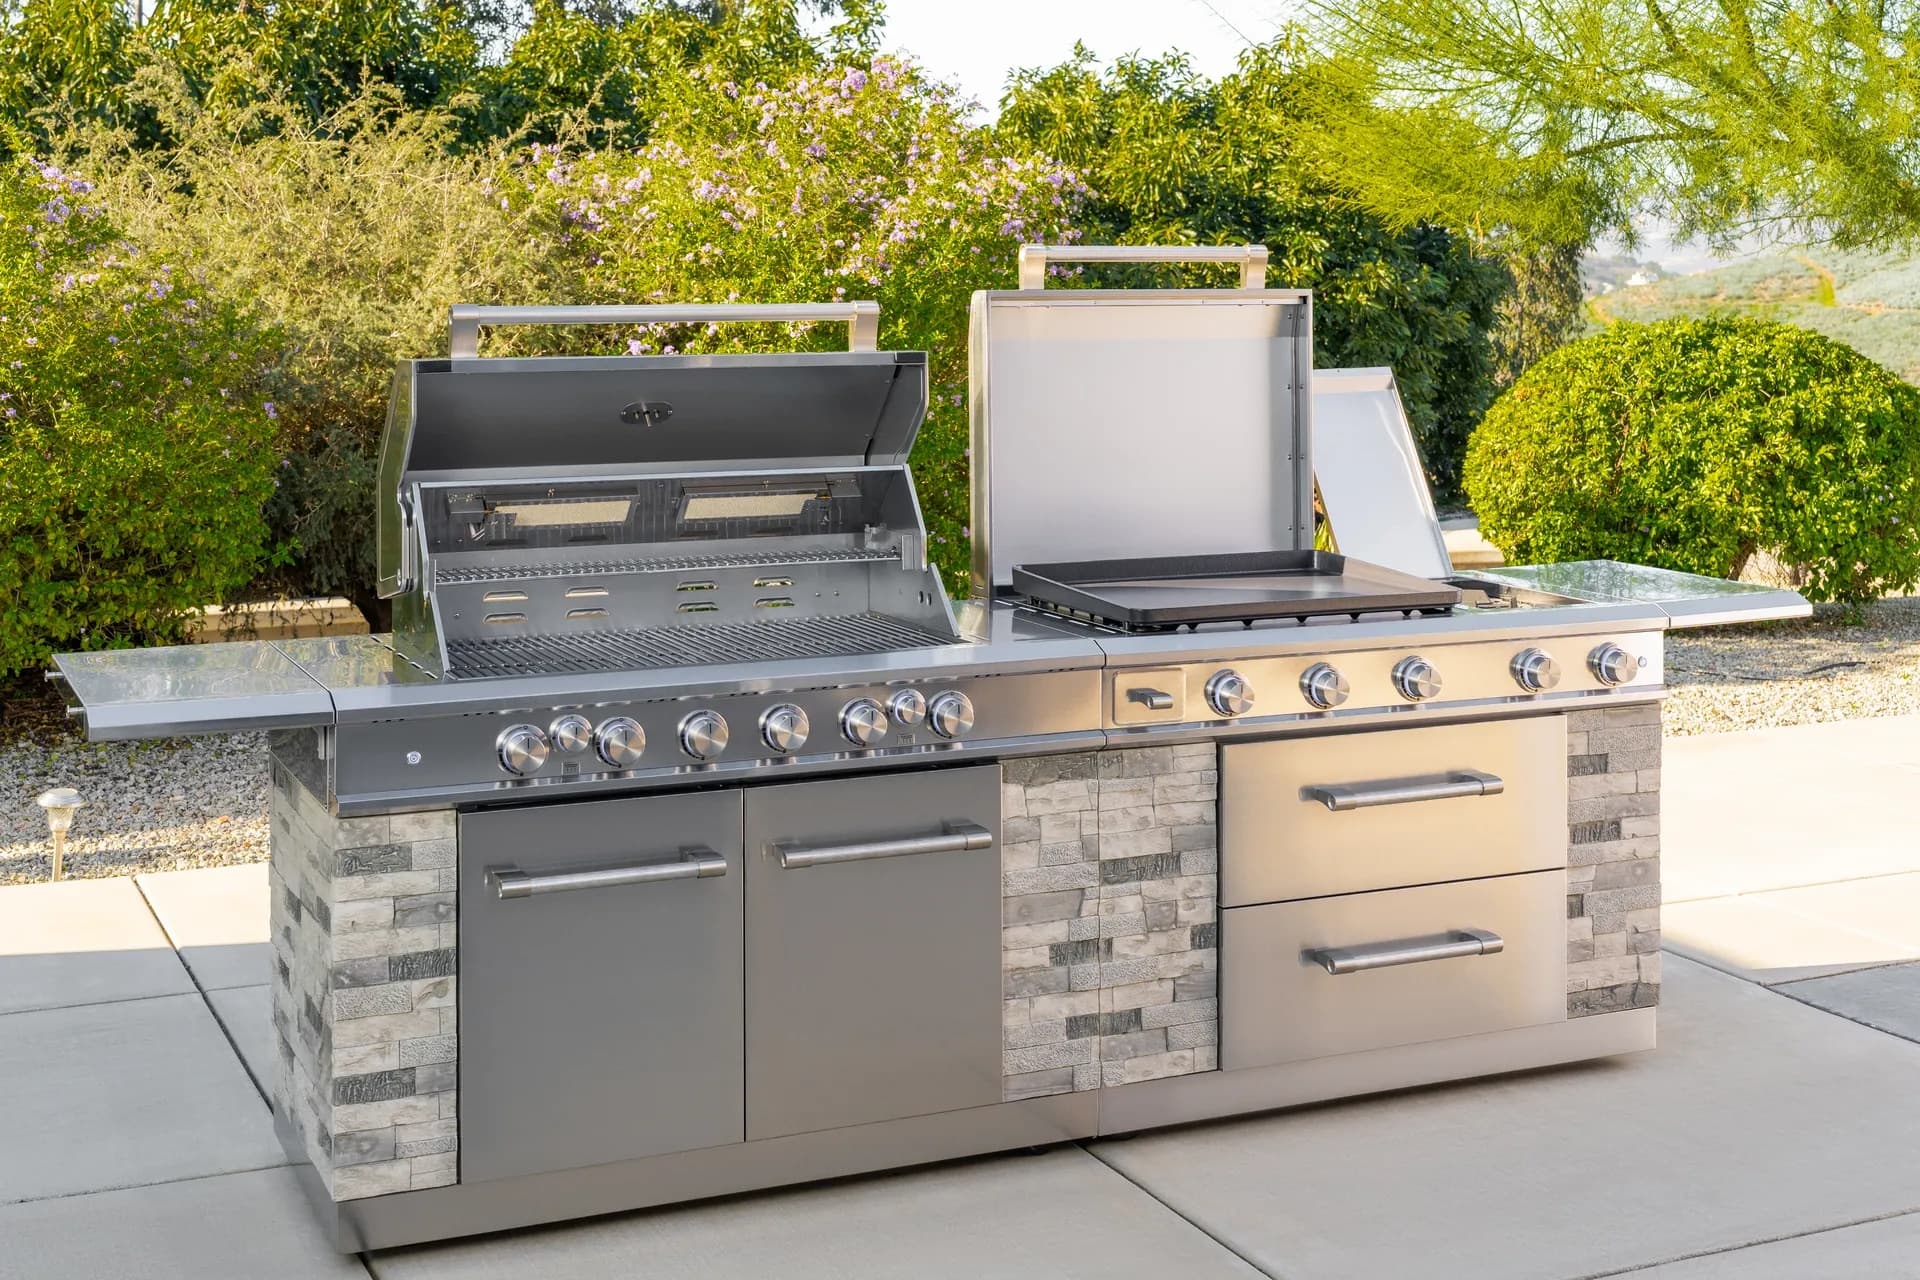
From sizzling breakfasts to smash burgers and teppanyaki-style dinners, the Daytona Pro 5 Burner NitroGuard™ Griddle delivers powerful heat, fast cooking, and a durable cooking surface built for every backyard cookout. Watch how easy outdoor cooking can be.
Here's what sets us apart from the competition
We position ourselves as delivering high-end outdoor cooking features and performance without premium-brand pricing, emphasizing “Quality Grills. Unbelievable Value.”
We offer gas grills, pellet grills, griddles, smokers, pizza ovens, portable/tabletop grills, electric grills, accessories, and replacement parts — allowing customers to stay within one ecosystem for all outdoor cooking needs.
We differentiate ourselves through smart grilling products like the Oakford smart pellet grill, including app-connected cooking controls and modern outdoor cooking technology.

Expert tips, buying guides, comparisons, and inspiration for choosing and getting the most out of your grill.

Practical guides for cleaning, maintenance, common grill issues, and performance optimization.

Step-by-step grilling recipes, cooking techniques, and meal ideas for every occasion and skill level.

Backyard entertaining ideas, seasonal grilling inspiration, and stories that celebrate outdoor cooking culture.

Helpful articles covering grilling tools, cookware, maintenance gear, and must-have accessories for outdoor cooking.

Find griddle recipes, cooking techniques, cleaning tips, and outdoor meal ideas designed for Nexgrill griddles.
Find answers to common questions
Gas grills provide instant heat and precise temperature control, making them easier to use. Charcoal grills offer a smoky flavor and high heat for searing but require more time to heat up and manage.
Pellet grills combine the convenience of gas with the flavor of wood, allowing for smoking, baking, and grilling. Traditional gas grills, however, are quicker to start and often easier to clean.
Charcoal grills typically reach higher temperatures quicker than gas grills, making them better for searing meat. However, high-quality gas grills can also provide adequate heat for effective searing.
Nexgrill offers models designed specifically for gas, charcoal, and pellets, allowing users to choose based on their cooking style and flavor preferences. Each type is built to optimize the characteristics of its respective fuel.
Choosing between gas and charcoal grills depends on your cooking preferences and lifestyle. If you value convenience and quick cooking, a gas grill may suit you better; if you prefer the taste and experience of traditional grilling, a charcoal grill would be ideal.
In This Article
Two-Zone Cooking Setup
Wood Selection and Preparation
Temperature Control Mastery
Smoking meats on a charcoal grill is one of the most rewarding ways to cook outdoors because it gives you something gas alone usually cannot: a layered, wood-driven flavor that feels earned. The process asks you to slow down, read the fire, and pay attention to the food instead of rushing it. That rhythm is part of the appeal. It is also why charcoal smoking has stayed so popular with backyard cooks who want more than a quick weeknight sear. When done well, the result is food with a darker crust, a deeper aroma, and a texture that reflects real control over heat and smoke rather than guesswork.
What makes this approach especially practical is that you do not need a dedicated offset smoker to start learning. A well-managed charcoal grill can handle ribs, chicken thighs, pork shoulder, sausages, brisket points, turkey breasts, and even firmer fish if you understand how to build heat zones. Nexgrill’s brand philosophy centers on approachable outdoor cooking that brings people together, and this style of cooking fits that mindset well: it is hands-on, social, and easy to adapt for families or weekend gatherings .
Smoking is less about brute heat and more about control. Your job is to hold a steady environment, not chase a perfect number every minute.
Typical low-and-slow range for many smoked meats in a charcoal grill
The best way to think about charcoal smoking is as a system of three parts: fuel, airflow, and food placement. Charcoal creates the heat base, wood adds aromatic smoke, and your vent settings fine-tune how those elements behave over time. If one part is off, the whole cook becomes harder than it needs to be. But if you learn how those pieces work together, your grill becomes more flexible than many first-time smokers expect. A rib rack can fit under a closed lid, a whole chicken can be finished over indirect heat, and even thicker cuts can be held at stable temperatures for hours with the right setup.
One reason this method continues to attract both new and experienced cooks is value. A charcoal grill can serve double duty as a grill and smoker, which means the same equipment can handle searing steaks one night and smoking pork the next. For many households, that versatility matters more than having a single-purpose machine taking up patio space. The trick is knowing how to convert a live fire into a controlled smoke chamber, and that starts with setup.
To smoke effectively, your charcoal grill needs a two-zone setup. That means placing hot coals on one side of the firebox and leaving the other side open for the meat. The food cooks in the cooler indirect zone while smoke circulates under the lid. This arrangement keeps the surface from burning while the interior slowly rises to the target temperature. If your grill has enough internal width, place a disposable water pan between the coals and the meat to help stabilize heat and add humidity. That pan is not decorative; it is a buffer that can slow temperature swings when the weather changes or when you open the lid.
The charcoal layout matters more than many people realize. A loosely packed pile burns faster and can spike temperatures, while a more deliberate arrangement gives you a longer cook. For short smoking sessions, such as chicken thighs or pork chops, a smaller bank of coals is enough. For longer projects like pork shoulder or beef ribs, you want a fuel arrangement that can carry heat for several hours without constant rebuilding. The setup should match the meat, not the other way around.
| Setup element | What it does | Why it matters |
|---|---|---|
| Two-zone fire | Separates heat from food | Prevents scorching and supports low-and-slow cooking |
| Water pan | Stabilizes chamber temperature | Helps reduce flare-ups and sharp swings |
| Lid vents | Controls airflow | Airflow governs burn rate and smoke quality |
A useful practical habit is to preheat the grill with the lid open briefly, then close it once the coals are established and the wood has started to smolder. This reduces the chance that you trap harsh, billowing smoke around the food at the beginning of the cook. The goal is thin, clean smoke rather than thick white clouds. If the smoke smells sharp or bitter, the wood may not be fully lit or the airflow may be too restricted. The best charcoal-smoking sessions usually begin with patience before the meat ever goes on the grate.
Avoid placing meat directly over a heavy bed of fresh coals unless you intend to sear first. Smoking works best when the food is shielded from direct radiant heat.
Wood choice shapes the identity of the cook more than many people expect. Charcoal supplies heat, but wood defines the aroma and aftertaste. Hickory gives a classic, hearty smoke profile that works well for pork shoulder and ribs. Oak is steadier and more versatile, making it a practical option for beef or mixed cooks where you do not want the smoke to overwhelm the meat. Fruit woods such as apple and cherry are milder, which makes them especially useful for poultry, pork loin, and smaller cuts that do not need an aggressive smoke profile. Mesquite is powerful and should be used carefully; it can dominate delicate proteins if you overdo it.
For most home cooks, the best practice is to start with one wood type and learn how it behaves before mixing varieties. Once you understand the baseline, blending becomes more useful. A common approach is to combine oak with a smaller amount of cherry for color and balanced aroma. Another is to use hickory for a strong pork cook but limit the amount to keep the flavor from turning acrid. The form of wood matters too. Chunks are usually the most manageable for charcoal grills because they smolder gradually. Chips burn faster and are better suited for shorter cooks or lighter smoke accents. Soaking chips is often overstated; dry chips can still work well when added to a stable charcoal bed, and they are less likely to steam unevenly.
Preparation is simple but important. Inspect the wood for mold, paint, or finish residue. Cut oversized chunks to a workable size if needed, and store them dry so they ignite predictably. For a charcoal grill, add wood after the charcoal is fully lit, not before. That timing helps the wood smolder rather than flare. Too much wood at once can create a bitter environment, so add small amounts and build smoke slowly. A light hand usually produces better results than trying to force a dramatic smoke cloud.
If you are cooking for a crowd, match the wood to the menu. For example, pork ribs can handle a stronger wood profile than chicken breasts. Brisket often benefits from oak or hickory because the meat can stand up to the smoke over a long cook. Turkey breast, on the other hand, usually does better with a gentler fruit wood. Thinking this way keeps the smoke from overpowering the meal and helps each cut taste like itself, only better.
Temperature control is the core skill in charcoal smoking. The lid vent, bottom vent, charcoal amount, and ambient weather all influence your cook. Start with the bottom vent open enough to support a steady burn and use the top vent to fine-tune the exit of hot air and smoke. Closing vents too aggressively can starve the fire, produce dirty smoke, and create a stale flavor. Leaving them too open can push the grill out of the low-and-slow range. The sweet spot is usually found by making small adjustments and waiting long enough to see the effect before changing anything again.
The lid thermometer, if your grill has one, should be treated as a reference point rather than an absolute truth. Some thermometers read hotter or cooler than the grate level where the meat sits. If you want more consistent results, use a reliable probe at grate height near the food. That gives you a better picture of the real cooking environment. On windy days, temperature stability becomes harder because airflow increases burn rate. In cold weather, the grill loses heat faster. In both cases, reducing unnecessary lid openings and shielding the cooker from direct gusts can help keep the fire under control.
Think in terms of adjustment cycles. Make one vent change, wait several minutes, then evaluate the effect before touching anything else.
A dependable workflow is to preheat the grill, establish the two-zone fire, place the meat, then let the cooker settle before making fine adjustments. If the temperature drifts upward, trim airflow slightly. If it drops, open the vents a bit or add a small amount of lit charcoal. For longer cooks, plan fuel additions in advance so you do not have to react in a rush. That habit is especially useful when smoking larger cuts like pork butt, where the fire must remain stable through hours of stall and recovery.
Different meats need different levels of smoke, heat, and finishing strategy. Pork ribs are often the easiest starting point because they tolerate a steady low temperature and develop a forgiving texture. Chicken pieces are faster and benefit from a slightly higher chamber temperature so the skin renders better. Beef brisket and pork shoulder require patience, a stable fire, and enough fuel to sustain the cook through the long middle phase. Sausages can be smoked to add flavor before a short finish over direct heat, which gives them color and texture without drying them out.
For poultry, lighter woods and moderate smoke exposure work best. For pork, especially shoulder and ribs, a stronger wood like hickory can create a deeper profile. Beef often responds well to oak because it supports a beef-forward flavor rather than masking it. If you are doing a mixed cook, place the meat with the longest cook time closest to the stable center of the indirect zone and move quicker-cooking items farther away from hotter edges. That simple habit helps avoid staggered doneness problems.
Another useful distinction is between smoke absorption and bark formation. Smoke helps build flavor early, while bark develops as the exterior dries and the seasoning bonds to the surface. If you wrap meat during the cook, do it only after the bark has formed to your liking. Wrapping too soon can soften the crust and make the final texture less satisfying. The right timing depends on the cut and your texture preference, but the principle stays the same: let the exterior develop before you shelter it.
A clean grill performs more predictably, especially for smoking. Ash buildup can block airflow, and blocked airflow is one of the fastest ways to lose temperature control. After the grill is fully cool, empty the ash catcher or firebox, brush the grates, and remove grease residue from the lid and cooking surfaces. Built-up residue can eventually cause unpleasant drips, smoky flare-ups, and stale flavors on the next cook. If you use your grill often, a quick post-cook cleaning is easier than trying to recover it after several sessions.
Before each smoke, inspect the vents and grate surfaces to make sure airflow paths are not restricted. Check for rust spots, loose hardware, or residue around the ash management area. A charcoal grill used for smoking does not need to be spotless, but it should be consistent. That consistency helps you repeat good results instead of rediscovering the setup every weekend. A weather-resistant cover also helps protect the cooker between uses, which matters if your grill lives outdoors year-round. Nexgrill’s brand guidance emphasizes dependable products and welcoming outdoor experiences, and keeping your grill clean is part of preserving that value over time .
A short cleanup after every smoke saves time later and makes it easier to hold a steady fire the next time you cook.
Once you have the basics in place, you can compare two charcoal grill setups side by side below to see which one fits your cooking style best.
Once you have weighed two charcoal grill setups against each other, the next step is learning how experienced cooks stretch a single fire into a long, controlled smoke session. The Minion and Snake methods are two of the most useful approaches for that job because they help regulate burn speed without constant intervention. They are different in structure, but both solve the same problem: how to keep a charcoal grill at a stable low temperature long enough to finish larger cuts without repeatedly rebuilding the fire.
The Minion method starts with a small cluster of lit coals poured onto a larger bed of unlit charcoal. As the lit coals slowly ignite the surrounding fuel, the fire moves outward in a gradual wave. This is especially useful for cooks that last several hours, such as pork shoulder or beef chuck roast. The Snake method arranges briquettes in a curved line, often two coals wide and two high, with wood chunks spaced along the path. The fire burns progressively along the line, which creates a very steady and predictable low-and-slow environment. In practice, the Snake method is often easier for beginners to visualize, while the Minion method gives you more flexibility on longer or slightly hotter cooks.
| Method | Best use | Strength | Trade-off |
|---|---|---|---|
| Minion method | Long brisket, pork shoulder, chuck roast | Flexible temperature range and long burn time | Requires some practice to manage the initial coal count |
| Snake method | Ribs, poultry, smaller roasts | Very even burn and easy visual control | Less adaptable if you need a sudden temperature change |
If your goal is repeatability, the Snake method is a strong starting point because it makes the burn path visible. If your goal is flexibility across different meat sizes, the Minion method gives you more room to adjust. Either way, wood chunks should be spaced so the smoke is spread out, not dumped all at once. You want a steady stream of aromatic smoke, not a flash of heavy white exhaust that turns bitter.
Most smoking problems are heat problems in disguise. If the meat tastes harsh or ashy, the fire likely produced dirty smoke because the wood was burning too aggressively or the vents were too restricted. If the chamber temperature keeps falling, you may be underfeeding the fire, using too much damp charcoal, or opening the lid too often. If the bark is not setting, the surface may be too moist or the cooker may not have had enough dry airflow early in the cook. Each symptom points to a specific correction, which is why observation matters more than panic.
One of the most common issues is temperature overshoot. It usually happens when too many lit coals are added at once or when the bottom vent is opened too far in an attempt to recover lost heat. The better move is to make a small correction and wait. Another frequent problem is thin, wispy smoke that never seems to build enough flavor. That can happen if the wood is too far from the active burn or if the grill never reaches a clean smolder. In that case, slightly more airflow or better placement of the wood chunk usually helps. You should also recognize that not every stage of the cook needs heavy smoke. During the later stages, the meat may already have absorbed the flavor it needs.
If the smoke looks thick and white for a long stretch, step back and fix the fire instead of trying to cook through it. Harsh smoke usually means the burn is not clean yet.
Humidity and weather can also complicate the cook. Cold air saps heat, wind feeds the fire, and rain can cool the grill surface. A lid thermometer can lag behind conditions at grate level, so use a second probe if you want a more accurate read. In difficult weather, resist the urge to keep checking the food. Every lid lift releases heat and smoke, and repeated openings are one of the fastest ways to derail a steady session. For a long cook, plan your check-ins around meaningful milestones rather than curiosity.
A charcoal grill can deliver deep flavor on its own, but marinades and rubs help shape the finished profile in a more intentional way. Dry rubs are especially useful for smoked meats because they help build bark. A good rub balances salt, sugar, spice, and aromatics so the exterior develops color without becoming sugary or burnt. For pork, a paprika-forward rub with brown sugar, garlic, black pepper, and mustard powder can create a rich crust. For beef, a simpler blend centered on coarse pepper, salt, and garlic often works better because it lets the smoke stay in the foreground.
Marinades are more helpful for shorter cooks or leaner meats that need moisture and flavor support. For example, chicken thighs can benefit from a marinade with acid, oil, and herbs, while pork tenderloin can gain complexity without becoming too salty. The trick is not to overcomplicate the mixture. Strong smoke, strong rub, and strong marinade together can become too busy. Choose one primary flavor lane and let the other components support it. If you want a more pronounced bark, apply the rub well before the cook so it has time to dissolve, tack up, and adhere to the surface.
When planning a menu, think about the final plate as a whole. A heavier rub can be balanced with a bright sauce, while a sweet glaze may work better with a simpler smoke profile. This matters because charcoal smoking often creates a richer, darker base flavor than standard grilling. The more assertive the smoke, the more careful you should be about balancing salt and sweetness. That is how you keep the meat tasting intentional rather than overwhelmed.
Safety starts before the grill is lit. Place the cooker on a stable, nonflammable surface away from overhangs, dry brush, and anything that could catch embers. Keep a heat-resistant glove and long-handled tools nearby so you are not reaching into a hot chamber with bare hands or improvised utensils. When using lighter fluid, follow manufacturer instructions carefully, though many cooks prefer chimney starters because they reduce residue and make ignition more predictable. Never add lighter fluid to an already lit fire.
Food safety matters just as much as fire safety. Large cuts should be cooked to their appropriate internal temperatures and held properly after removal from the grill if they are not being served immediately. Use a reliable probe thermometer for doneness, not color alone. Smoking can darken the surface early, which makes visual cues unreliable. Poultry especially should never be judged by appearance alone, since smoke can make the exterior look fully done long before the center reaches a safe internal temperature. Clean hands, clean tools, and separate trays for raw and cooked meats also help avoid cross-contamination during a long session.
The safest smoking sessions are the ones you plan before ignition: tools ready, fuel measured, thermometer available, and serving space cleared.
Smoked meat tastes best when the rest of the plate respects the same balance of richness and contrast. Because charcoal smoke adds depth and sometimes sweetness, sharp, crisp, or acidic sides can keep the meal from feeling heavy. Coleslaw with vinegar brightness, pickled onions, potato salad with mustard, grilled corn with lime, and beans with a little smoke of their own all help the meal stay lively. For more substantial plates, a simple green salad or roasted vegetables can act as a fresh counterweight to the meat’s darker flavors.
Beverage pairing is just as useful. A citrus-forward lager, amber ale, iced tea with lemon, or a dry cider can complement smoked pork and chicken without overpowering them. Beef often pairs well with a bolder beer or a zero-proof beverage that has enough acidity to cut through fat. If you are serving a mixed crowd, keep one bright, nonalcoholic option on hand so the meal feels welcoming to everyone. That spirit matches Nexgrill’s emphasis on gathering people around the table and making outdoor cooking approachable for different tastes and traditions.
Smoking meats on a charcoal grill rewards patience, observation, and a willingness to learn the behavior of your fire. Once you understand how to set up a two-zone cook, choose the right wood, stabilize temperature, and troubleshoot smoke quality, the grill becomes much more than a weekend burger machine. It becomes a flexible outdoor cooker capable of producing rich ribs, tender shoulder, juicy poultry, and deeply flavored beef with a level of control that keeps improving as your experience grows.
The strongest smoking results usually come from simple habits repeated well: preheat carefully, add wood in moderation, adjust vents one step at a time, and let the meat tell you when it is ready. Over time, those habits create consistency, and consistency is what turns a good cook into a dependable one. If you want to keep refining your results, revisit the fire setup, note the wood you used, and track how weather affected the cook. That small record-keeping habit can reveal patterns that improve your next session more than any shortcut ever will.
Here's what sets us apart
We position ourselves as delivering high-end outdoor cooking features and performance without premium-brand pricing, emphasizing “Quality Grills. Unbelievable Value.”
We offer gas grills, pellet grills, griddles, smokers, pizza ovens, portable/tabletop grills, electric grills, accessories, and replacement parts — allowing customers to stay within one ecosystem for all outdoor cooking needs.
We differentiate ourselves through smart grilling products like the Oakford smart pellet grill, including app-connected cooking controls and modern outdoor cooking technology.
Don't just take our word for it
Keep reading
From our catalog