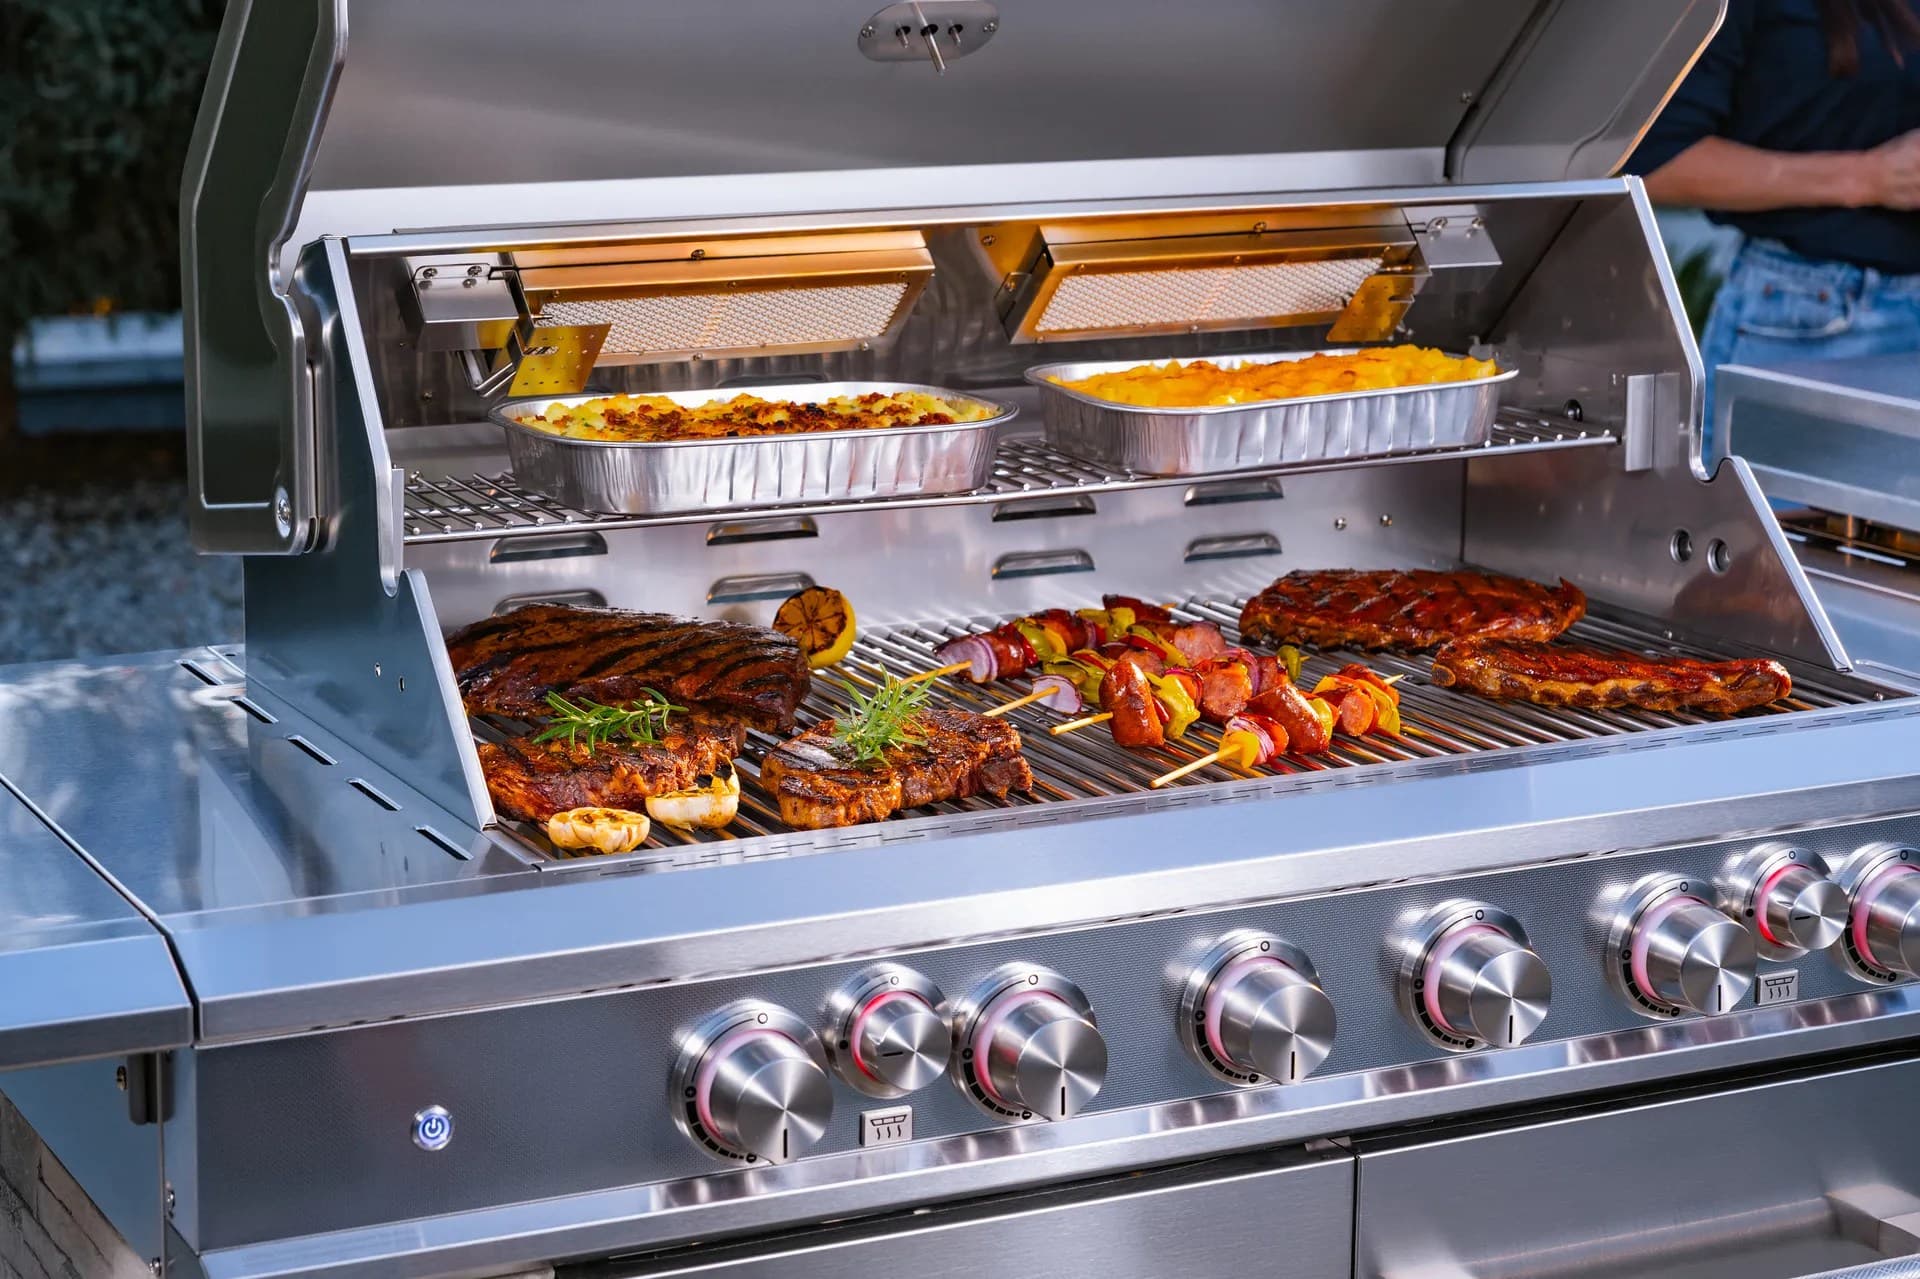
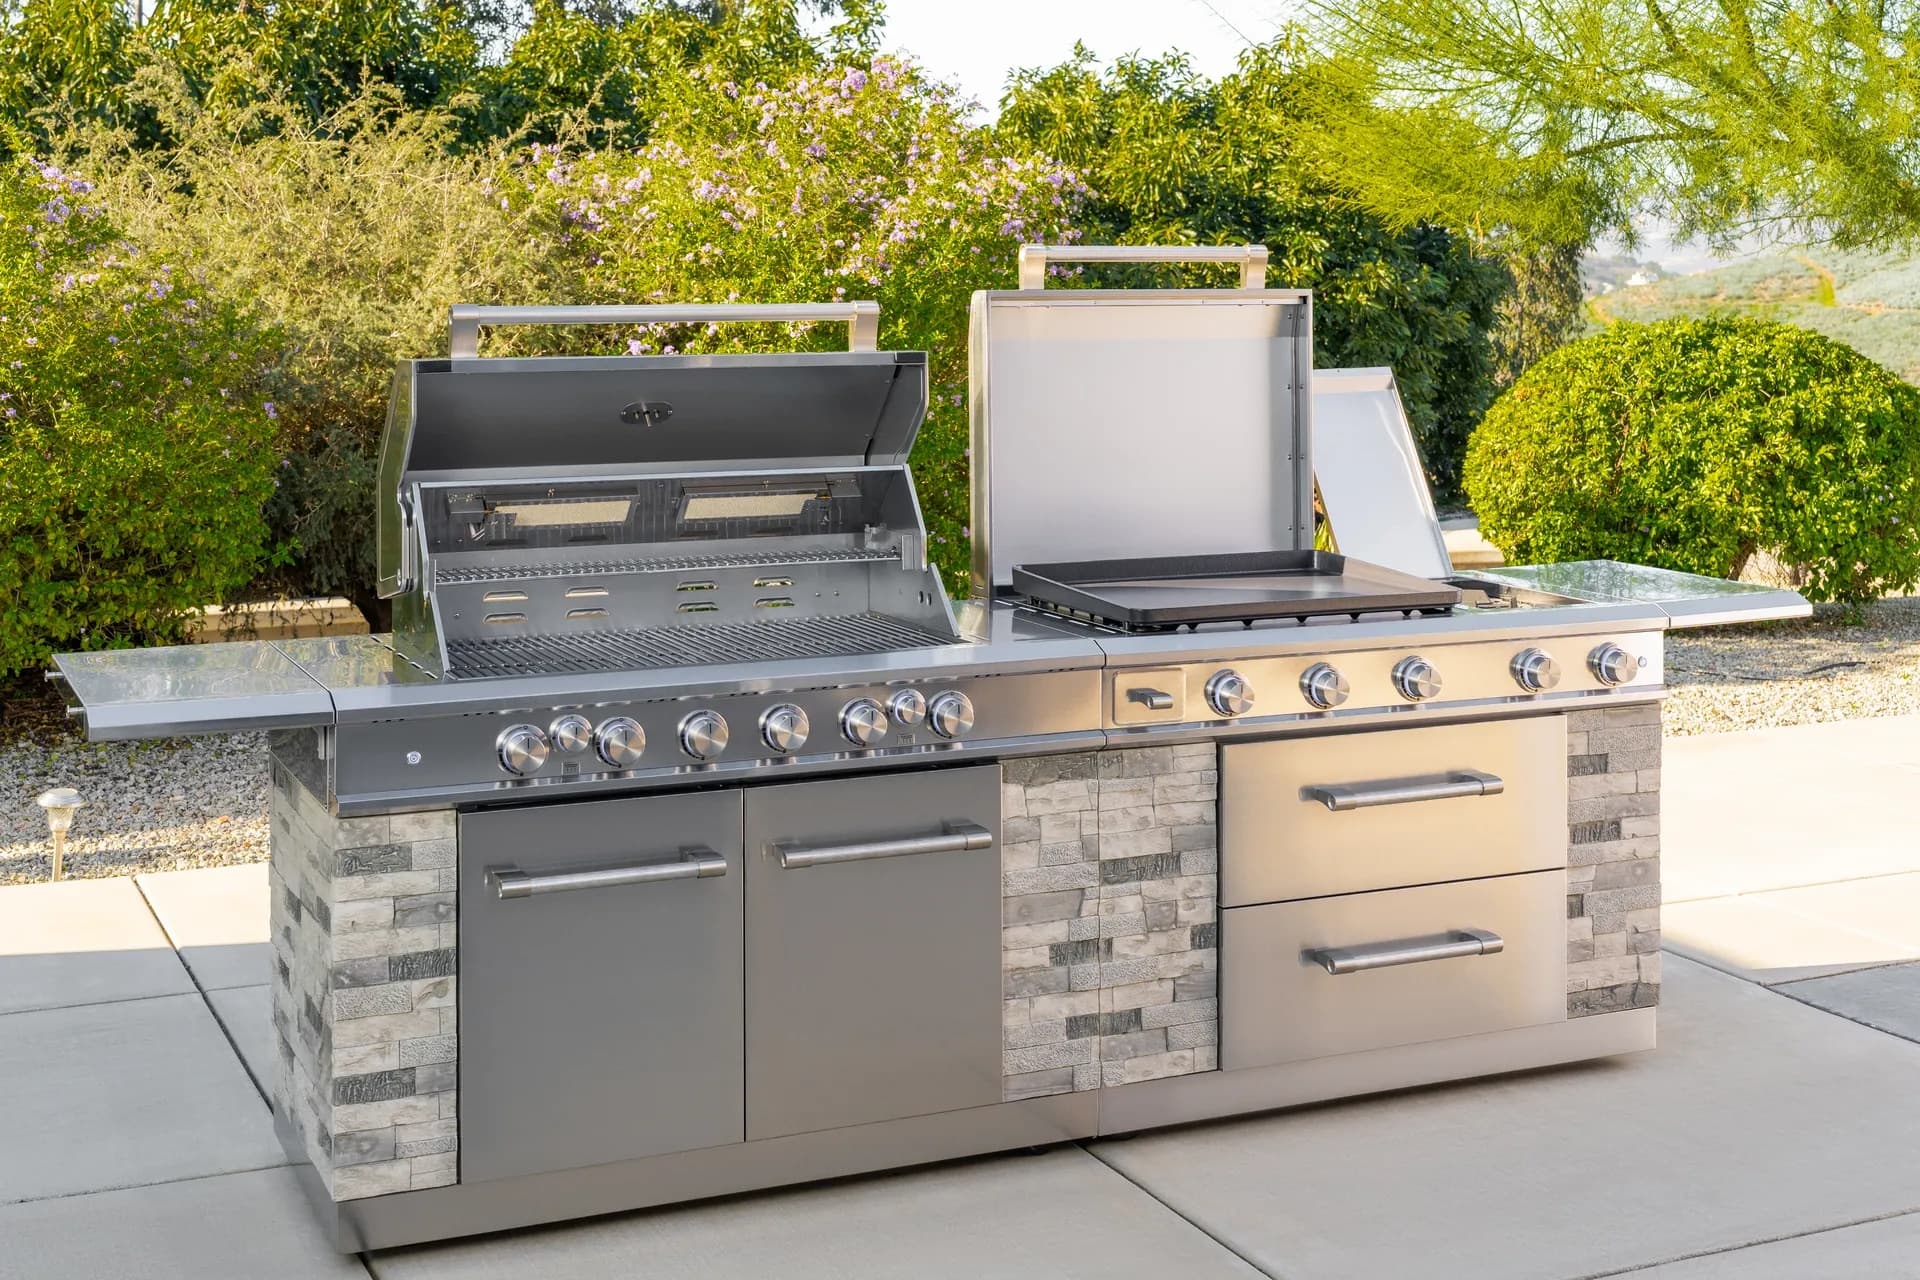
From sizzling breakfasts to smash burgers and teppanyaki-style dinners, the Daytona Pro 5 Burner NitroGuard™ Griddle delivers powerful heat, fast cooking, and a durable cooking surface built for every backyard cookout. Watch how easy outdoor cooking can be.
We position ourselves as delivering high-end outdoor cooking features and performance without premium-brand pricing, emphasizing “Quality Grills. Unbelievable Value.”
Wide range of outdoor cooking products for every use case
We offer gas grills, pellet grills, griddles, smokers, pizza ovens, portable/tabletop grills, electric grills, accessories, and replacement parts — allowing customers to stay within one ecosystem for all outdoor cooking needs.
Innovation-focused outdoor cooking with smart technology
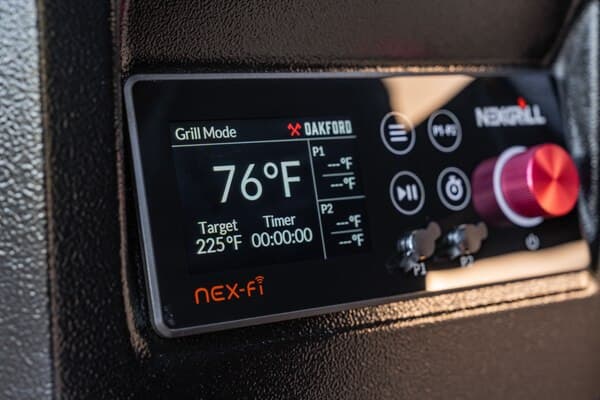
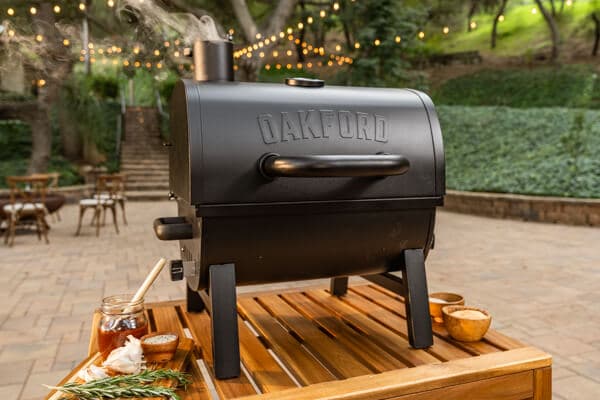
We differentiate ourselves through smart grilling products like the Oakford smart pellet grill, including app-connected cooking controls and modern outdoor cooking technology.
Find griddle recipes, cooking techniques, cleaning tips, and outdoor meal ideas designed for Nexgrill griddles.
Frequently Asked Questions
Find answers to common questions
Gas grills provide instant heat and precise temperature control, making them easier to use. Charcoal grills offer a smoky flavor and high heat for searing but require more time to heat up and manage.
Pellet grills combine the convenience of gas with the flavor of wood, allowing for smoking, baking, and grilling. Traditional gas grills, however, are quicker to start and often easier to clean.
Charcoal grills typically reach higher temperatures quicker than gas grills, making them better for searing meat. However, high-quality gas grills can also provide adequate heat for effective searing.
Nexgrill offers models designed specifically for gas, charcoal, and pellets, allowing users to choose based on their cooking style and flavor preferences. Each type is built to optimize the characteristics of its respective fuel.
Choosing between gas and charcoal grills depends on your cooking preferences and lifestyle. If you value convenience and quick cooking, a gas grill may suit you better; if you prefer the taste and experience of traditional grilling, a charcoal grill would be ideal.
In This Article
Essential Tools
What you need for a successful assembly.
Common Mistakes
Avoid these pitfalls during assembly.
Maintenance Tips
Keep your smart grill in top shape post-assembly.
Introduction to Smart Grill Assembly
Assembling a smart grill can seem daunting, but with the right guidance, it becomes a manageable task. Smart grills, equipped with advanced technology for precise cooking, have various components that need careful assembly to function optimally. Proper assembly ensures safety and enhances the grilling experience, allowing you to take full advantage of its smart features.
Understanding the assembly process is crucial for both new and experienced grill owners. This guide will walk you through the essential steps, tools, and safety measures to assemble your grill efficiently. Whether you're preparing for a summer barbecue or a cozy winter cookout, building your grill correctly is the first step toward culinary success.
Preparation: Tools and Safety
Before beginning the assembly, gather all necessary tools and review safety precautions. Key tools include a screwdriver set, adjustable wrench, and pliers. Having these tools within reach simplifies the assembly process and minimizes frustration. Additionally, wearing protective gloves and eyewear can prevent accidents during assembly.
Tip: Organize your workspace to keep all components and tools easily accessible.
Safety is paramount when assembling any grill. Ensure you have a stable surface to work on, and follow all manufacturer instructions closely. Checking the parts list against the components provided in the package helps avoid missing pieces that could complicate assembly.
Step-by-Step Assembly Guide
The following steps outline the assembly process for a typical smart grill. Always refer to your specific model's manual for detailed instructions:
Start by attaching the legs to the base. Ensure they are firmly secured with bolts.
Mount the grill body onto the base, aligning the holes for secure attachment.
Install the side shelves, if included, ensuring they lock into place tightly.
Attach the smart control panel by connecting the wires to the designated ports.
Secure the lid onto the grill body, checking for smooth operation.
It's beneficial to have an extra set of hands during assembly, especially when handling larger components like the grill lid and body.
Troubleshooting Common Assembly Issues
Even with clear instructions, assembly can hit snags. Here are some common issues and fixes:
Misaligned Holes: If parts don't align, double-check that they are oriented correctly and that no debris is obstructing the fit.
Loose Connections: Ensure all bolts and screws are tightened securely. Loose parts can lead to instability and potential hazards.
Electrical Issues: If the smart control panel doesn't light up, verify that all connections are secure and the grill is receiving power.
For persistent issues, consult the manufacturer's customer support or online forums for additional guidance.
Post-Assembly Maintenance Tips
Maintaining your smart grill after assembly is crucial for longevity and optimal performance. Regular cleaning prevents buildup of grease and food particles, ensuring your grill remains in top condition.
Start by cleaning the grill grates after each use. Use a wire brush while the grill is still warm to remove residue easily. For deeper cleaning, remove the grates and soak them in soapy water.
Tip: Use non-abrasive cleaners to avoid damaging the grill's finish.
Periodically check the smart components for firmware updates. Keeping the software up to date ensures that you benefit from the latest features and functionality.
Conclusion and Further Resources
By following this guide, you're well on your way to enjoying a fully functional smart grill. Remember, patience and attention to detail during assembly can save time and prevent issues down the line. For model-specific manuals, visit the manufacturer's website or refer to the resources provided with your grill.
Engage with online grilling communities to share your experiences and learn from other enthusiasts. These platforms offer a wealth of information and support for both novice and experienced grillers.
For more detailed information on Nexgrill products and smart grill maintenance, visit Nexgrill Products and explore their extensive collection.
We position ourselves as delivering high-end outdoor cooking features and performance without premium-brand pricing, emphasizing “Quality Grills. Unbelievable Value.”
Wide range of outdoor cooking products for every use case
We offer gas grills, pellet grills, griddles, smokers, pizza ovens, portable/tabletop grills, electric grills, accessories, and replacement parts — allowing customers to stay within one ecosystem for all outdoor cooking needs.
Innovation-focused outdoor cooking with smart technology
We differentiate ourselves through smart grilling products like the Oakford smart pellet grill, including app-connected cooking controls and modern outdoor cooking technology.
What Our Clients Say
Don't just take our word for it
“I’ve been using the Nexgrill Daytona 4-Burner Gas Griddle for a while now, and I’ve been really happy with it. First off, it’s super sturdy and feels really well-made, like it’s going to last me a long time. The cooking space is awesome—plenty of room for making big meals. So far I’ve cooked pancakes, burgers, bacon and some veggies. The 4 burners make it easy to control the heat in different areas. I love that I can keep one side hotter for searing and leave the other side cooler for things that don’t need as much heat. Plus, it heats evenly, which I was really glad to see. The shelves underneath and on its sides are a nice bonus. I’ve used them to keep things like plates, tools, and ingredients handy while I’m cooking, it’s very convenient. Cleaning it is super simple too. Once it cools down, I just wipe off the cooking surface and let the grease funnel into the trap. It’s quick and easy, and honestly, it barely looks like I even used it. If I had to nitpick, the grease trap can fill up kind of quickly during bigger cooking sessions, but as long as you keep an eye on it, it’s not a big deal. Overall, this griddle has been great. It’s sturdy, easy to use, and makes cooking outside a lot of fun. If you’re into grilling or want something versatile, I think this is a solid choice. Originally posted on influenster.com”
M
martind23_2941
Sturdy, easy to use, and perfect for cooking big m
“took about 2-3 hrs for complete assembly. took about 15-20 minutes to fully heat to 700. used a pan liner and a drip cup liner due to previous issues with those rusting away. this is about the 3-4 grill i have assembled. dont try to do it alone or ask the wife for help with the firebox its awkward. always check the directions 2-3 times before tightening down and dont over tighten the screws. hopeing for 5 years of grilling on this but i havent checked the warrenty yet.”
DT
Dave the Griller
finally got around to building this.bought in 2025
“We just bought this guy and I recommend always buy it assembled, we just use the grill 2 times and really works good; is perfect size and the side burn is very useful plus the caddy attach for spices; the material quality is in medium rate; no too cheap no too expensive I'll be glad if it works for minimum 5 years. Nexgrill could improve with the way, and cleaners to not damage the grates and the burners. I protect the removable pan with heavy duty aluminum foil, when the grease drop I only change the foil. Well I am enjoying my new Nexgrill !!! P.s. always clean the grill after use it....ALWAYS :-)”
KA
Karl A
Nice Grill
“Thank you to Influencer and Nexgrill for sending this to me for free, in exchange for my honest opinion. My 17 year old son put this together for me. It was easy but time consuming, it took about 2 hours. This is great for families, because you can cook a good amount of food in a short time. We did tacos, but it’s also great for breakfast, pancakes, eggs, breakfast burritos. It’s easy to clean if you have the right tools, you’ll need a scraper and metal spatula. Overall I would recommend this flat grill, it’s a great addition to our household. Originally posted on influenster.com”
K
KellyL
Quick and easy cooking
“My old Nexgrill is 25 years old and still looking and performing well! This new one is going on our back patio to partner with the old one in our courtyard. Obviously quality products to last that long. I hope the new one does as well. The only concern I have is that the sides are painted metal rather than stainless like the old one. I hope it doesn’t rust over time. But, We are very happy grillers!”
JS
Judy S
New grill to partner with my old one
“Bought grill 3 years ago stainless grates rusted out had to order new ones to replace Yes, I recommend this product.”
G
GaryS329
Stainless
“I’ve always been a smoker, fryer kind of guy. But recently with my new job keeping me super busy I’ve been cooking on my father in-laws 2 burner grill and it takes so long to cook ribs and chicken. I love just lighting the burners and cooking so I decided to upgrade by buying my own and I got this 5 burner with side burner for veggies , took me maybe 20 minutes to get all the dinner done tonight after I seasoned the grill with an onion. Love it so far, I hope it lasts a long time! It’s beautiful!”
JB
Jason B
Love it so far! My first propane grill I’ve ever bought myself!
“I love your grills. This is a replacement grill for a fully stainless steel one (was suppose to be). We originally bought it for our daughter's new townhouse, but her patio was not "ready" for it. We have kept it for 5 years now. My husband passed, I sold the house and move it, in the original box, with me and just put it together. The”
LG
Lisa G
Replacement
“Purchased a 5 burner with side burner grill probably 7-8 years ago. You can only replace things for so long. Opted on a smaller 4 burner grill this time. Hoping to get lots of use for many years to come.”
BS
Brian S
2nd grill with out
“Easy grill to use & grills well. Last grill lasted a little over 6 years. Had to replace burners twice (just worn out - lots of use). Here is old grill & new grill.”
RE
Russell E
2nd Nexgrill
“I had either recieved or bought a grill from either webber or Charbroil. Both had lasted roughly 5 years each before rusting out. For the price point and the way this grill feels I think this one should last longer. Looks awsome new so hopes are high.”
VA
Victor A
3rd grill so far...
“I’m just setting up my second 5 burner nexgrill!!! My first one was purchased in 2015!! I live in New England and the grill lived outside for 7 1/2 years!! That is an impressive lifespan for a grill in my area! I’ll be a loyal Nexgrill customer for life. Thanks very much. Yes, I recommend this product.”
L
Litch
Robust grill with Longevity to boot
“This grill is good for an economy grill. My 10 year old assembled most of it. I knew that I was getting a budget grill and didn't expect a Cadillac. I bought it mainly because the burners have flame on the left and right, instead of one row on the top. I checked the temperature gauge vs my digital and it runs 50° high, didn't expect it to be right on. The burner tents are higher in the front, making it hotter in the front. I have snips so I'll cut the front to set level. I seasoned the grill with bacon, it leaked from the screw to the drip pan, which was tight. The corners are sharp. I had corner protectors for my smoker and put some on the Nexgrill, hoping to get more life from the cover. Overall it's pretty good for the price.”