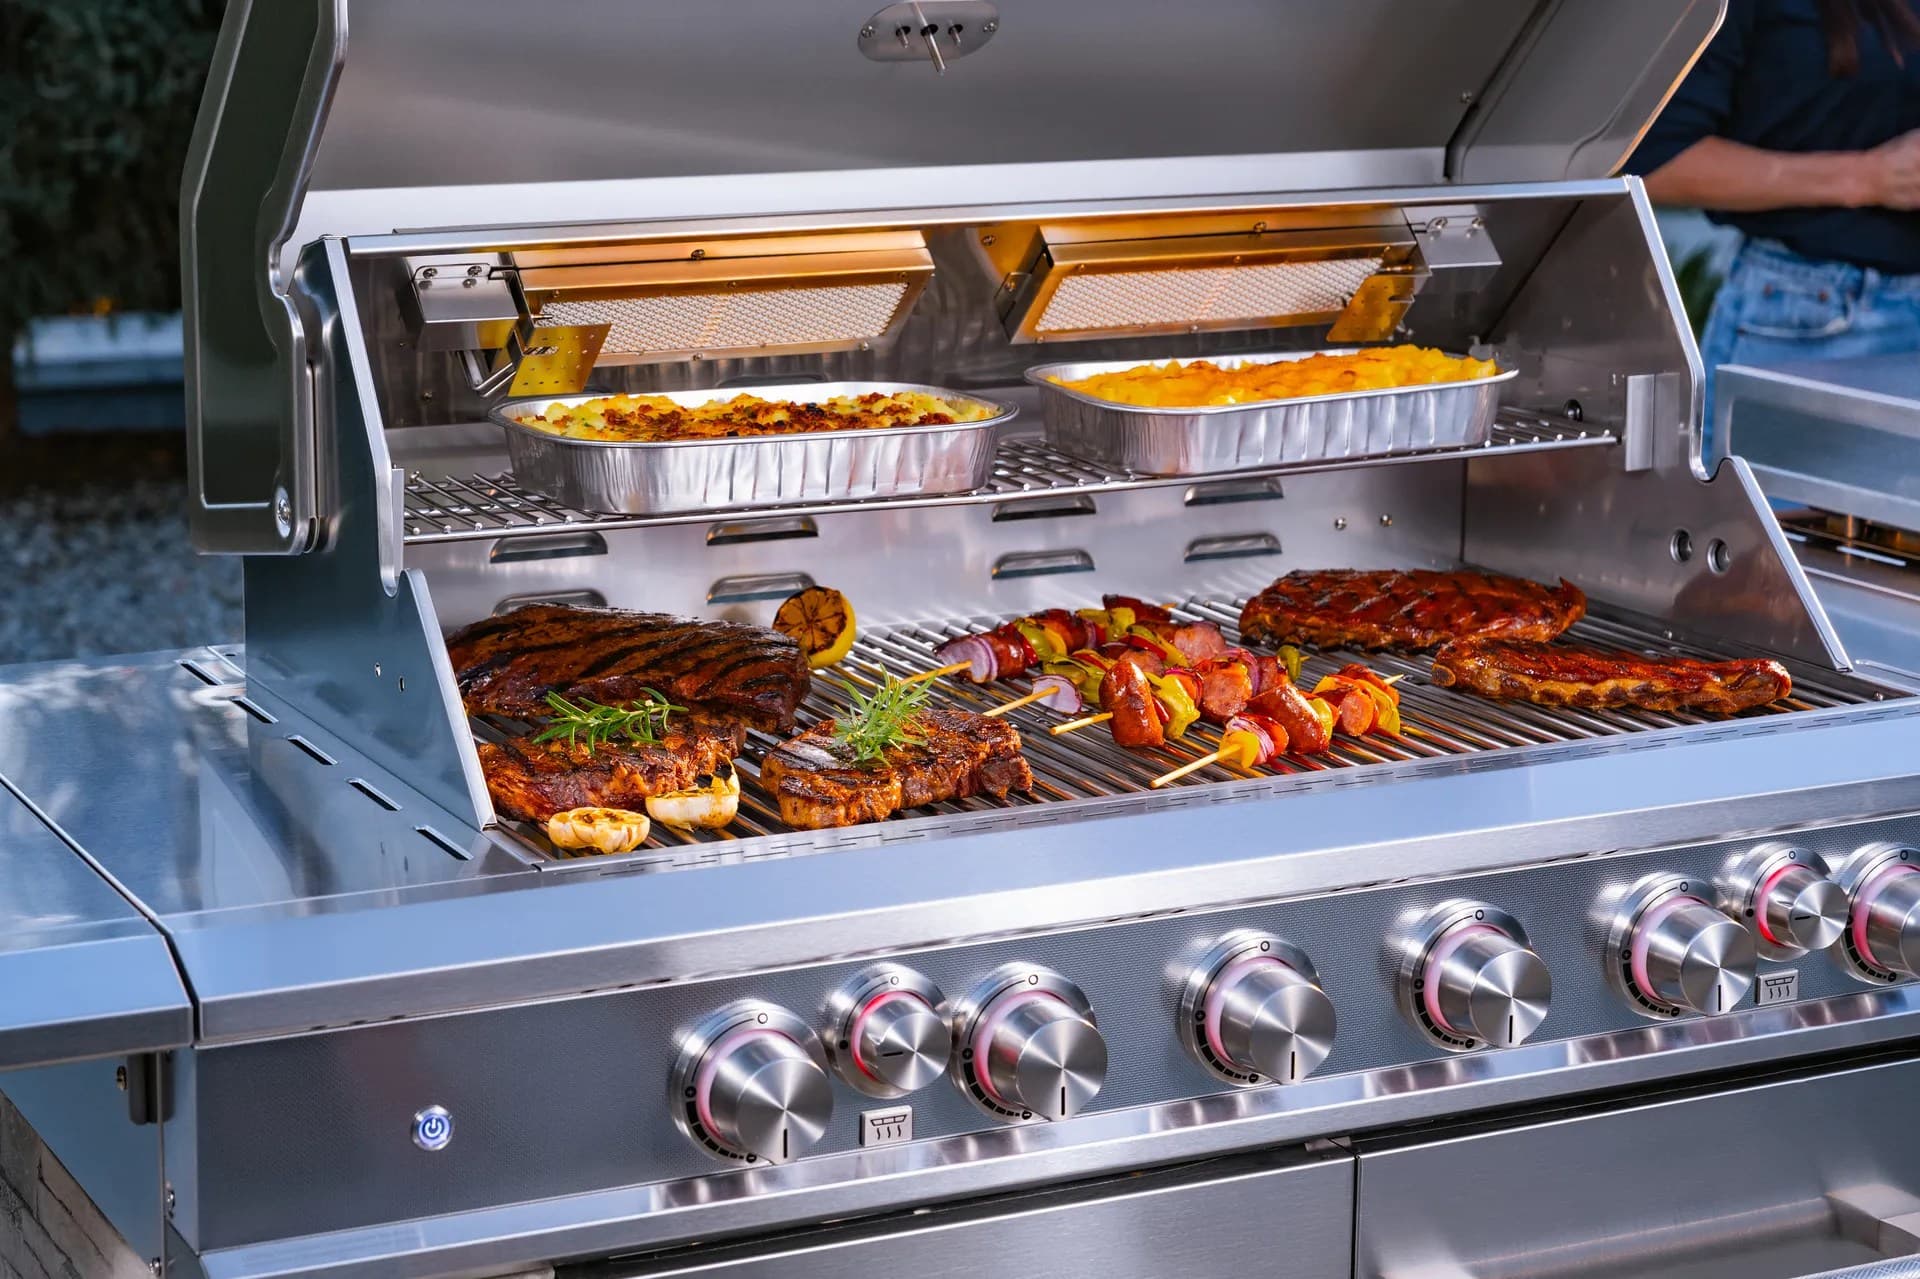
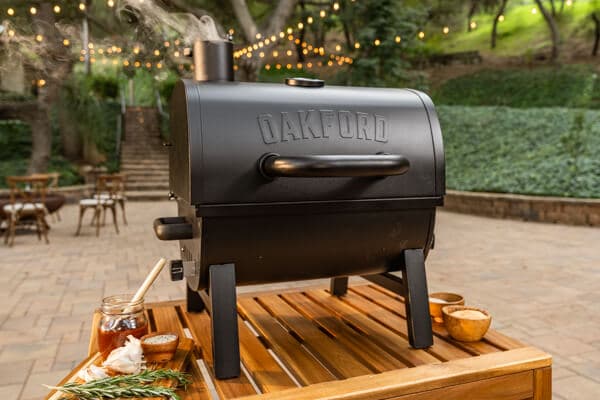
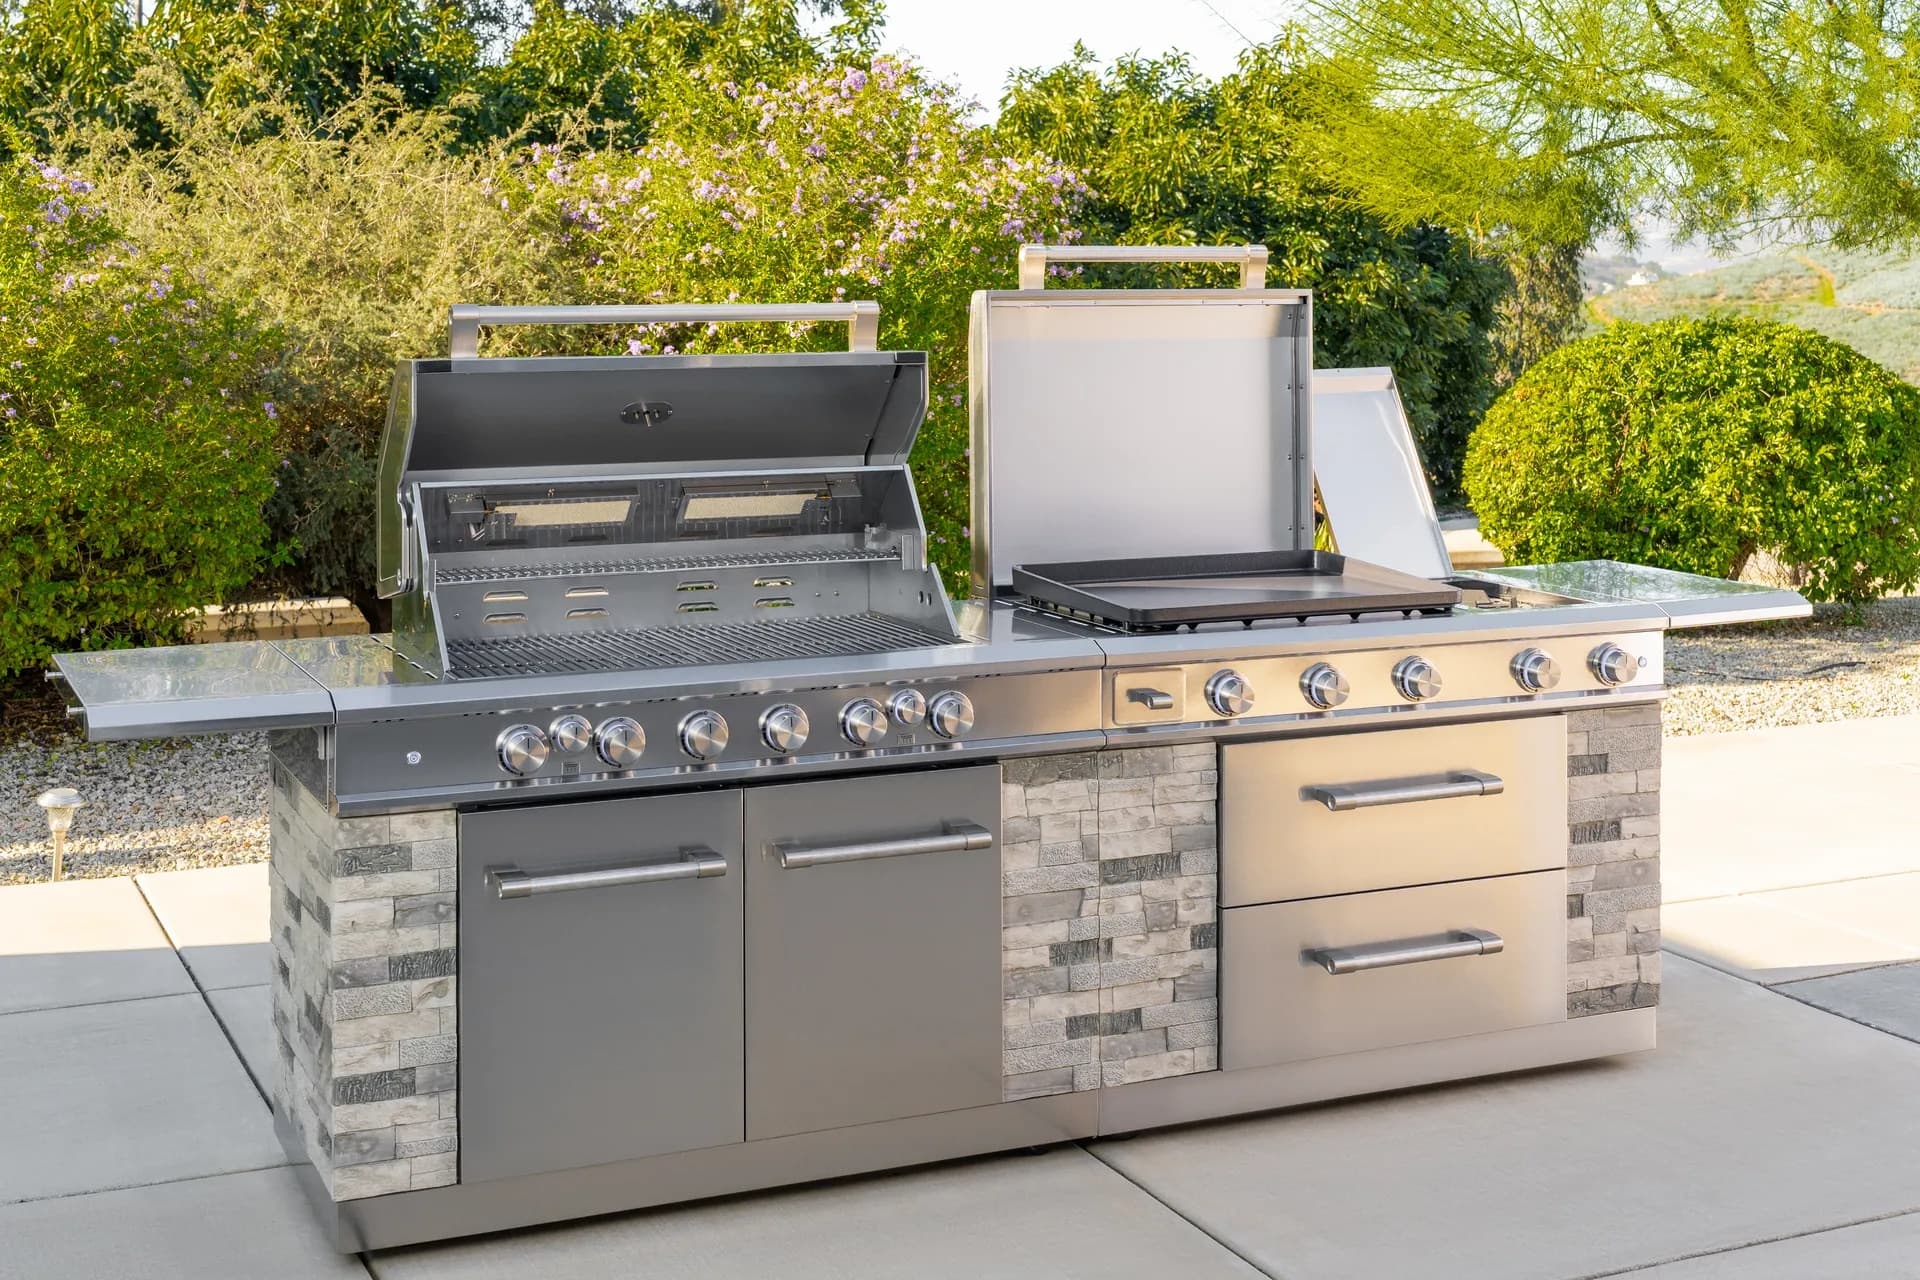
Master the art of assembling and configuring your smart grill for optimal performance.
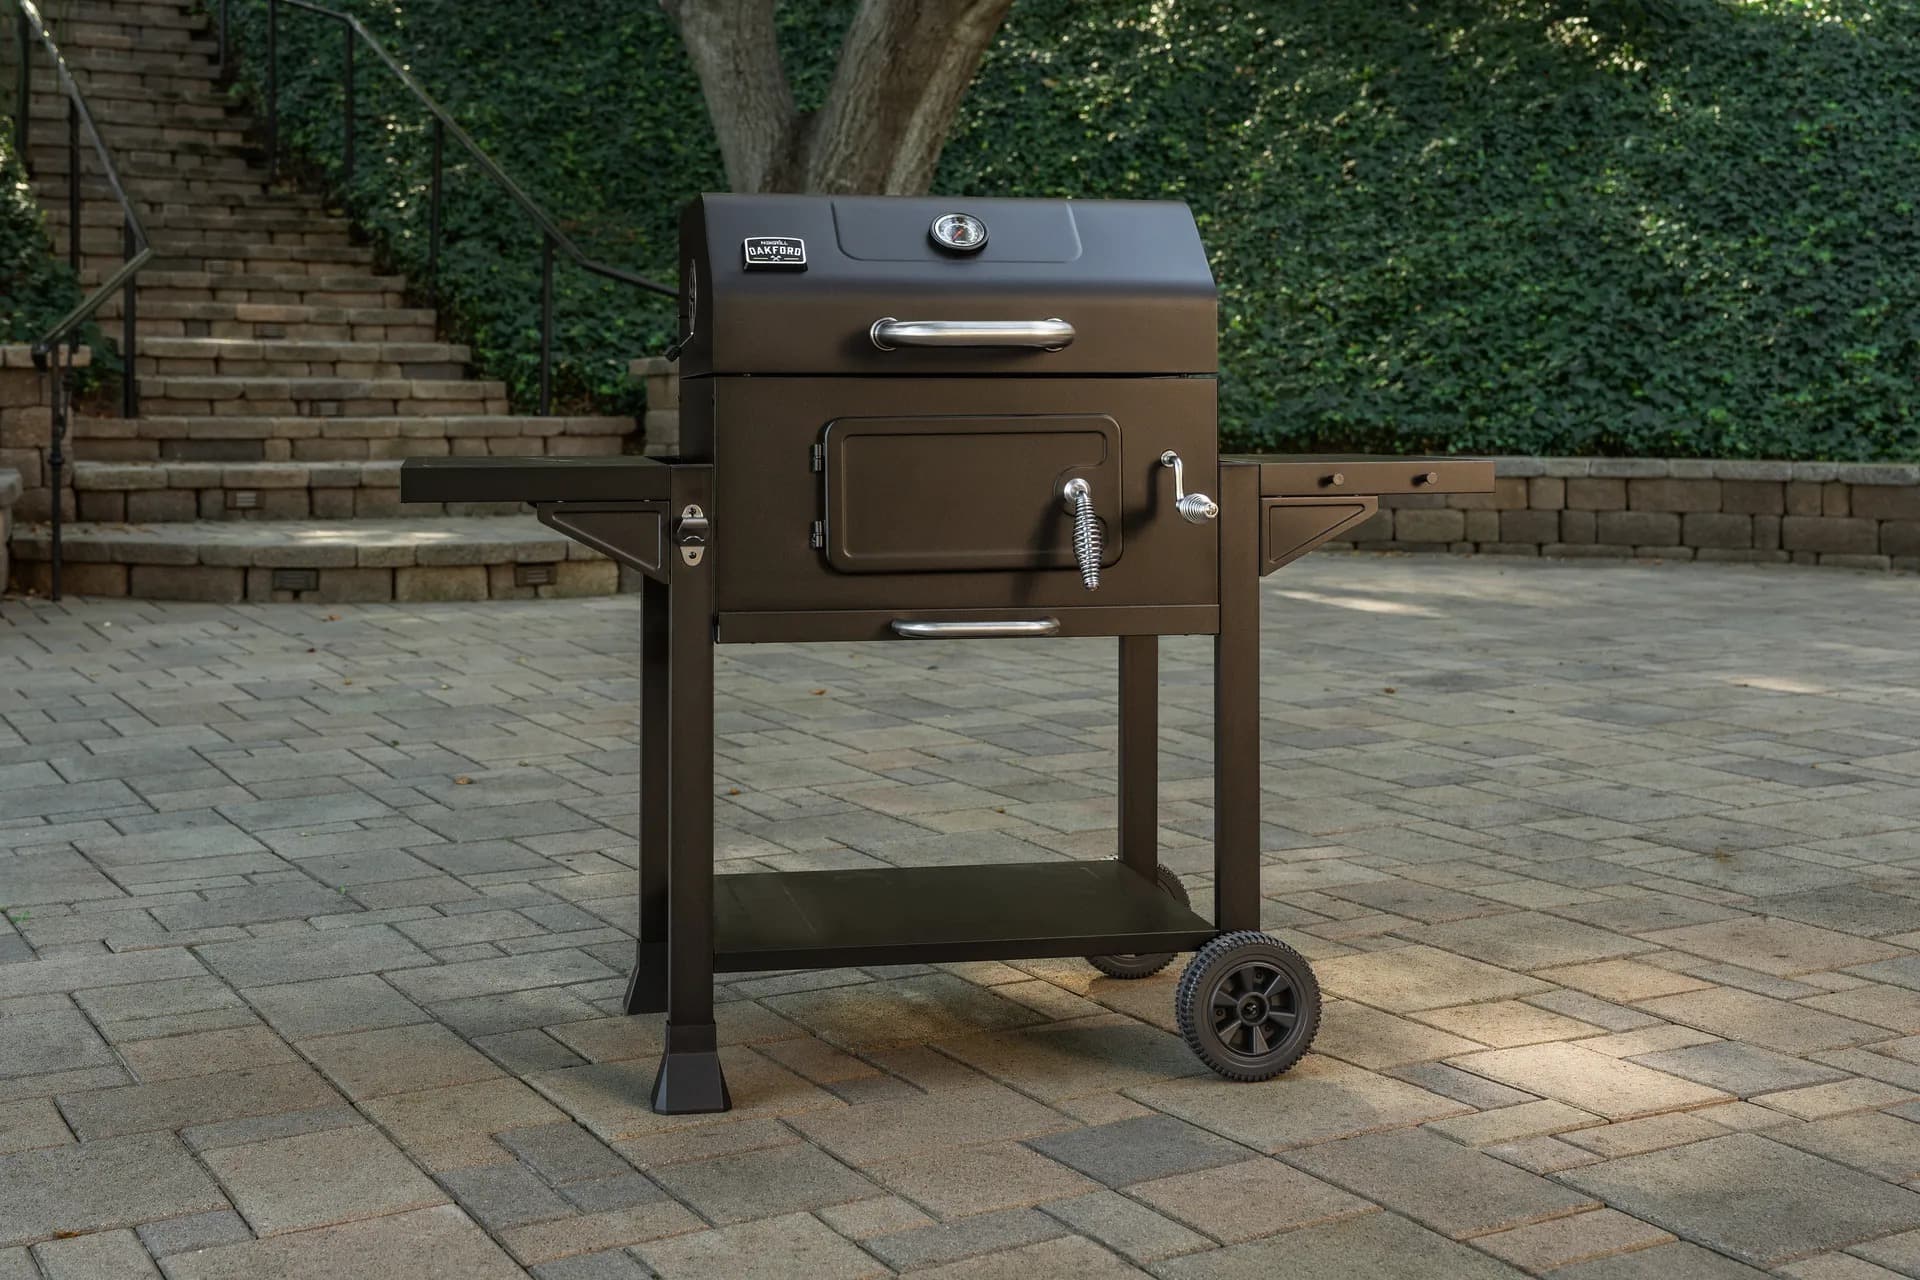
From sizzling breakfasts to smash burgers and teppanyaki-style dinners, the Daytona Pro 5 Burner NitroGuard™ Griddle delivers powerful heat, fast cooking, and a durable cooking surface built for every backyard cookout. Watch how easy outdoor cooking can be.
Here's what sets us apart from the competition
We position ourselves as delivering high-end outdoor cooking features and performance without premium-brand pricing, emphasizing “Quality Grills. Unbelievable Value.”
We offer gas grills, pellet grills, griddles, smokers, pizza ovens, portable/tabletop grills, electric grills, accessories, and replacement parts — allowing customers to stay within one ecosystem for all outdoor cooking needs.
We differentiate ourselves through smart grilling products like the Oakford smart pellet grill, including app-connected cooking controls and modern outdoor cooking technology.

Expert tips, buying guides, comparisons, and inspiration for choosing and getting the most out of your grill.

Practical guides for cleaning, maintenance, common grill issues, and performance optimization.

Step-by-step grilling recipes, cooking techniques, and meal ideas for every occasion and skill level.

Backyard entertaining ideas, seasonal grilling inspiration, and stories that celebrate outdoor cooking culture.

Helpful articles covering grilling tools, cookware, maintenance gear, and must-have accessories for outdoor cooking.

Find griddle recipes, cooking techniques, cleaning tips, and outdoor meal ideas designed for Nexgrill griddles.
Find answers to common questions
Gas grills provide instant heat and precise temperature control, making them easier to use. Charcoal grills offer a smoky flavor and high heat for searing but require more time to heat up and manage.
Pellet grills combine the convenience of gas with the flavor of wood, allowing for smoking, baking, and grilling. Traditional gas grills, however, are quicker to start and often easier to clean.
Charcoal grills typically reach higher temperatures quicker than gas grills, making them better for searing meat. However, high-quality gas grills can also provide adequate heat for effective searing.
Nexgrill offers models designed specifically for gas, charcoal, and pellets, allowing users to choose based on their cooking style and flavor preferences. Each type is built to optimize the characteristics of its respective fuel.
Choosing between gas and charcoal grills depends on your cooking preferences and lifestyle. If you value convenience and quick cooking, a gas grill may suit you better; if you prefer the taste and experience of traditional grilling, a charcoal grill would be ideal.
In This Article
Unboxing and Assembly
Connectivity Setup
First-Time Use
Setting up a smart grill starts long before you power it on. The first goal is to create a safe, organized workspace so you can move through the assembly process without rushing or missing a step. Clear a flat area with enough room for the firebox, cart, shelves, lid, and packaging materials. Lay out every part and compare it against the included parts list before you tighten a single bolt. That small pause matters: when a component is missing or a fastener is mislabeled, it is far easier to catch the problem early than after the cabinet, cart, and cooking chamber are already halfway built.
A smart grill may include more components than a basic charcoal cooker because it combines the physical grill assembly with electronic elements such as a control panel, probes, wiring harnesses, a power supply, or a Wi-Fi/Bluetooth module. Treat those electronic parts with the same care you would give the burners or cooking grates. Keep them dry, avoid pinching cables during assembly, and route any wires exactly as shown in the manual so they do not contact hot surfaces or moving parts. If your model includes a hopper, auger, or pellet feed system, make sure the feed path is clean and unobstructed before attaching the cooking body to the cart.
Careful assembly is the foundation for accurate temperature control and dependable app connectivity.
Do not skip the hardware check. Tightening the wrong fastener or forcing a part into place can affect lid alignment, sealing, and probe placement later.
A practical assembly rhythm is to loosely fit all major sections first, confirm the frame is square, and then fully tighten fasteners in stages. That sequence helps prevent skewed shelves, crooked doors, and stress on the body panels. If your grill uses a digital controller, assemble the body and cart first, then install the control module and any sensor leads only after the grill is stable on its base. For propane models, make sure the tank mount and regulator are positioned so the hose travels in a smooth path without kinks. For pellet-style smart grills, check that the hopper lid closes cleanly and that the auger housing is seated correctly before loading fuel.
Because Nexgrill designs outdoor cooking equipment for a broad range of cooks, it helps to think about your setup as a system rather than a pile of parts. The grill body, ignition, fuel delivery, temperature sensor, app connection, and cooking surface all work together. If one part is out of alignment, the experience changes quickly: the app may read a different temperature than the grate actually sees, the lid may leak heat, or the grill may take longer to reach target temperature. Nexgrill’s brand focus on accessible, practical outdoor cooking makes this kind of methodical setup especially valuable for first-time owners and experienced grillers alike .
Once the grill is assembled, perform a visual safety review before connecting fuel or power. Look for exposed screws, loose wire clips, shipping foam left inside the cookbox, protective film still covering stainless panels, and anything that may have shifted during shipping. Check that the lid opens and closes without scraping, the grates sit level, and the grease tray slides freely. If your unit has a side shelf or accessory rail, confirm that it does not obstruct the lid or touch the control panel when folded. A short, careful review now reduces the odds of an annoying first cook later.
After assembly, the next step is connecting the smart functions so the grill can do more than heat food. Smart grill connectivity usually depends on a stable 2.4 GHz Wi-Fi network, a compatible mobile app, and a properly paired grill controller. Before you try to connect, verify that your home network is visible in the area where the grill will live. Patios, decks, and side yards sometimes have weaker signal strength than indoor rooms, so it is worth checking signal quality at the exact cooking location. If the signal is marginal, a mesh node or range extender placed closer to the patio can make the difference between a smooth pairing process and repeated connection drops.
Start by powering the grill on only after all cords, probes, and controllers are seated firmly. Then follow the app’s pairing flow exactly as written for your model. Many smart grills require you to hold a pairing button until the indicator light changes color or begins blinking in a specific pattern. That pattern is not just cosmetic; it confirms the controller is in discovery mode and ready to be found by your phone. If the grill and app do not connect quickly, the safest response is not to keep tapping buttons randomly. Instead, close the app, restart the controller if the manual allows it, and try again from the beginning.
For the smoothest setup, use the same phone you plan to keep for day-to-day grilling. Switching devices later can require re-pairing or account reconfiguration.
Network credentials are another common snag. Double-check the Wi-Fi password for capitalization and special characters, and avoid using guest networks unless the manual specifically says they are supported. Some routers isolate devices on guest networks, which can prevent the grill from syncing properly with the app. It also helps to keep the phone close to the grill during initial setup; once the pairing is complete, you can move back to a more normal cooking distance. If your model supports Bluetooth as a short-range handshake before Wi-Fi takes over, keep the phone within a few feet of the controller until the app confirms that it has handed off to the home network.
Pairing is only the first part of connectivity. Take a few minutes to explore the app’s settings after the grill appears online. Confirm that temperature units are set correctly, probes are labeled clearly if multiple food probes are included, and alerts are enabled for the conditions you actually care about. For example, if you mainly cook poultry or large roasts, you may want a food-temperature alert rather than only a grill-temperature alarm. If the app offers firmware updates, complete them before the first cook so you are not interrupted mid-session. Smart grilling works best when the hardware, network, and software are all on the same page.
Nexgrill’s broader product philosophy centers on practical outdoor cooking for both casual and more experienced users, which means setup should feel understandable rather than technical for its own sake. That matters because a smart grill is only as useful as the confidence you have in its readings and notifications. Once pairing is complete, save your grill profile, note the device name, and test whether temperature changes appear in the app within a reasonable delay. You are looking for consistency more than speed. A stable connection that updates steadily is far more valuable than a flashy app that drops out at the first sign of patio interference.
If you are comparing how different smart grill models behave during setup, the best approach is to look at the total experience: assembly complexity, controller layout, wireless requirements, and how clearly the app reports status. Try comparing two products side by side below to see which fits best:
Your first cook should be treated as a test run, not a full dinner service. The goal is to season the interior surfaces, confirm that the ignition system responds correctly, and verify that the temperature readings in the controller and app make sense in real conditions. Start with an empty cooking chamber and run the grill through a preheat cycle as directed by the manufacturer. Watch for even startup across the burners or heat zones, listen for unusual sounds from the fan or auger if your grill uses them, and confirm that the lid thermometer, controller display, and app temperature are reasonably aligned after the grill stabilizes.
Seasoning, in this context, is less about food and more about preparing the cooking environment. Lightly oiling the grates, heating the surfaces, and allowing the metal to settle helps create a better cooking surface and can burn off residues from manufacturing and shipping. If your grill includes cast-iron grates, they may benefit from a more deliberate first-seasoning process than stainless steel grates. Either way, the key is to follow the temperature and timing guidance in the manual rather than improvising a short burst of heat and calling it done. A proper first run gives you a baseline for future cooks, especially when you later start using remote monitoring or probe alarms.
Confirm ignition, temperature reading, and app alerts before cooking for guests.
A first-time dry run helps you learn the grill’s response time, hot spots, and preheat behavior before any food is at stake.
During the first heating cycle, pay attention to how the grill recovers after the lid is opened and closed. Smart grills often rely on a combination of sensor feedback and controller logic, so the way the temperature rebounds tells you a lot about how confidently you can cook with it later. If the unit has multiple probes, test one probe at a time and verify that the app shows the correct channel. If the grill offers custom cooking profiles, save a simple baseline profile for future comparison. That makes it easier to see whether changes in weather, fuel supply, or grill placement affect performance later on.
The first use is also the time to build good habits. Record your actual startup time, preheat time, and any temperature offset you observe between the controller and the app. Those notes become useful when you cook in colder weather, on windy days, or after moving the grill to a different spot on the patio. If your model includes a temperature calibration option, only adjust it after you have confirmed the reading is consistently off under stable conditions. A single brief spike during preheat is not usually enough evidence to recalibrate.
A smart grill setup is complete when the physical assembly is secure, the wireless connection is stable, and the first run confirms that every major function behaves as expected. Once you have that baseline, you can move from setup mode into real cooking with much more confidence. The careful first steps pay off every time you open the app, check a probe, or walk away from the patio knowing the grill is under control.
Once you have weighed the physical assembly, wireless setup, and the first dry run, the next question is what to do when something does not behave the way you expected. Troubleshooting a smart grill is easiest when you separate the problem into three layers: power and hardware, connectivity, and measurement. That structure keeps you from blaming the app when the issue is actually a loose probe, and it keeps you from tearing apart the controller when the real problem is a weak home network signal at the edge of the patio.
If the grill will not power on, start with the obvious checks before going deeper. Confirm that the unit is connected to the correct power source, the outlet is live, and any power switch or safety interlock is engaged. Then inspect the visible wiring and control panel for shipping damage or a connector that may have worked loose during assembly. On fuel-powered models, make sure the ignition sequence is not being blocked by a disconnected sensor or an empty fuel supply. Many setup problems turn out to be simple interface issues, not major failures, which is why a calm, methodical review is more effective than repeated resets.
If the app and grill disagree, trust the grill’s physical setup first. A bad probe position, open lid, or poor sensor placement can distort readings before the software is even involved.
Connectivity issues often come down to distance, interference, or router settings. If the grill drops off Wi-Fi after pairing, move closer to the router for a test. If that fixes the issue, the problem is likely range rather than the grill itself. For persistent dropouts, check whether your router is steering the device toward a 5 GHz band when the grill only supports 2.4 GHz, or whether a mesh node is better positioned to cover the patio. It is also worth reviewing the mobile device permissions for the app, since notification settings and background data restrictions can affect how alerts arrive. A smart grill that is technically online but fails to send timely alerts is not delivering the experience you bought it for.
Temperature reading problems usually have a physical explanation. A probe inserted too shallowly, resting against bone, touching metal, or hanging in open air can create misleading numbers. Similarly, a lid thermometer can differ from a grate-level sensor because those two points measure different parts of the cooking environment. Before changing settings, verify probe placement and let the grill stabilize long enough to produce a real reading. If a specific sensor consistently reads far outside the expected range after you have ruled out placement and wiring, stop using that sensor until you can inspect it more closely according to the product manual.
One of the most useful habits is to test one variable at a time. Change the network band, then test. Reseat the probe, then test. Restart the controller, then test. That simple discipline prevents you from masking the actual cause. Nexgrill’s approach to outdoor cooking centers on making grilling approachable and dependable, so a troubleshooting routine should feel practical rather than technical for technicality’s sake .
Smart grills stay accurate longer when you treat the electronics and the cooking chamber as two different maintenance zones. The food-contact surfaces need degreasing, brushing, and periodic inspection, while the controller, cables, and wireless components need protection from moisture, grease vapor, and impact. After each cook, wipe down the exterior surfaces once they are cool enough to touch, and remove residue from the grease tray before buildup starts to harden. The cleaner the grill is at the end of a session, the easier it is to notice a new problem the next time you fire it up.
For the cooking chamber, regular cleaning is not just about appearance. Grease accumulation can alter airflow, cause flare-ups, and interfere with the accuracy of some heat-sensing components. Clean grates, drip trays, and the firebox on a schedule that matches how often you cook. If you use the grill heavily on weekends, a quick cleanup after each session plus a deeper cleaning every few uses is usually more effective than waiting for grime to build up. Keep an eye on gasket edges, lid seals, and probe openings as well, because these areas can collect residue that affects both performance and cleanup effort.
Before covering the grill, make sure it is fully cool and dry. Trapped moisture is one of the fastest ways to shorten the life of electronics and metal parts.
Routine maintenance should include checking the firmware or app version every so often, especially if your grill is still within the period when the manufacturer releases updates. These updates can improve device communication, app stability, and sensor reporting. They are not a substitute for cleaning or inspection, but they are part of keeping a smart appliance functioning as intended. It is smart to document the version and any changes you notice after an update so you can connect future behavior to a specific software revision if needed.
Weather protection matters as much as cleaning. Smart grills live outdoors, which means they face rain, UV exposure, dust, pollen, and seasonal temperature swings. A fitted cover is helpful, but only when used after the grill has cooled and dried. If the grill is exposed to heavy seasonal weather, consider moving it to a more sheltered location when possible. Store probes, charging cables, or removable accessories indoors so they are not damaged by humidity or heat cycling. That small habit keeps the setup experience consistent the next time you need the grill.
After the grill is assembled, paired, and tested, the advanced features are where smart grilling starts to feel different from traditional grilling. This is the point at which the device becomes more than a heat source. It becomes a cooking system that can log temperatures, manage alerts, support multi-probe monitoring, and help you make better timing decisions while you do other things around the house or backyard. The best way to use those features is to build a repeatable routine around them, not to rely on them as shortcuts.
Probe management is one of the most valuable advanced tools. If your grill supports multiple probes, use one for the ambient cooking environment and another for the thickest part of the food. That split gives you a clearer picture than a single reading ever could. It helps especially with large cuts, where the outside may be ahead of the center by a wide margin. Set alerts conservatively so they warn you early enough to respond without forcing constant phone checks. This is where smart grilling earns its keep: you can leave the patio for a few minutes and still know whether the cook is on track.
Use the app to create a baseline profile for your favorite foods. Saving the same temperature ranges and alert points makes future cooks easier to repeat.
If your smart grill supports cooking presets, treat them as a starting point rather than a substitute for judgment. Presets are helpful for reducing guesswork, but they still need to be adjusted for weather, food size, and how often the lid is opened. A breezy day can change heat retention, a larger cut can extend cook time, and a crowded grate can affect recovery speed. The value of a smart feature is not that it removes skill, but that it helps you apply your skill more consistently.
A final advanced step is learning how to interpret trends instead of single numbers. Watch how fast the grill climbs from ambient to target temperature, how long it holds steady, and how it recovers after the lid is opened. Those patterns reveal whether your setup is optimized or still needs adjustment. Once you understand the grill’s behavior, you will be able to cook with more confidence, less checking, and better results. For a brand built around approachable, dependable outdoor cooking and shared experiences, that combination is exactly what smart grill ownership should feel like .
Here's what sets us apart
We position ourselves as delivering high-end outdoor cooking features and performance without premium-brand pricing, emphasizing “Quality Grills. Unbelievable Value.”
We offer gas grills, pellet grills, griddles, smokers, pizza ovens, portable/tabletop grills, electric grills, accessories, and replacement parts — allowing customers to stay within one ecosystem for all outdoor cooking needs.
We differentiate ourselves through smart grilling products like the Oakford smart pellet grill, including app-connected cooking controls and modern outdoor cooking technology.
Don't just take our word for it
Keep reading
From our catalog