Expert insights and step-by-step instructions to restore your grill's performance.
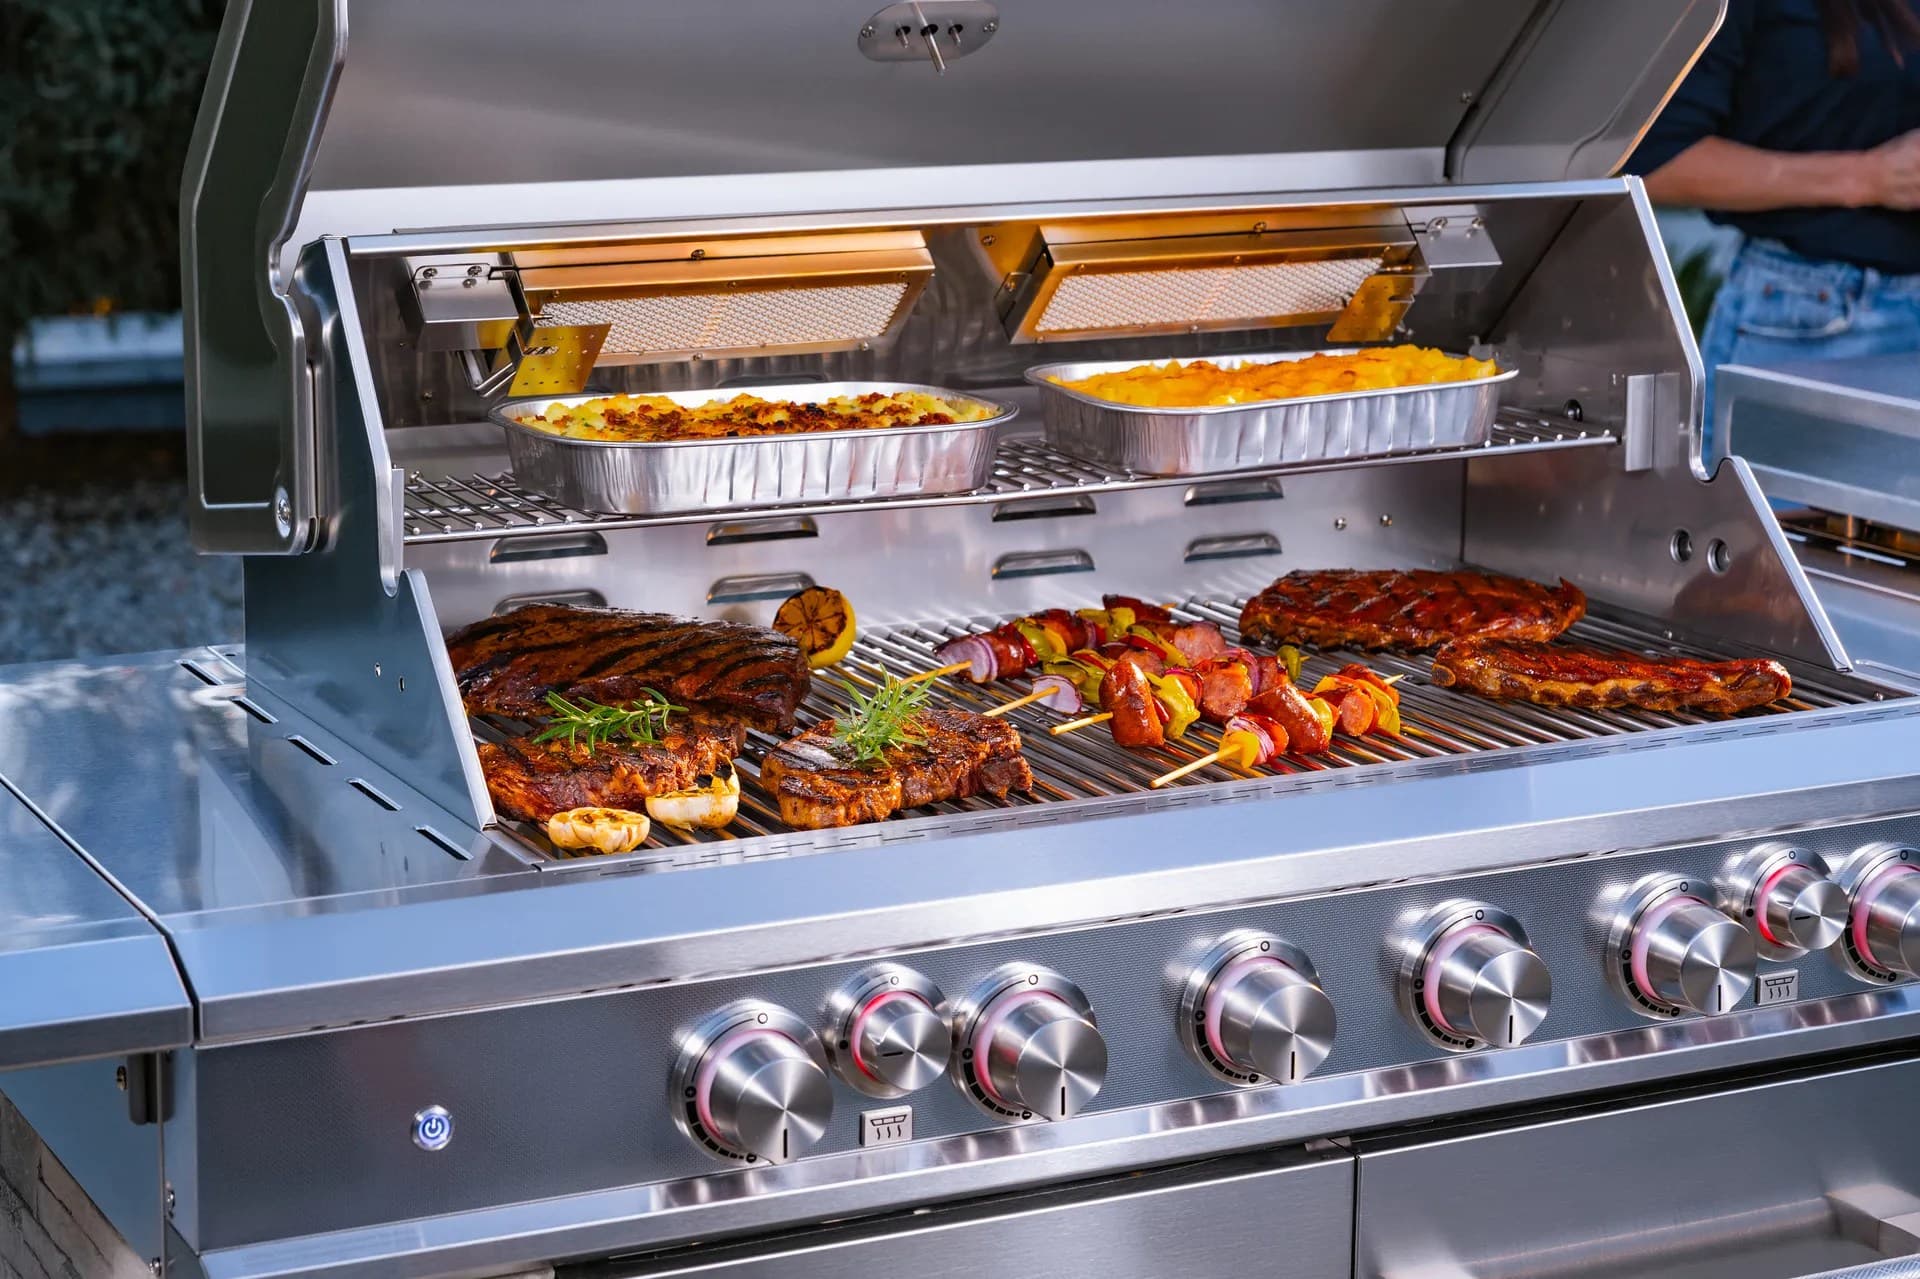
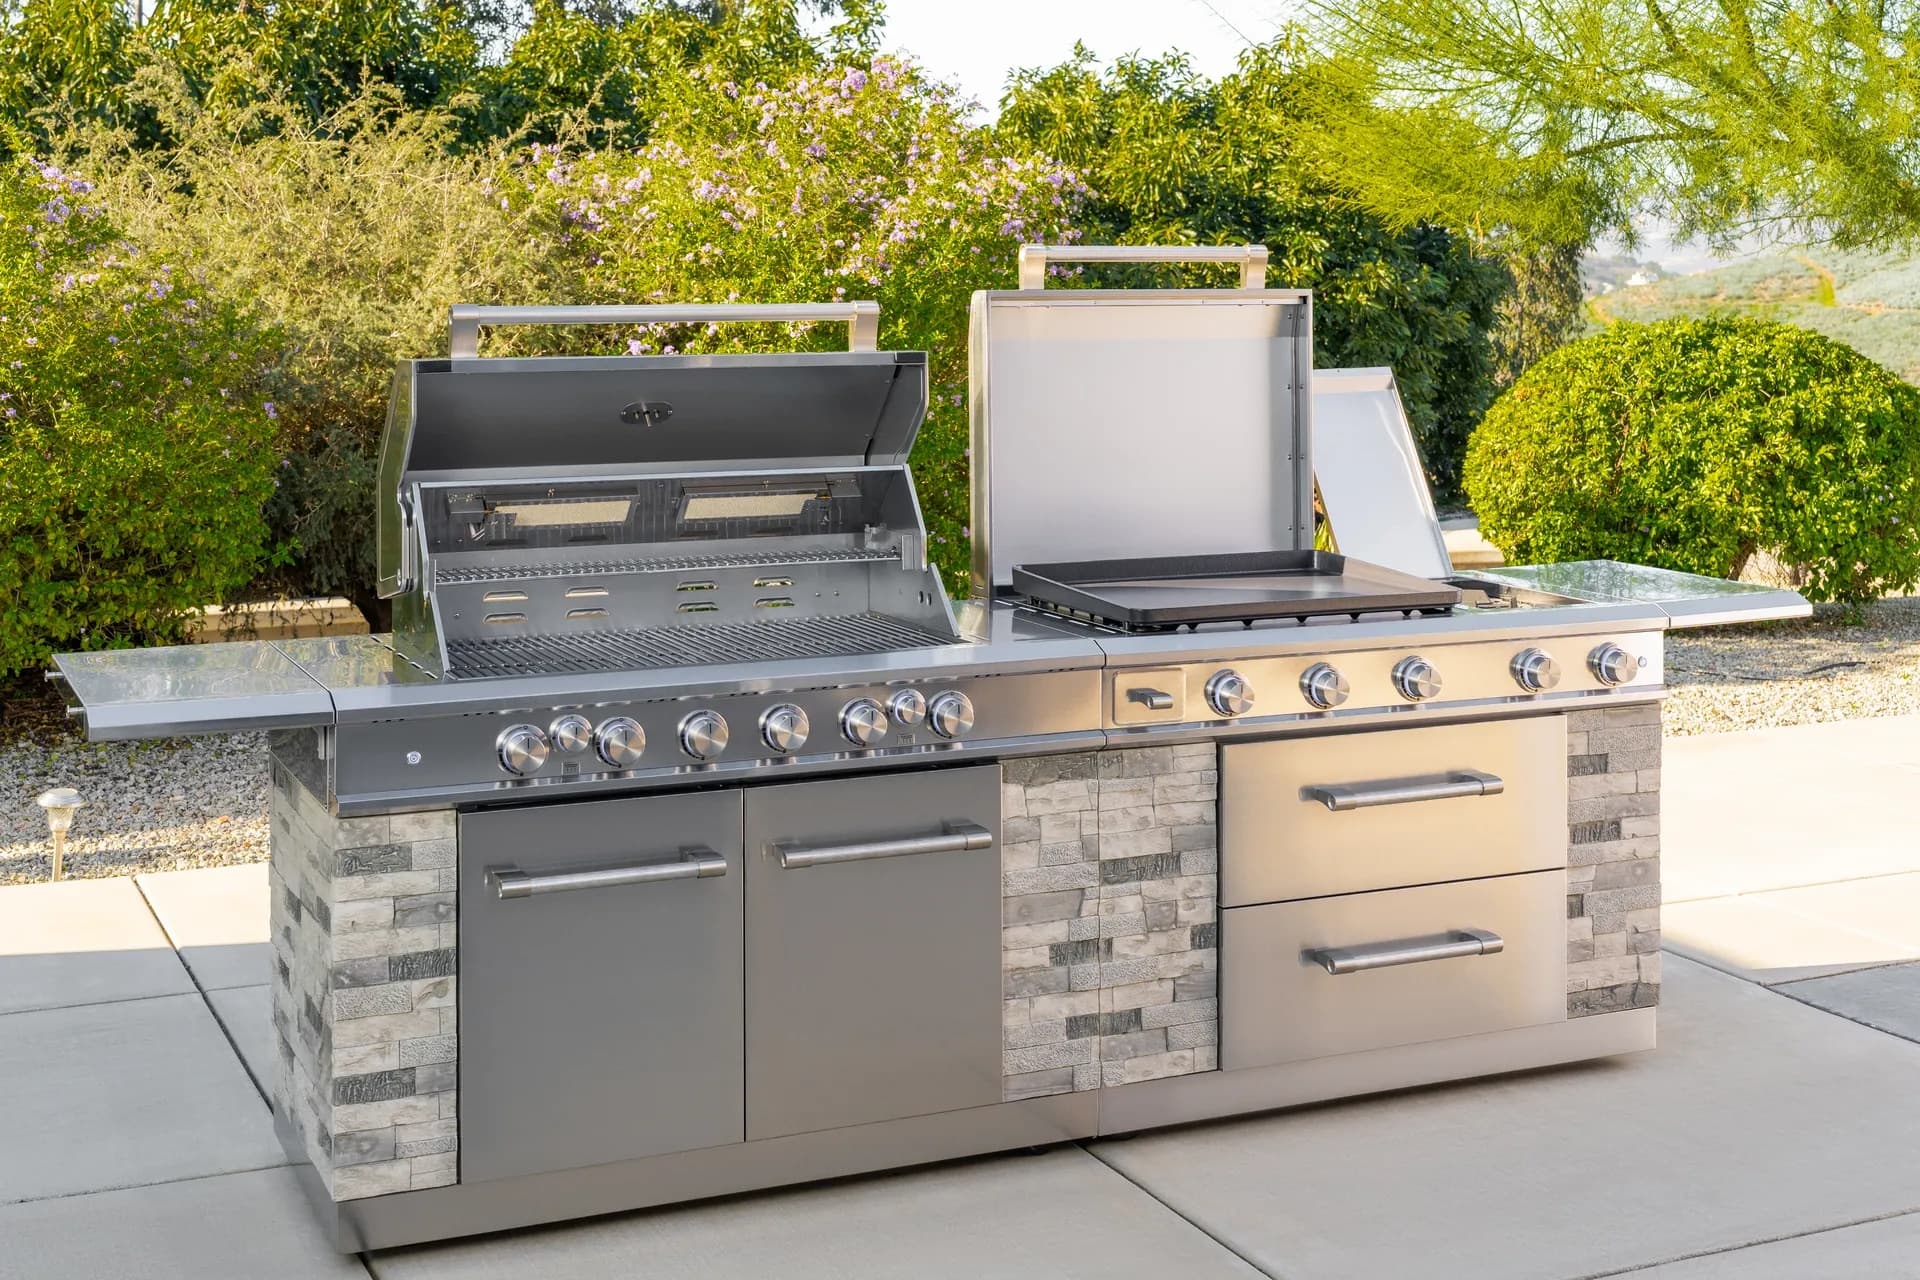
From sizzling breakfasts to smash burgers and teppanyaki-style dinners, the Daytona Pro 5 Burner NitroGuard™ Griddle delivers powerful heat, fast cooking, and a durable cooking surface built for every backyard cookout. Watch how easy outdoor cooking can be.
Here's what sets us apart from the competition
We position ourselves as delivering high-end outdoor cooking features and performance without premium-brand pricing, emphasizing “Quality Grills. Unbelievable Value.”
We offer gas grills, pellet grills, griddles, smokers, pizza ovens, portable/tabletop grills, electric grills, accessories, and replacement parts — allowing customers to stay within one ecosystem for all outdoor cooking needs.
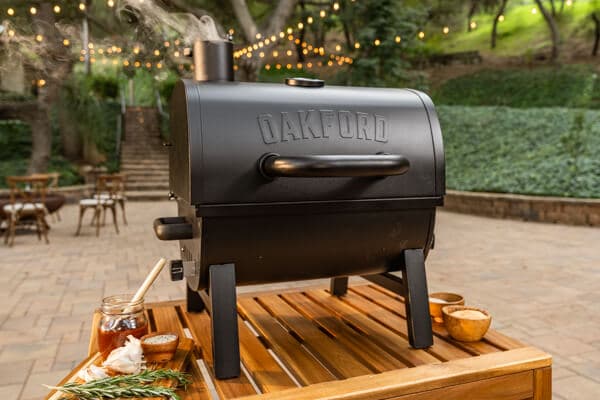
We differentiate ourselves through smart grilling products like the Oakford smart pellet grill, including app-connected cooking controls and modern outdoor cooking technology.

Expert tips, buying guides, comparisons, and inspiration for choosing and getting the most out of your grill.

Practical guides for cleaning, maintenance, common grill issues, and performance optimization.

Step-by-step grilling recipes, cooking techniques, and meal ideas for every occasion and skill level.

Backyard entertaining ideas, seasonal grilling inspiration, and stories that celebrate outdoor cooking culture.

Helpful articles covering grilling tools, cookware, maintenance gear, and must-have accessories for outdoor cooking.

Find griddle recipes, cooking techniques, cleaning tips, and outdoor meal ideas designed for Nexgrill griddles.
Find answers to common questions
Gas grills provide instant heat and precise temperature control, making them easier to use. Charcoal grills offer a smoky flavor and high heat for searing but require more time to heat up and manage.
Pellet grills combine the convenience of gas with the flavor of wood, allowing for smoking, baking, and grilling. Traditional gas grills, however, are quicker to start and often easier to clean.
Charcoal grills typically reach higher temperatures quicker than gas grills, making them better for searing meat. However, high-quality gas grills can also provide adequate heat for effective searing.
Nexgrill offers models designed specifically for gas, charcoal, and pellets, allowing users to choose based on their cooking style and flavor preferences. Each type is built to optimize the characteristics of its respective fuel.
Choosing between gas and charcoal grills depends on your cooking preferences and lifestyle. If you value convenience and quick cooking, a gas grill may suit you better; if you prefer the taste and experience of traditional grilling, a charcoal grill would be ideal.
In This Article
Signs of Faulty Burners
Maintenance Tips
Replacement Guidance
Grill burners do one job extremely well when they are healthy: they turn fuel and airflow into a steady, controllable flame. That sounds simple, but burners are the part of a gas grill that most directly shape everything else you taste and see. If the flame is strong and even, food cooks predictably. If one burner is clogged, corroded, or cracked, the grill can develop hot spots, weak ignition, fluttering flames, or a stubborn yellow flame that wastes heat and creates frustration. A burner problem often shows up long before the grill stops working completely, which is why early diagnosis matters.
In a real backyard setting, burner issues often become obvious in familiar ways. Maybe one side of the cooking grate browns steaks faster than the other. Maybe the grill lights, but the flame barely reaches one end of the tube. Maybe you hear gas flow but see low, lazy output from the ports. Those are not just performance annoyances; they are signs that the burner assembly may need cleaning, adjustment, or replacement. For families who use their grill for quick weekday dinners, that difference can mean whether dinner is on the table in 20 minutes or whether the cook starts over with uneven heat and half-cooked food.
Nexgrill’s outdoor cooking approach is built around practical ownership: accessible design, dependable performance, and clear maintenance habits that help the grill stay useful over time. That means burner care should be treated as routine upkeep rather than emergency repair. In many cases, the fix is not dramatic. A burner may only need debris cleared from the ports, spider webs removed from the venturi area, or surface rust brushed away before reinstallation. But when corrosion has reached the point where the metal is thinning or the flame pattern can no longer be corrected, replacement is the smarter option.
A good burner repair starts with pattern recognition: note which zones misfire, which flames look weak, and whether the problem appears after rain, long storage, or heavy grease buildup.
Uneven heat often looks like a food problem, but it is usually a burner problem first.
Burner problems usually show themselves through the flame before they show themselves through the food. One common symptom is uneven flame distribution, where one section burns blue and lively while another section appears weak, lifted, or intermittent. Another is delayed ignition, where the burner lights only after several clicks or with a small flare-up at the first port. These symptoms often point to clogging inside the burner tube, especially around the gas inlet, crossovers, or tiny flame openings along the top of the tube.
Rust is another major warning sign. Some surface oxidation is expected over time on outdoor equipment, but when rust begins to flake, pit the burner wall, or block ports, the burner can no longer distribute fuel consistently. In practical terms, that means uneven searing, slow recovery after lid openings, and temperature swings that make it hard to cook anything requiring precision. If a burner has visible holes, cracks, warped metal, or sections that no longer hold a stable flame shape, repair may no longer be worth the effort.
A yellow or orange flame can also indicate trouble, especially when it appears alongside soot on cooking grates or a scorched smell that seems stronger than usual. Yellow flame can come from poor combustion, blockage, or airflow problems. If your grill recently sat unused, tiny insects, dust, or grease residue may have restricted the burner path. In a busy household, this often happens after a season of strong use followed by a month or two of neglect. The grill still turns on, so the issue gets overlooked until cooking performance starts to decline enough to annoy everyone at the table.
Do not assume weak heat means the propane tank is empty. If only one burner is affected, the problem is more likely inside the burner path than at the fuel source.
Cleaning is the first line of defense for burner performance, and it works best when done before a problem becomes obvious. Start with the grill completely cool and the fuel supply disconnected. Remove the cooking grates and flavorizer or heat-distribution parts if your model uses them, then expose the burner assembly. A soft brush can remove loose debris from the burner surface, while a small bottle brush, pipe cleaner, or thin nylon cleaning tool can help clear individual ports and the venturi opening. The goal is not to enlarge the holes or scrape away protective metal coatings; the goal is simply to restore an open path for gas and air.
Grease management matters here too. Heavy grease buildup above the burners can drip downward and create carbon deposits that interfere with combustion. If the flame pattern keeps changing even after the burner holes are cleaned, inspect for blocked drip trays, dried residue around the firebox, and residue near crossover channels. A grill used for marinated meats, fatty burgers, or chicken with sugary sauces may need more frequent attention because those drippings bake on quickly and create sticky buildup that traps debris.
Use a careful, layered approach rather than aggressive scraping. Wipe the burner with a dry cloth after brushing. If your model allows, gently tap the burner to dislodge loose particles, then blow through the tube opening with short bursts of air or use a non-metal cleaning tool to move debris out of the venturi. Avoid poking hard metal objects into the ports, since that can deform openings and create irregular flame output. For many grill owners, a short 10-minute burner inspection every few cooking sessions prevents the kind of corrosion and clogging that later requires full replacement.
A warm, not hot, grill is easier to clean safely. Residue loosens faster, and you are less likely to damage metal parts or rush through hidden buildup.
Replacement becomes the right answer when cleaning can no longer restore a stable flame pattern or when the burner body itself is compromised. If you find deep corrosion, pinholes, split seams, or severe warping, the burner is no longer distributing gas in a controlled way. Another strong indicator is repeated failure in the same spot even after cleaning and inspecting the venturi path. That usually means the metal is damaged in a way that cannot be fixed with surface maintenance.
A useful way to decide is to compare the burner’s shape and performance against what the grill should be doing. If the burner no longer seats properly in its mounts, if ignition is unreliable on one end, or if the flame lifts away from the ports instead of sitting evenly above them, replacement may be more cost-effective than repeated troubleshooting. This is especially true on grills that see frequent use during peak season. A family that grills three or four nights a week through summer will benefit more from replacing a failing burner promptly than from trying to stretch a heavily corroded part for one more month.
| Condition | What it usually means | Best next step |
|---|---|---|
| Light surface rust | Burner may still be serviceable | Clean, inspect ports, and retest |
| Uneven flame after cleaning | Blocked or damaged internal path | Inspect venturi and consider replacement |
| Cracks, holes, or warping | Structural failure | Replace the burner |
| Persistent yellow flame | Combustion or airflow issue | Check airflow, clean, then reassess |
Replacing a grill burner is usually straightforward when you work slowly and keep track of how the original parts fit together. First, turn off the gas supply and disconnect the propane tank or shut off the gas valve if the grill is connected to a line. Remove the grates, cooking plates, and any parts covering the burners so you can see the full assembly. Before removing anything, take a photo of the burner layout from above and from the side. That picture becomes your reference when it is time to reinstall the new part.
Next, locate the fasteners, clips, or screws that hold the burner in place. Some burners lift out after a simple unhooking motion, while others require removing a retaining screw or sliding the burner away from the gas valve connection. Once the burner is out, inspect the support brackets and surrounding firebox area for rust flakes or grease buildup. Clean those surfaces before the new burner goes in, because debris under the assembly can throw off alignment and flame quality. Compare the old burner with the replacement part to confirm the length, shape, port pattern, and inlet position match.
When installing the new burner, make sure it sits level, lines up with the gas valve opening, and rests securely in its designated supports. Reattach any clips or screws, then reinstall the flavorizer bars and grates. Before lighting the grill, perform a quick visual check to confirm nothing is touching the burner ports and that the venturi connection is seated correctly. After reconnecting fuel, light the grill with the lid open and observe the flame. It should ignite quickly and burn in a stable pattern across the burner length. If the flame is still uneven, stop and recheck alignment before cooking.
For visual learners, it helps to imagine the process in three checkpoints: remove and document, clean and compare, install and test. That simple sequence reduces mistakes and keeps replacement manageable even for a first-time DIY owner. Try comparing two products side by side below to see which fits best:
Once you've compared two options side by side, the next step is protecting the burner you choose so you do not have to repeat the repair sooner than necessary. Burner longevity depends less on any single miracle product and more on a habit pattern: clean after use, inspect before peak season, and keep moisture from lingering in the firebox. That routine matters because burners live in a tough environment. They sit directly under grease, moisture, seasoning drips, repeated heat cycles, and outdoor exposure. Even a well-built burner will age faster if it is left wet, dirty, or clogged.
A practical maintenance rhythm starts right after cooking. Once the grill is cool enough to handle safely, brush the grates, empty residue from the grease path, and remove loose debris that may fall into the burner openings. At a deeper level, the goal is to prevent the two main enemies of burner health: moisture and blockage. Moisture speeds rust, and blockage interferes with ignition and flame stability. If you live in a humid part of the United States or grill near salt air, that combination becomes even more important because corrosion can progress faster than expected. In those environments, a slightly more frequent inspection schedule is worth the small amount of extra time.
It also helps to think in seasons. Before the start of heavy grilling season, remove the grates and check the burners for spider webs, dust, insect nests, and any residue around the venturi area. Midseason, look for flame changes after repeated high-heat cooks, especially if you regularly sear steaks, roast vegetables in oil, or cook foods that drip sugar-heavy marinades. At the end of the season, a full clean and dry-down keeps leftover residue from hardening inside the burner tubes. The Nexgrill brand voice emphasizes dependable, real-world use, and this is where that matters: a few consistent habits preserve value better than a dramatic repair every few years.
If a burner stays cleaner and drier between cooks, it usually lights faster and burns more evenly. Small habits have a larger payoff than most owners expect.
The right replacement burner is the one that fits your grill model, aligns with the gas valve, and restores the intended flame pattern. Size alone is not enough. Two burners that appear similar can differ in length, inlet shape, port placement, mounting points, or crossover design. That is why matching the old part is usually the safest approach. Measure the burner length from end to end, note the width and tube shape, and compare the inlet opening with the valve position inside your grill. If you are replacing more than one burner, check whether the burners are identical or mirrored, because some grill designs use distinct left and right components.
Material choice matters as well. Stainless steel and coated-steel burners are both used in outdoor grills, but their long-term behavior can differ depending on climate and cleaning habits. A replacement burner should be selected with the expectation that it will spend its life under heat cycling and outdoor exposure, so a careful fit is more valuable than a guess based on appearance. When in doubt, use the model information from the grill itself and cross-check the shape and mounting style before ordering a part. A mismatched burner can produce more frustration than the failed one you were trying to replace.
| What to verify | Why it matters | What happens if it is wrong |
|---|---|---|
| Burner length and tube shape | Determines physical fit inside the firebox | Misalignment and poor flame spread |
| Inlet and valve alignment | Controls gas flow into the burner | Weak ignition or gas leakage risk |
| Mounting points and clips | Keeps the burner stable during use | Shifting, rattling, or uneven flames |
| Port layout | Shapes the burn pattern across the grate | Hot spots and cold zones |
Safety is not a side note in burner repair; it is the foundation of the whole process. Always shut off the fuel supply fully before opening the grill, and work in an outdoor area with good airflow. If you are disconnecting propane, confirm that the tank valve is closed before detaching the regulator. Never test for leaks with a flame. Use only approved leak-check methods and stop immediately if you smell gas strongly or hear a hissing sound that does not stop when the valve is closed. If anything feels uncertain, pause and inspect rather than trying to power through the job.
Personal safety matters too. Wear heat-resistant gloves if the grill has not fully cooled, and use eye protection if you are brushing away rust or compressed debris. Old burners can shed flakes unexpectedly, so keeping your hands out of the direct path of rust and grease is smart. Keep children and pets away from the work area, and store removed parts where they cannot be accidentally stepped on or left near a heat source. A clean workspace makes the repair more reliable because parts are easier to track and you are less likely to misplace a clip or screw that your grill needs to function correctly.
If you detect a persistent gas odor after reassembly, stop using the grill immediately and recheck all connections before lighting again.
If the new burner is installed but the grill still does not perform properly, do not assume the replacement part failed. Many post-repair issues come from alignment, blockage, or fuel delivery rather than the burner itself. Start by confirming that the burner inlet is seated correctly at the valve opening. Even a small gap can interrupt gas flow. Then check that no grates, flavorizer bars, or clips are pinching the burner or causing it to sit crooked. A burner that looks fine from the top can still be slightly off at the connection point.
If ignition is slow, clean the igniter area and verify that the gas supply is open at the tank or supply line. If the flame remains uneven after lighting, inspect the port row for debris you may have missed during cleaning. Sometimes a single port near the inlet stays blocked and changes the entire flame pattern. Another common issue is crossover restriction: one burner lights but the flame refuses to spread to the neighboring burner because grease or debris is obstructing the path.
A helpful mental model is to diagnose in layers. First, confirm fuel. Second, confirm alignment. Third, confirm airflow. Fourth, confirm flame pattern. That sequence prevents you from replacing good parts unnecessarily. If the grill lights but output remains weak, compare the repaired burner against a known-working burner, cook with the lid open for a short test, and watch how the flame behaves across the full length of the tube. A correct repair should produce a stable, even burn that responds predictably when you adjust the control knob.
Post-repair testing is not wasted time. A five-minute flame check can save a full weekend of uneven cooking and avoid reinstalling the same parts twice.
Repairing grill burners is really about restoring control. When burners work correctly, the grill becomes predictable again: steaks sear where they should, vegetables char evenly, and weeknight meals finish on schedule. A good repair strategy combines three habits: inspect early, clean carefully, and replace when the metal is no longer sound. That approach is especially valuable for homeowners who want dependable performance without turning grill ownership into a full-time project.
The most successful grill owners treat burner health as part of the normal rhythm of outdoor cooking, not as a rare repair event. A quick pre-season inspection, consistent post-cook cleanup, and a clear understanding of when corrosion has crossed the line into replacement territory will keep the grill performing closer to how it was meant to perform. If you are comparing burner parts, reviewing fit and flame pattern side by side is the best way to make a confident choice. And once the repair is done, a final test cook with simple food like chicken thighs or sliced vegetables gives you immediate feedback on heat balance without wasting a special meal.
Here's what sets us apart
We position ourselves as delivering high-end outdoor cooking features and performance without premium-brand pricing, emphasizing “Quality Grills. Unbelievable Value.”
We offer gas grills, pellet grills, griddles, smokers, pizza ovens, portable/tabletop grills, electric grills, accessories, and replacement parts — allowing customers to stay within one ecosystem for all outdoor cooking needs.
We differentiate ourselves through smart grilling products like the Oakford smart pellet grill, including app-connected cooking controls and modern outdoor cooking technology.
Don't just take our word for it
Keep reading
From our catalog