Nexgrill Daytona Pro 5-Burner Review: How to Run It Like a Pro (Setup, Zone Cooking & Mistakes)
An owner's operating guide to the Daytona Pro 5-burner flat-top - setup, seasoning, multi-zone cooking, cleanup, and the first-month errors to avoid.
In This Article
Setup & Seasoning
Zone Cooking
Cleanup & Mistakes
What This Nexgrill Daytona Pro 5-Burner Review Covers (and What It Doesn't)
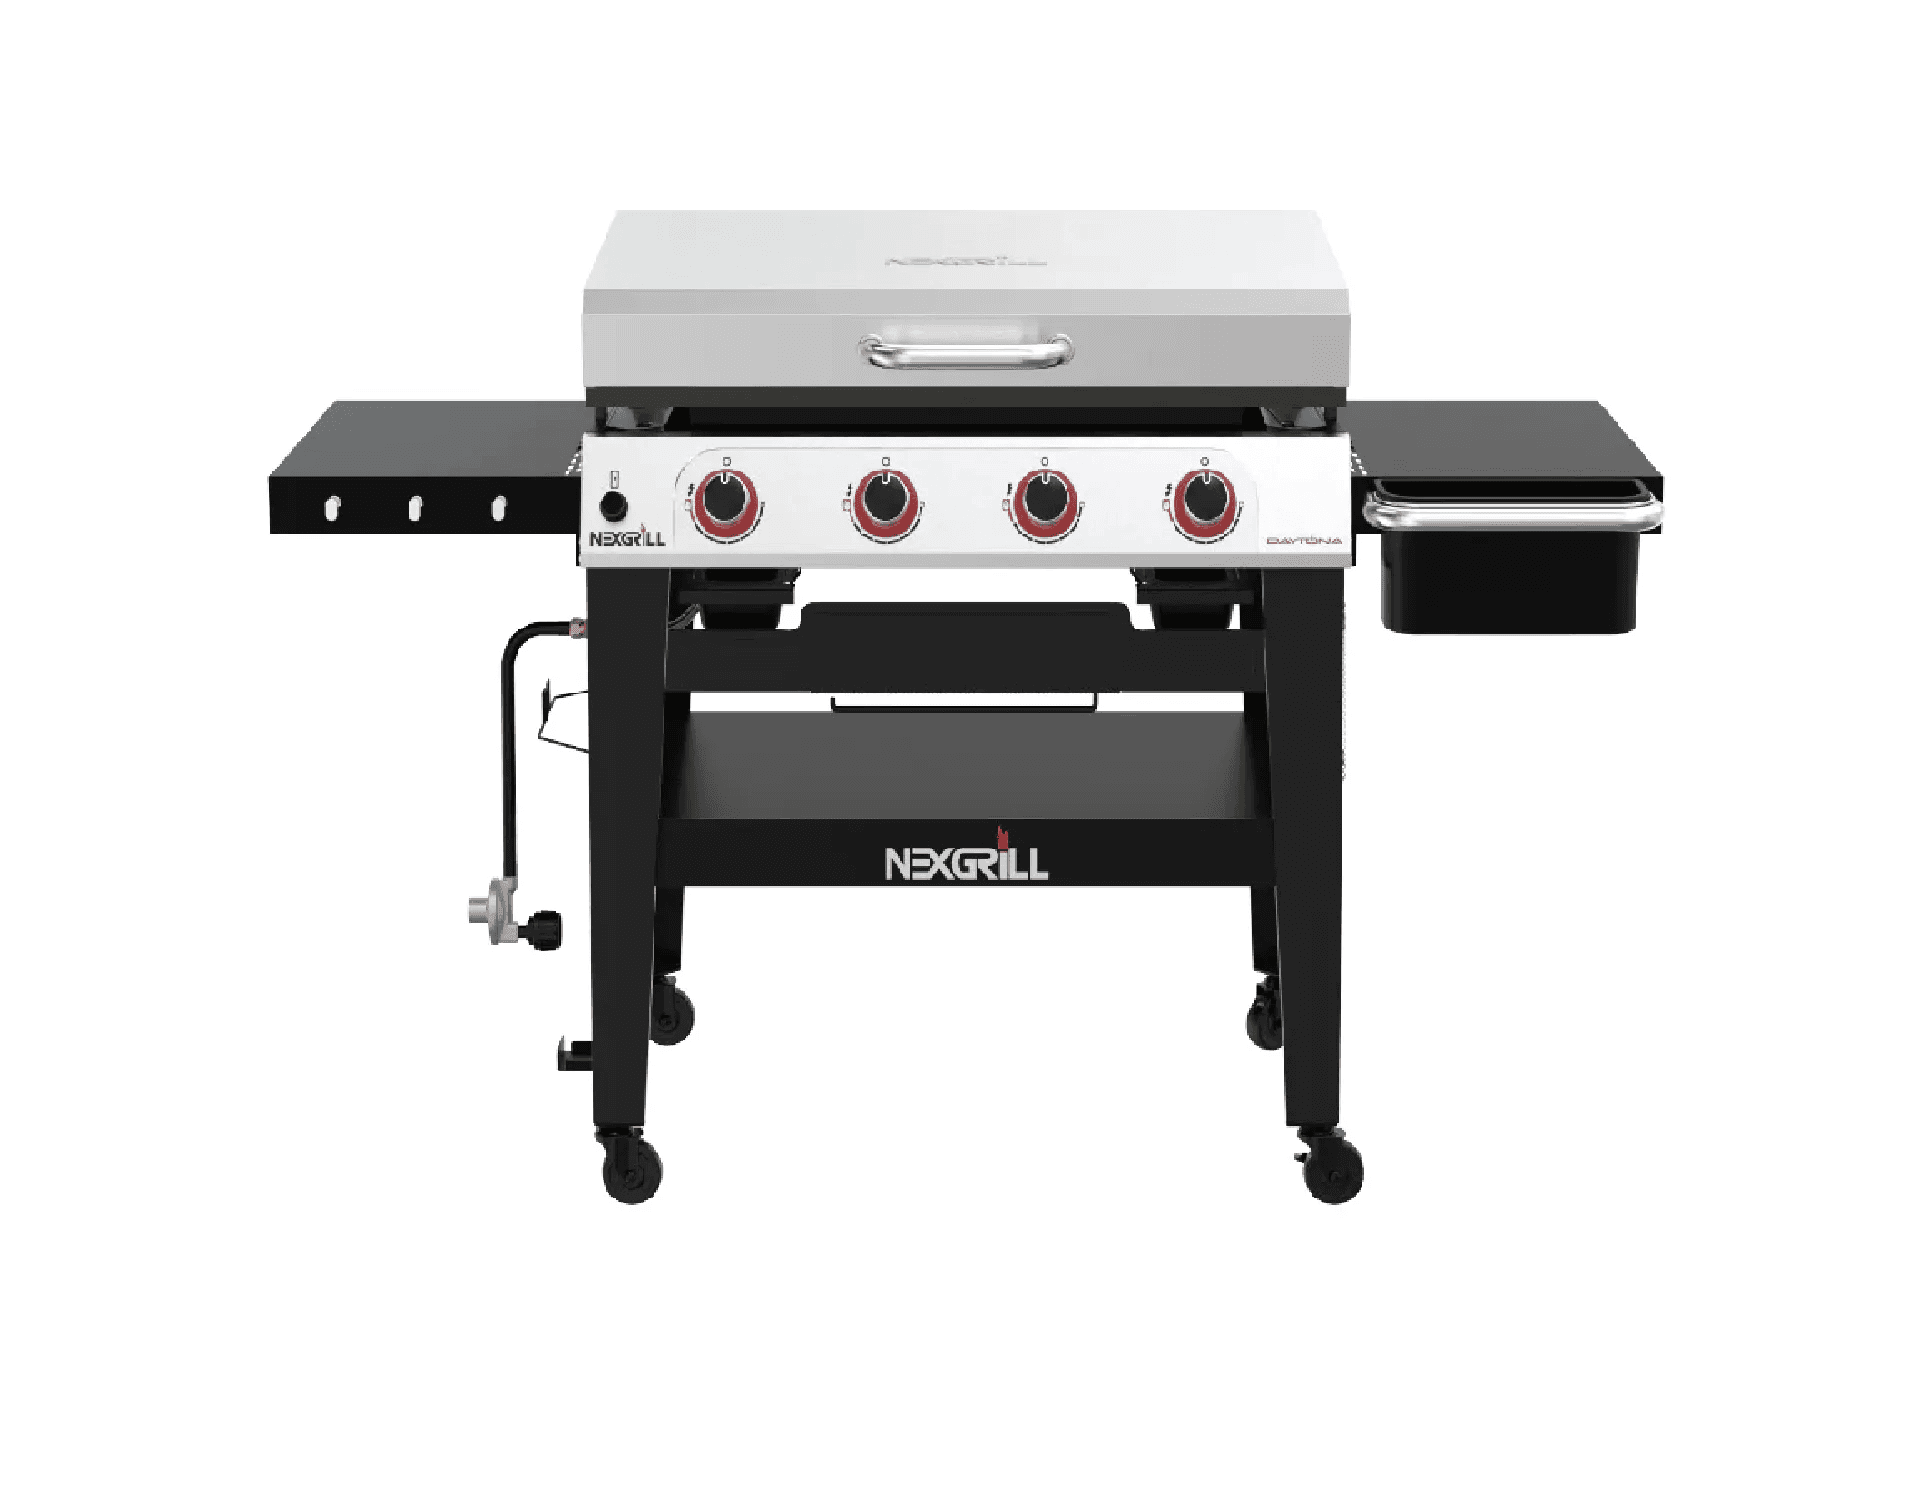
Most flat-top reviews stop at the unboxing. This one assumes you already bought the grill - or are close - and want to run the Daytona Pro 5-burner like a short-order cook: setup done right, the plate seasoned so food releases cleanly, and each of the five burners mapped to a job.
What we deliberately do not print: BTU counts, square-inch figures, plate thickness, or a fixed price. Those numbers change by listing and season. Confirm current figures on the live Nexgrill product listing or the Home Depot product page before you commit.
This guide is about operation - heat control, consistency, cleaning effort, and whether five burners earns its footprint in your backyard.
Before Your First Cook: Propane, Leak Check, and Level Placement
A wide flat-top is heavy and top-heavy once a full propane tank hangs on the cart. Place it on a hard, level surface - a sloped deck sends grease toward one corner of the plate and pools it there. Tighten every cart bolt before the first cook.
Then do a soapy-water leak test on every connection: tank valve, regulator, and manifold. Open the tank slowly, brush the joints, and watch for bubbles. Never test with a flame. Keep the lid open when lighting.
Skip the leak test and you're trusting a factory seal on your first cook. It takes two minutes and costs nothing.
Step-by-Step: Seasoning the Flat-Top Plate Without Flaking
The most common seasoning failure is applying too much oil at once, which bakes into a gummy, flaking layer instead of a bonded patina. The fix is thin coats, repeated.
- Wipe the cold plate with warm soapy water and dry it completely - factory residue blocks bonding.
- Light all burners on low to warm the plate, then cut heat.
- Apply a thin film of high-smoke-point oil (canola, flaxseed, or grapeseed) with a paper towel or lint-free cloth.
- Bring all burners to medium-high until the oil just begins to smoke, then cut heat.
- Add a second thin coat once the plate cools slightly, and repeat for three to five coats.
- Wipe off excess oil and let the plate cool fully before your first cook.
If the surface feels tacky rather than slick afterward, you used too much oil - scrub back to bare metal and start again.
Mapping the Five Burners: A Real Family Cook from Sear to Warm
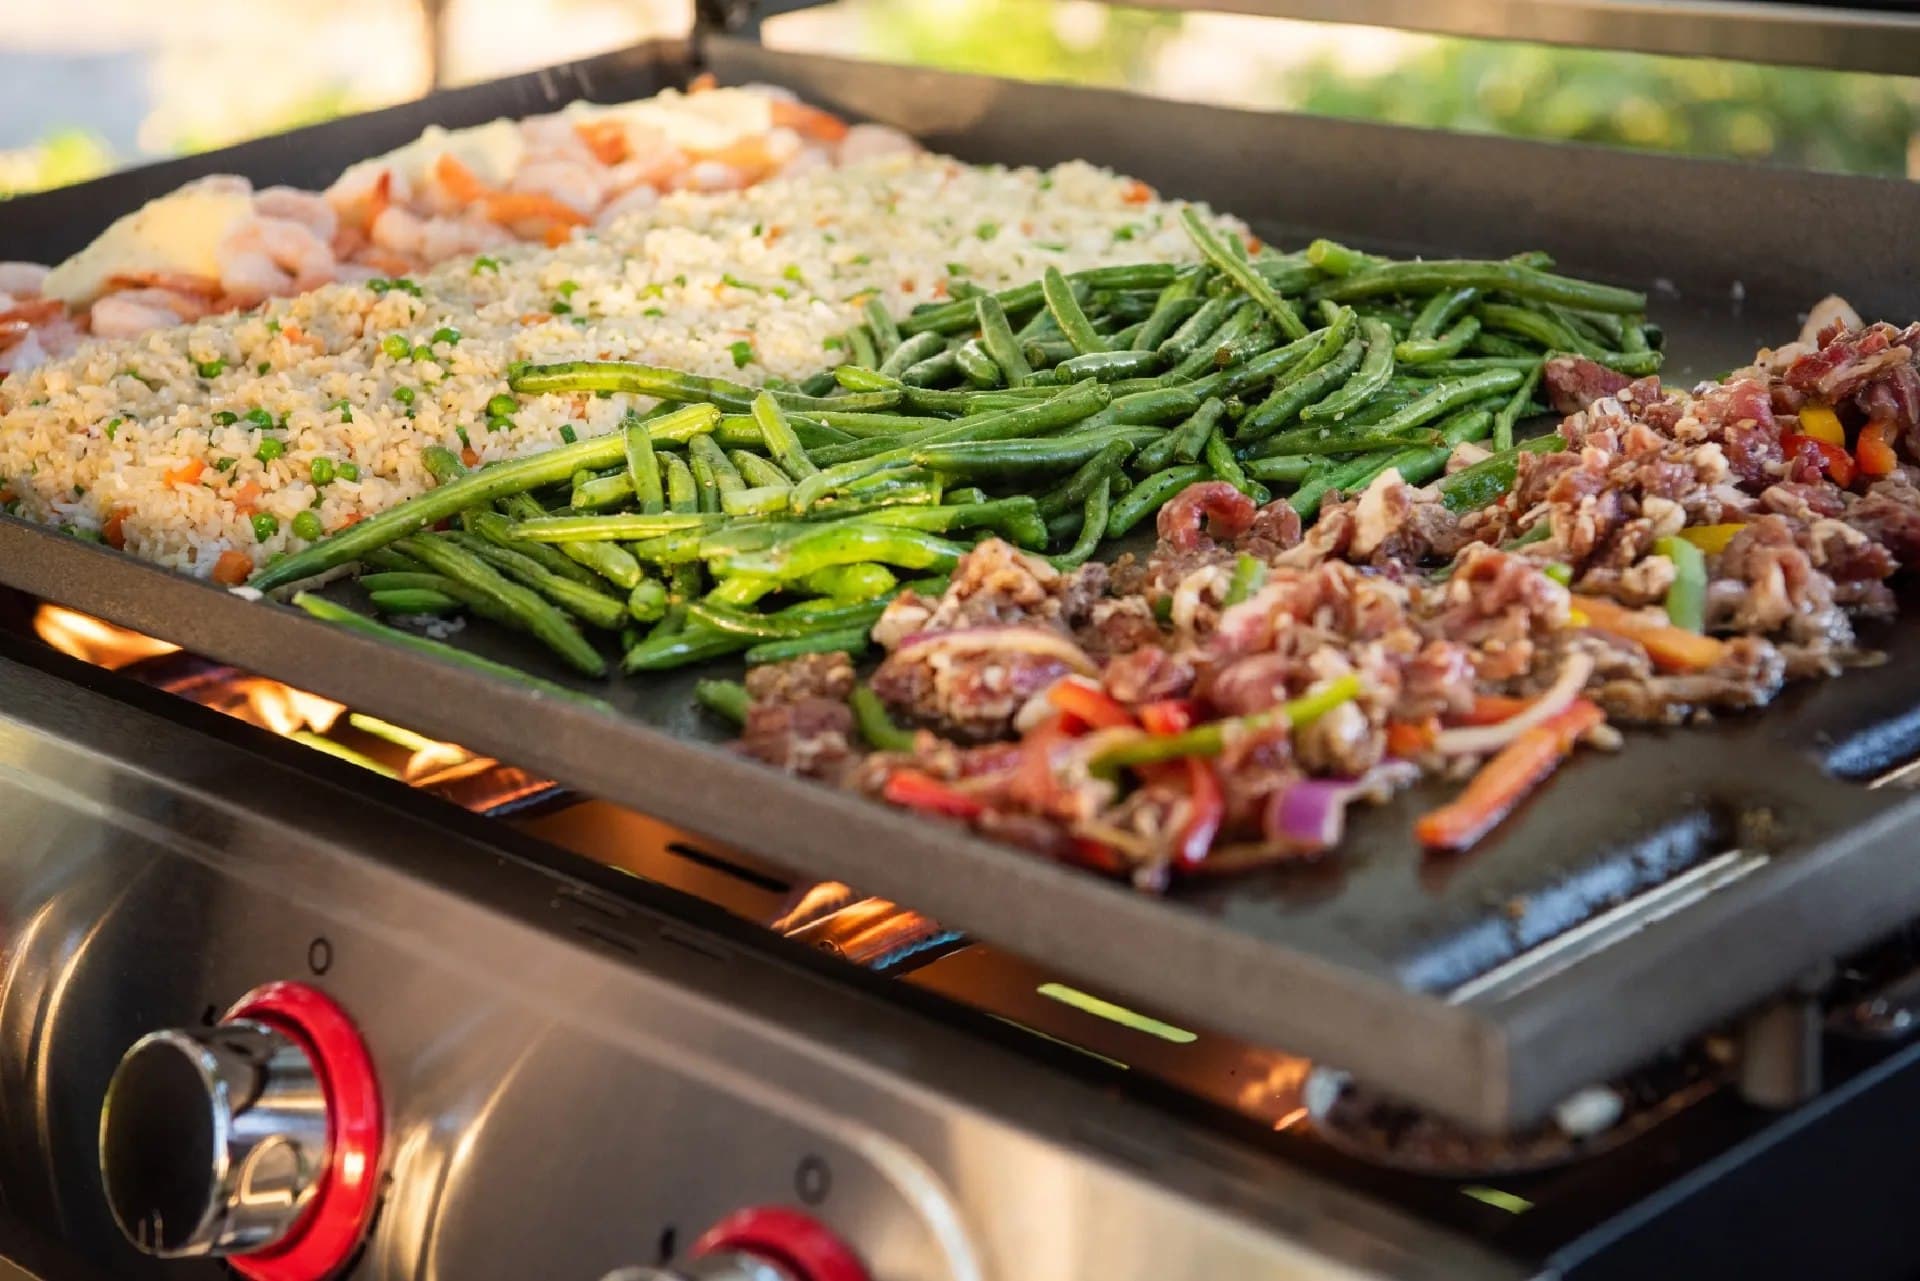
Five burners only pay off if you assign each one a job. Left-to-right heat control lets you sear, finish, and hold simultaneously - the entire argument for a wide plate over a two-burner model.
| Zone (left to right) | Heat setting | Job in a family cook |
|---|---|---|
| Burner 1 | High | Sear and crust |
| Burner 2 | Medium-high | Finish proteins |
| Burner 3 | Medium | Vegetables and onions |
| Burner 4 | Low | Eggs, pancakes, delicate food |
| Burner 5 | Low/off | Hold finished food warm |
Give the plate five to ten minutes to stabilize after changing heat. Flat-tops respond slowly - chasing temperature with the knobs only overshoots.
Sear, Hold, Serve: A Smash-Burger Walkthrough on a 5-Burner Plate
Press a ball of beef onto the hot left zone, smash it once, and leave it alone until the crust forms - the plate does the work. Slide it to zone two to finish, stack cheese, then move it to the far-right hold zone while you cook the next round. On a wide plate you can run a dozen burgers without ever serving a cold one.
Once You've Weighed Two Options Against Each Other
If you compared the Daytona Pro 5-burner against a two- or four-burner Daytona and the extra zones look appealing, slow down on one point: more burners make cleanup and level placement more important, not less. The wide plate has more surface to scrape before grease cools and carbonizes. Decide based on how often you cook for a crowd, not how often you imagine you will.
Is 5 Burners Too Much? Three Buyer Profiles and What Fits
| Buyer | Cooking rhythm | Verdict |
|---|---|---|
| Busy weeknight cook | Two to four portions, quick dinners | The 2-burner flat-top is enough; five burners is wasted footprint |
| Weekend host | Ten-plus people, breakfast and burgers | Five burners earns its space - sear, finish, and hold in one pass |
| Flavor-focused griller | Wants char and grill marks | A gas grill or pellet smoker, not a flat-top, matches that goal |
Check the live Nexgrill and Home Depot listings for whether a lid and cover ship with the model you pick - inclusion varies by SKU and season.
Cleanup as a Habit: Scrape-While-Warm and the Grease Trap Step Owners Skip
Scrape the plate while it is still warm - not hot enough to burn you, warm enough that food releases. Push residue into the rear grease chute, then empty the trap before it hardens. A neglected trap is the top cause of smell and, eventually, restricted flow. Wipe a thin oil film after the plate cools to protect the patina.
Six First-Month Mistakes That Undermine Good Flat-Top Cooking
- Seasoning too thick, then fighting a flaking surface.
- Cranking all burners to high before the plate is warm.
- Piling food on all five zones at once, killing airflow and heat recovery.
- Skipping the leak check on the second propane tank swap.
- Letting grease cool in the trap overnight.
- Leaving the plate uncovered through rain, which invites rust.
Pre-Purchase and First-Week Checklist (Pricing Caveat Included)
- Confirm the current spec sheet and price on the live Nexgrill or Home Depot listing - figures shift seasonally.
- Measure your patio and cart path before ordering.
- Buy high-smoke-point oil and a sturdy scraper before the first cook.
- Leak-test every propane connection.
- Season in three to five thin coats.
- Establish a scrape-and-empty habit from cook one.