Nexgrill Daytona 2-Burner Assembly Instructions: Flat-Top Build, Lid Alignment, and Leak-Test Steps
A practical how-to for the four Daytona 2-burner variants-identify your model, follow the flat-top build order, and avoid the mistakes that cause hinge and regulator issues.
In This Article
Model Fork First
Flat-Top Build Order
Lid & Latch Checks
Which Daytona 2-Burner Do You Actually Own? A Four-Way Fork
Nexgrill uses “Daytona” across several 2-burner products, and they do not share a build sequence. Match your carton to one of these four before opening the hardware bags:
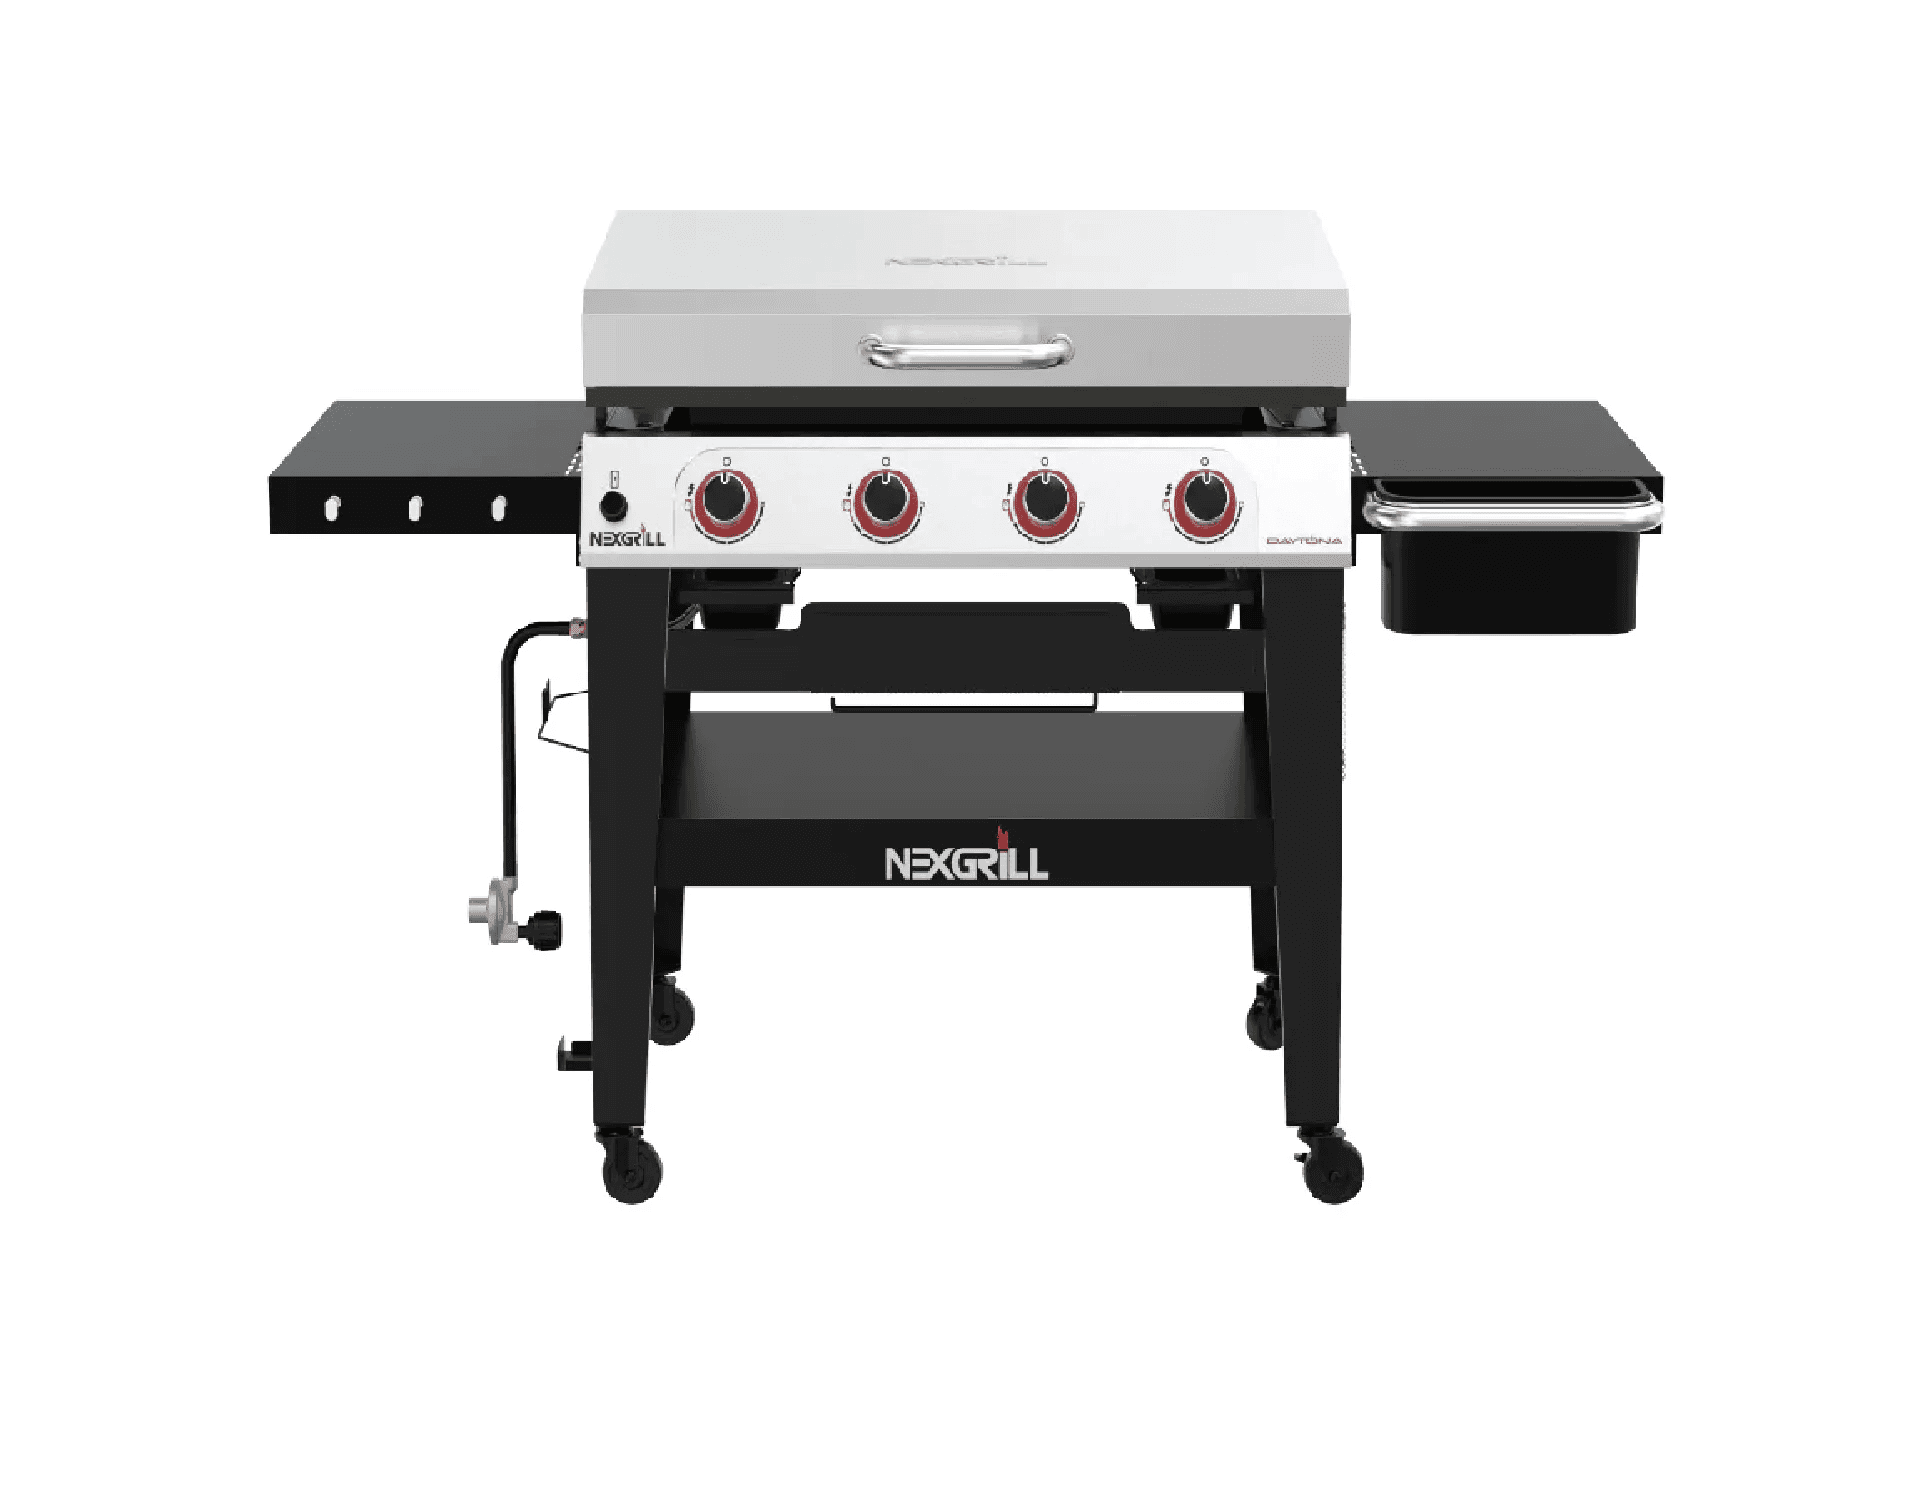
- Daytona 2-Burner Propane Gas Griddle with Lid - flat-top plate plus a hinged lid, typically on a fixed cart.
- Daytona 2-Burner Propane Gas Griddle with Foldable Cart - flat-top plate, no lid, legs that collapse for storage.
- Deluxe 2-Burner Gas Grill - open-grate gas grill with a firebox and lid, not a griddle plate.
- Daytona Pro 5-Burner Nitroguard Griddle - a five-burner unit; if your box says “Pro 5” or “Nitroguard,” use that manual instead.
The model number is on a silver label inside the carton and on the rear of the cart frame. If the label is missing, the lid (present or absent) and the cart style (fixed vs. folding) are your fastest clues.
Do not start with the griddle plate on any model. The grease trough and heat tents must be seated underneath first, or you will lift the heavy plate back out.
What Should Be Unfolded on the Patio Before You Cut the Tape?
Clear a flat 8 ft × 8 ft area - the foldable-cart unit needs room to open its legs without scratching the deck. You will need a #2 Phillips screwdriver, a 7/16 in. wrench or adjustable spanner, and a box cutter. A second person is strongly recommended for the lidded griddle (45-90 minutes with a helper) but is optional for the foldable-cart version (30-60 minutes solo). Have a 1 lb propane cylinder or your bulk tank ready only for the final leak test, not for the build itself.
How Long Does a Daytona 2-Burner Build Really Take?
| Model | Typical time | Helper | Hardest step |
|---|---|---|---|
| Lidded griddle | 45-90 min | Recommended | Lid hinge alignment |
| Foldable-cart griddle | 30-60 min | Optional | Leg-lock click test |
| Deluxe 2-burner gas grill | 45-75 min | Optional | Burner tube screw seating |
Where the Flat-Top Build Order Differs from a Cart Gas Grill
On a standard cart gas grill, the firebox goes on the cart first, then burner tubes, then grates. On a Daytona flat-top, the cart still comes first, but the sequence above the cart flips: the grease trough and heat tents drop into the base before the griddle plate. That single change prevents the most common rework - lifting a 30-40 lb plate to retrieve a trough you forgot to install.
Step 1: Unpack, Inspect, and Sort Hardware by Assembly Step
Lay every part on cardboard. Count legs, casters, the regulator/hose, and the griddle plate against the parts list. Sort screws into cups labelled “Step 2 - frame,” “Step 3 - regulator,” “Step 4 - trough,” and “Step 6 - burner.” Sorting by step, not by bag colour, eliminates the mid-build search that adds 10-15 minutes.
Step 2: Frame First-Legs, Casters, or Foldable Cart Latch Check
Fixed-cart units: bolt legs to the cart base, then attach casters with locking casters at the front. Foldable-cart griddle: open the cart until both leg locks click audibly; push down on the frame to confirm no wobble before flipping it upright. A leg that does not click is not locked - do not proceed.
Step 3: Regulator Hose Routing and Valve Orifice Seating
Thread the regulator collar onto the tank valve by hand until snug - never use a wrench; over-tightening deforms the rubber seal and causes leaks. Route the hose so it does not touch the firebox bottom or cross a burner tube. On the Deluxe 2-burner gas grill, check that each burner tube slides fully over its valve orifice before tightening the retaining screw.
Try comparing two Daytona models side by side below to see which fits best:
Once You've Weighed Two Options, Here's What Else Matters During Assembly
If you compared a lidded griddle against a foldable-cart model, the build differences you just read about become your decision criteria. The lidded version adds lid-stop brackets and hinge alignment; the foldable version adds leg-lock and latch checks. Both share the same trough-first rule.
Step 4: Grease Trough Before the Griddle Plate Drop-In
Slide the grease trough into its rails at the rear of the cart, then place the heat tents over the burners. Lower the griddle plate evenly - two people for the lidded unit. Confirm the plate sits flush and the front edge does not overhang the control panel.
Step 5: Lid Hinge and Stop Bracket Alignment on Lidded Units
Attach the lid to the firebox hinges with the screws finger-tight. Close the lid and check even gap on both sides. The lid-stop bracket mounts on the left hinge (as viewed from the front) with its bent tab facing inward - reversing it prevents full opening. Tighten hinge screws only after the lid closes without binding.
Tip: Have a helper hold the lid at 45 degrees while you start the hinge screws. It prevents cross-threading and keeps the lid from slamming.
Step 6: Ignition Wire Routing and Burner Tube Screw Tightening
Clip the ignition wire to the collector box, keeping it away from the firebox edge and any metal that heats above 200°F. Hand-thread the burner tube retaining screw first, then snug with a screwdriver - cross-threading occurs when the screw is forced into paint or debris. Test each burner tube for side-to-side movement; it should be firm but not crushed.
Five Mistakes That Cause Rework on 2-Burner Daytona Builds
- Dropping the griddle plate before the grease trough is seated.
- Over-tightening the regulator collar with a wrench (hand-tight only).
- Forcing burner tube screws instead of starting them by hand.
- Mounting the lid-stop bracket backward, blocking full lid travel.
- Skipping the leg-lock click test on the foldable cart.
First-Burn Checklist: Soapy Water Leak Test and Burner Flame Check
Mix dish soap and water 1:1. Brush the solution on the regulator-to-tank connection and the hose-to-manifold joint. Open the tank valve slowly - any growing bubble means a leak; close the valve and reseat the connection. Never use a flame to test for leaks. Light each burner and confirm a steady blue flame with slight yellow tips; a mostly yellow flame suggests a blocked orifice or spider web in the tube.
If bubbles persist after reseating, stop and contact Nexgrill support before cooking.
When to Stop and Call Nexgrill Support for Missing Parts
If a boxed part is dented, a hardware bag is short, or the griddle plate does not sit flat, do not improvise. Nexgrill’s support team can confirm part numbers and send replacements. Have your model number and serial number ready - both are on the carton label and the rear frame.