Nexgrill Daytona 3-Burner Assembly Instructions: Build Order, Bolt Traps, and First-Season Checklist
A hands-on assembly walkthrough for owners whose Daytona box arrived without a clear booklet, starting with the model-identity check most people skip.
In This Article
Confirm the Model First
Cart Before Firebox
Season a Flat-Top
You Have a Daytona Box, Three Knobs on the Carton, and No Clear Booklet
The carton arrived and there's no obvious instruction booklet. Before you grab a socket set, pause: the current Nexgrill Daytona family is easy to misread, and building the wrong configuration wastes an afternoon. This walkthrough is for owners who need a practical build order, not a generic leaflet.
The 60-Second ID Check: Does a 3-Burner Daytona Actually Exist?
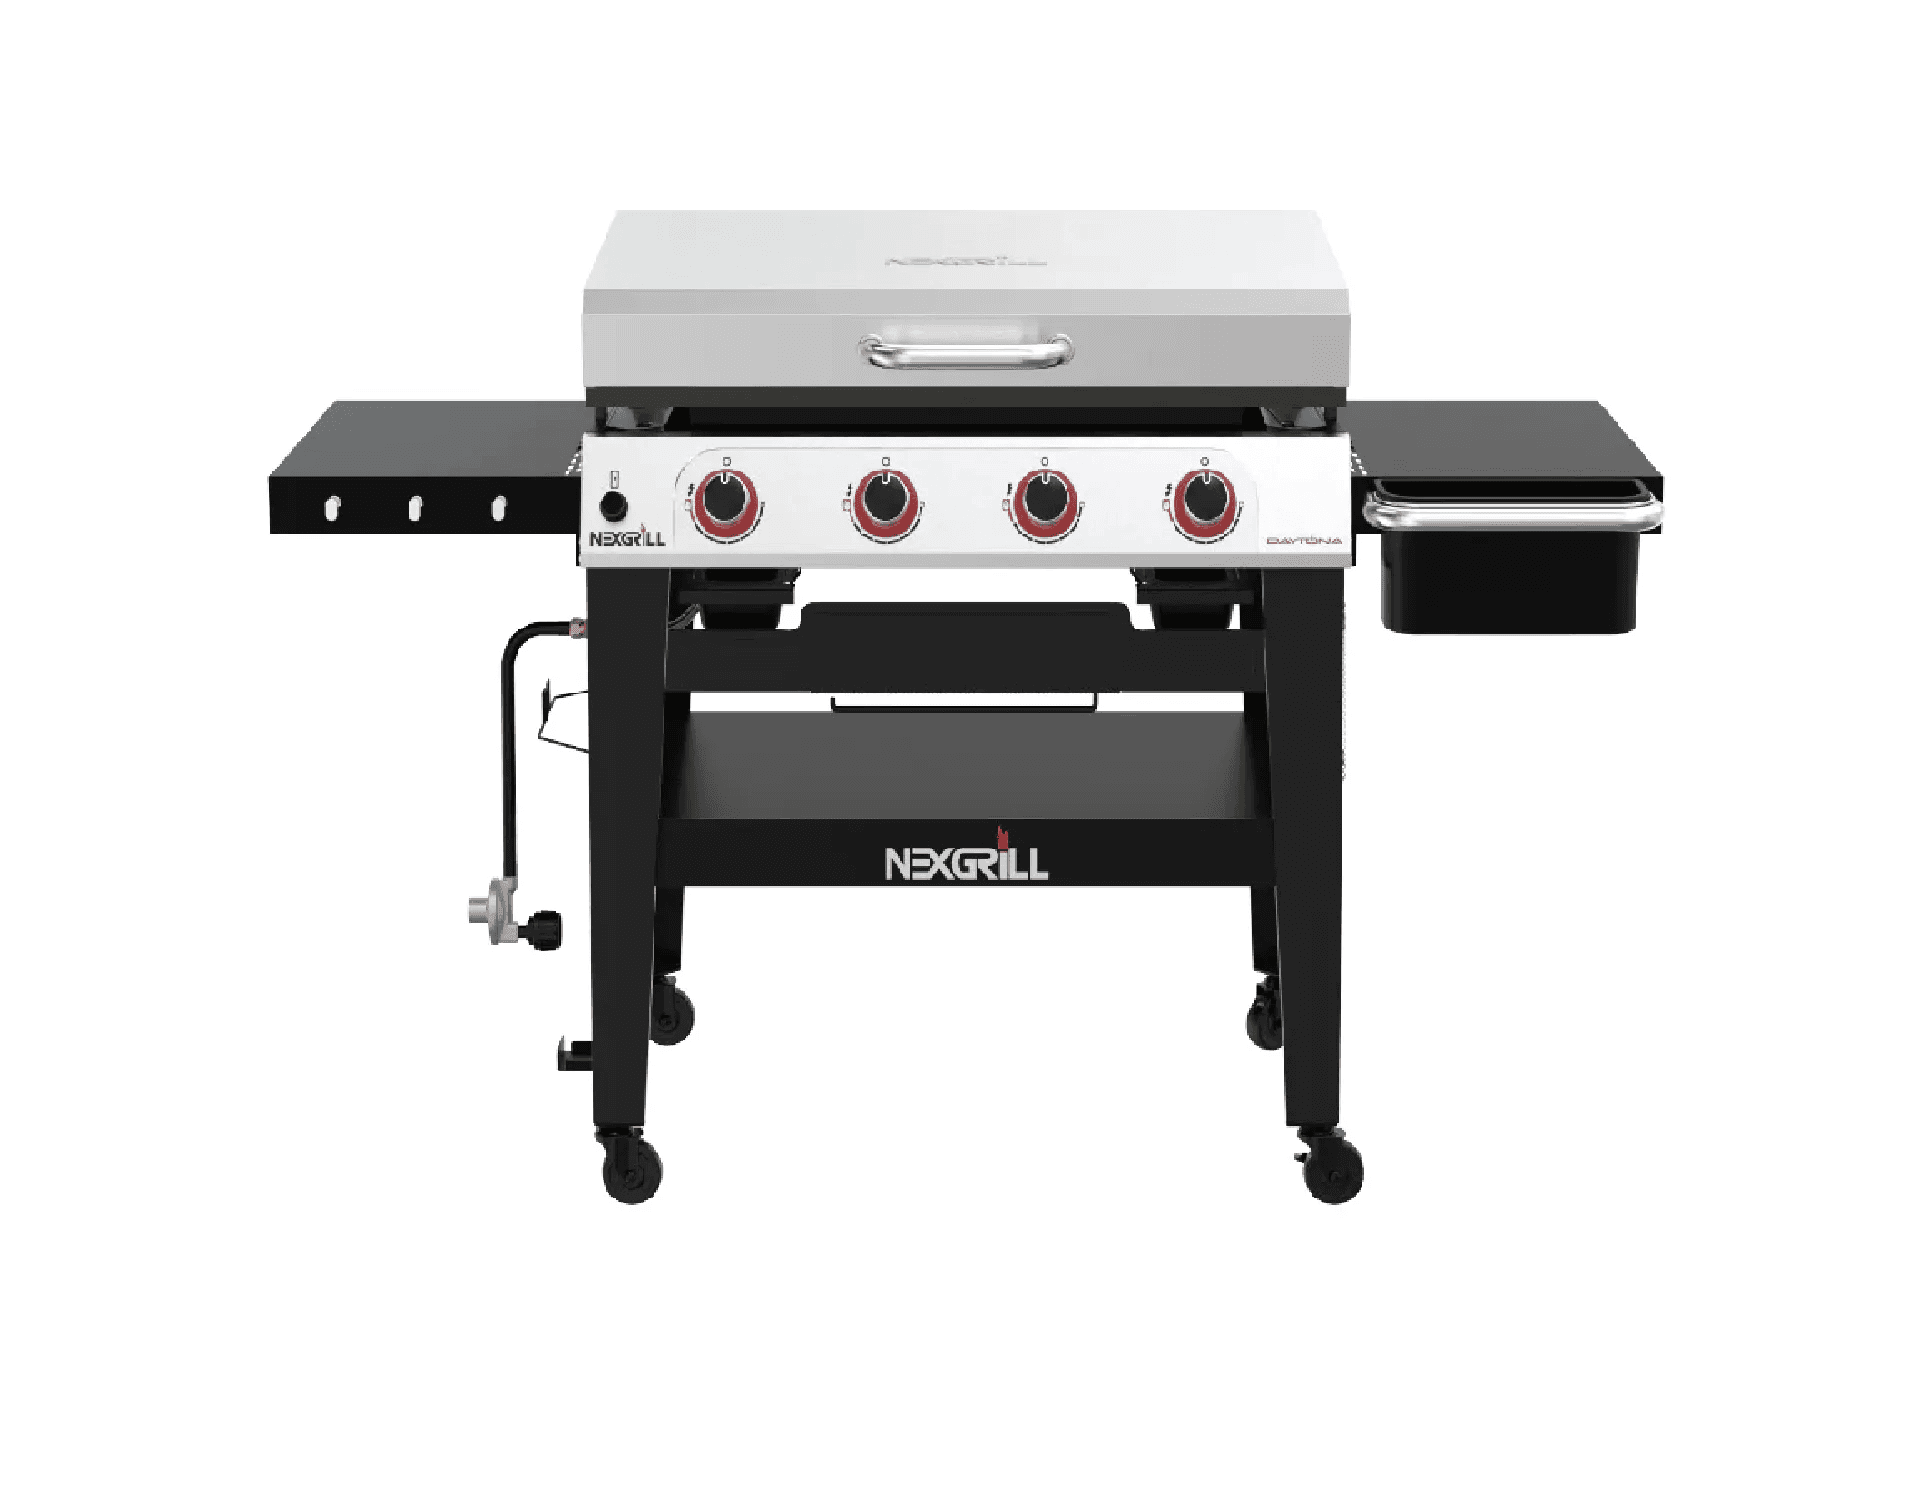
Nexgrill's live catalogue lists Daytona models as 2-burner griddles, 4-burner propane griddles, a stainless 4-burner flat-top, and a Pro 5-burner Nitroguard. There is no current "Daytona 3-burner" SKU. Your unit is likely an older discontinued Daytona 3-burner gas grill, a mislabelled 2- or 4-burner Daytona griddle, or a 3-burner grill from another Nexgrill family.
Count the knobs: three main burner knobs plus an igniter and no side burner means a 3-burner gas grill. A continuous flat steel plate means a griddle. Find the rating label (back panel, inside the cabinet, or under a side shelf) and photograph the SKU and serial number. Cross-check the carton GTIN against the product page. A 4-burner firebox and a 3-burner firebox have different bolt patterns.
Warning: No direct 3-burner Daytona assembly PDF exists on the current Nexgrill site. Use the model-specific document linked from your product page or the retailer's "Info & Guides" tab. If neither lists your exact SKU, contact support before assembly.
Before You Open the Hardware Blister Pack: Lay Out the Parts List
Empty the carton onto a blanket and compare every panel, leg, castor, shelf, and heat tent to the parts list. The most common trap is a blister pack mixing M6 and M8 bolts in similar lengths. Sort them into labelled cups. A bolt 5 mm too long will dimple a shelf bracket or strip the weld nut inside the firebox.
Tip: Photograph the laid-out hardware before you start. If you finish with two bolts left over, the photo tells you where they belong.
Step-by-Step Build Order for a Daytona Cart and Firebox
This reflects typical Nexgrill construction for cart-style gas grills and griddles - a guide, not a verified per-SKU manual.
- Build the cart upside down. Lay the top cart panel face down on a blanket and attach the legs or side frames loosely.
- Fit casters and bottom shelf before flipping. Locking casters go on the front legs; bolt the shelf while the frame is inverted.
- Flip the cart with two people. A 3-burner gas body is well over 50 lb.
- Mount the firebox last. With the cart upright and level, lower it onto the rails and start all four bolts by hand before tightening.
- Attach side shelves and lid handle. Use the shorter bolts for shelf brackets.
- Drop in burners, heat tents, and grates or griddle plate. A flat-top plate goes on last and is heavy - get help.
- Connect the regulator and LP tank, then leak-test. Soapy water at both regulator joints; never a flame.
Where the Assembly Sequence Usually Goes Wrong
- Mixing M6 and M8 bolts. A thread mismatch can cross-thread a weld nut.
- Mounting the firebox before casters. You cannot reach the castor bolts once the body is on.
- Skipping the flat-top seasoning. Bare cold-rolled steel will rust and stick without an oil-and-heat cycle.
- Skipping the leak test. Two minutes at both regulator joints prevents a dangerous first burn.
Try comparing two products side by side below to see which fits best:
Once You've Weighed Two Options Against Each Other, Here's What Else Matters
If the comparison tool has narrowed your choice between, say, a 4-burner Daytona griddle and a 2-burner model, assembly differences matter as much as cooking surface. A larger griddle means a heavier plate, a longer cart, and more bolts - plan for two people and a flat, clear workspace. A 2-burner unit is manageable solo but still benefits from the upside-down cart method.
Seasoning the Flat-Top: The Step Grate Grills Don't Have
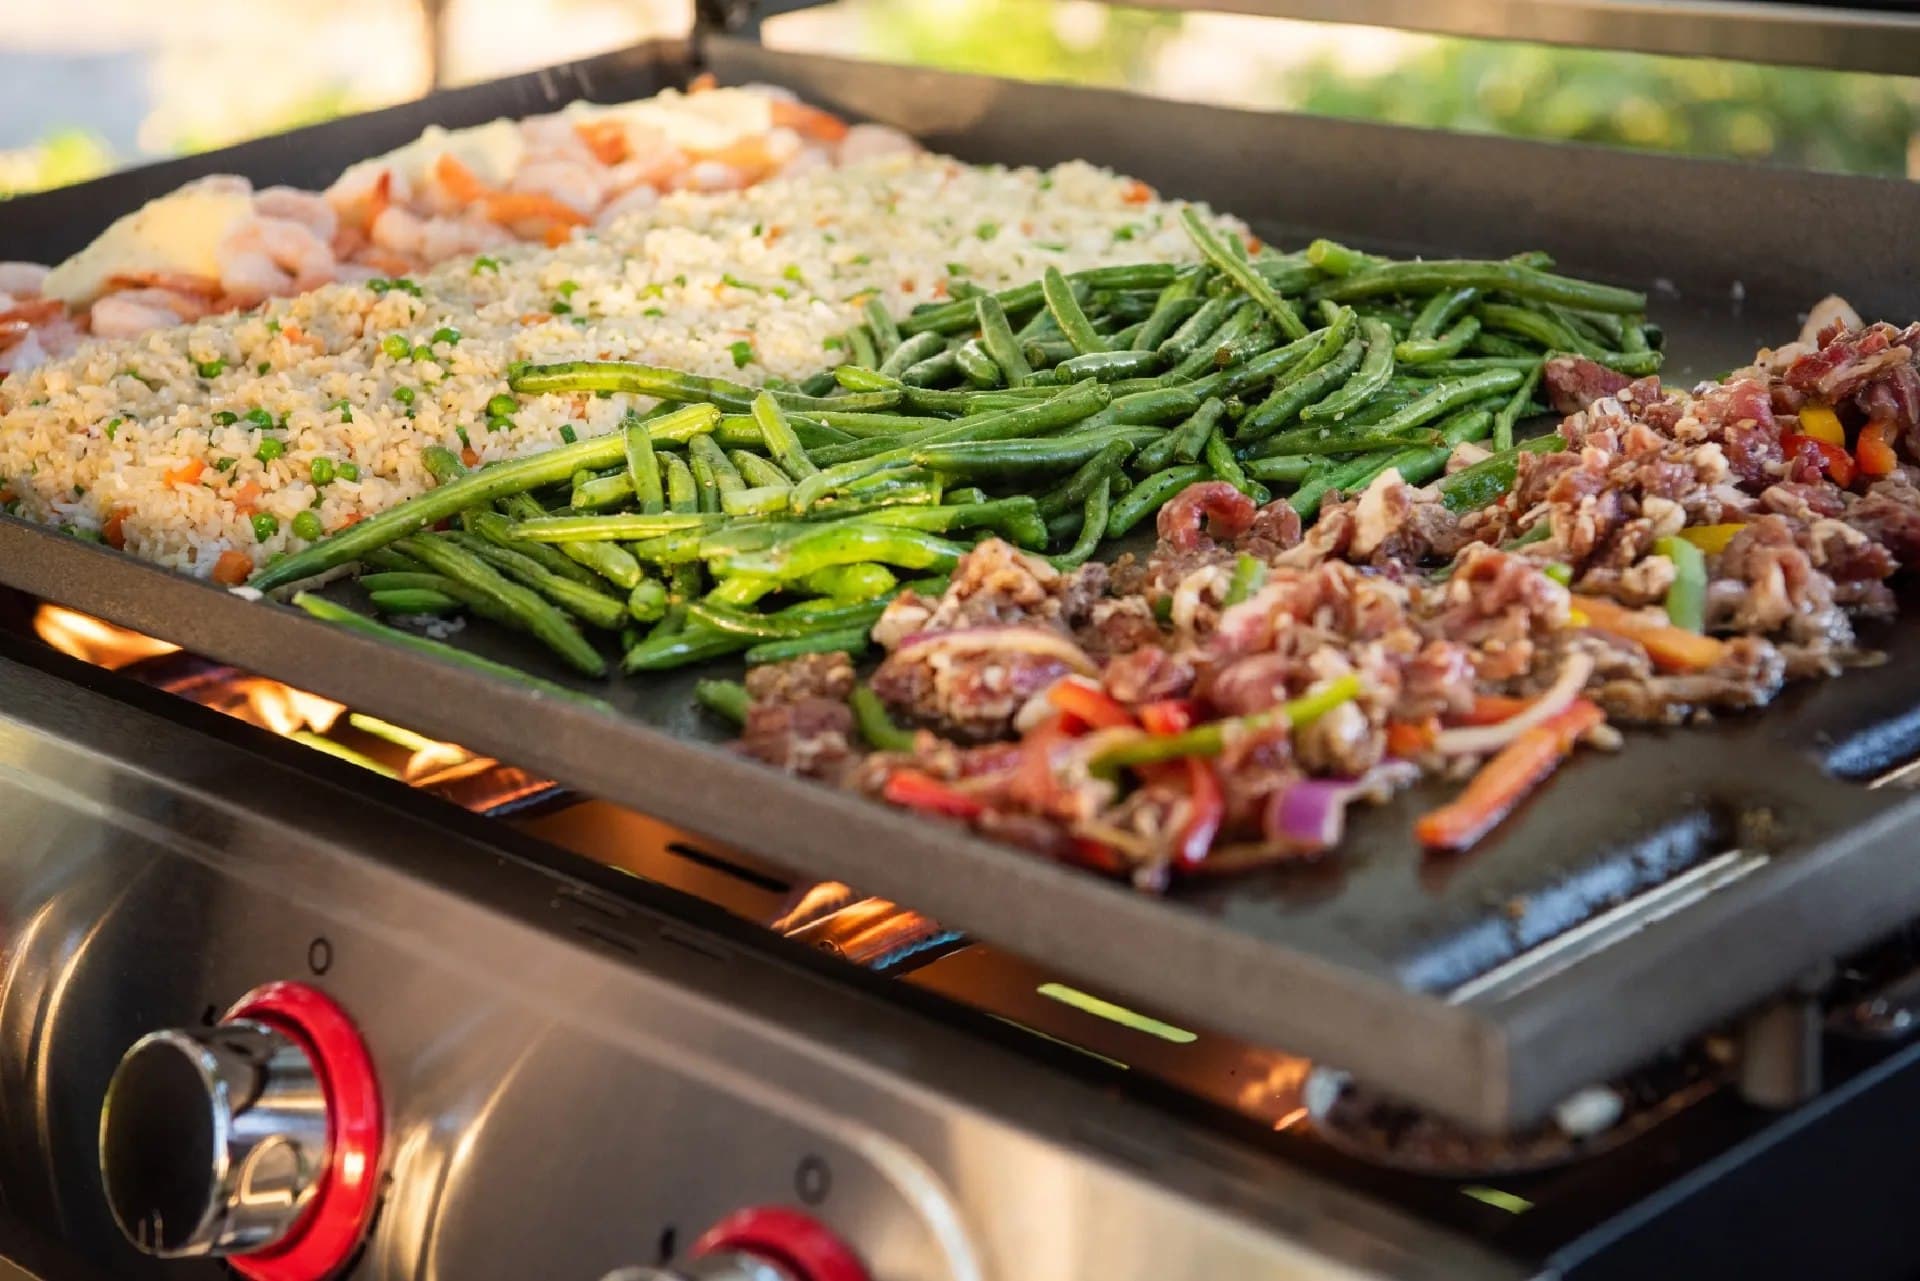
Gas grills with wire grates need only a burn-off. A Daytona griddle has a cold-rolled steel plate that must be seasoned first. Wash it with warm soapy water, dry completely, then apply a thin, even coat of high-smoke-point oil such as flaxseed or canola. Heat on medium for 15-20 minutes until the oil darkens and stops smoking. Repeat two or three times to build a polymerized layer that prevents rust and creates a non-stick surface. After seasoning, scrape and wipe with oil instead of soap.
Leak Test and First Burn: What to Do Before Any Food Touches the Surface
Mix dish soap and water in a spray bottle. With the tank valve open but burners off, spray the regulator-to-tank connection and the regulator-to-manifold joint. Watch for growing bubbles for 30 seconds. If bubbles appear, close the tank, tighten, and retest. Never use a match. Once the joints pass, run the burners on high for 10-15 minutes to burn off manufacturing oils, then season the plate.
Info: A 3-burner gas firebox typically ships with a 1 lb or 20 lb LP regulator. Match the regulator to your tank type before testing.
Torque, Squaring, and the Wobbly-Cart Fix
Snug bolts, not gorilla-tight - over-torquing crushes washers and strips weld nuts. After assembly, loosen every bolt a quarter turn, set the cart on a level surface, and tighten in an X pattern: top-left, bottom-right, top-right, bottom-left. This squares the frame and kills the wobble common to one-person builds. If a castor still rocks, check that its mounting plate sits flush and the locking lever is fully engaged.
A One-Page Assembly Checklist You Can Print
| Step | Task | Done |
|---|---|---|
| 1 | Verify model via rating label and SKU | ☐ |
| 2 | Sort hardware by size (M6 vs M8) | ☐ |
| 3 | Build cart upside down; fit casters and shelf | ☐ |
| 4 | Two-person flip; mount firebox | ☐ |
| 5 | Attach shelves, lid, burners, grates/plate | ☐ |
| 6 | Leak test both regulator joints | ☐ |
| 7 | Burn-off, then season flat-top | ☐ |
When to Stop and Ask Nexgrill Support
Stop if you cannot match your SKU to a manual, if a weld nut is stripped, or if leak-test bubbles persist after tightening. Nexgrill support can confirm the correct document for discontinued units and supply replacement hardware. Do not substitute hardware-store bolts for load-bearing joints.