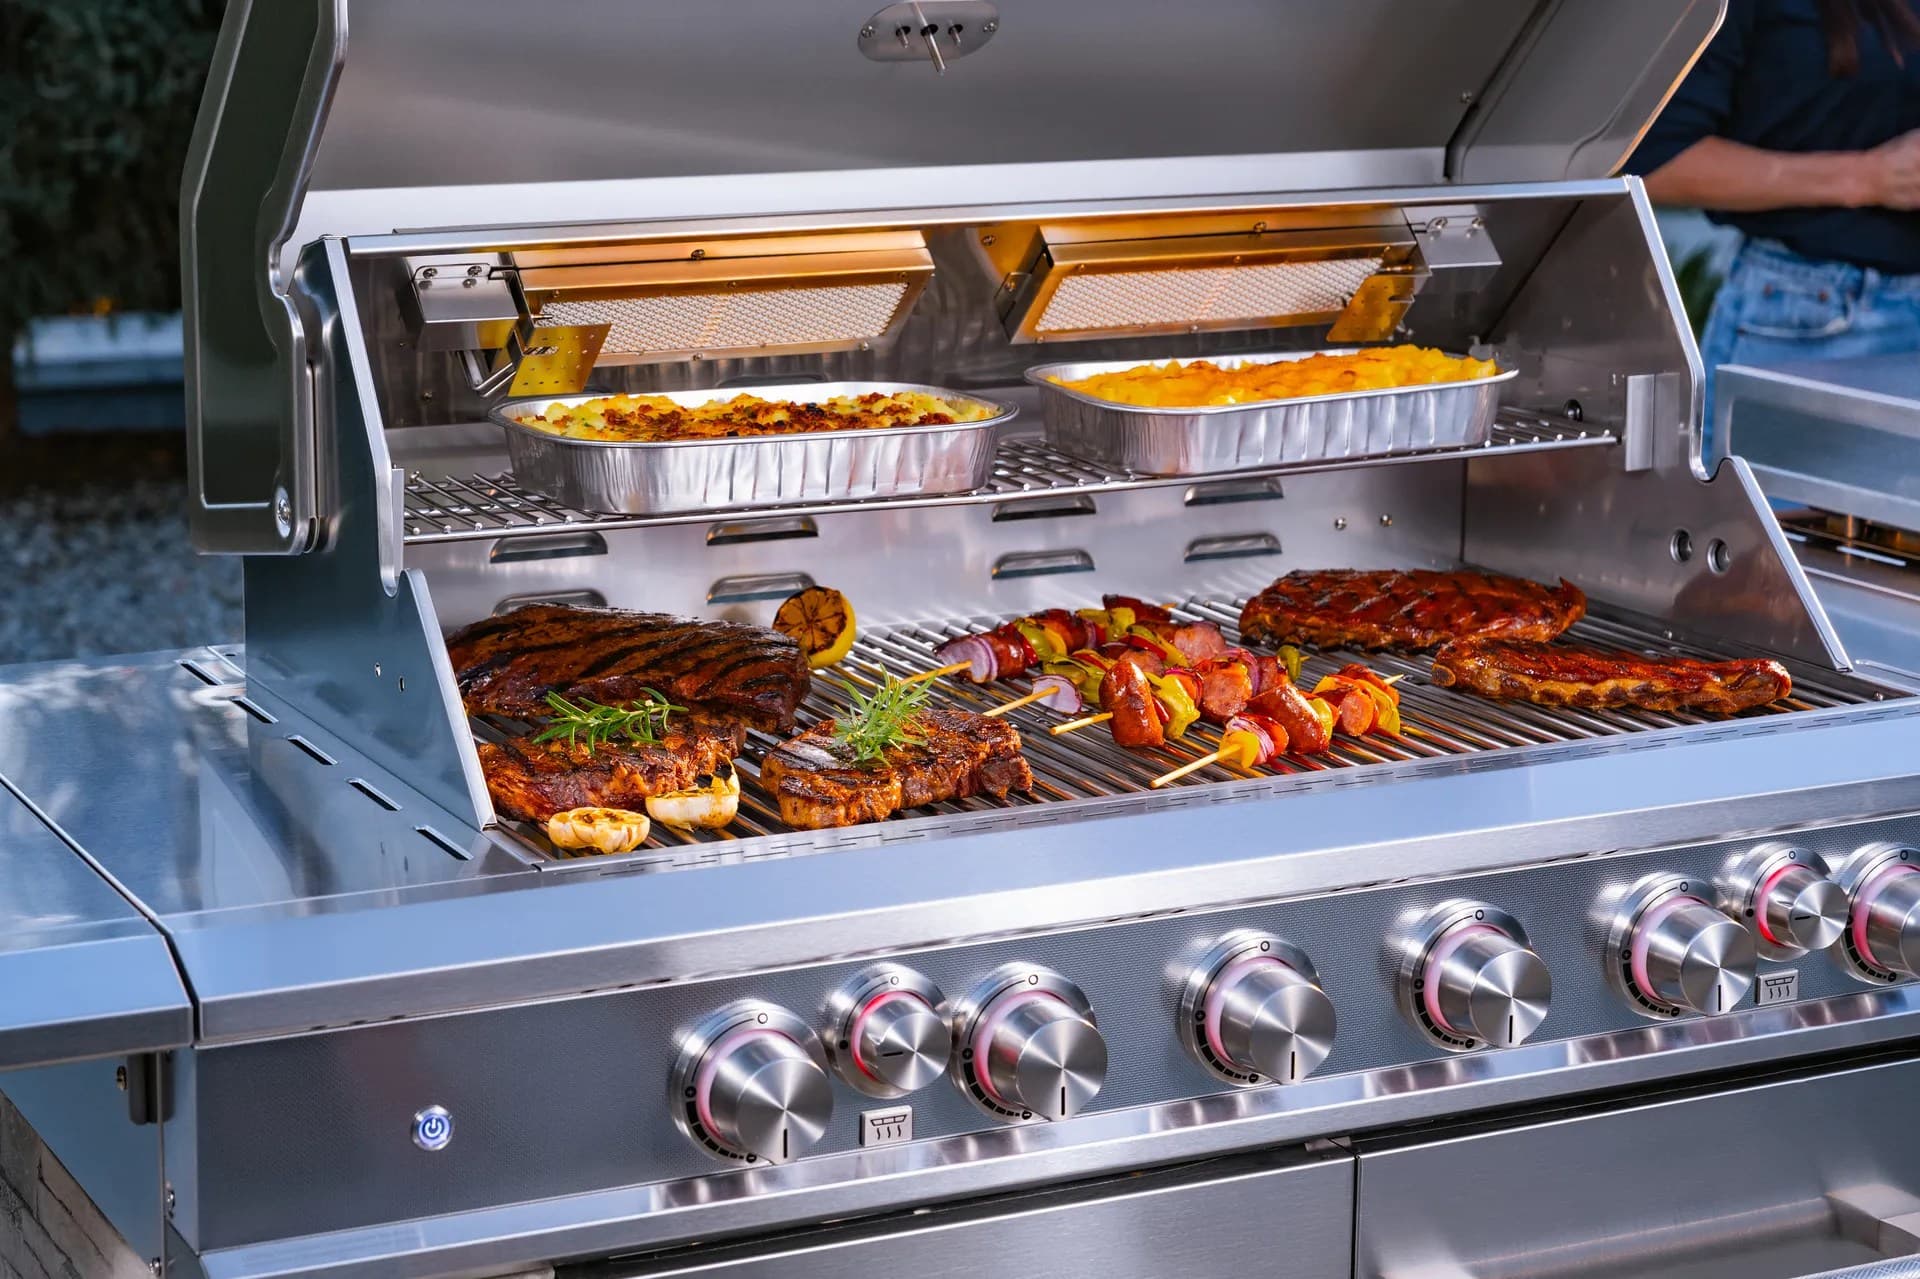
Essential Nexgrill Assembly Instructions for Your Outdoor Grill
A comprehensive guide to successfully assembling your Nexgrill.
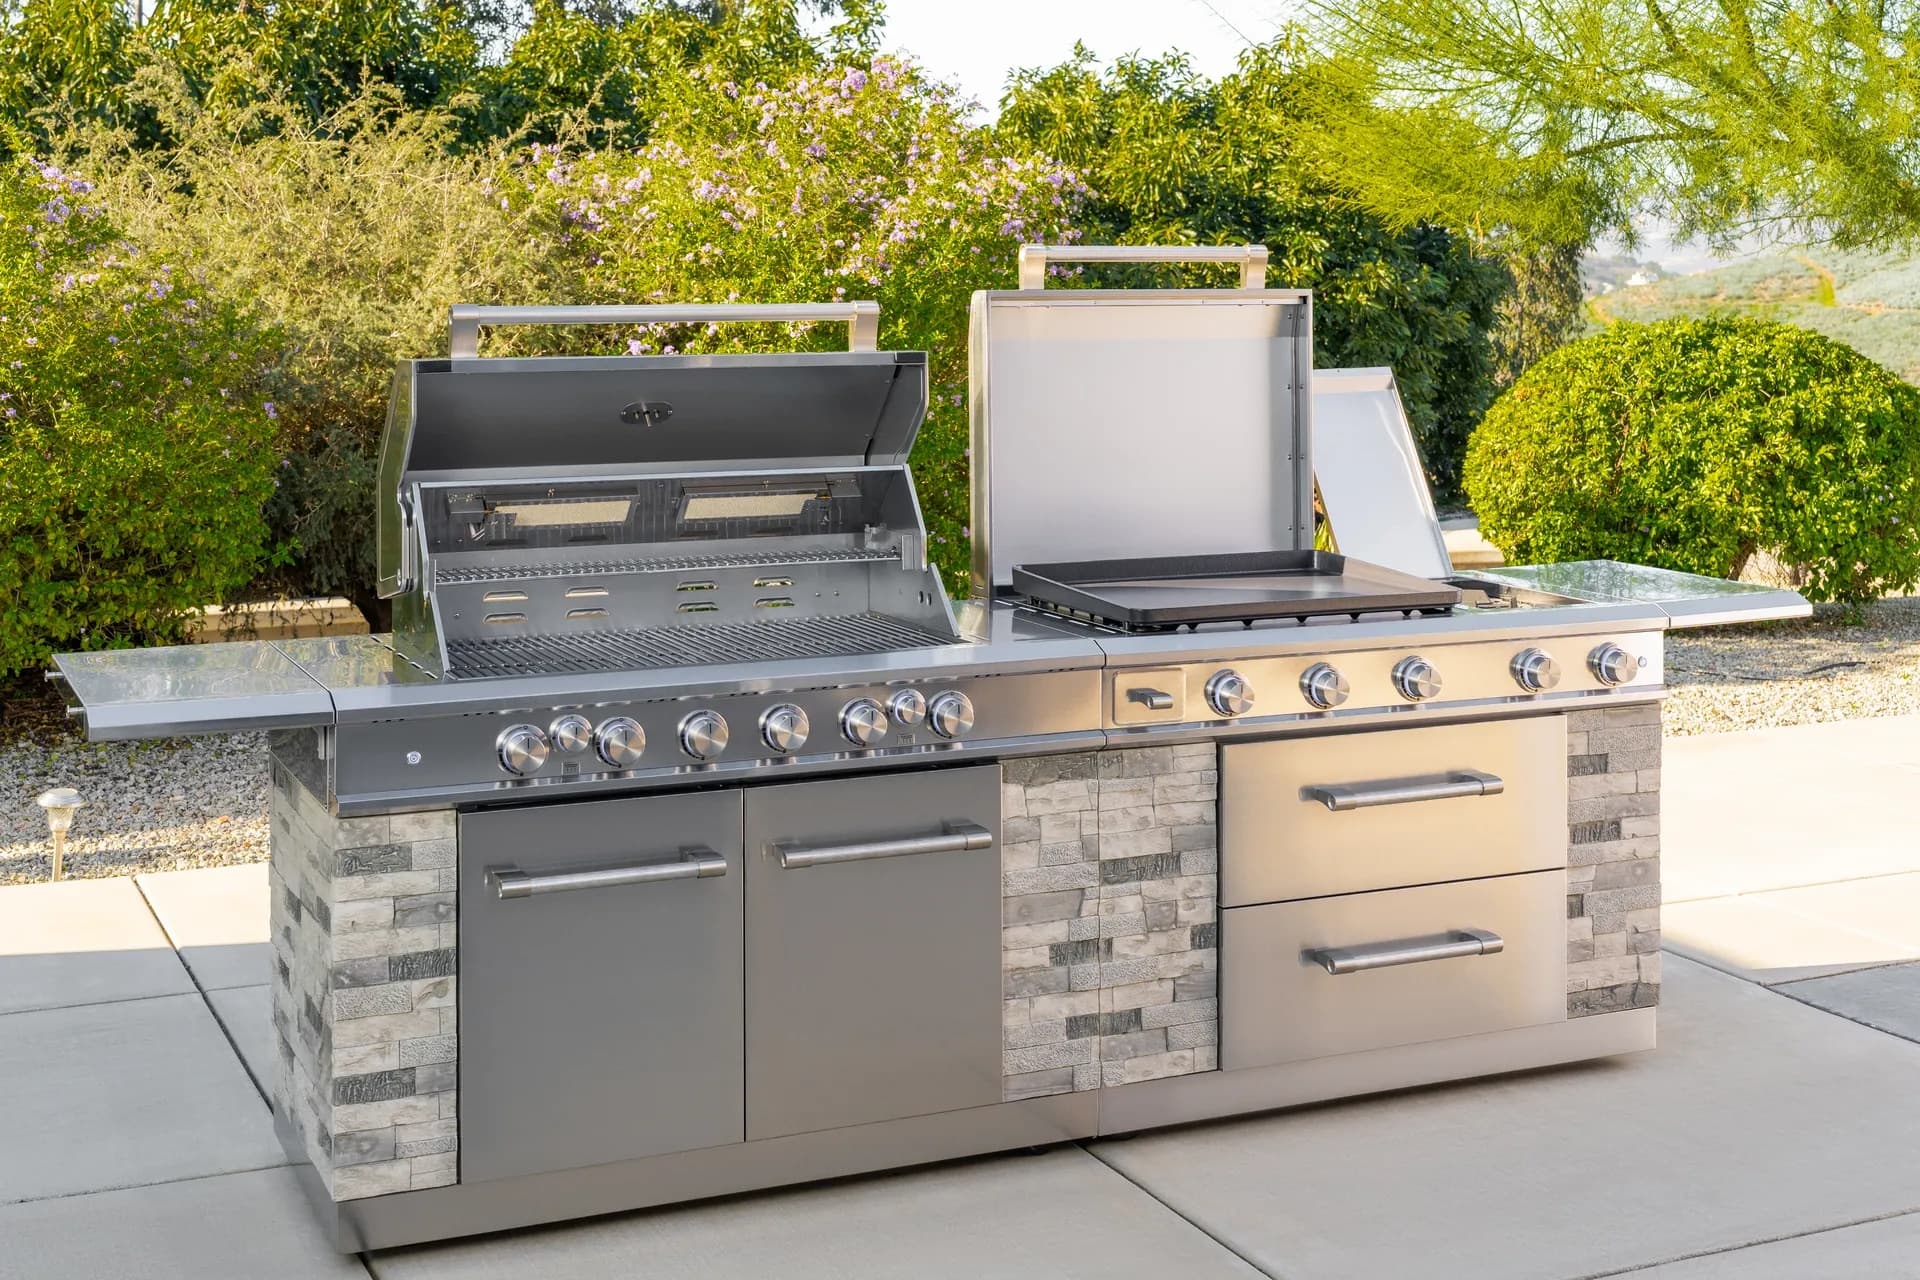
In This Article
Model-Specific Guides
Safety First
Troubleshooting Tips
Introduction to Nexgrill Assembly
Assembling your Nexgrill is an essential step to unlocking its full potential. Proper assembly ensures optimal performance, safety, and longevity of your grill. Whether you're setting up a charcoal grill, a gas grill, or a smoker, following the correct assembly instructions is crucial. This guide will walk you through everything you need to know, from the tools required to safety precautions and detailed step-by-step instructions.
Tools Required for Assembly
Having the right tools at hand makes the assembly process smoother and more efficient. Here’s a list of tools typically needed for assembling most Nexgrill models:
- Phillips and flathead screwdrivers
- Adjustable wrench
- Pliers
- Allen wrench set
- Socket set
- Protective gloves
- Safety goggles
Safety Precautions During Assembly
Safety should always be your top priority when assembling your grill. Here are some essential safety tips to keep in mind:
Ensure you assemble the grill in a well-ventilated area to avoid inhaling fumes. Always wear protective gloves and goggles to prevent injuries. Keep children and pets away from the assembly area.
- Read the entire manual before starting the assembly.
- Ensure all parts are present by checking the parts list.
- Assemble the grill on a flat, stable surface.
- Follow all manufacturer warnings and instructions.
Step-by-Step Assembly Instructions
The assembly process can vary slightly depending on the specific model of your Nexgrill. Below is a general guide that applies to many models:
- Start by assembling the grill cart or base. Attach the legs to the base using the screws provided.
- Install the side shelves, ensuring they are level and secure.
- Attach the main grill body to the cart. This usually requires the help of another person due to the weight.
- Install the burner tubes and control knobs. Ensure all connections are tight to prevent gas leaks.
- Place the cooking grates and warming rack inside the grill body.
- Connect the gas supply if applicable, and check for leaks by applying a soapy water solution to the connections.
- Perform a final check to ensure all components are securely fastened and the grill is stable.
Try comparing two products side by side below to see which fits best.
Troubleshooting Common Assembly Issues
Even with careful assembly, you may encounter some common issues. Here are troubleshooting tips for resolving them:
- Loose Connections: If you notice any wobbly parts, revisit the assembly steps to ensure all screws and bolts are tight.
- Gas Leaks: Use a soapy water solution to check for gas leaks at connections. If bubbles appear, tighten the connections.
- Missing Parts: Double-check the parts list and contact Nexgrill support if any parts are missing.
- Uneven Heat: Make sure burner tubes are properly aligned and free of obstructions.
Additional Resources for Assembly
For more detailed instructions and visual guides, consider exploring the following resources:
- Visit the Nexgrill website for model-specific manuals.
- Check out Home Depot's assembly instructions for helpful tips and videos.
- Contact Nexgrill customer support for personalized assistance.
Conclusion
Proper assembly of your Nexgrill ensures a safe and efficient grilling experience. Take your time, follow the instructions carefully, and don’t hesitate to seek additional help if needed. Share your assembly experiences or questions with the Nexgrill community to learn and connect with fellow grill enthusiasts.