Nexgrill 810-0025 Assembly Instructions: Decode Your Model Number, Then Build It Step by Step
Why your 810-0025 carton and manual may carry two different numbers - and a practical, tool-ready build sequence that gets you cooking the same afternoon.
In This Article
Decode the Dual Number
Prerequisites First
Nine-Step Build Arc
The Problem Most 810-0025 Owners Hit First: Two Numbers, One Grill
If you search for Nexgrill 810-0025 assembly instructions, you probably have a carton, a manual, or a product page that shows one number-but not the same one everywhere. That's because Nexgrill uses two parallel numbering systems. The 810- prefix is typically a retail SKU used on nexgrill.com and partner product pages. The 720- prefix is the engineering model code you'll find on the manual cover, the data plate, and many cartons. A single physical grill often circulates under both. For the 810-0025, the matching 720- code isn't publicly documented as a one-to-one mapping, so the goal is to teach you how to find your grill's true model number and pull the right instructions-not to guess.
Your 810-0025 is likely built to a 720- series design. The manual you need will almost always carry a 720- number on its cover.
What the 810- SKU Tells You (and What It Doesn't)
The 810- SKU identifies a specific retail configuration-burner count, cart style, side burner, and finish. It's useful for warranty registration and for finding the product page, but it rarely appears on the assembly manual itself. The 720- code, by contrast, maps to the engineering bill of materials: every bolt, bracket, and hose. That's why a manual labeled 720-0888S or 720-0830H may be the correct document for your 810-0025 if the cart and burner layout match.
How to Find Your Grill's Data Plate and Confirm the Real Model Number
Before you open a single hardware bag, locate the data plate. On most Nexgrill gas grills it's inside the cabinet door, on the back panel, or on the underside of the firebox side shelf. The plate lists the model number (often 720-), serial number, gas type, and BTU rating. Write down both the model and serial-Nexgrill support will ask for the serial when you call. If the plate is missing or unreadable, check the carton label and the first page of the manual; the 720- number is usually printed there.
| Location | What You'll Find | Why It Matters |
|---|---|---|
| Inside cabinet door | Sticker with model & serial | Quickest confirmation without tools |
| Back panel | Engraved or printed plate | Common on open-cart models |
| Underside of side shelf | Small label with 720- code | Often overlooked on 4-burner units |
Three Ways to Get the Correct Manual If Yours Is Missing or Mismatched
A public PDF specifically for the 810-0025 could not be confirmed at the time of writing, so rely on these paths: 1) Visit the Nexgrill manuals page and search by the 720- code from your data plate. 2) Check the product spec sheet on the 810-0025 product page-it often lists the equivalent 720- model in the details. 3) Contact Nexgrill support with your serial number and a photo of the data plate; they can email the correct PDF.
Tools, Space, and the Helper Question: Prerequisites Before the First Bolt
Most Nexgrill gas grills assemble with a basic tool kit: a Phillips-head screwdriver, a 7/16-inch wrench, and an adjustable wrench. A socket set speeds things up. You'll also want a utility knife for opening cartons, a magnetic tray for loose hardware, and a clean, flat surface at least 8 feet by 6 feet-a garage floor or patio works. Do you need a helper? For a 4-burner cart-style grill, two people make lifting the firebox onto the cart far safer and reduce the risk of scratching the finish. A single person can manage, but budget extra time and use a padded sawhorse to support the firebox during alignment.
Your Hardware Inventory in Five Minutes: Count the Bags Against the Callouts
Empty every hardware bag onto a tray and compare the contents to the exploded diagram on the manual's first pages. Count bolts, washers, nuts, and cotter pins. Missing a single M6 bolt can stall the build at step 7. If you find a discrepancy, stop and call support-do not substitute hardware from a big-box store, because thread pitch and length matter for safety. Keep the bags labeled; you'll thank yourself when the instructions reference "Bag A" for the cart and "Bag C" for the firebox.
The Build Sequence, Step by Step: Cart Frame Through Warming Rack
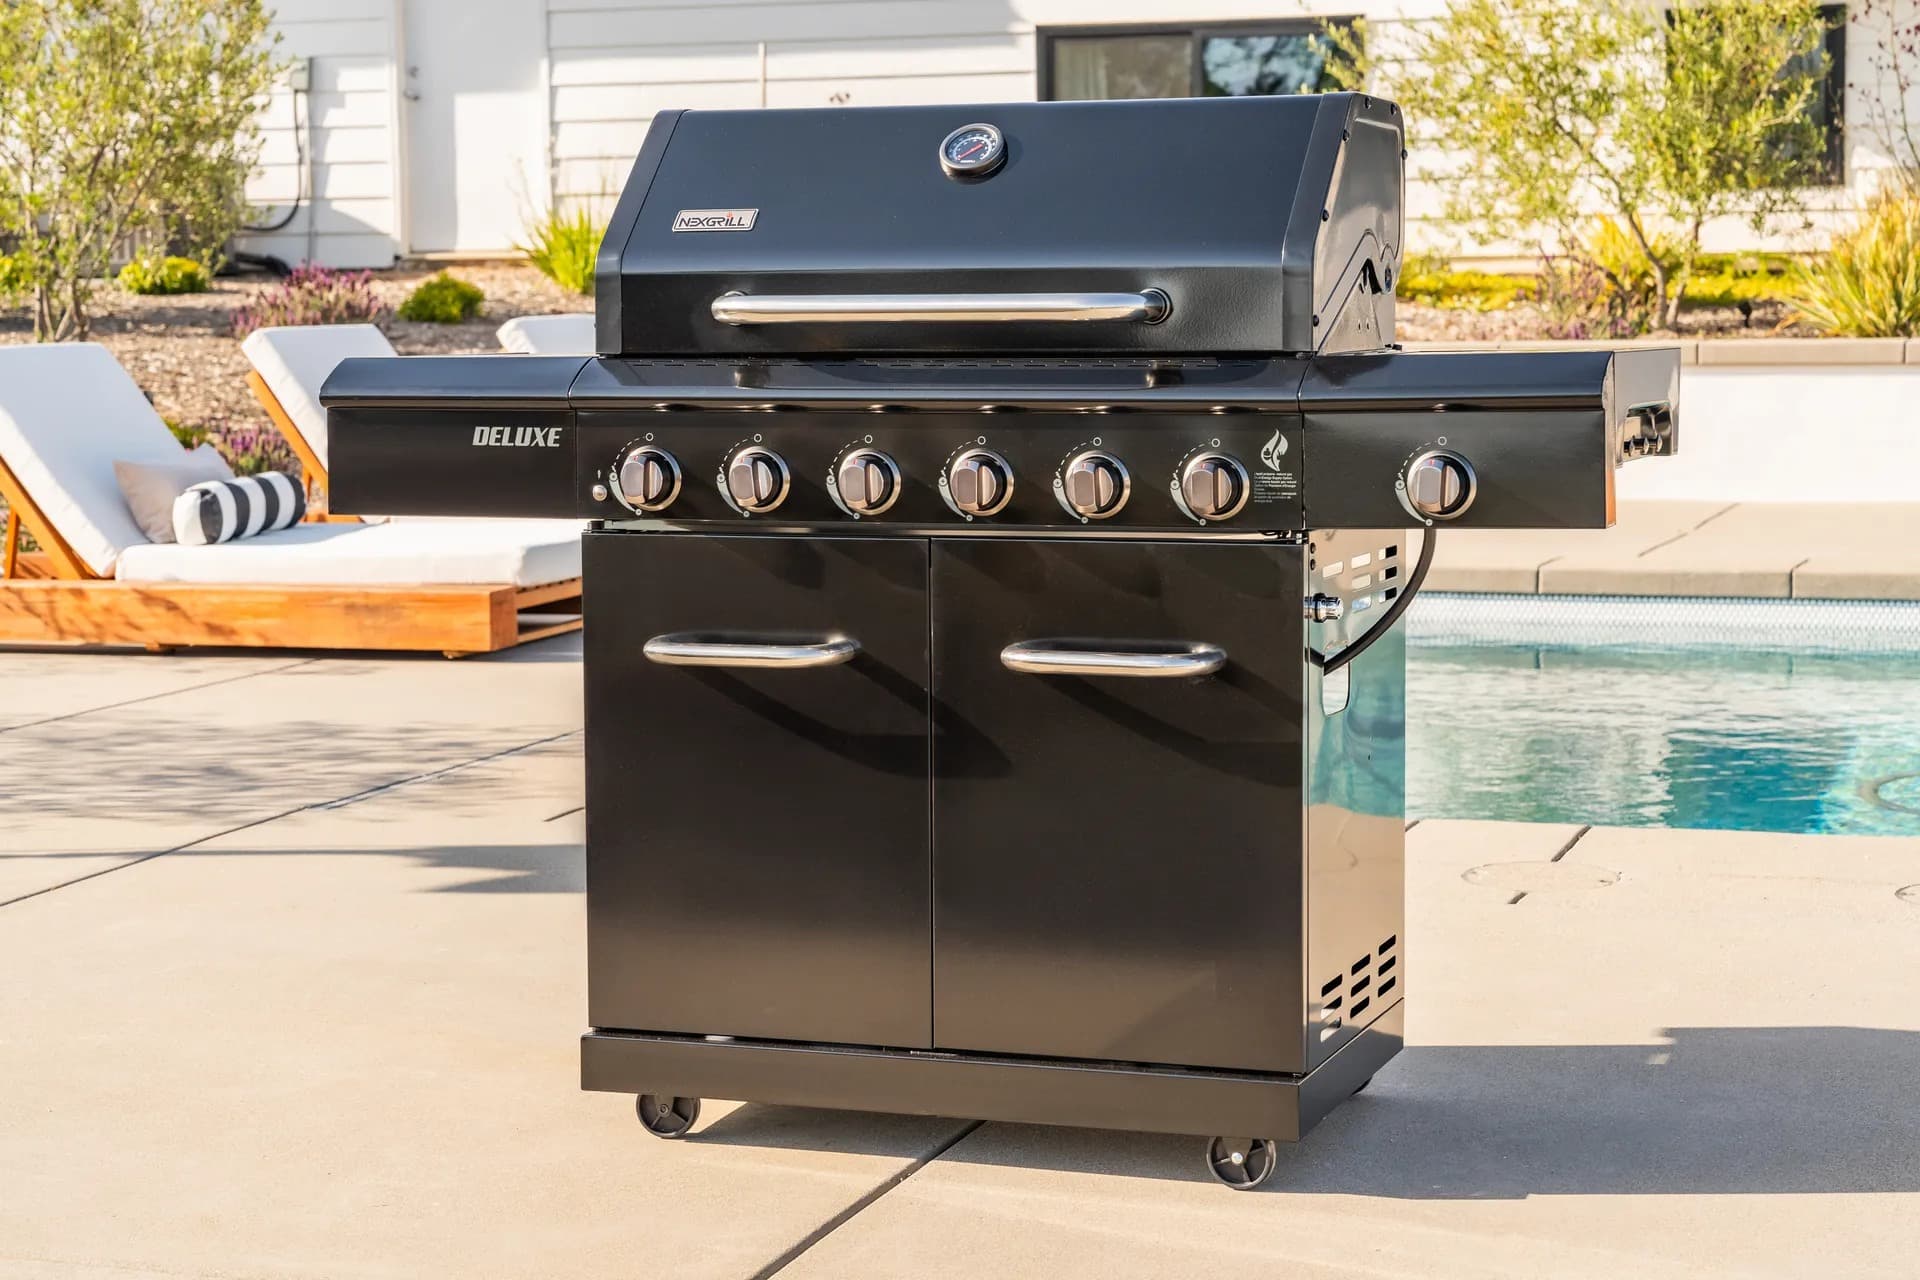
Most Nexgrill gas grills follow this sequence; check your manual's step numbers for exact ordering. 1) Assemble the cart base and legs, leaving fasteners finger-tight. 2) Attach wheels and casters-lock casters before proceeding. 3) Mount side shelves and brackets. 4) With a helper, lift the firebox onto the cart and secure it. 5) Install the lid and hinge pins. 6) Attach the control panel and knobs. 7) Fit the side burner (if your model has one), paying attention to hinge orientation. 8) Route the regulator and hose, then connect the propane tank. 9) Place cooking grates, flame tamers, grease tray, and warming rack. Finally, perform a leak test before first fire.
Side Burner Placement and Hinge Orientation on a Typical 810-0025 Layout
If your 810-0025 includes a side burner, the lid hinge is a common stumbling block. The hinge pin usually inserts from the inside edge toward the outside, with the lid opening away from the main cooking area. Test the swing before tightening the hinge bolts-if the lid binds, you've reversed the pin. Also confirm the burner cap sits flat on the burner head; a tilted cap produces an uneven flame.
Where to Slow Down Before Tightening Anything
Two places demand patience: the firebox-to-cart connection and the grease tray slot. Before final-tightening the firebox bolts, slide the grease tray in and out. If it drags, loosen the firebox bolts, shift the firebox a few millimeters, and re-test. Similarly, check that the lid closes evenly on both sides before torquing the hinge bolts. A few minutes here prevents a binding lid or a tray that won't slide.
Ready to Compare? Putting Two Assembly-Ready Options Side by Side
Once you've confirmed your model number and gathered the right manual, the next decision is often whether to repair or replace. Try comparing two products side by side below to see which fits best-especially if your 810-0025 is missing parts or you're weighing a new grill with a simpler cart design. If this is your first build of this type, the straight-out-of-the-box Nexgrill build guide walks through the general steps shared by most models.
After the Build: Reading Bolt Patterns and Fitment When You Compare Grills
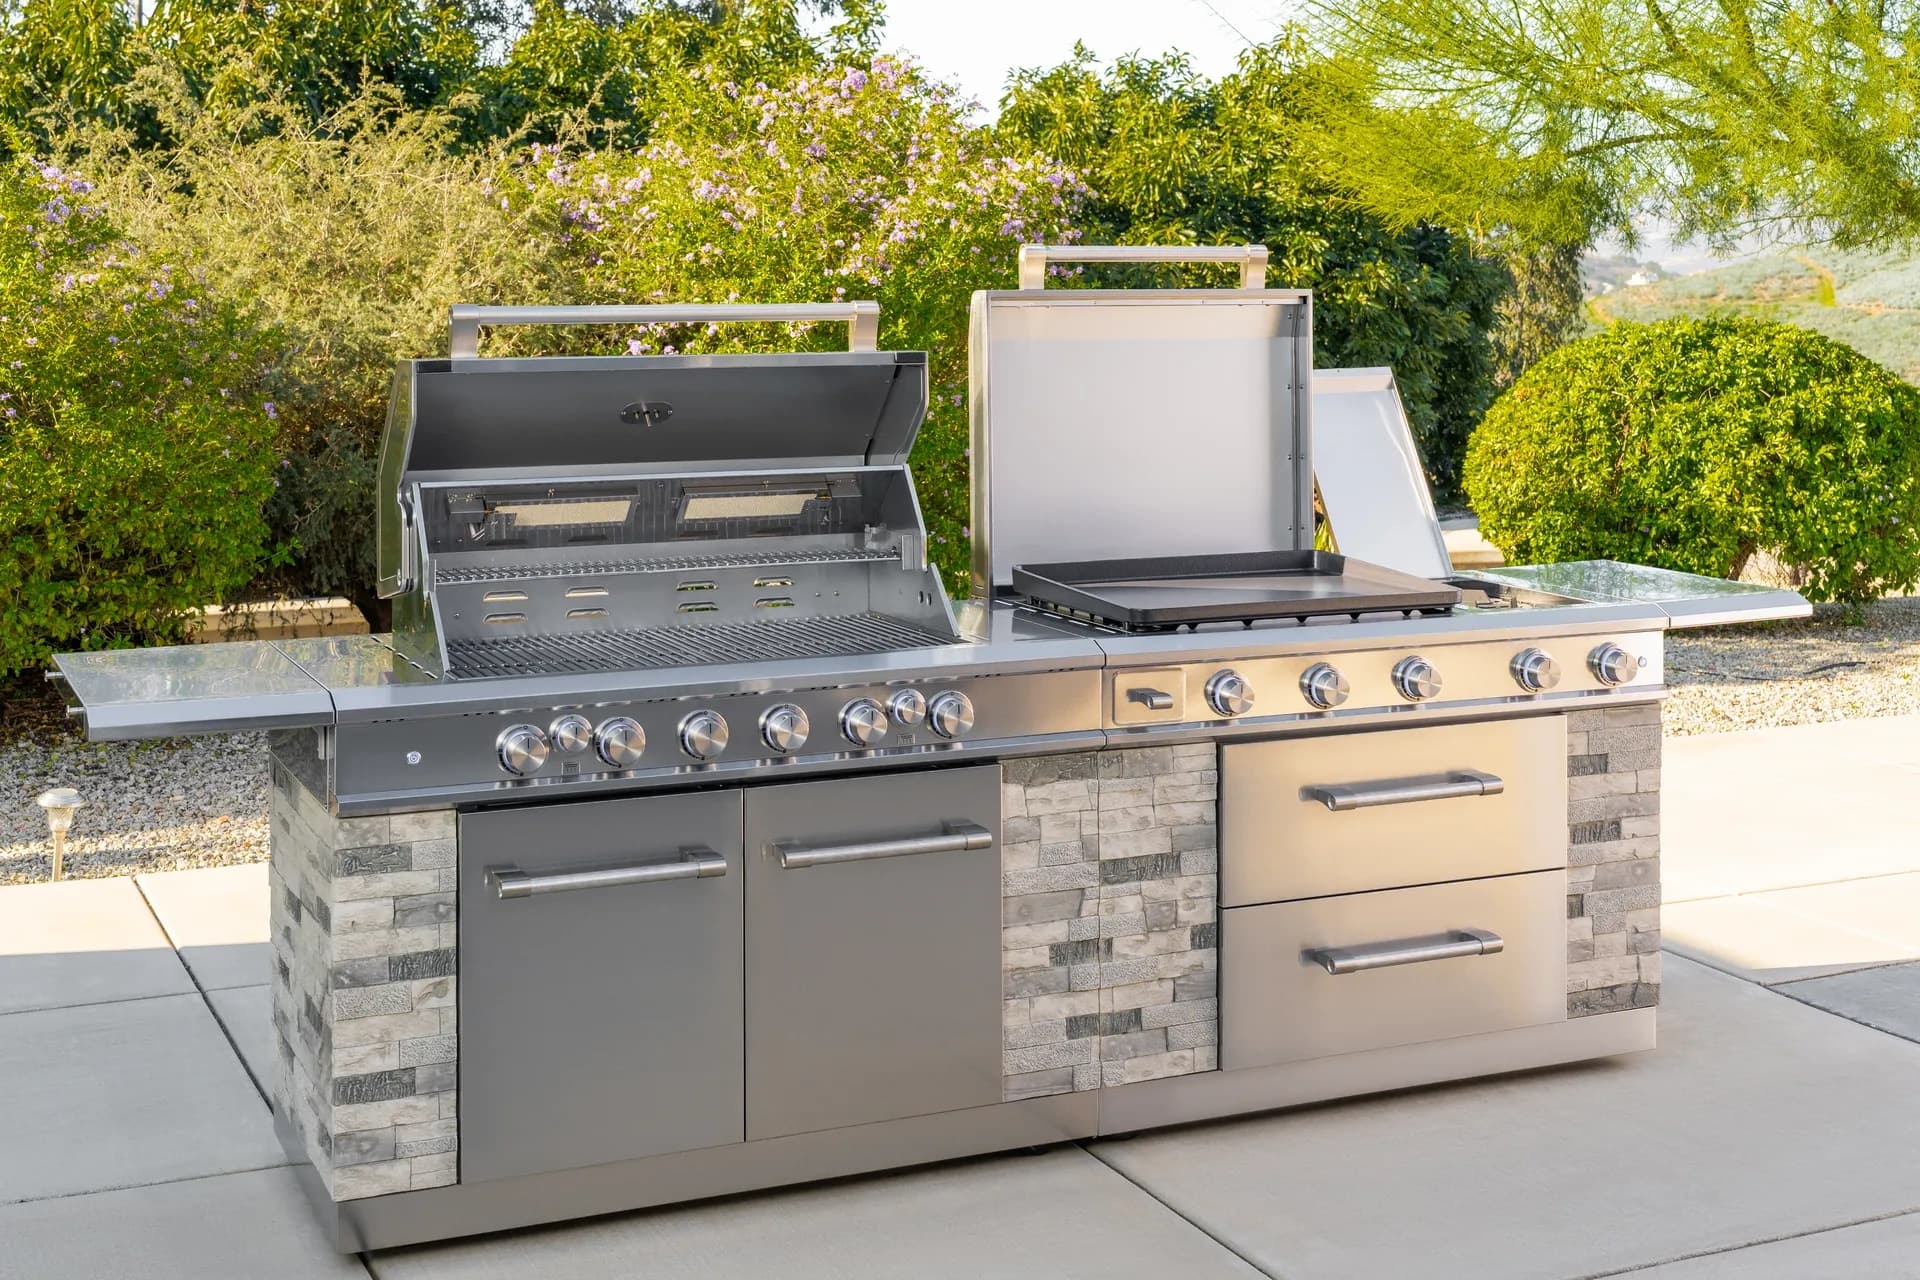
Once you've weighed two options against each other, here's what else matters. The bolt pattern and fitment of a grill's cart tell you a lot about assembly complexity. Cabinet-style carts with enclosed panels typically require more fasteners and careful squaring than open-cart designs with X-braces. If you're comparing a 4-burner open-cart model to a cabinet-style unit, expect the cabinet version to add 20-30 minutes of assembly time and to demand more attention to door alignment. Look at the exploded diagrams in the manuals (available on the Nexgrill manuals page) to gauge fastener count before you buy.
Rescuing a Half-Assembled or Secondhand 810-0025
If you inherited a partially built grill, start by sorting all loose hardware into bags by size and head type. Photograph the current state before disassembling anything. Subassemblies that are safe to leave intact include the lid, control panel, and side shelves-removing them unnecessarily risks stripped threads. After transport, re-check three things: the firebox-to-cart bolts (they loosen with vibration), the regulator hose connection (look for kinks), and the wheel casters (tighten the locking nuts). A secondhand grill with no manual can often be matched to a 720- manual by comparing the cart style and burner count to photos online.
The Five Mistakes That Cause a Wobbly, Leaky, or Binding Build
These are the errors we see most often: 1) Tightening all bolts before the frame is square-always finger-tighten first, then torque diagonally. 2) Forgetting to lock casters before lifting the firebox. 3) Routing the regulator hose against a hot surface or sharp edge. 4) Installing the grease tray after the firebox is fully tightened, causing it to bind. 5) Skipping the leak test because "it looked fine." Each adds time or risk; none is hard to avoid.
Regulator, Hose Routing, and the Soapy-Water Leak Test Before First Fire
Connect the regulator to the propane tank and tighten by hand only-no tools, which can damage the seal. Mix a 50/50 solution of dish soap and water in a spray bottle. With the tank valve open, spray the tank-to-regulator connection, the regulator-to-hose connection, and the hose-to-manifold connection. Watch for bubbles; if they grow, tighten the connection and re-test. Never use a flame to check for leaks. The U.S. Consumer Product Safety Commission and the U.S. Fire Administration both stress leak checks and never lighting a grill with the lid closed.
Always open the lid before turning on the gas. A closed lid can cause a flash fire when you ignite the burners.
How Long It Actually Takes: Realistic Time Estimates by Builder Count
Based on typical 4-burner gas grills, here are realistic estimates (not guarantees): two people, 60-120 minutes depending on cart style; one person, 90-180 minutes. Cabinet-style carts with doors and drawers trend toward the longer end. If you're assembling a side-burner model, add 15-20 minutes for hinge alignment and leak testing.
| Builder Count | Estimated Time | Notes |
|---|---|---|
| Two people | 60-120 minutes | Faster firebox lifting and alignment |
| One person | 90-180 minutes | Use a padded support for the firebox |
| With side burner | Add 15-20 minutes | Hinge orientation and leak test |
When to Stop Building and Call Nexgrill Support
Stop if you find missing or damaged parts, if the manual doesn't match your grill's layout, or if you smell gas after tightening all connections. Nexgrill support can ship replacement hardware and provide the correct manual. Have your serial number ready-it's on the data plate. Contact them via the Nexgrill contact page.
Printable Pre-Cook Checklist for Your First Fire
Before you cook, run through this list: ☐ All bolts tightened (check cart, firebox, lid, side burner). ☐ Casters locked. ☐ Grease tray slides freely. ☐ Regulator hand-tightened. ☐ Leak test passed with soapy water. ☐ Cooking grates and flame tamers in place. ☐ Lid opens and closes without binding. ☐ Propane tank valve closed when not in use. ☐ Grill placed at least 10 feet from walls and railings. Print this and keep it near your grill.