Nexgrill 720-0830H Assembly Instructions: Build Order, Tools, and Pitfalls
A practical, phase-by-phase build plan for the 720-0830H 4-burner propane grill - what to unbox first, the order that avoids re-work, and the safety checks before your first cook.
In This Article
Audit Parts First
Sequence Beats Speed
Leak Test Before First Burn
Before You Open the Box: Space, Helper, and Tools to Line Up
The single biggest mistake people make with the 720-0830H is starting the build on a hard driveway with a single screwdriver and a bad attitude. The grill arrives as a flat-pack of steel panels, burner tubes, and several small hardware bags, and the cart frame alone needs room to lay flat while you square it up. Give yourself a 10-foot by 10-foot patch of level ground - a garage floor or a covered patio is ideal - and lay down a moving blanket or a flattened appliance carton. Cardboard protects both your finish and your knees, and it makes dropped screws visible instead of invisible against dark concrete.
Line up a Phillips screwdriver, a socket set with an adjustable wrench as backup, a flashlight or headlamp for the cart's interior corners, and a small cup or muffin tin for sorting hardware. If you can recruit a second person for 15 minutes of the build, do it - the firebox lift over the cart rails is the physical failure point of this assembly, and one person balancing a firebox while threading a bolt is how brackets get bent. Plan for a second set of hands even if that person only shows up for that one phase.
Tip: Before touching a single bolt, pull the owner's manual and any assembly PDF from the Nexgrill support pages. Models in this long-running 4-burner LP family have shipped in more than one variation, so confirm the cover of your manual matches your carton before you assume a side burner or a specific hardware count.
Inventory the Hardware Bags Against Your Manual's Callouts
The most reported friction in this build is not difficulty - it's labeling. Manual step callouts might say "use bolt (34)," while the actual bag is printed "34A," and a second bag holds a near-identical bolt one millimeter shorter. If you dump all hardware into one pile, you will guess, and guessing on thin sheet steel is how you cross-thread a weld nut.
So do an audit first. Open every bag, empty it into its own labeled cup, and count against the manual's parts list. This typically takes 10 to 15 minutes and routinely saves more than that. Note anything short or damaged immediately - replacement hardware through the Nexgrill contact page is straightforward, but only if you catch it before Step 8.
- Group by the step number that first calls for that bolt, not by size.
- Set aside the bolts used for the firebox-to-cart phase in a separate cup - those are the ones you'll reach for while supporting weight.
- Keep washers and lock washers in their own dishes; mixing them up is a classic mid-build stall.
- Photograph the sorted layout on your phone so a dropped bag can be re-identified later.
The Build Order That Saves an Hour: Cart, Firebox, Then Trim
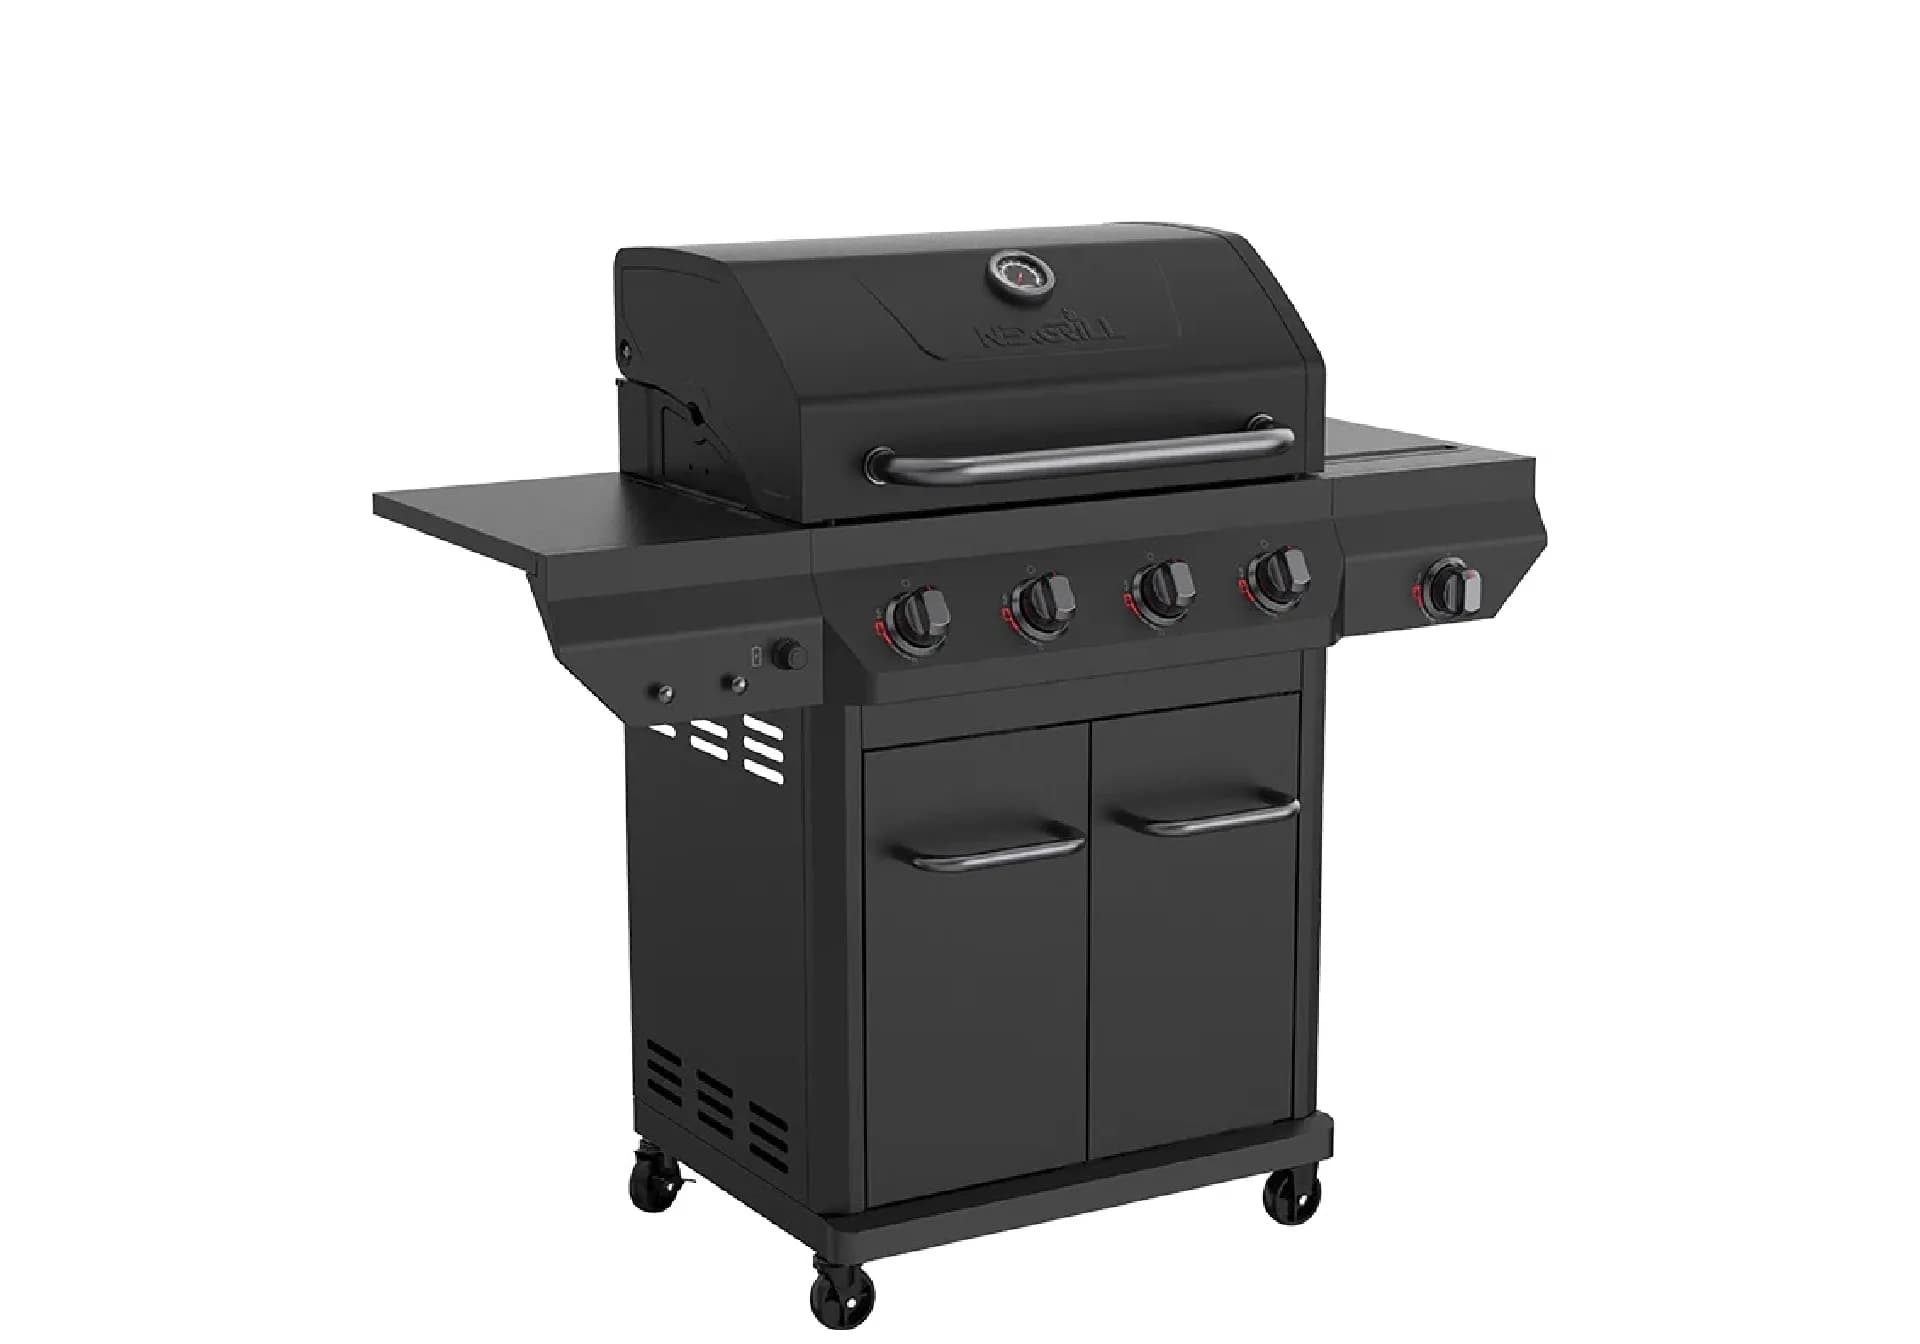
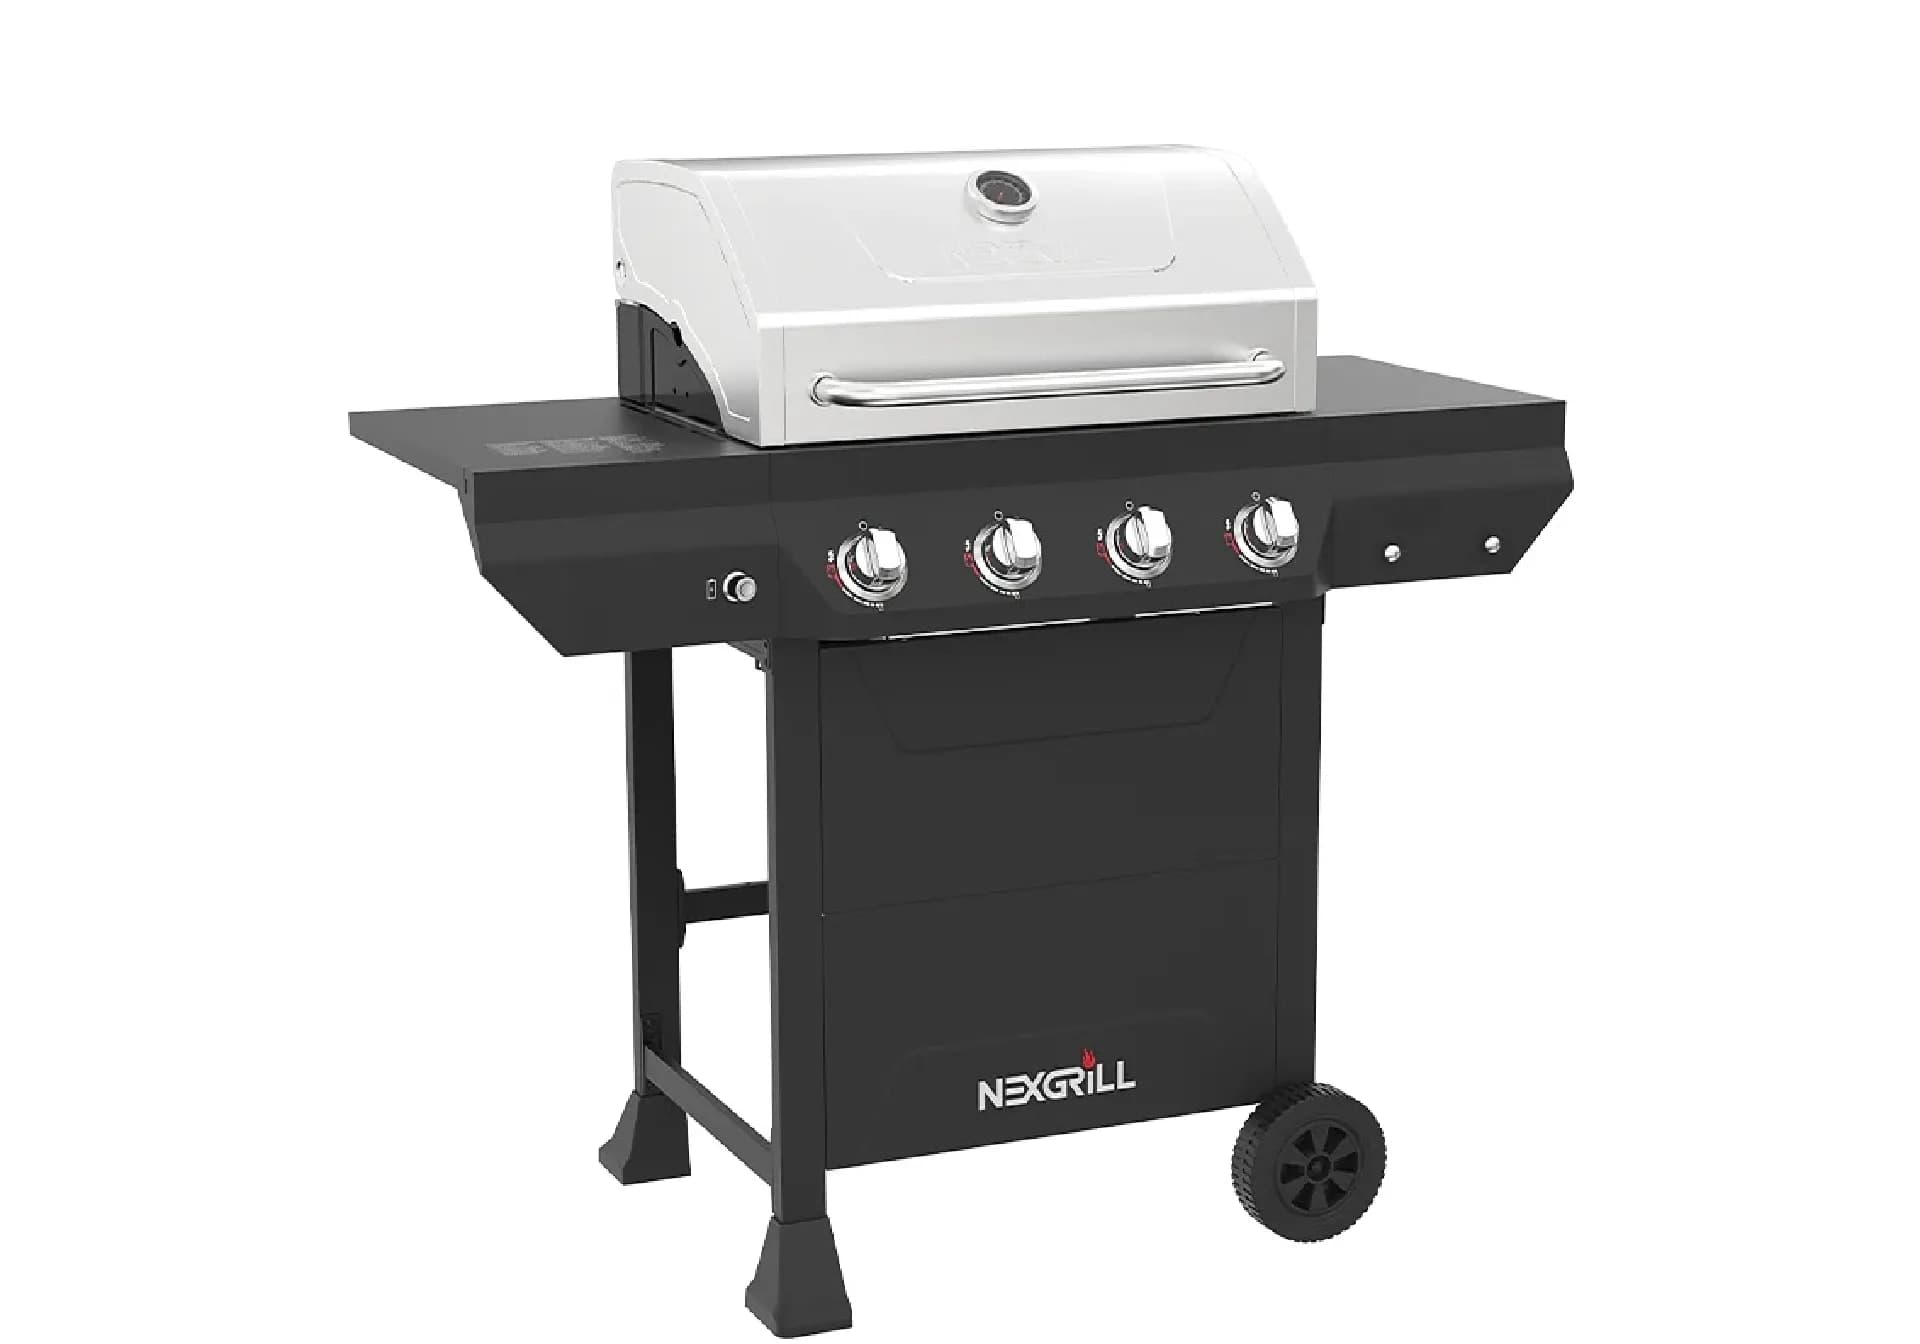
Follow the manual's order, but understand why it's ordered that way so you don't "optimize" yourself into re-work. The practical sequence is: build and square the cart, mount the firebox to the cart rails, then attach the lid, side burner, and shelves. Attaching shelves early looks productive and then makes the cart frame wider and harder to flip or shift while you square it.
| Phase | What you're doing | Helper needed? |
|---|---|---|
| 1. Cart frame | Assemble legs, panels, and wheels; keep bolts finger-tight | Solo is fine |
| 2. Square and tighten | Check diagonals, then final-tighten the frame | Solo is fine |
| 3. Firebox lift | Set firebox on cart rails and start mounting bolts | Two people strongly advised |
| 4. Side burner and lid | Bolt burner body and valve, then lid and handle | Helper helps with lid |
| 5. Shelves and trim | Side shelves, front panel, grease tray, warming rack | Solo is fine |
Warning: Do not flip, tilt, or roll an assembled firebox-to-cart unit by yourself. Weight shifts suddenly once the lid and side burner are on, and the cart legs are the wrong thing to grab when it does.
Mounting the Firebox to the Cart Without Scratching the Finish
This is the step that separates a clean build from one with two scratches on the front panel. Set the firebox on the cart rails with the control panel facing forward and the valve stems lined up with their cart openings, then get one bolt started on each side before tightening either. Starting all bolts loose and tightening in a cross pattern keeps the firebox from shifting a few millimeters and misaligning the last hole.
If the manual calls for spacers or heat shields between the firebox and cart, install them before the bolts - they are nearly impossible to slide in afterward. Check your manual for exact placement. And resist the urge to torque the firebox bolts down hard: steel bolts threaded into thin formed sheet can deform the metal around the hole. Snug, then a quarter turn, is enough.
Lid, Side Burner, and Shelves: What Bolts On Before What
Counterintuitively, the side burner body and its valve assembly typically bolt to the firebox or cart before the lid goes on - and per your manual, you should validate this against your specific illustrations before proceeding. The reason is access: the lid is heavy, it blocks light and working room over the firebox, and the hinge pins are easier to seat when you can see the back of the hinge bracket.
Sequence that works: side burner body, side burner valve and gas line connection, then lid and handle. Hinge pins often need a helper to hold the lid at roughly 45 degrees while you push the pin through. Once the lid is on, check that it closes evenly against the firebox before attaching shelves - a misaligned lid traced back to a loose hinge is a five-minute fix, but only if you catch it before shelving obstructs access. Side shelves go last, and their brackets usually share bolts with the front panel, so finger-tight everything until both are seated.
Ready to weigh two builds against each other? If you're deciding between this 4-burner cart grill and a flat-top or pellet alternative, try comparing two products side by side below to see which fits your patio and cooking style.
Regulator, Hose Routing, and the Propane Tank Connection
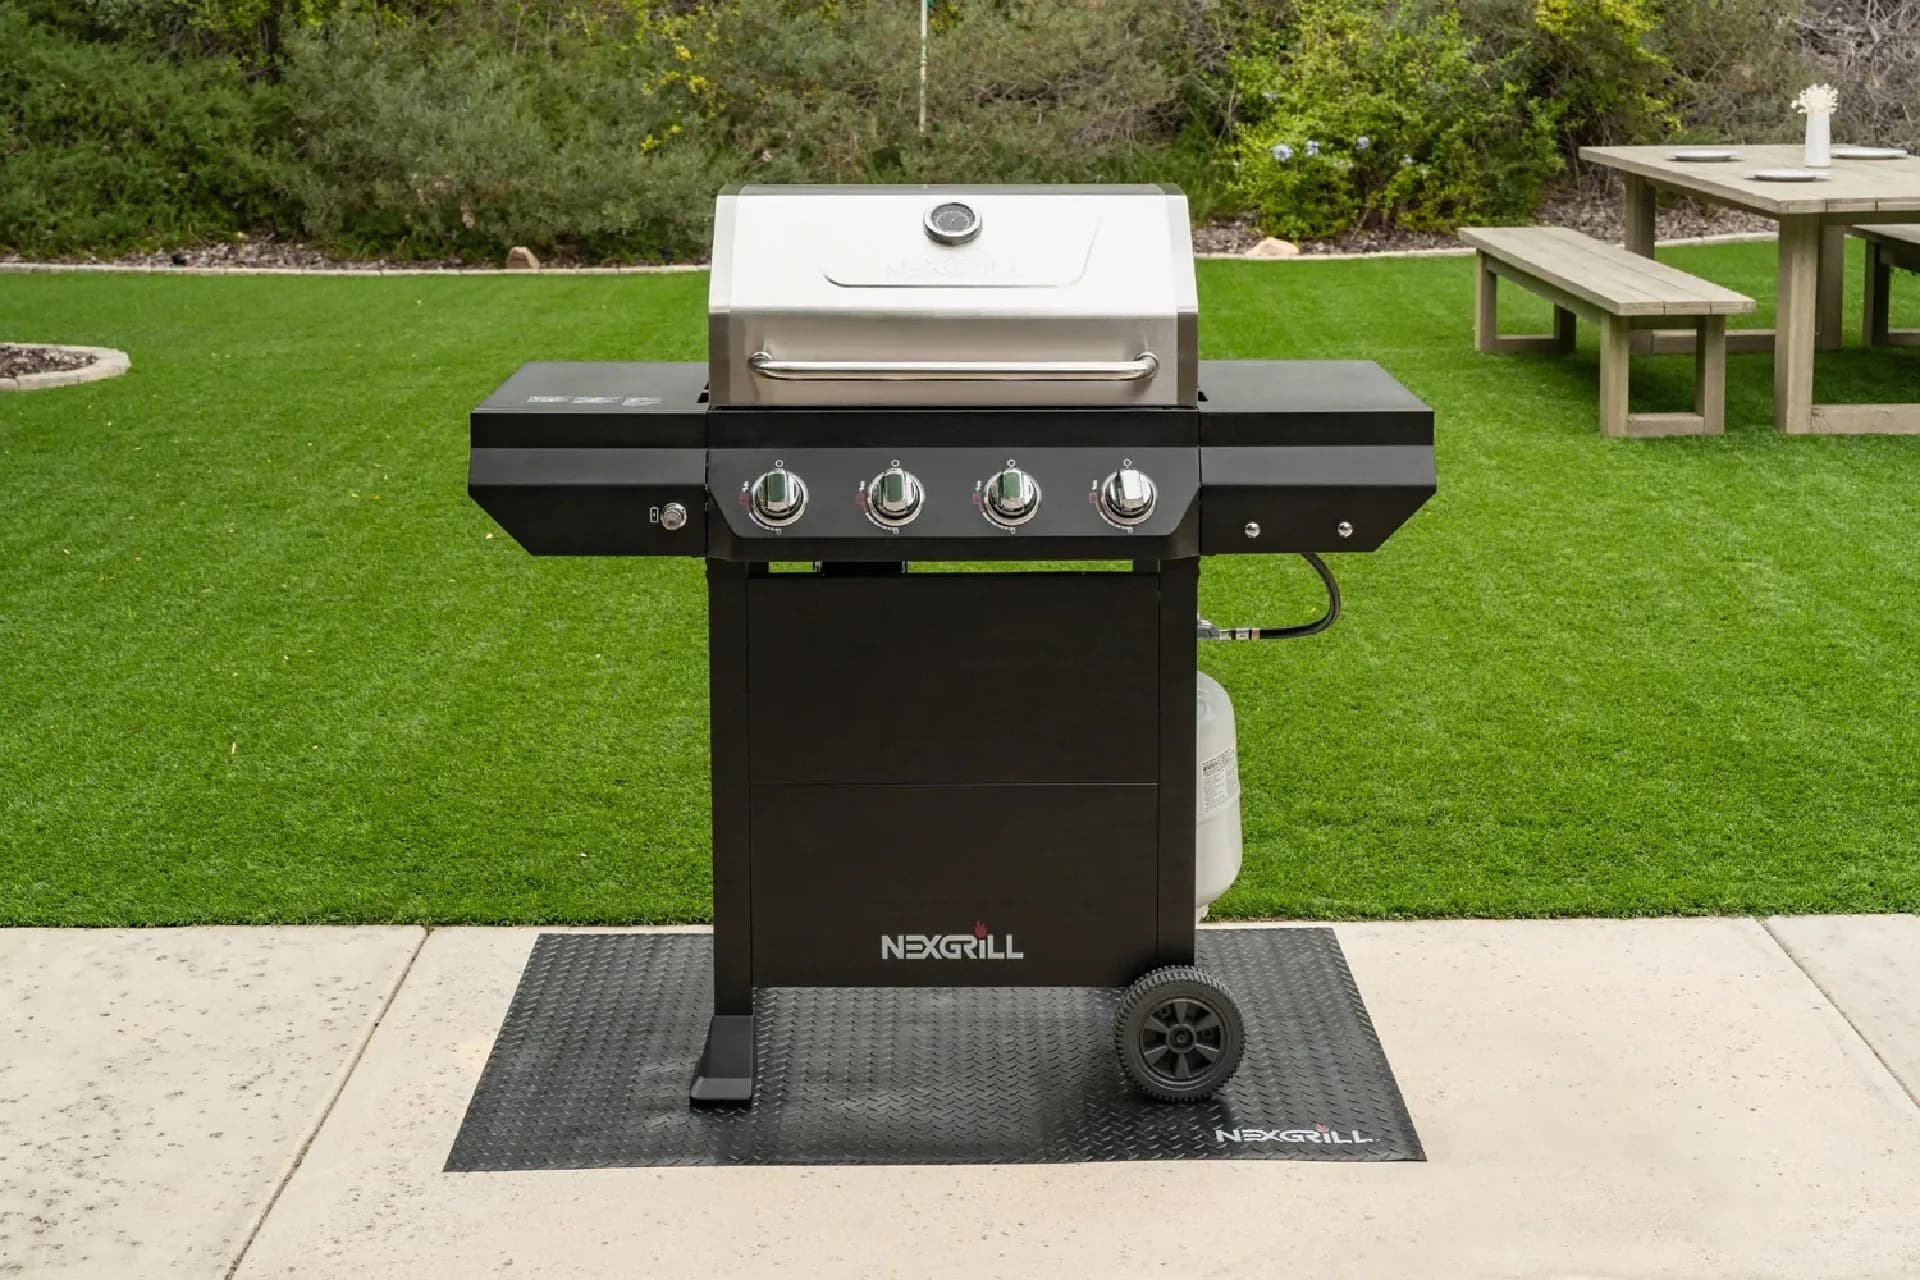
Once you've compared builds and settled on this cart grill, the last 10 percent of assembly is the part that actually determines whether your first cook is safe. The LP tank is typically sold separately - a common surprise for first-time buyers - so budget roughly $50 to $70 USD (estimate, varies by region and tank size) for a standard 20 lb tank if you don't have one.
Route the hose so it does not touch the firebox, cross a sharp cart edge, or hang where the drip tray slides out. The regulator hand-tightens onto the tank valve - you should not need a wrench, and using one can damage the fitting. A correctly seated regulator turns snug and stops; if it feels cross-threaded or wobbles, back it off and restart.
The Leak Test You Should Run Before the First Burn
Warning: Never skip the leak test. Your manual and public safety guidance from the CPSC and USFA both call for checking gas connections with soapy water before lighting a new grill - never with a flame.
Mix a few drops of dish soap into a cup of water, brush it onto the regulator-to-tank joint and each burner valve connection, then open the tank valve slowly. Bubbles that grow mean a leak - close the tank, reseat the fitting, and retest. No bubbles after 30 seconds means you're clear. Do this outdoors, never in a garage, and do not store the grill indoors with the tank connected. If a fitting keeps bubbling after two reseats, stop and reach out through Nexgrill contact rather than cooking on it.
Where People Get Stuck: Real Failure Modes and Fixes
| Symptom | Likely cause | Fix |
|---|---|---|
| One burner won't light | Valve stem not engaged in the control knob; electrode wire loose | Reseat valve, check wire at electrode |
| Lid doesn't close flush | Hinge bolts unevenly tightened | Loosen both hinges, close lid, retighten |
| Cart wobbles | Frame tightened before squaring | Loosen frame bolts, square diagonals, retighten |
| Screw spins, never tightens | Cross-threaded or stripped weld nut | Back out, realign, restart by hand |
| Smell of gas when valve opens | Unseated regulator or hose joint | Close tank, reseat, retest with soapy water |
Estimating Your Build Time and When to Call for Help
Realistic estimates: about 45 to 90 minutes solo, or 30 to 60 minutes with two people. Experienced assemblers who sort hardware first land at the low end; anyone fighting a single-pile hardware bag lands high. These are ranges, not guarantees - rusted or short hardware adds time waiting on replacement parts.
Call for help if you're alone and need to lift the firebox, if a bracket arrived bent, or if any gas connection fails the soapy test twice. For missing or damaged parts, the Nexgrill catalogue and support pages are the fastest route to the right component rather than a hardware-store guess.
Done Checklist: Nine Things to Verify Before Cooking
- Cart frame is square and every frame bolt is final-tight.
- Firebox sits flush on the cart rails with no rocking.
- Each burner lights individually on its own knob.
- Lid closes evenly and the handle is secure.
- Side burner (if your manual calls for one) lights and the valve turns smoothly.
- Soapy-water test passed at the regulator and all valve connections.
- Regulator is fully seated on the tank, not cross-threaded.
- Wheels roll and both locking casters engage.
- Grease tray, warming rack, and shelves are seated and removable.
A cover and a stiff grill brush are the two accessories that most improve ownership after assembly - a cover protects the finish you just spent an hour avoiding scratches on, and the brush handles the grate cleanup that keeps burners heating evenly. Browse the full range at Nexgrill.com and read more about the brand on the About Us page.