Nexgrill 720-0888S Assembly Instructions: Stainless-Trim Build Order, Side-Burner Seating, and a Fix-It Checklist
A practical, solo-friendly walkthrough for the 720-0888S - confirm your revision, protect the brushed finish, and get the side burner, heat shield, and regulator routed right the first time.
In This Article
Confirm Revision First
Stainless-Safe Build Order
Symptom-to-Fix Checklist
Reading Your Carton Label Before the First Bolt: Why the 720-0888S Is Really a 720-0888 Family Build
The box says 720-0888S, but the manual inside may say 720-0888. That's normal. The 720-0888S is a stainless-trim sub-variant of the widely sold 720-0888 four-burner propane family, and Nexgrill often bundles the base-model manual with the -S hardware. Your first job isn't turning a bolt - it's confirming which document you're holding and which revision letter is stamped on the carton. Look for a small white label near the corner, usually next to the serial barcode. It will show something like "Rev. A" or "Rev. B" plus the full model number. Write both down. If the manual's part numbers don't match the bags in your box, stop and contact Nexgrill support via their contact page before you open any hardware. Getting this right takes five minutes and prevents a mid-build stall.
Which Manual Do You Actually Have? Matching the Revision Letter to Your Hardware Bags
Open the manual to the parts list and compare the bag labels. The 720-0888 family has seen minor fastener changes over the years - a different bolt length here, a extra washer there. If your bag says "Hardware Bag A" but the manual shows "Bag 1," you likely have a newer revision than the printed guide. In that case, rely on the exploded diagram and the callout numbers, not the bag names. A quick cross-check: count the bolts in each bag and match them to the quantities in the parts list. If you're short by one or two, it's often because those pieces are pre-installed on the cart frame or side burner - check the assembled components before assuming a shortage.
Warning: Never force a bolt that threads only halfway. The 720-0888S uses coarse-thread bolts that can cross-thread easily. If resistance builds, back it out and restart by hand.
Workspace Setup for a Stainless-Trim Grill: Tarp, Cardboard, Tools, and the Helper Question
You'll want a flat area at least 8 feet by 6 feet - a garage floor or a level patio works. Lay down a tarp first, then two or three flattened cardboard boxes on top. This does two things: it cushions the stainless panels from scratches, and it gives you a clean surface to stage parts. For tools, gather a Phillips-head screwdriver (magnetic tip helps), a 10mm wrench or socket, and a pair of pliers for the hitch pins. A second person is helpful for the lid step (it's awkward to hold and pin alone) and for flipping the cart upright, but it's not required until then. If you're solo, plan to use a stool or a stack of books to prop the lid at 90 degrees during hinge pin insertion.
Lay Out Every Bag Against the Hardware Callouts - the Five-Minute Inventory That Prevents a Mid-Build Stall
Empty each hardware bag onto a muffin tin or a set of small bowls, one per callout number. The manual's parts list has a column for each fastener, and the callout numbers (like "A" for M6x12 bolts, "B" for washers) appear in the step diagrams. Match quantity and type. This is also the moment to check for damaged stainless panels: hold each large piece up to the light and look for dents or deep scratches. If you find damage, stop and request a replacement part before assembly - it's much harder to prove damage after the grill is built. For missing parts, have your model plate photo and the callout number ready when you contact Nexgrill.
The Stainless-Finish Build Order, Part 1: Cart Frame, Legs, and Wheel Assembly
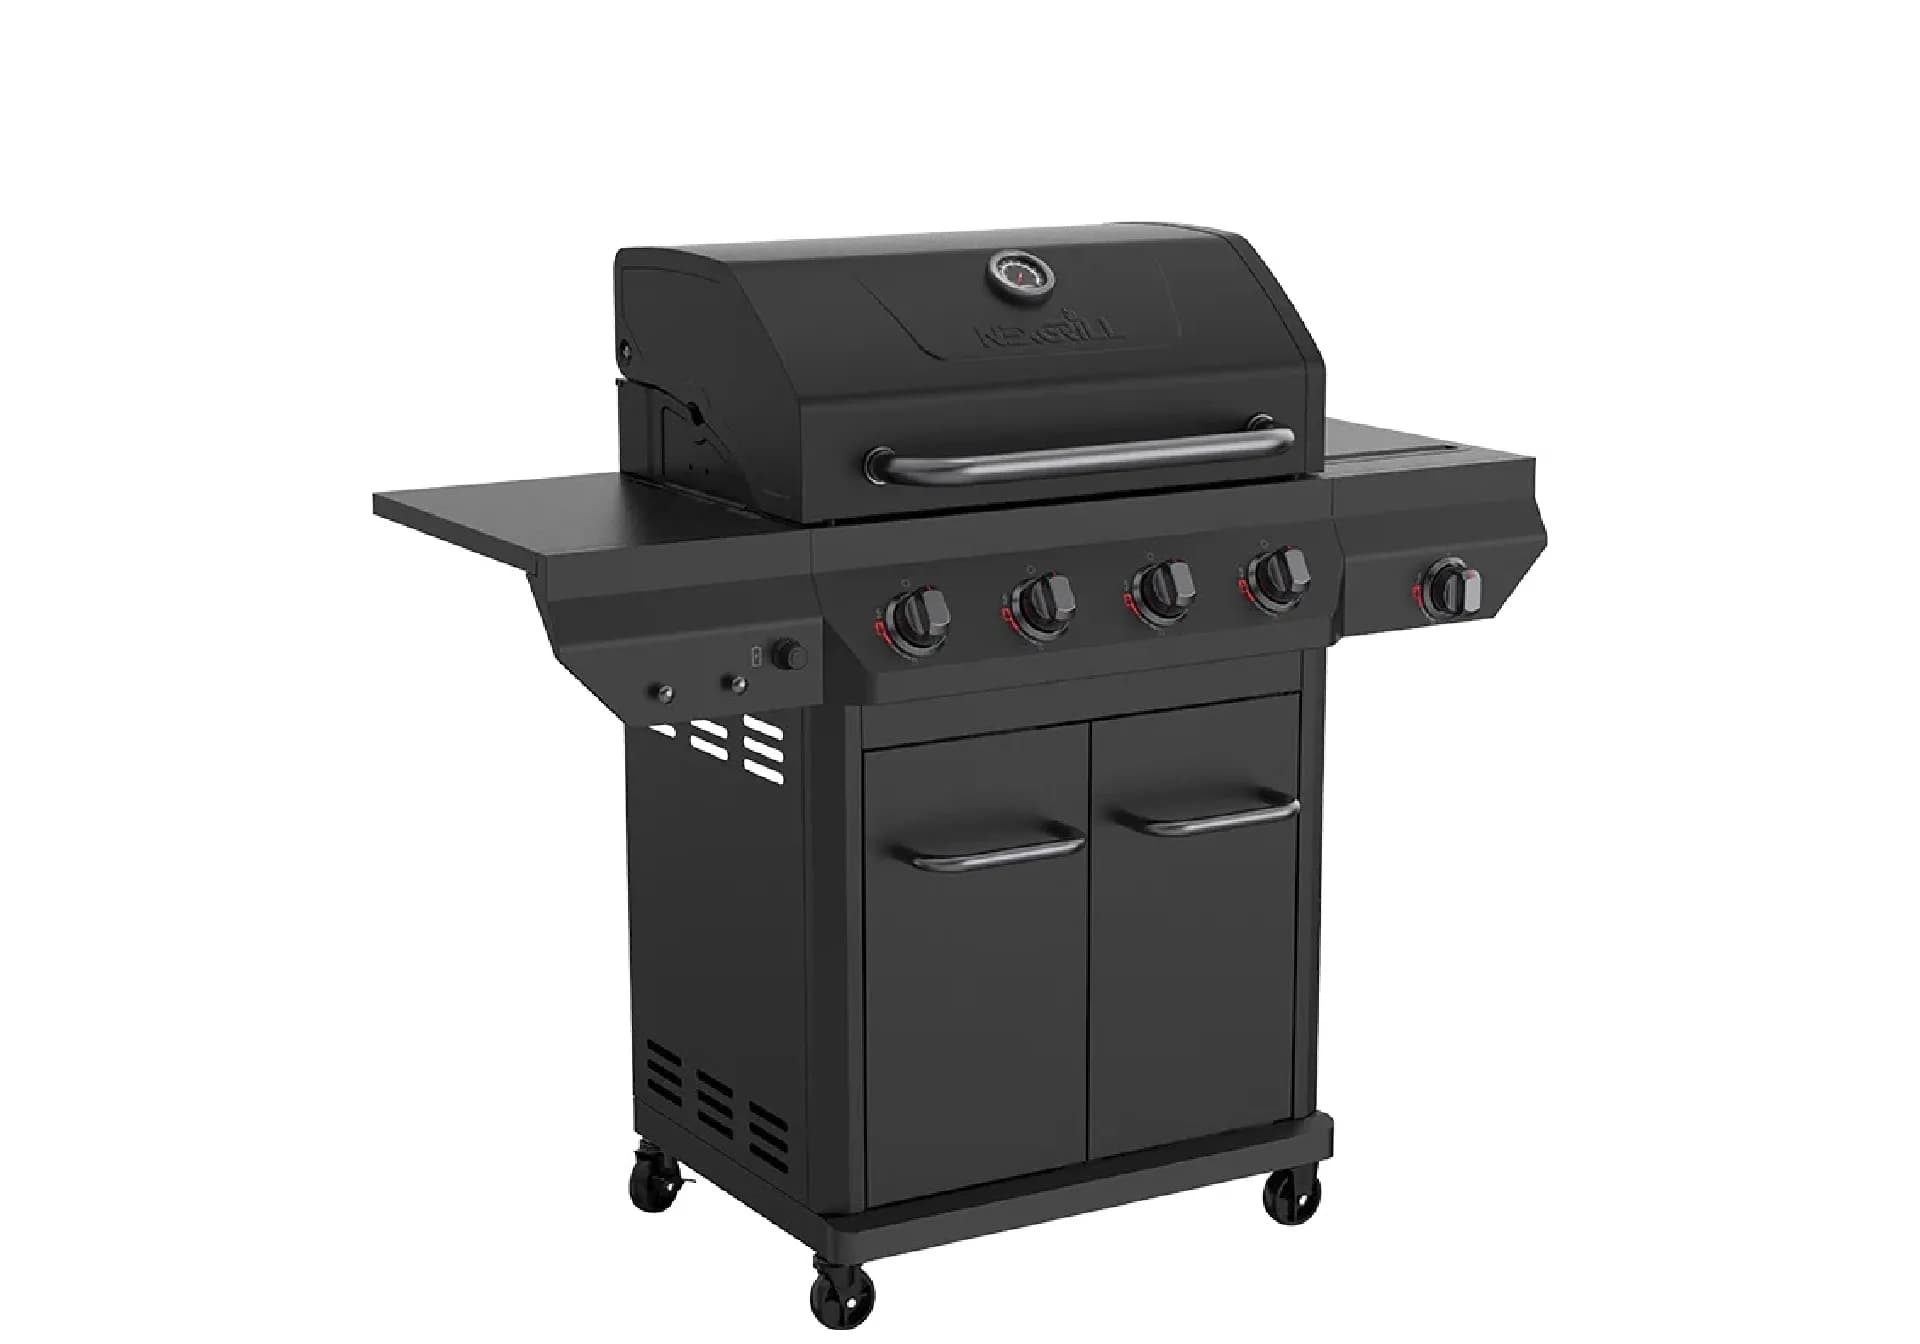
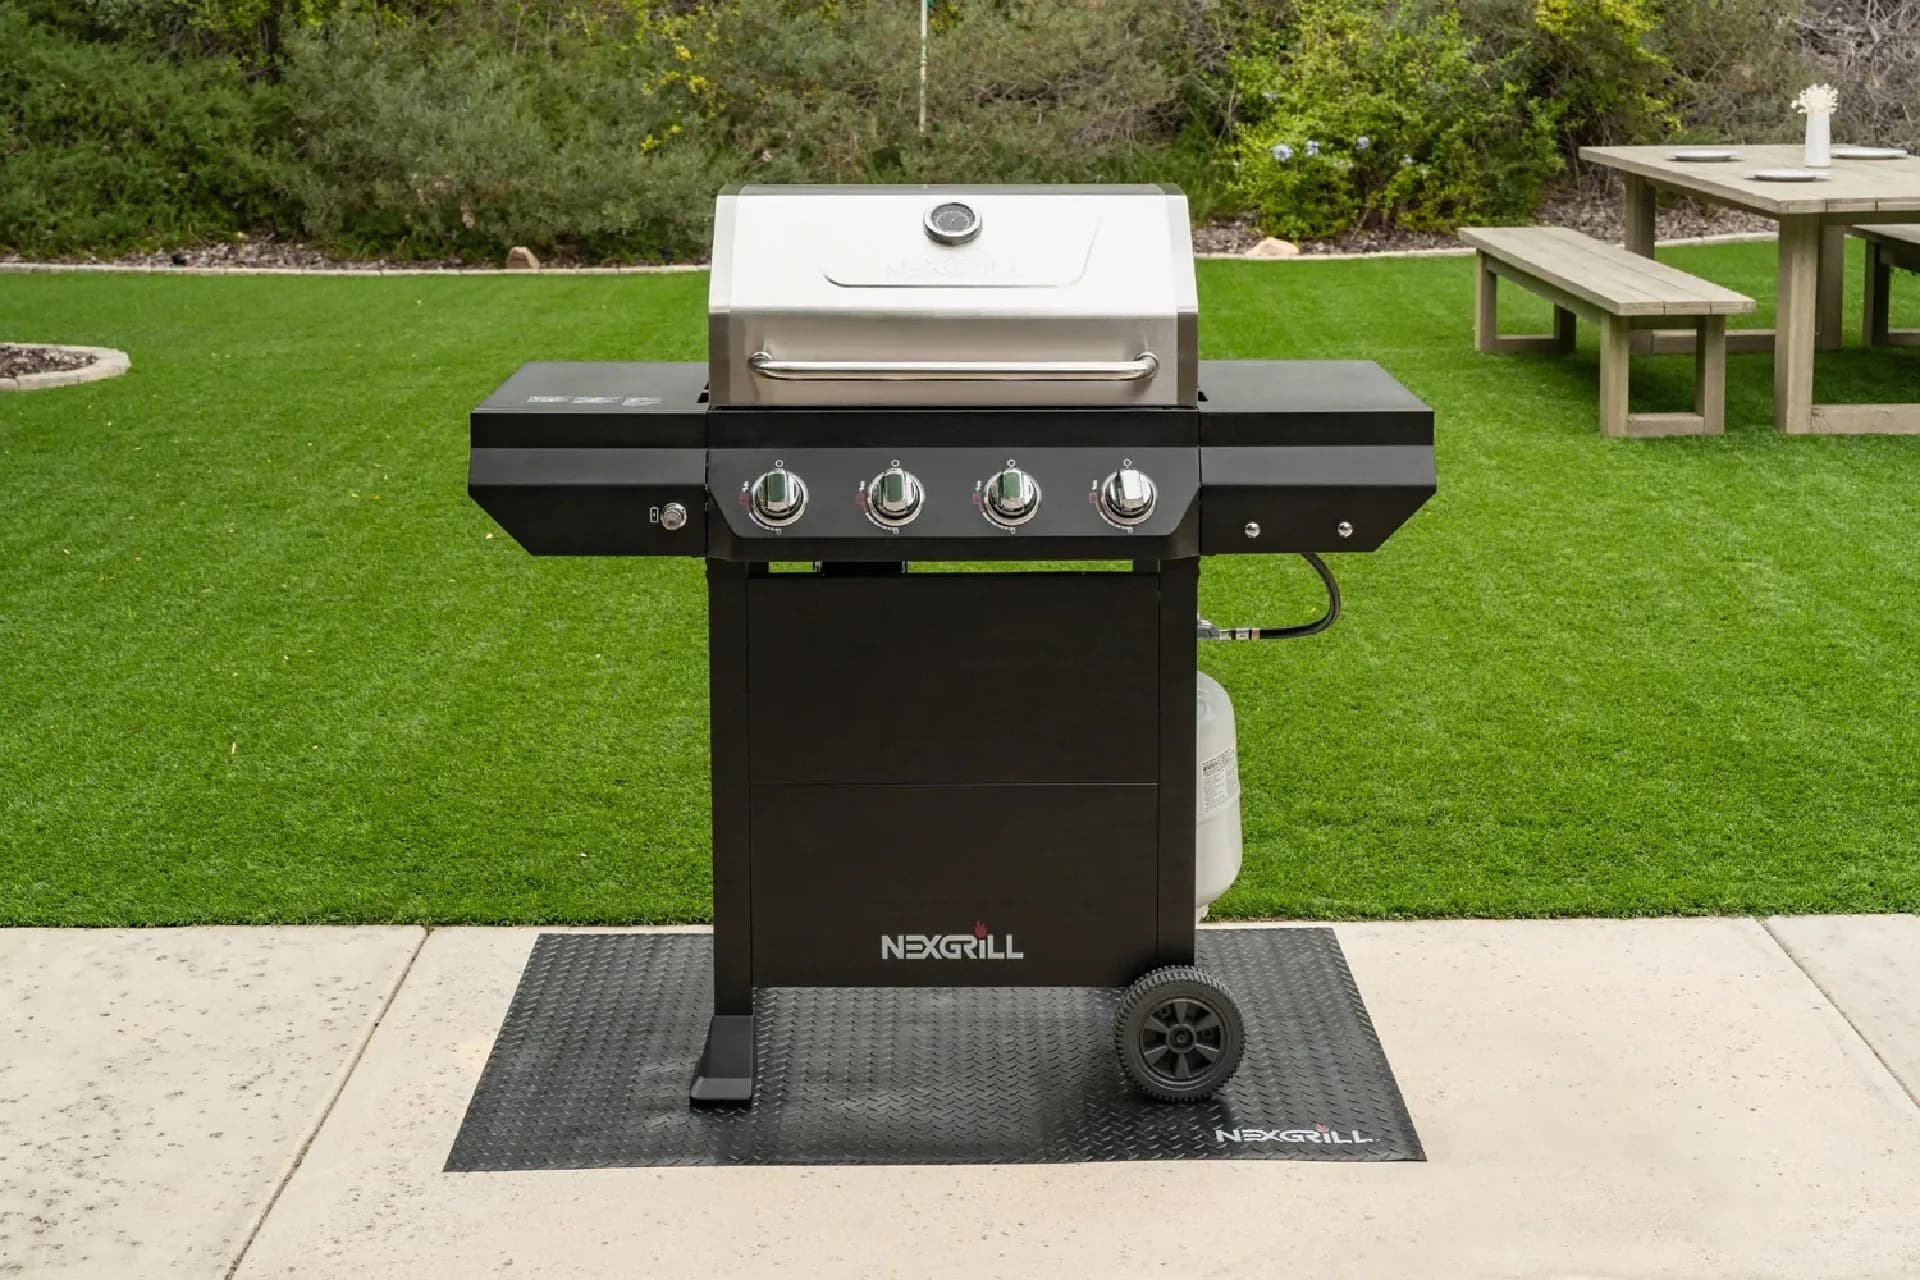
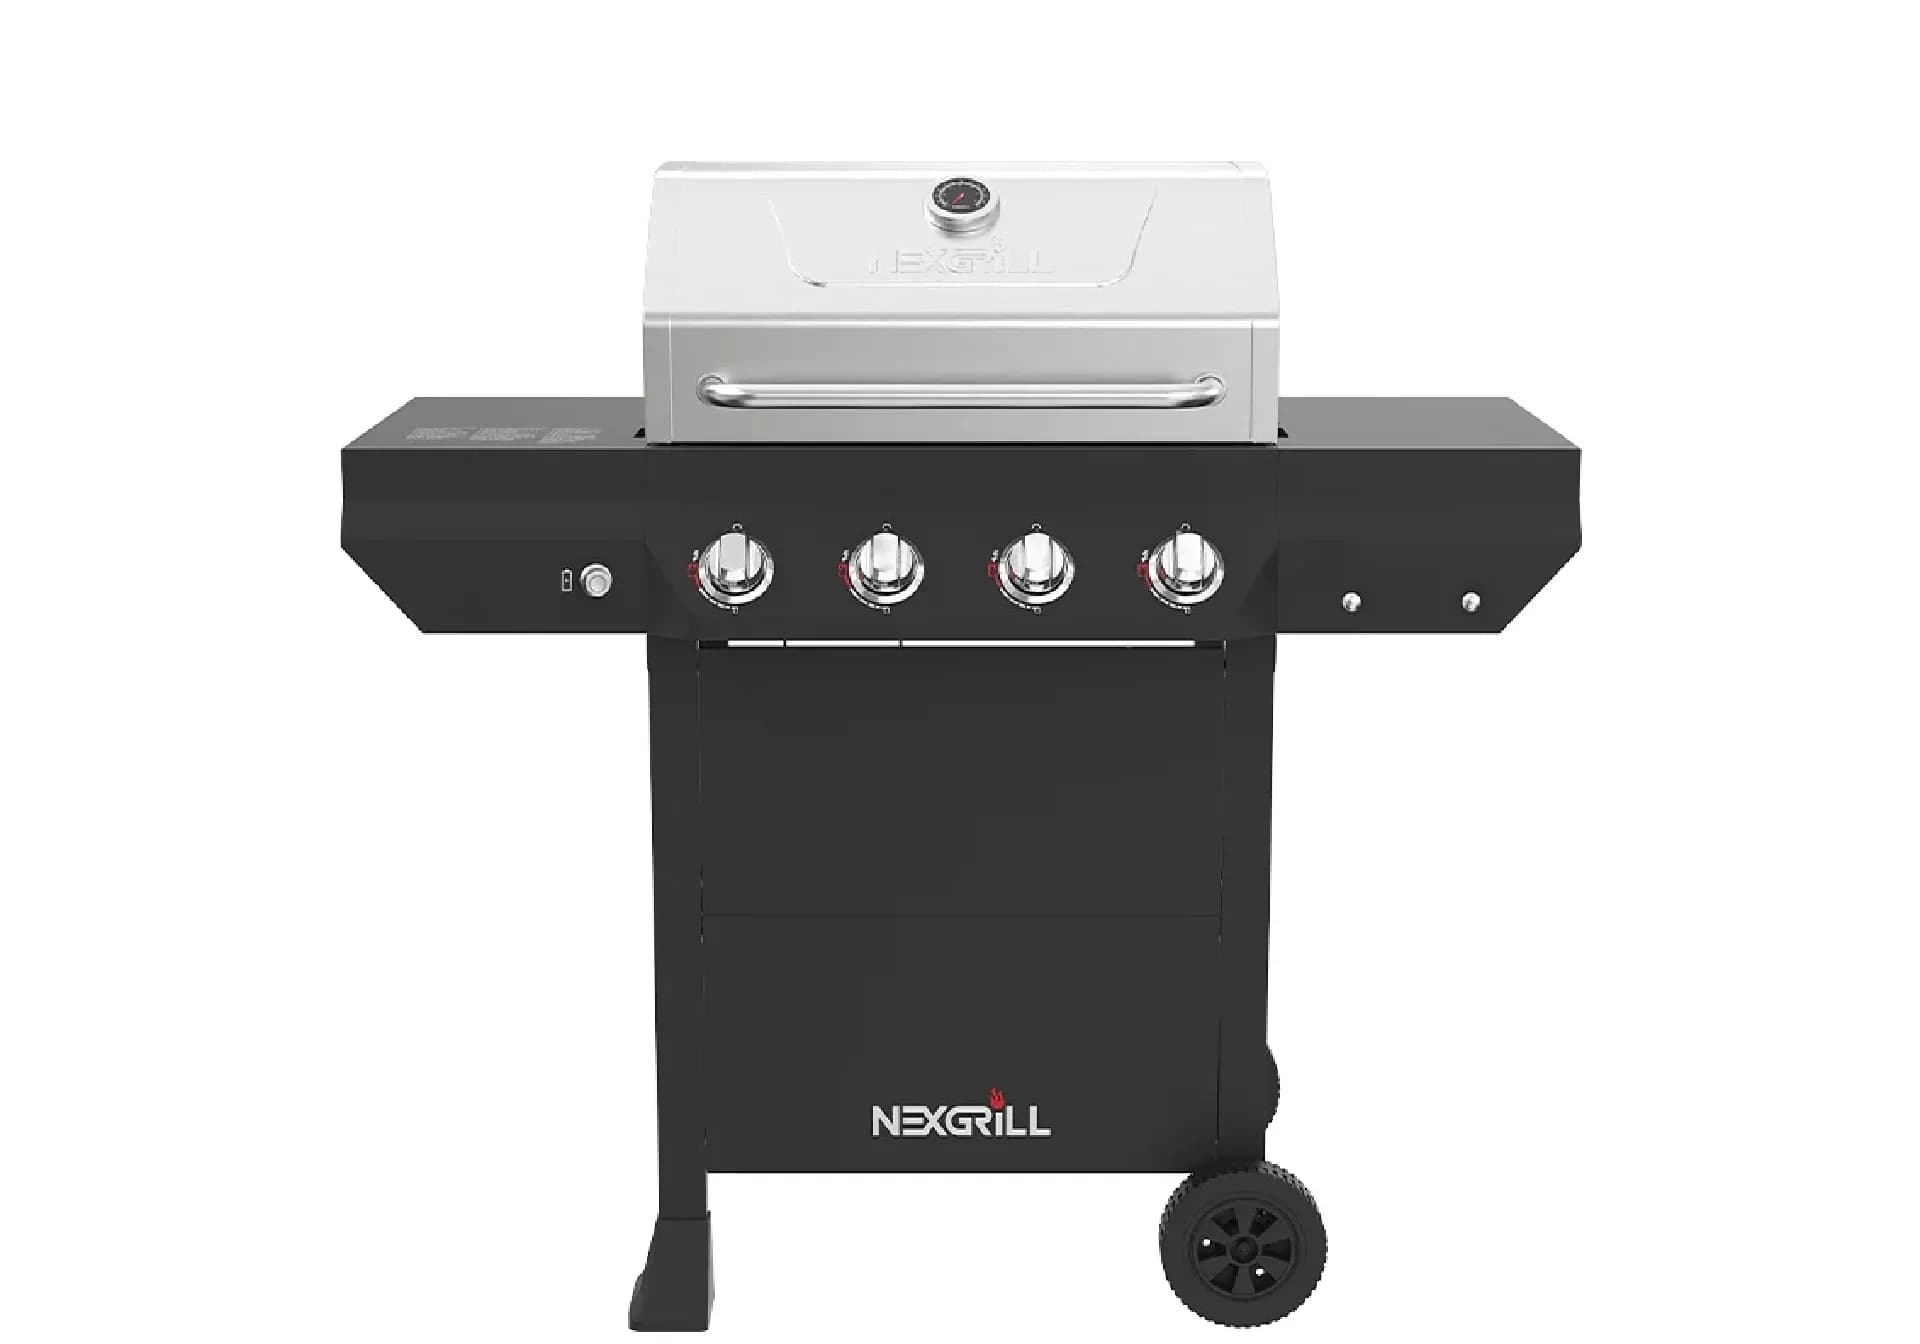
Start with the cart frame. The 720-0888S uses an open-cart design - two side frames, a front and rear crossbar, and four legs that bolt to the bottom of the side frames. Leave all bolts finger-tight until the frame is square. To square it, measure diagonally from the top-left corner to the bottom-right, then the opposite diagonal. Adjust until the two measurements match within 1/8 inch. Then tighten the bolts in a cross pattern (top-left, bottom-right, top-right, bottom-left) to avoid pulling the frame out of square. Next, attach the wheels to the rear legs (the ones with the axle holes) and the locking casters to the front legs. The locking casters go on the front so you can lock them when the grill is in use.
Why the Open-Cart 'X-Frame' Changes Your Sequence Compared With Cabinet-Style Grills
Cabinet-style grills like the 720-0898 have a solid base that must be squared before the firebox goes on. The 720-0888S's open cart has no cabinet, so the firebox itself becomes the structural top. That means you must install the rear heat shield and side-shelf brackets before the firebox - they bolt to the cart's rear and side rails, and once the firebox is on, access is blocked. This is the single most common sequencing error on this model. Follow the manual's order: cart frame, then heat shield, then side-shelf brackets, then side burner, then firebox, then lid.
Tip: Keep a roll of blue painter's tape handy. Tape the stainless panels' edges before sliding them into place to prevent scratching against the cart frame.
Mounting the Rear Heat Shield and Side-Shelf Brackets Without Marking the Brushed Panels
The rear heat shield is a stainless panel that attaches to the back of the cart, just below where the firebox will sit. It has four mounting holes that align with pre-drilled holes on the cart's rear crossbar. Set the shield in place and start all four bolts by hand before tightening any. Use a 10mm wrench to snug them - don't overtighten, as the stainless can distort. For the side-shelf brackets, note that the left and right brackets are different (the left has a cutout for the side burner controls). The manual labels them L and R. Attach them to the cart's side rails with the bolts provided, again leaving them loose until both are started. Then tighten. The brackets have slotted holes to allow for alignment; push them outward as far as they go before final tightening to ensure the shelves sit flush.
Seating the Side Burner: The Two Screws You Must Back Out Before the Shelf Sits Flush
The side burner comes partially assembled. Before you mount it to the left shelf, locate the two screws that hold the burner body to its own bracket - they're on the underside, near the front. Back them out about three turns. This allows the burner body to shift slightly so the orifice can align with the valve. If you skip this, the shelf will not sit flush and the burner will leak gas. Once the burner is on the shelf, connect the valve to the orifice (it should slide in without force), then tighten those two screws. Then attach the shelf to the brackets with the four bolts provided. Test the fit by opening and closing the side burner lid - it should close evenly with no gaps.
Try comparing two Nexgrill models below to see which build and footprint fits your patio.
Once You've Weighed Two Options, Here's What Else Matters During the 720-0888S Build
Comparing models is smart, but once you've committed to the 720-0888S, the remaining steps determine whether your grill is stable, safe, and scratch-free. The lid, regulator, and internal components have their own quirks. Here's how to handle them.
The Lid Step: Holding the Lid at Roughly 90 Degrees While the Hinge Pins Go In
The lid is heavy and awkward. You need to hold it open at about 90 degrees (straight up) while you insert the hinge pins through the hinge brackets and the lid's hinge holes. If you're solo, use a stool or a stack of books to prop the lid. Line up the holes - they're not perfectly round; they have a flat side that must align with the flat on the hinge pin. Insert the pin from the outside, then secure it with the cotter pin on the inside. Repeat for the other side. Once both pins are in, lower the lid slowly and check that it closes evenly. If it doesn't, loosen the hinge bracket bolts and adjust.
Routing the Regulator and Manifold Hose: The Path That Avoids Pinching and Chafing
The regulator attaches to the manifold under the front control panel. Route the hose through the large hole in the cart's front panel, then down to the tank hook. Keep the hose away from sharp edges and hot surfaces. Use the supplied hose bracket to secure it to the cart leg if your kit includes one. The hose should have a gentle bend, not a kink. Before connecting to the tank, check that the hose isn't touching the grease tray or any metal edge that could chafe over time. A pinched hose is a fire hazard.
Info: The 720-0888S uses a standard 20 lb LP cylinder. The regulator is pre-set; do not attempt to adjust it.
Grease Tray, Warming Rack, and Grates: What Goes In Before the Rear Panel Goes On
The grease tray slides into tracks on the bottom of the firebox. It must go in before you attach the rear panel because the rear panel blocks access. Slide the tray in from the front, making sure it engages both tracks. The warming rack sits on the upper brackets inside the lid - it simply rests there. The cooking grates drop into the firebox; they are not handed, but the manual shows a specific orientation for the two-piece set (the seam goes front-to-back).
When a Step Feels Wrong: Symptom, Likely Cause, and the Fix
If something doesn't line up, use this table to diagnose quickly.
| Symptom | Likely Cause | Fix |
|---|---|---|
| Lid doesn't close flush | Hinge brackets not aligned | Loosen bracket bolts, adjust until lid sits evenly, retighten |
| Side shelf has a gap | Two screws under side burner not backed out | Back out screws, reseat burner, retighten |
| Hose kinks when tank is connected | Hose routed on wrong side of leg | Reroute through the large hole and secure with bracket |
| Cart wobbles | Frame not squared or bolts not tightened in cross pattern | Re-square and tighten diagonally |
Match-Light Chain and Hole Location: Setting It Up Correctly Now Saves a Cookout Later
The 720-0888S has a match-light chain for lighting the burners if the igniter fails. The chain hangs from a hole on the right side of the firebox, near the front. Thread the chain through the hole from the inside so the ring stays outside. When you need to light manually, insert a match in the ring, light it, and hold it near the burner tube. Make sure the chain is not touching any hot surface.
First Burn-In and Leak Check: What to Do Before the First Burger
Before cooking, perform a leak check. Mix a 50/50 solution of dish soap and water and brush it on all connections: the regulator-to-tank, the hose-to-manifold, and the side burner valve. Open the tank valve slowly and watch for bubbles. If bubbles appear, tighten the connection and recheck. Never use a flame to check for leaks. Then run the burners on high for 15 minutes with the lid closed to burn off manufacturing oils.
Warning: If you smell gas at any point, turn off the tank valve immediately and do not attempt to light the grill until the leak is fixed.
Missing or Damaged Parts: How to Read the Callout and Request the Right Piece
If you discover a missing or damaged part, locate the callout number on the exploded diagram (e.g., "Part 17"). Then go to Nexgrill's contact page and submit a request with your model number, revision letter, and the callout number. Having the manual handy speeds up the process. Most requests are handled within a few business days.