We position ourselves as delivering high-end outdoor cooking features and performance without premium-brand pricing, emphasizing “Quality Grills. Unbelievable Value.”
Wide range of outdoor cooking products for every use case
We offer gas grills, pellet grills, griddles, smokers, pizza ovens, portable/tabletop grills, electric grills, accessories, and replacement parts — allowing customers to stay within one ecosystem for all outdoor cooking needs.
Innovation-focused outdoor cooking with smart technology
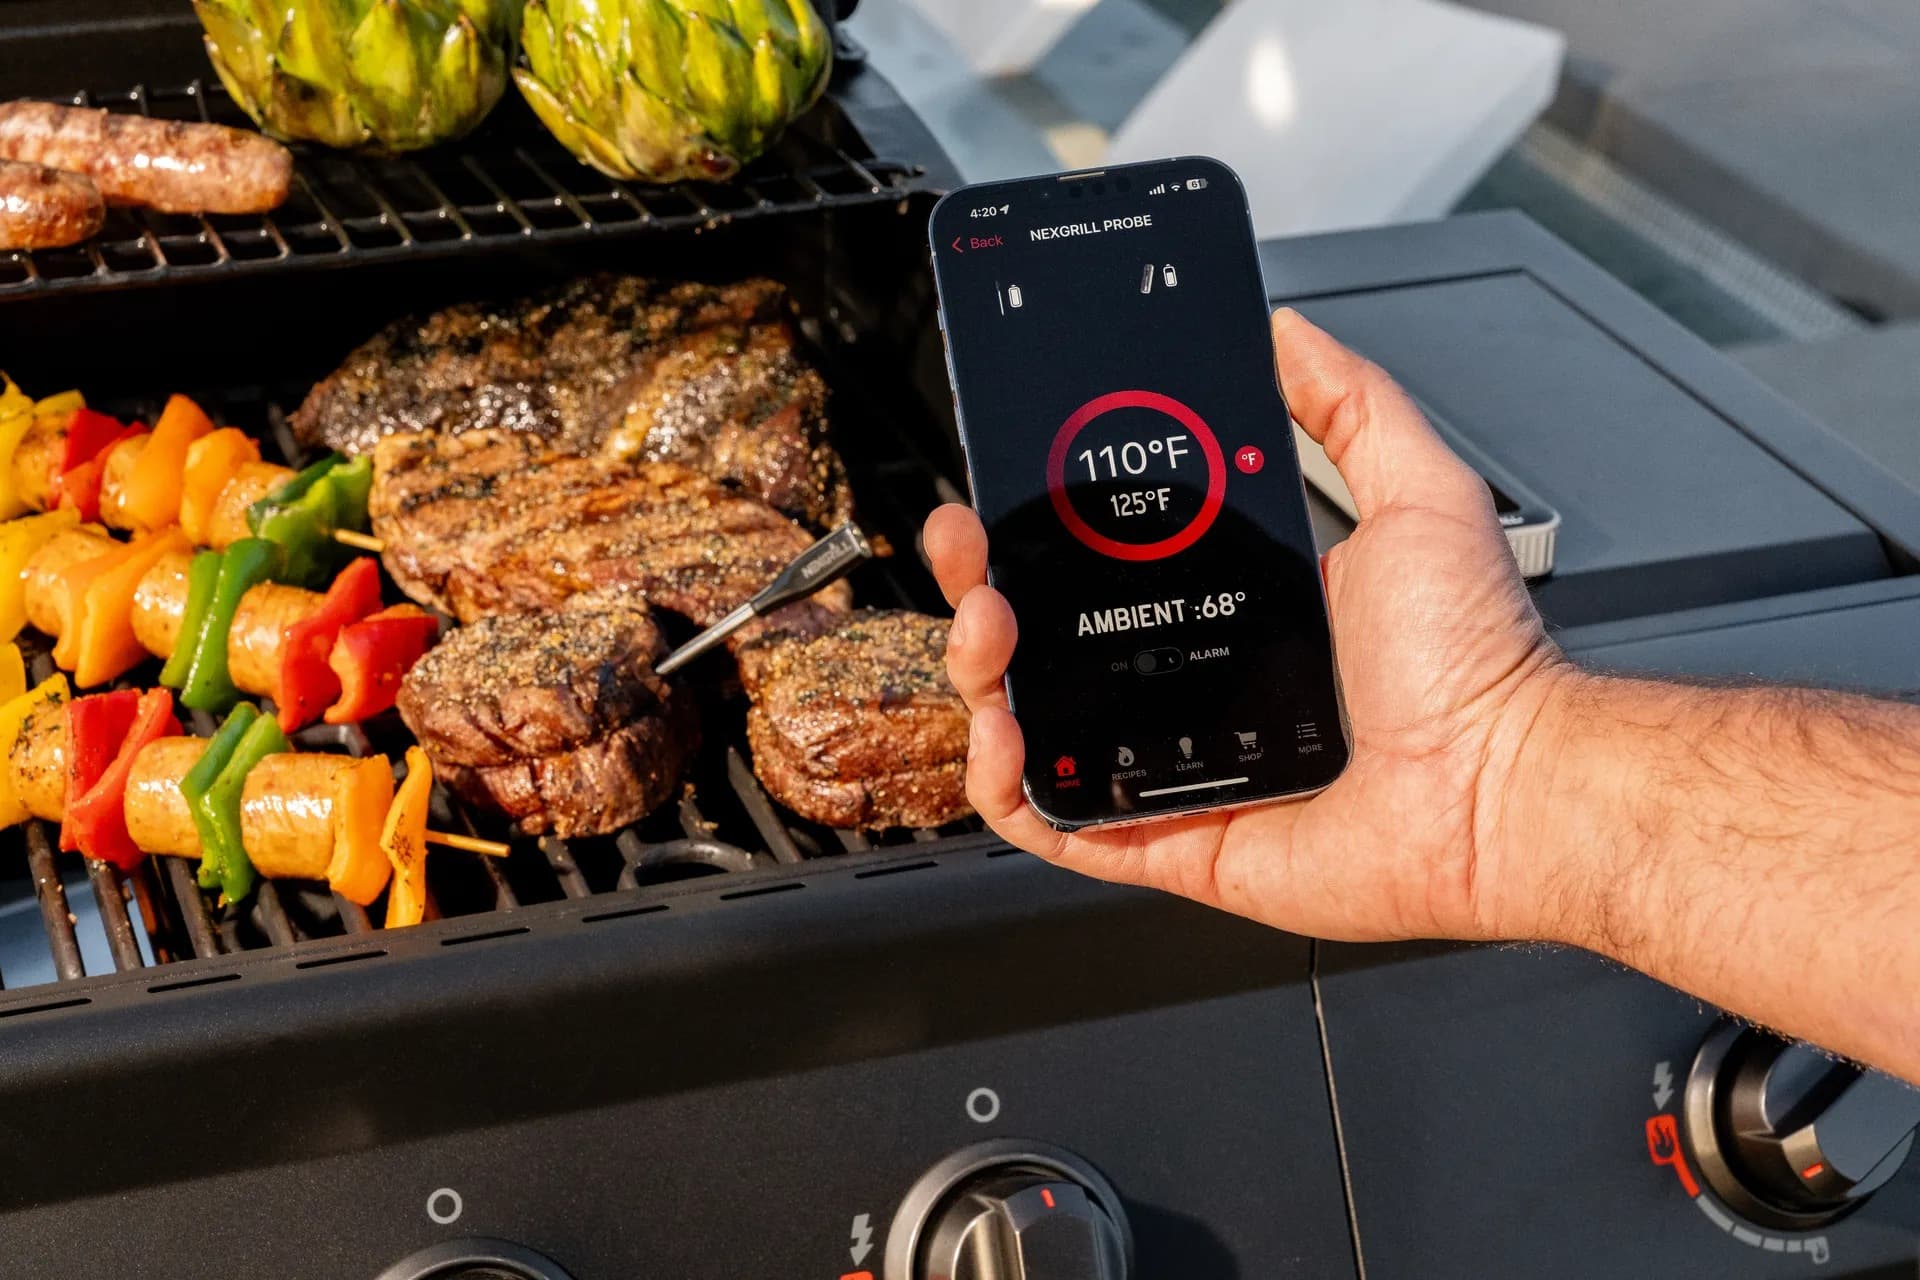
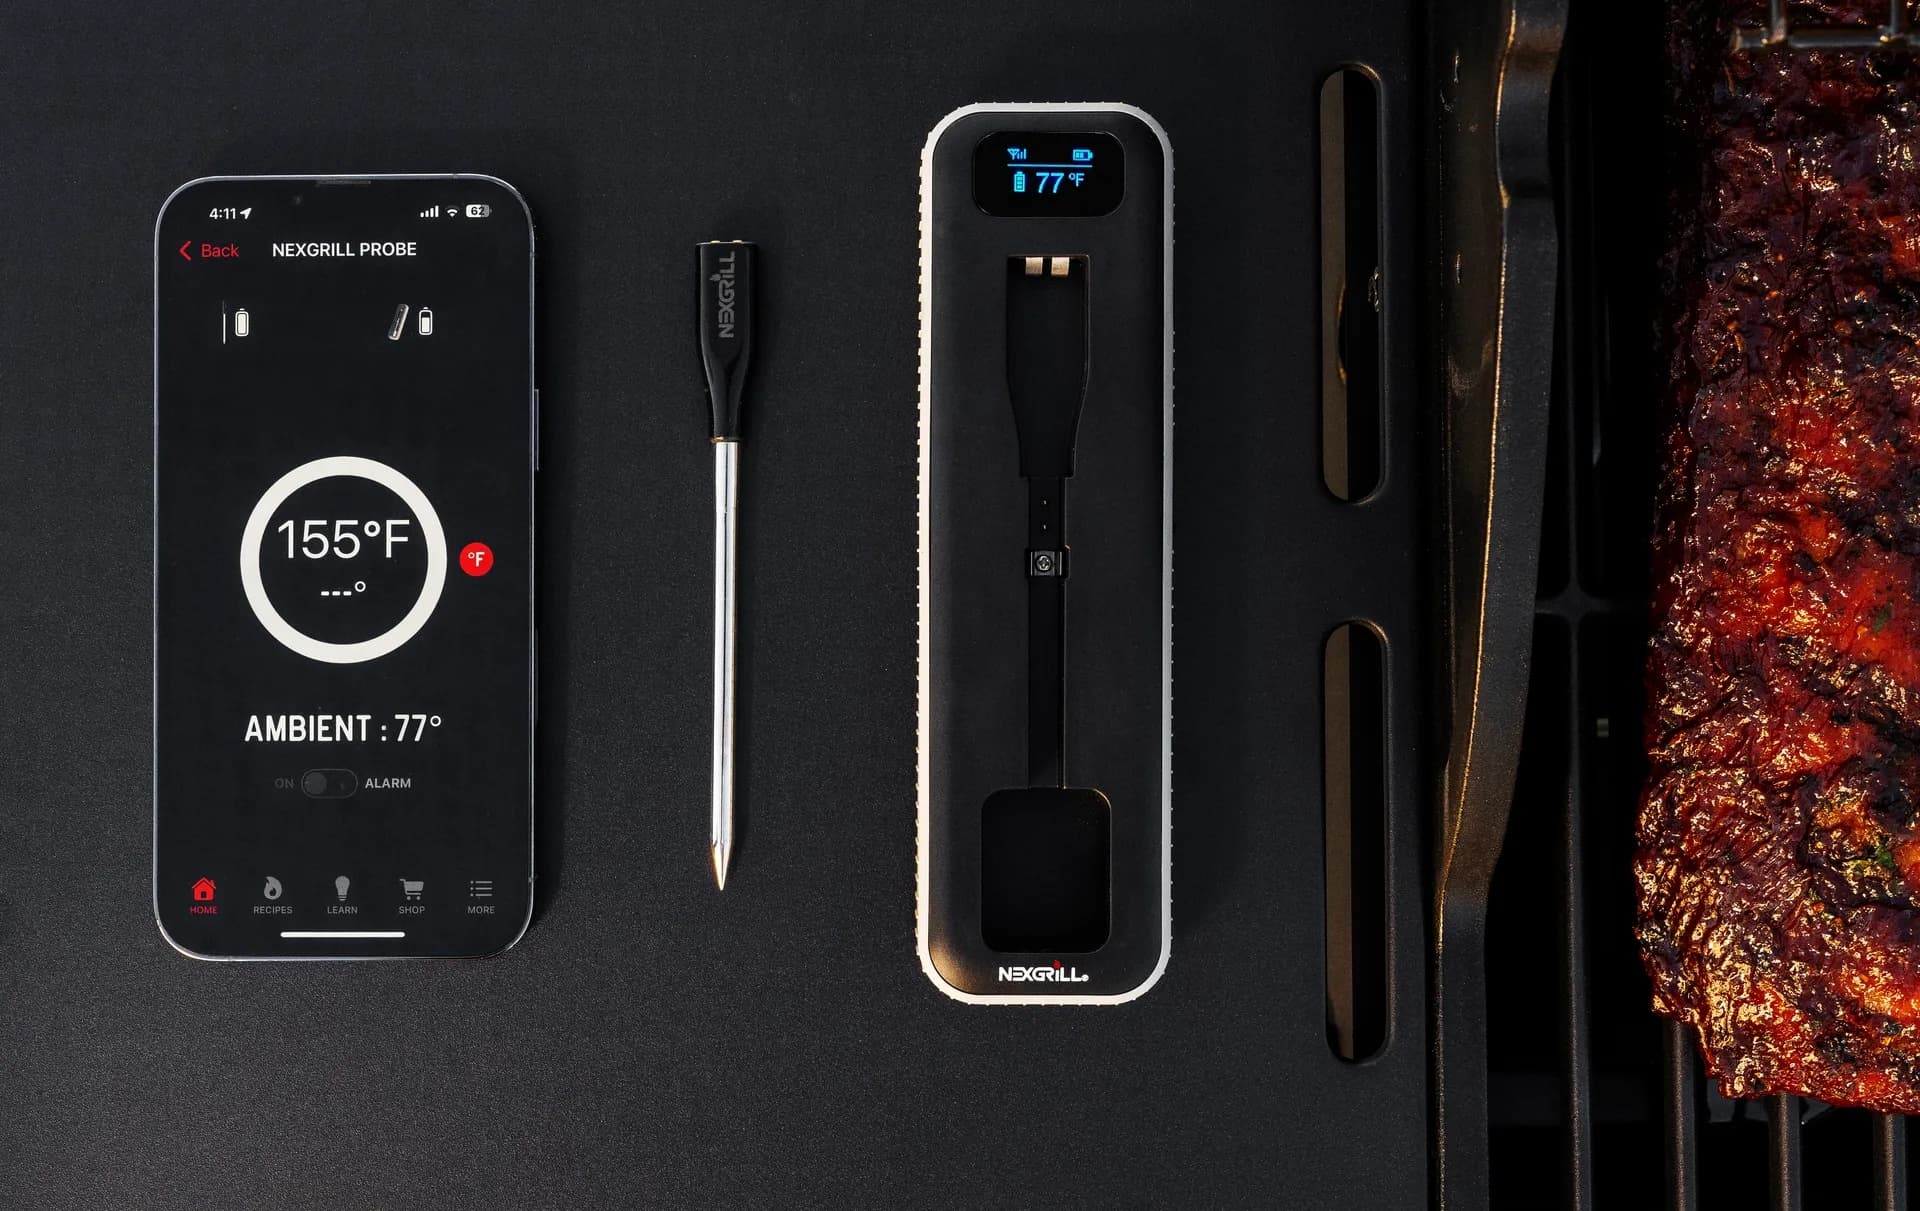
We differentiate ourselves through smart grilling products like the Oakford smart pellet grill, including app-connected cooking controls and modern outdoor cooking technology.
Find griddle recipes, cooking techniques, cleaning tips, and outdoor meal ideas designed for Nexgrill griddles.
Frequently Asked Questions
Find answers to common questions
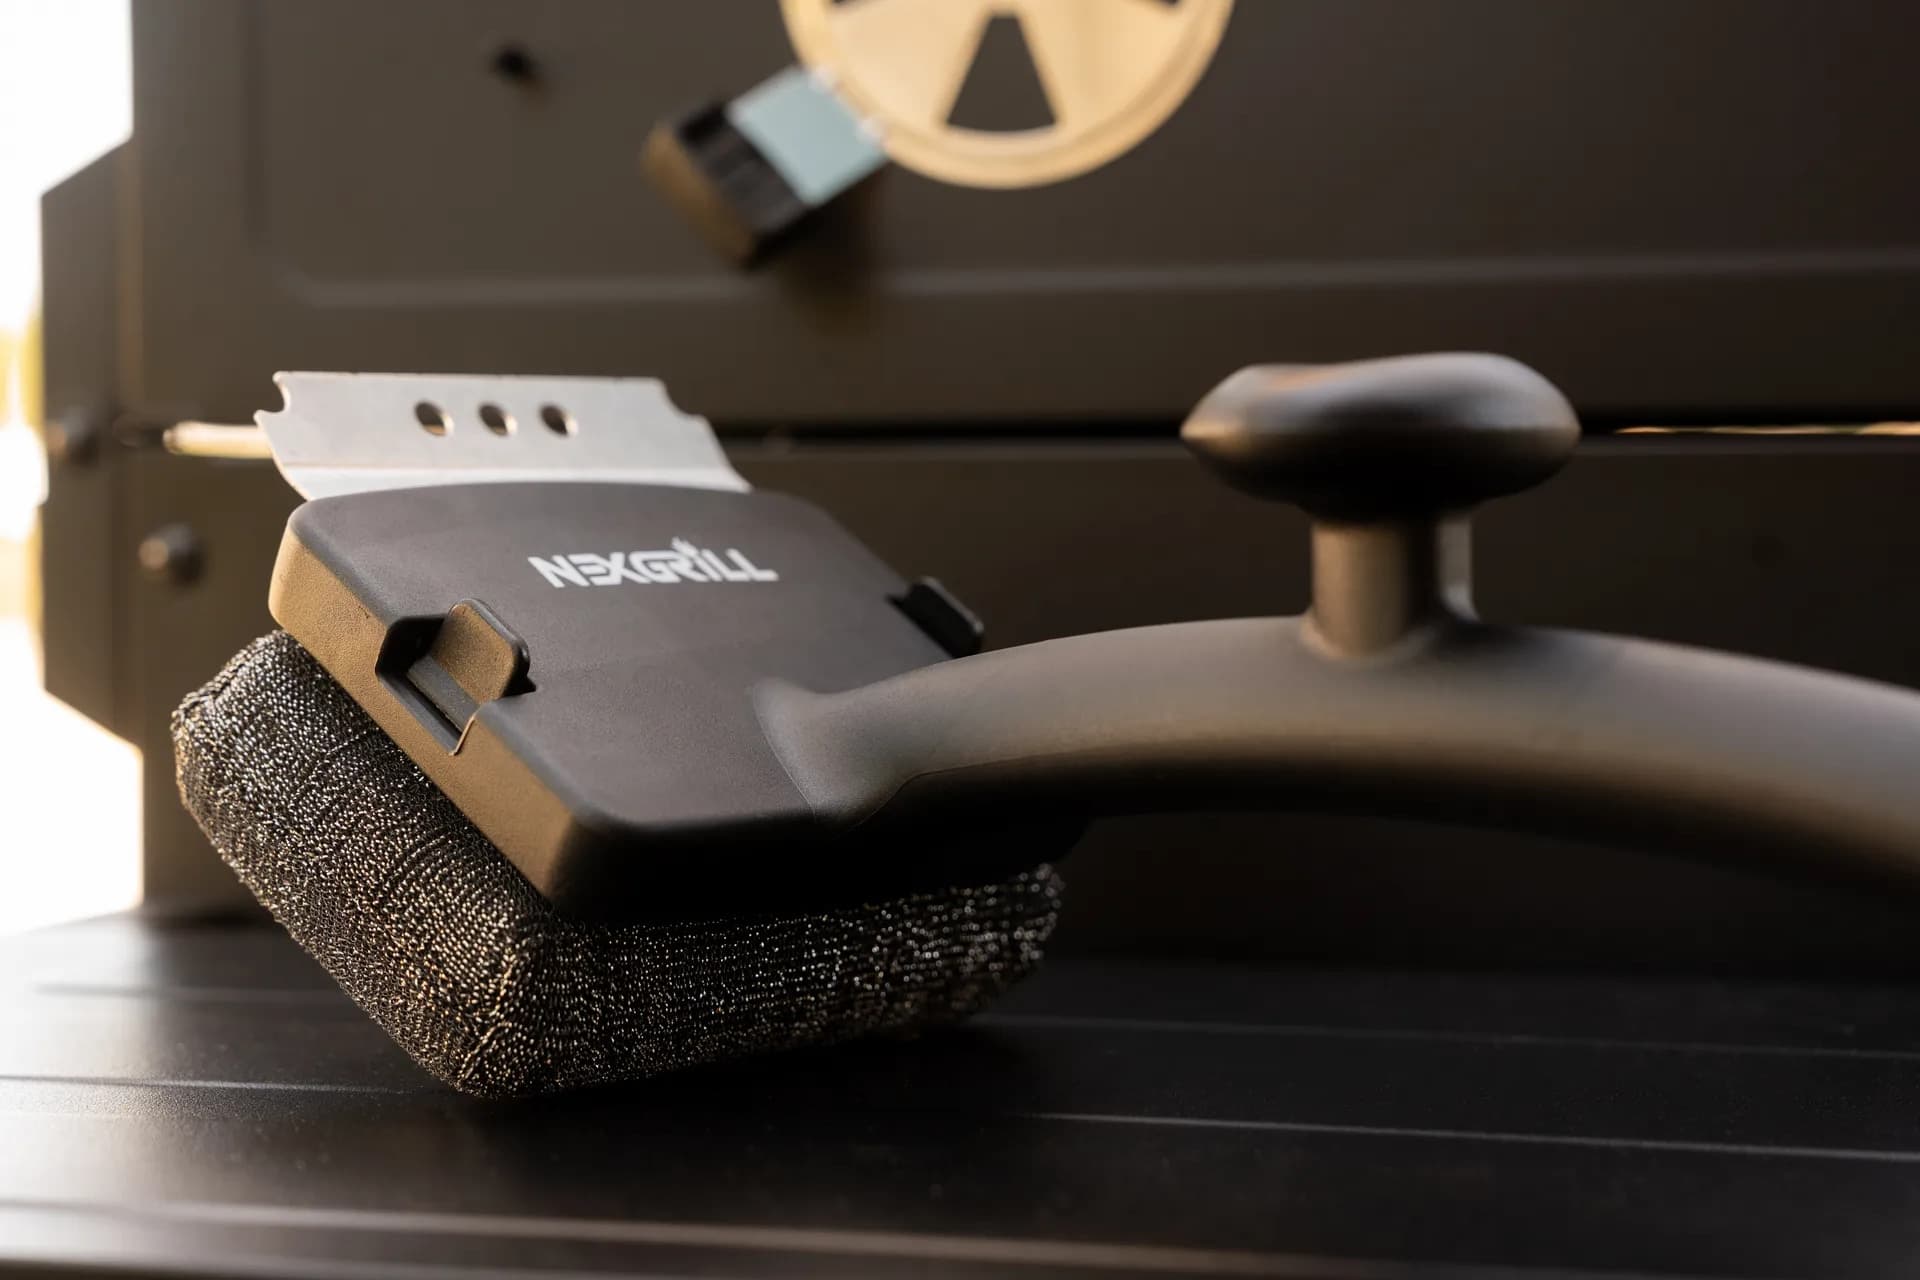
Nexgrill offers a variety of accessories including grill tools, covers, cooking utensils, and replacement parts designed to enhance your grilling experience.
Many Nexgrill accessories are widely compatible with various grill brands, but it is recommended to check the specifications for proper fit and functionality.
To maintain your Nexgrill accessories, regularly clean them with warm soapy water, avoid using abrasive materials that could scratch the surface, and store them in a dry place when not in use.
Yes, Nexgrill accessories can be purchased separately from the grills, allowing customers to customize their grilling setup as needed.
Instructions for using Nexgrill accessories are typically included in the packaging, and additional resources can be found on the Nexgrill website or in the product user manuals.
In This Article
Easy Assembly
Follow our detailed steps for a hassle-free setup.
Safety First
Learn crucial safety tips during assembly and operation.
Troubleshooting Made Simple
Identify common issues and how to fix them.
Introduction to Patio Heaters
Patio heaters extend the usability of outdoor spaces by providing warmth during cooler weather. They come in various types, including propane, electric, and infrared models, each offering unique benefits. Propane heaters are known for their portability and powerful heat output. Electric heaters offer safe, consistent warmth and are ideal for enclosed areas. Infrared heaters provide efficient, targeted heat, making them a popular choice for energy-conscious users.
Preparation for Assembly
Before assembling your patio heater, gather all necessary tools and materials. Commonly required tools include a Phillips screwdriver, adjustable wrench, and safety gloves. Ensure your assembly area is spacious and clear of obstructions. Read the manufacturer's instructions thoroughly to familiarize yourself with the parts and assembly process. Safety is paramount, so ensure all connections are secure to prevent gas leaks or electrical issues.
Required Tools for Assembly
Phillips screwdriver for handling screws and bolts.
Adjustable wrench for securing nuts and bolts.
Safety gloves to protect your hands during assembly.
Level to ensure the heater stands upright.
Having these tools on hand will streamline the assembly process and ensure your patio heater is safely and correctly assembled.
Step-by-Step Assembly Instructions
Follow these detailed steps to assemble your patio heater:
Attach the base to the pole by aligning the holes and securing them with bolts, ensuring the base is stable.
Connect the burner unit to the top of the pole, making sure all gas connections are tight and secure to prevent leaks.
Install the reflector shield at the top of the burner unit, which helps distribute heat evenly.
Connect the propane tank or plug in the electric cord, depending on your heater type.
Perform a safety check by ensuring all components are securely fastened and the heater is stable.
Once assembled, your patio heater is ready for use. Ensure you follow the manufacturer's guidelines for lighting and operation.
Common Troubleshooting Tips
Even with proper assembly, patio heaters can face issues. Here are some common problems and solutions:
Ignition problems: Check the gas supply and ensure the ignition button is functioning. Replace batteries if necessary.
Weak flame: Ensure the gas supply is adequate and the burner is free of blockages.
Gas leaks: Perform a soap test on connections to check for leaks. Tighten connections as needed.
Maintenance and Safety Guidelines
Regular maintenance ensures your patio heater operates safely and efficiently. Clean the reflector and burner regularly to prevent dust and debris buildup. Check connections for leaks and ensure the heater is stored in a dry place when not in use. Use a cover to protect it from the elements.
Tip: Always follow the manufacturer's instructions for maintenance and safety checks.
FAQs on Patio Heater Operation
Here are answers to some frequently asked questions about patio heaters:
Can I use a patio heater indoors? Generally, it's unsafe to use outdoor heaters indoors due to ventilation requirements.
What should I do if my heater won't light? Check gas supply, ignition system, and ensure all connections are tight.
How often should I clean my patio heater? Clean your heater after every few uses to ensure efficient operation.
Conclusion and Final Tips
Assembling and maintaining your patio heater ensures it provides warmth and comfort effectively. Regular safety checks, proper cleaning, and adherence to the manufacturer's guidelines will prolong its lifespan and enhance performance. Enjoy your outdoor spaces year-round with a well-maintained patio heater.
We position ourselves as delivering high-end outdoor cooking features and performance without premium-brand pricing, emphasizing “Quality Grills. Unbelievable Value.”
Wide range of outdoor cooking products for every use case
We offer gas grills, pellet grills, griddles, smokers, pizza ovens, portable/tabletop grills, electric grills, accessories, and replacement parts — allowing customers to stay within one ecosystem for all outdoor cooking needs.
Innovation-focused outdoor cooking with smart technology
We differentiate ourselves through smart grilling products like the Oakford smart pellet grill, including app-connected cooking controls and modern outdoor cooking technology.
What Our Clients Say
Don't just take our word for it
“I’ve been using the Nexgrill Daytona 4-Burner Gas Griddle for a while now, and I’ve been really happy with it. First off, it’s super sturdy and feels really well-made, like it’s going to last me a long time. The cooking space is awesome—plenty of room for making big meals. So far I’ve cooked pancakes, burgers, bacon and some veggies. The 4 burners make it easy to control the heat in different areas. I love that I can keep one side hotter for searing and leave the other side cooler for things that don’t need as much heat. Plus, it heats evenly, which I was really glad to see. The shelves underneath and on its sides are a nice bonus. I’ve used them to keep things like plates, tools, and ingredients handy while I’m cooking, it’s very convenient. Cleaning it is super simple too. Once it cools down, I just wipe off the cooking surface and let the grease funnel into the trap. It’s quick and easy, and honestly, it barely looks like I even used it. If I had to nitpick, the grease trap can fill up kind of quickly during bigger cooking sessions, but as long as you keep an eye on it, it’s not a big deal. Overall, this griddle has been great. It’s sturdy, easy to use, and makes cooking outside a lot of fun. If you’re into grilling or want something versatile, I think this is a solid choice. Originally posted on influenster.com”
M
martind23_2941
Sturdy, easy to use, and perfect for cooking big m
“took about 2-3 hrs for complete assembly. took about 15-20 minutes to fully heat to 700. used a pan liner and a drip cup liner due to previous issues with those rusting away. this is about the 3-4 grill i have assembled. dont try to do it alone or ask the wife for help with the firebox its awkward. always check the directions 2-3 times before tightening down and dont over tighten the screws. hopeing for 5 years of grilling on this but i havent checked the warrenty yet.”
DT
Dave the Griller
finally got around to building this.bought in 2025
“We just bought this guy and I recommend always buy it assembled, we just use the grill 2 times and really works good; is perfect size and the side burn is very useful plus the caddy attach for spices; the material quality is in medium rate; no too cheap no too expensive I'll be glad if it works for minimum 5 years. Nexgrill could improve with the way, and cleaners to not damage the grates and the burners. I protect the removable pan with heavy duty aluminum foil, when the grease drop I only change the foil. Well I am enjoying my new Nexgrill !!! P.s. always clean the grill after use it....ALWAYS :-)”
KA
Karl A
Nice Grill
“Thank you to Influencer and Nexgrill for sending this to me for free, in exchange for my honest opinion. My 17 year old son put this together for me. It was easy but time consuming, it took about 2 hours. This is great for families, because you can cook a good amount of food in a short time. We did tacos, but it’s also great for breakfast, pancakes, eggs, breakfast burritos. It’s easy to clean if you have the right tools, you’ll need a scraper and metal spatula. Overall I would recommend this flat grill, it’s a great addition to our household. Originally posted on influenster.com”
K
KellyL
Quick and easy cooking
“My old Nexgrill is 25 years old and still looking and performing well! This new one is going on our back patio to partner with the old one in our courtyard. Obviously quality products to last that long. I hope the new one does as well. The only concern I have is that the sides are painted metal rather than stainless like the old one. I hope it doesn’t rust over time. But, We are very happy grillers!”
JS
Judy S
New grill to partner with my old one
“Bought grill 3 years ago stainless grates rusted out had to order new ones to replace Yes, I recommend this product.”
G
GaryS329
Stainless
“I’ve always been a smoker, fryer kind of guy. But recently with my new job keeping me super busy I’ve been cooking on my father in-laws 2 burner grill and it takes so long to cook ribs and chicken. I love just lighting the burners and cooking so I decided to upgrade by buying my own and I got this 5 burner with side burner for veggies , took me maybe 20 minutes to get all the dinner done tonight after I seasoned the grill with an onion. Love it so far, I hope it lasts a long time! It’s beautiful!”
JB
Jason B
Love it so far! My first propane grill I’ve ever bought myself!
“I love your grills. This is a replacement grill for a fully stainless steel one (was suppose to be). We originally bought it for our daughter's new townhouse, but her patio was not "ready" for it. We have kept it for 5 years now. My husband passed, I sold the house and move it, in the original box, with me and just put it together. The”
LG
Lisa G
Replacement
“Purchased a 5 burner with side burner grill probably 7-8 years ago. You can only replace things for so long. Opted on a smaller 4 burner grill this time. Hoping to get lots of use for many years to come.”
BS
Brian S
2nd grill with out
“Easy grill to use & grills well. Last grill lasted a little over 6 years. Had to replace burners twice (just worn out - lots of use). Here is old grill & new grill.”
RE
Russell E
2nd Nexgrill
“I had either recieved or bought a grill from either webber or Charbroil. Both had lasted roughly 5 years each before rusting out. For the price point and the way this grill feels I think this one should last longer. Looks awsome new so hopes are high.”
VA
Victor A
3rd grill so far...
“I’m just setting up my second 5 burner nexgrill!!! My first one was purchased in 2015!! I live in New England and the grill lived outside for 7 1/2 years!! That is an impressive lifespan for a grill in my area! I’ll be a loyal Nexgrill customer for life. Thanks very much. Yes, I recommend this product.”
L
Litch
Robust grill with Longevity to boot
“This grill is good for an economy grill. My 10 year old assembled most of it. I knew that I was getting a budget grill and didn't expect a Cadillac. I bought it mainly because the burners have flame on the left and right, instead of one row on the top. I checked the temperature gauge vs my digital and it runs 50° high, didn't expect it to be right on. The burner tents are higher in the front, making it hotter in the front. I have snips so I'll cut the front to set level. I seasoned the grill with bacon, it leaked from the screw to the drip pan, which was tight. The corners are sharp. I had corner protectors for my smoker and put some on the Nexgrill, hoping to get more life from the cover. Overall it's pretty good for the price.”