"Nexgrill ORA 12" Assembly Instructions: The Box-With-No-Receipt Build Path
Trying to build a grill from a carton (or gift, or marketplace listing) labeled "ORA 12"? Here's how to identify what you actually have in ten minutes, then assemble it in the right order.
In This Article
ID Before You Build
Ordered Build Arc
Leak Test & First Burn
Ten Minutes With a Flashlight Before Any Wrench Comes Out
You have a carton in the garage, no receipt, and a name on the box that doesn't match anything online. Before you cut a zip tie, spend ten minutes identifying what you own. With a flashlight and phone camera, check three places: inside the cabinet door, the rear wall of the firebox, and underneath each side shelf. One will carry a rating label. Photograph it before lifting parts - it's the only thing that tells you which manual applies.
Do not open the hardware bags until you've recorded the model number. Once bolts are mixed, matching them back to a manual's labeled bags is far harder.
Why "Nexgrill ORA 12" Doesn't Show Up in Nexgrill's Catalogue
We searched the current Nexgrill product lineup and found no verifiable "ORA 12" model. That usually means a marketplace seller invented or truncated a listing title, a retail pickup label abbreviated the model, or the grill was a gift in a generic carton. None of those put wrong parts in your box - they just hide the model number. Nexgrill's manuals, parts, and support run on the 720-number, not a marketing name, so identifying that number is the whole job.
Where the Real Model Number Lives on a Nexgrill Grill or Griddle
The field reads something like 720-0925PG or 720-1046A, on a small rating sticker alongside a serial number, BTU figure, and fuel type. On cart grills it typically sits inside one cabinet door; on griddles and shelf-heavy units, check the underside of a side shelf and the rear of the firebox. If all three are blank, the unit may be a floor model or refurb - call Nexgrill support with a photo of the whole grill and they can usually narrow the model family.
Reading the Rating Label: What Each Field Actually Tells You
| Field on the label | What it tells you | Why it matters at assembly |
|---|---|---|
| Model (720-xxxx) | The exact SKU family | Selects the correct manual and parts diagram |
| Serial number | Production run for that unit | Required for any parts order |
| BTU rating | Total burner output | Confirms burner count and regulator spec |
| Fuel type | Propane or natural gas | Determines hose/regulator routing |
A natural-gas label paired with a hose and regulator in the box is a red flag - stop and confirm before connecting anything.
The No-Receipt Scenario: Gift, Store Pickup, or Marketplace Title Mismatch
If the receipt is gone, search your inbox for the pickup confirmation email, which usually lists a model number or UPC. Gift recipients should ask the giver which retailer it came from; store records can often retrace a purchase to a SKU. Marketplace buyers face the hardest case, since the listing title is written by the seller. In all three scenarios the label on the grill outranks every piece of paper you don't have.
What the Carton Should Contain Before You Start Turning Bolts
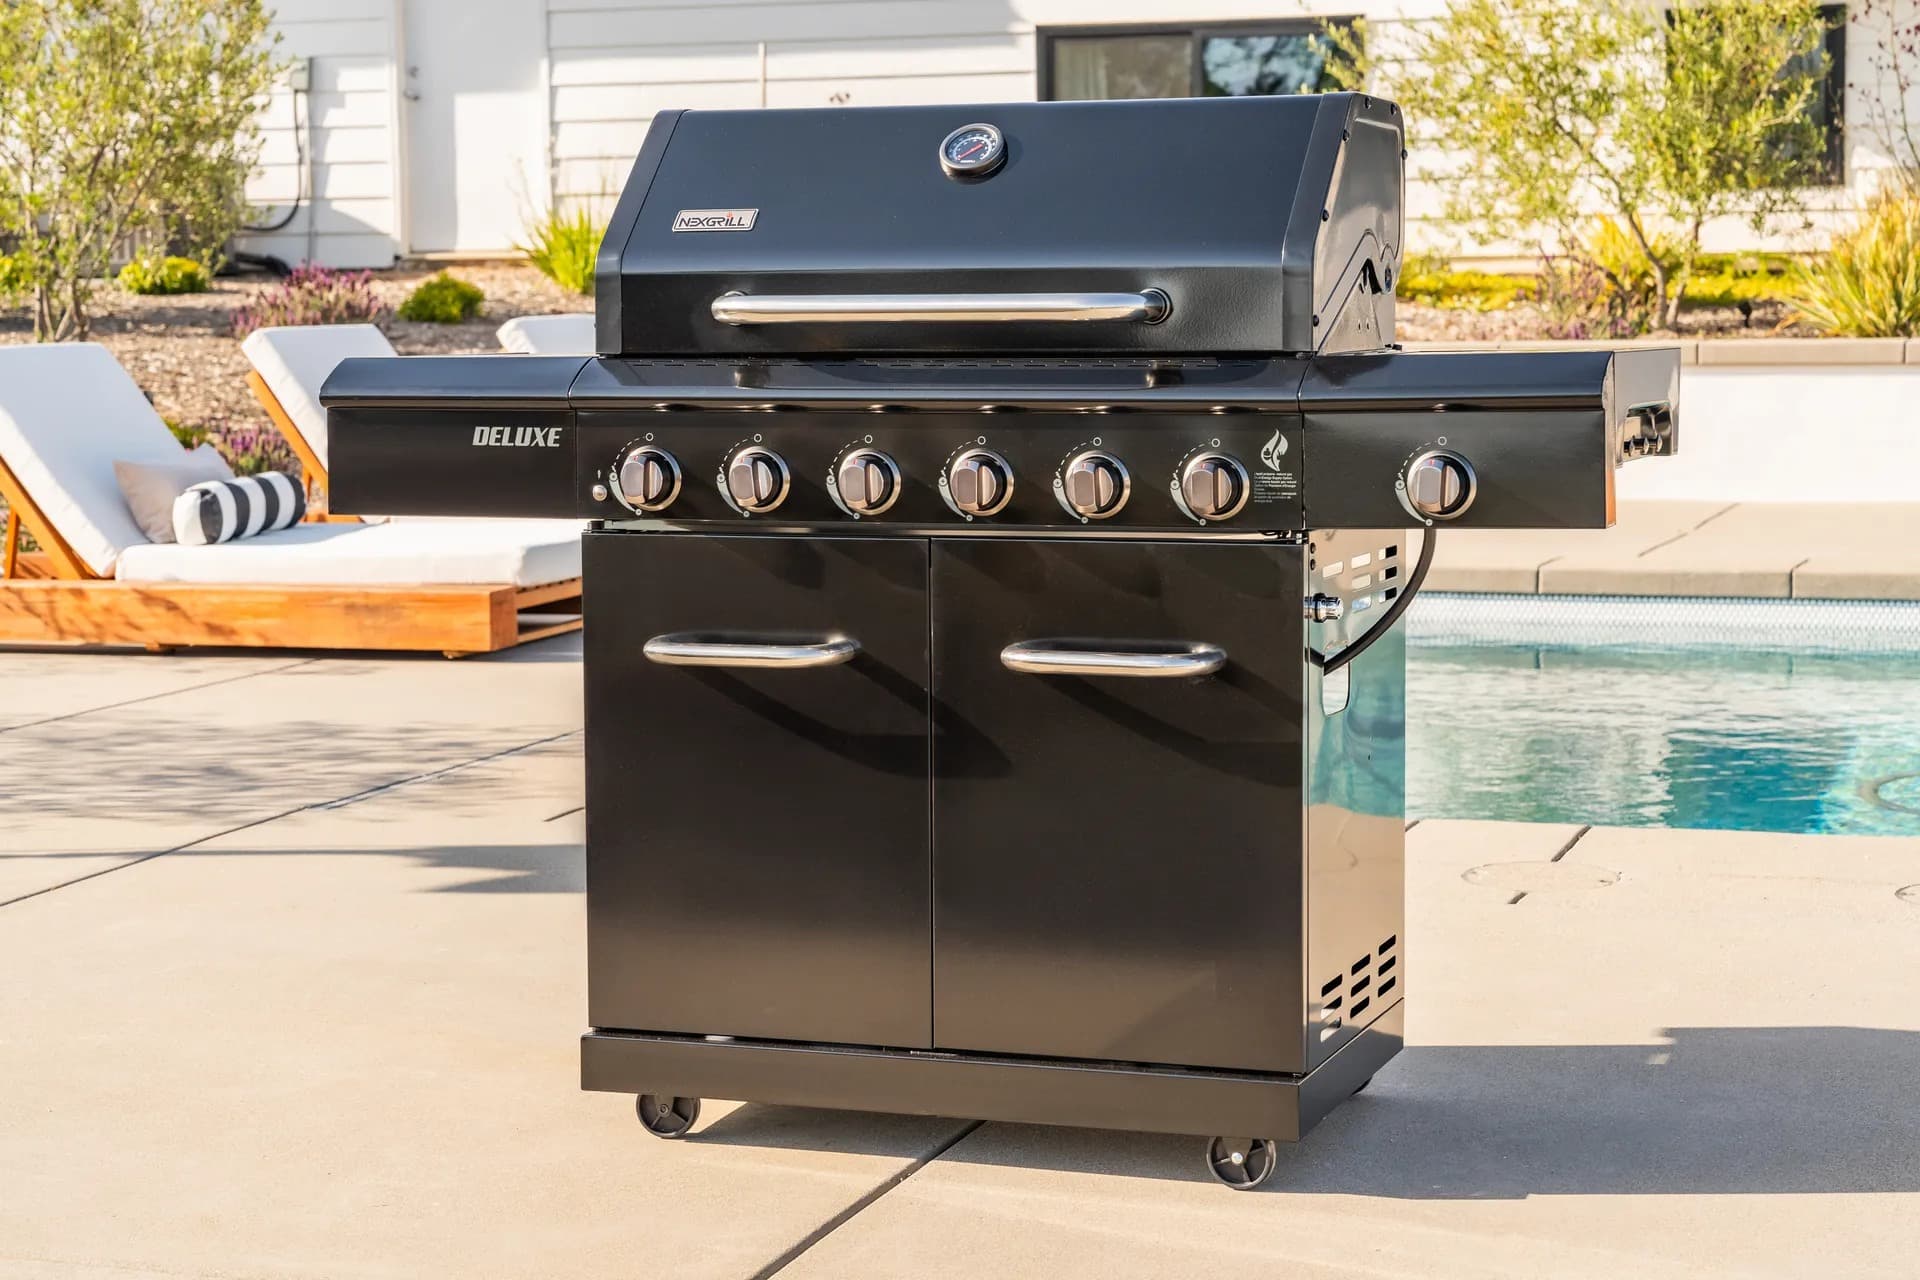
Typical Nexgrill cart grills and griddles ship with bolt bags lettered A/B/C, washers, cotter pins, a grease tray, a regulator and hose assembly, a warming rack, and side shelves. Lay everything on a clean sheet and match it against the parts callout pages before assembly. Missing a cotter pin at 8 p.m. on a Saturday is the most common reason people abandon a build half-finished.
Two People, a Flat Surface, and the One Tool You'll Actually Use
A typical 2-4 burner cart grill needs two sets of hands for about 60-120 minutes - an estimate, not a guarantee. Use a flat driveway or patio (a sloped lawn torques the cart out of square), a socket set and adjustable wrench, and a second person for the lid. Skip the impact driver; over-torquing thin steel commonly strips frame bolts.
1. Base/cart frame - square it loosely
2. Legs and casters
3. Firebox to cart
4. Burners and electrodes (if removable)
5. Cart panels and doors
6. Lid and hinge
7. Side shelves
8. Grease tray + warming rack
9. Regulator and hose
10. Final torque pass
The Order of Operations That Keeps the Cart From Wobbling
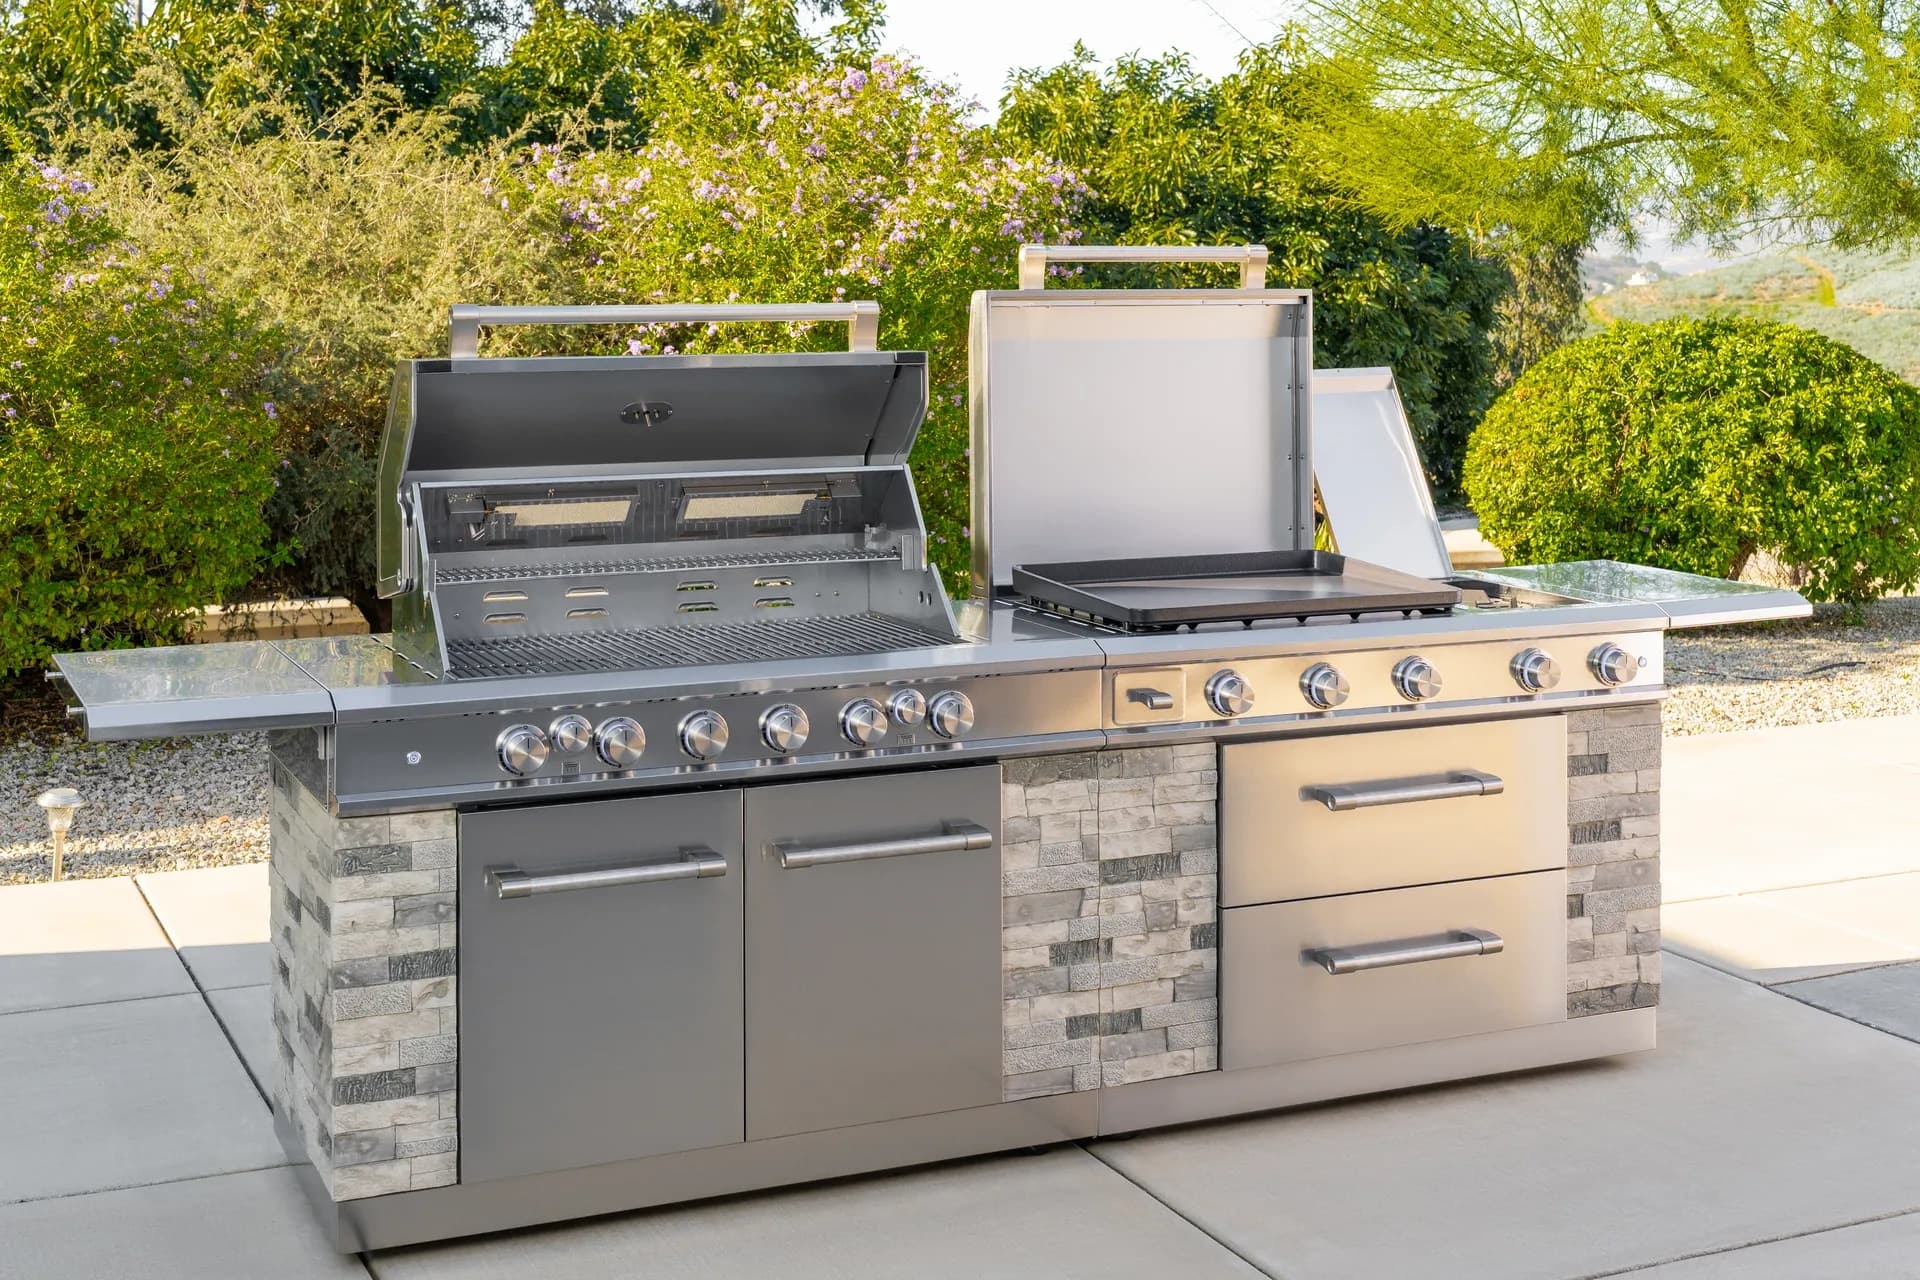
Assemble the frame loose, check diagonal measurements with a tape, then tighten. Leave side-shelf and side-burner bolts finger-tight until the end so the main body settles flat. If you have two products in the garage and can't tell which fits your deck, compare two options side by side below to weigh a cart grill against a griddle or a 2-burner against a 4-burner before you finish the build.
Once You've Identified Your Unit, Here's What Else Matters
The pair you chose tells you what the cart was designed to do - but assembly outcomes depend on the small things: torque, square, gas routing, and the first burn. Below is the practical middle of the job that most instruction sheets underplay.
Five Assembly Detours and How to Back Out of Them
- Mixed hardware bags: sort by head type and length on a muffin tin; a 5-minute sort beats a 40-minute rework.
- Firebox won't sit flush: loosen the cart bolts you already torqued, seat the firebox, then tighten diagonally.
- Caster threading cross-threaded: back off half a turn, hand-thread, then finish with a wrench.
- Side shelf gap: check for a washer you skipped in the callout page, not a bent shelf.
- Lid hinge binds: the lid is often installed off-centre - re-seat before tightening the hinge plate.
If a part truly doesn't fit, photograph it and send the model number plus serial to Nexgrill support - do not force-fit with a hammer.
Regulator, Hose Routing, and the Soapy-Water Leak Check
Before the first light, do a leak check. Mix dish soap into water, brush it on the regulator-to-cylinder connection and the hose-to-manifold joint, open the gas briefly (burner knobs off), and watch for bubbles. Growing bubbles mean a leak - tighten, retest, and if bubbles persist, stop and contact support. Route the hose away from hot surfaces and sharp cart-frame edges; a kinked hose is a safety problem, not a cosmetic one.
Typical two-person build time for a 2-4 burner cart unit (estimate)
First-Burn Seasoning and the Burn-In Mistakes That Ruin Grates
Run the grill empty on high for 15-20 minutes with the lid closed to cook off manufacturing oils. A light haze or chemical odour is normal, but keep children and pets away and never leave the unit unattended. Afterward, oil the grates lightly with a high-smoke-point oil and wipe the interior with a dry cloth. Do not cook food during the burn-in, and do not use a wire brush on brand-new porcelain-coated grates.
Pre-Light Checklist Before You Cook Anything
- Leak check passed on both connections.
- Burners lit individually and extinguish cleanly.
- Grease tray in place and lined.
- Lid hinge secured with the cotter pin.
- Casters locked and cart level.
- Hose routed clear of heat and wheels.
These steps echo the outdoor grill safety guidance published by the U.S. Fire Administration and the U.S. Consumer Product Safety Commission.
When the Manual in the Box Is Gone: Getting the Right Document
If the carton lacked a manual, request it by model number via Nexgrill's contact page. You don't need a retail receipt, just the 720-number you recorded before assembly. Keep the model and serial in a note on your phone; every future parts order will need both.