Nexgrill 720-0925PG Assembly Instructions: Step-by-Step Build Order for a Cart Gas Grill
A practical, model-confirmation-first build guide covering prerequisites, hardware inventory, the assembly order that avoids rework, the LP leak test, and the first burn-off.
In This Article
Confirm Your Model First
Inventory Before You Build
Finger-Tight, Then Square
Model check first: verify the 720-0925PG designation against the rating plate on your grill and the current listing at Nexgrill's product catalog before following any step sequence. Where a figure cannot be confirmed, this guide stays at the cart-grill level rather than inventing burner counts or BTU ratings.
Before You Open the Box: What the 720-0925PG Build Actually Requires
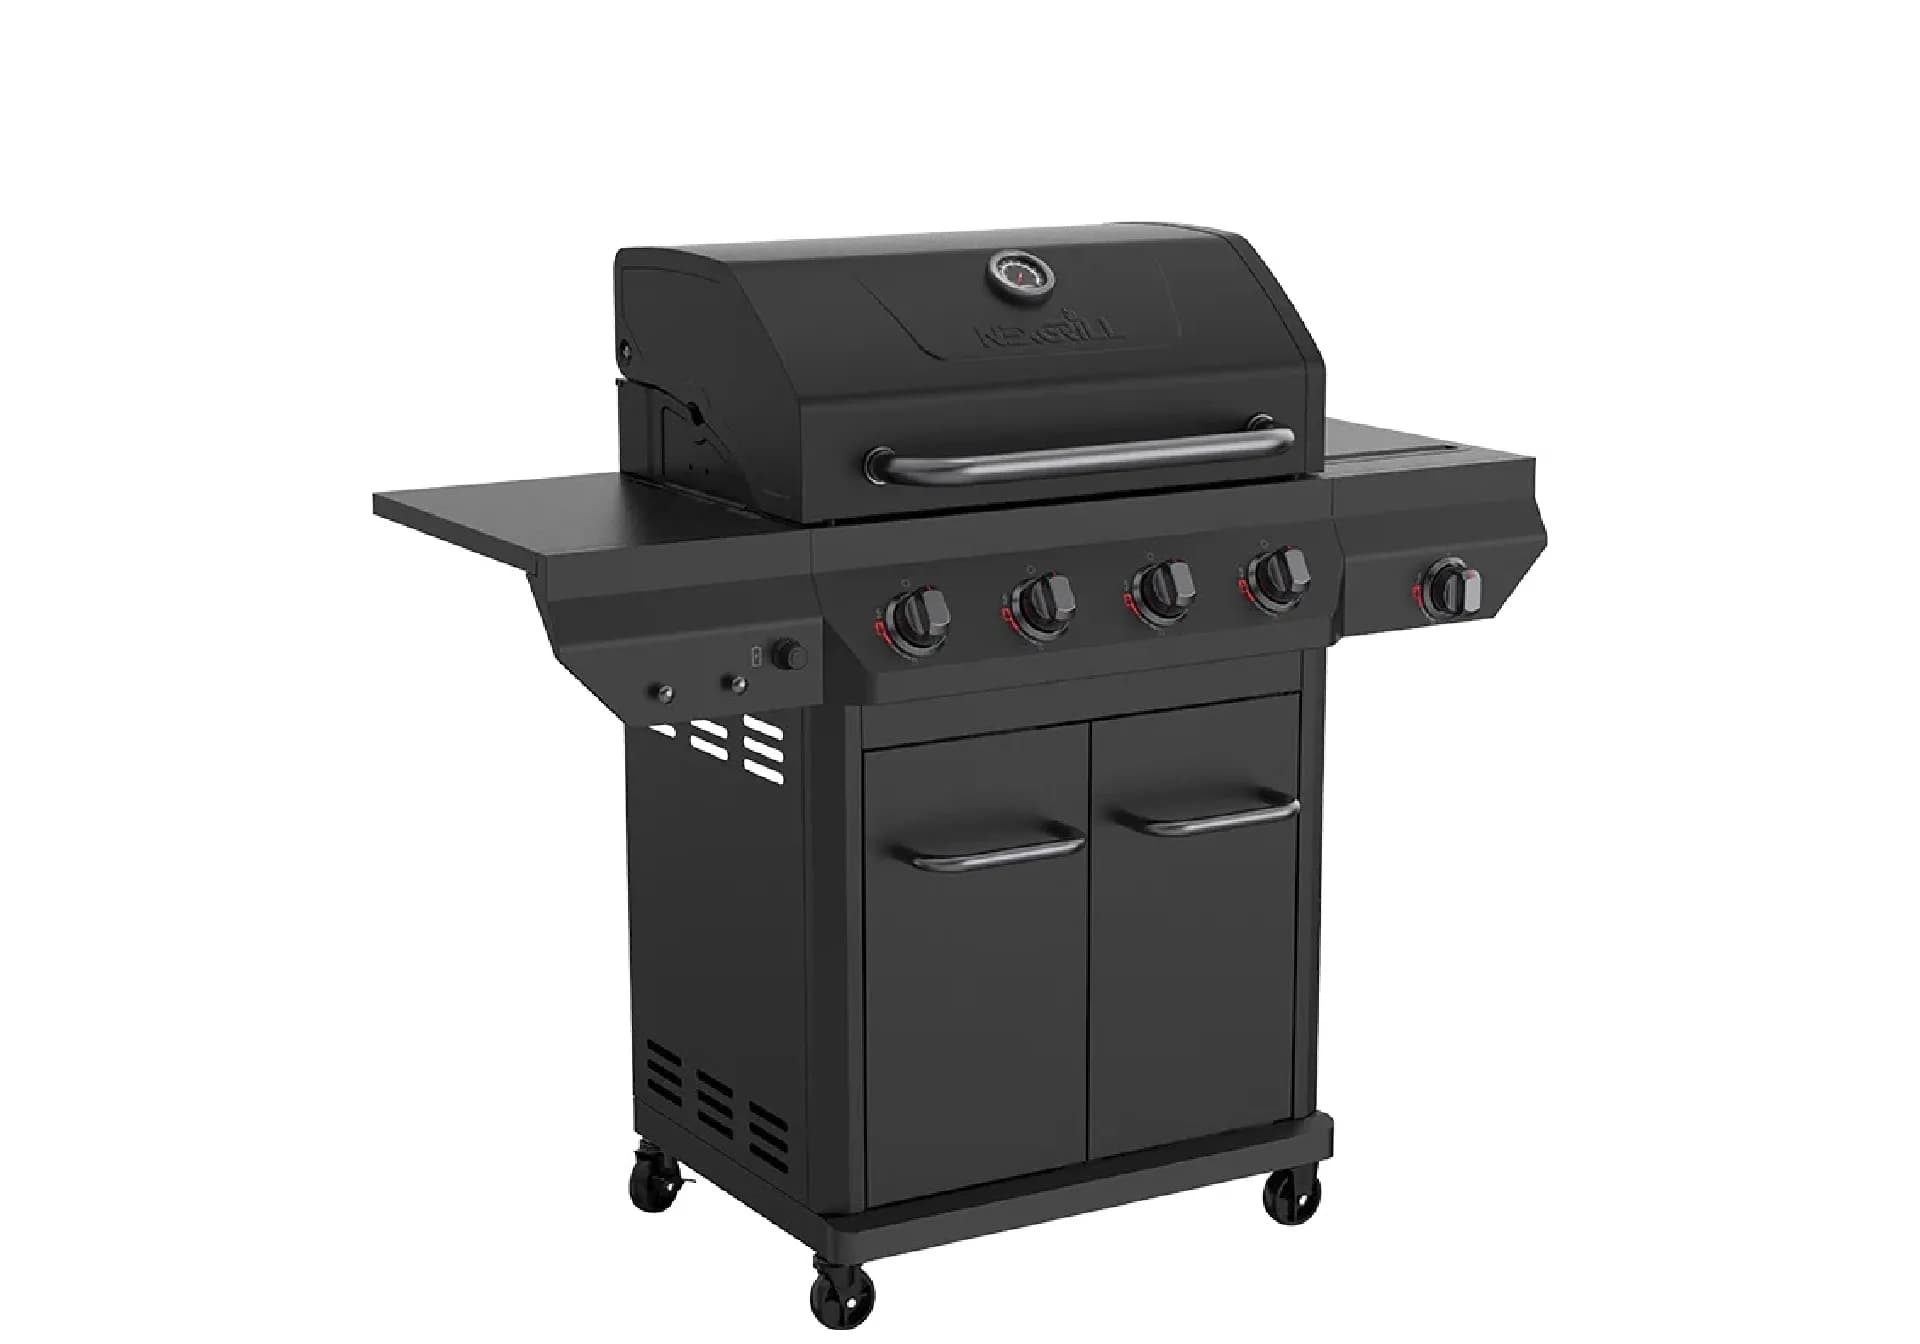
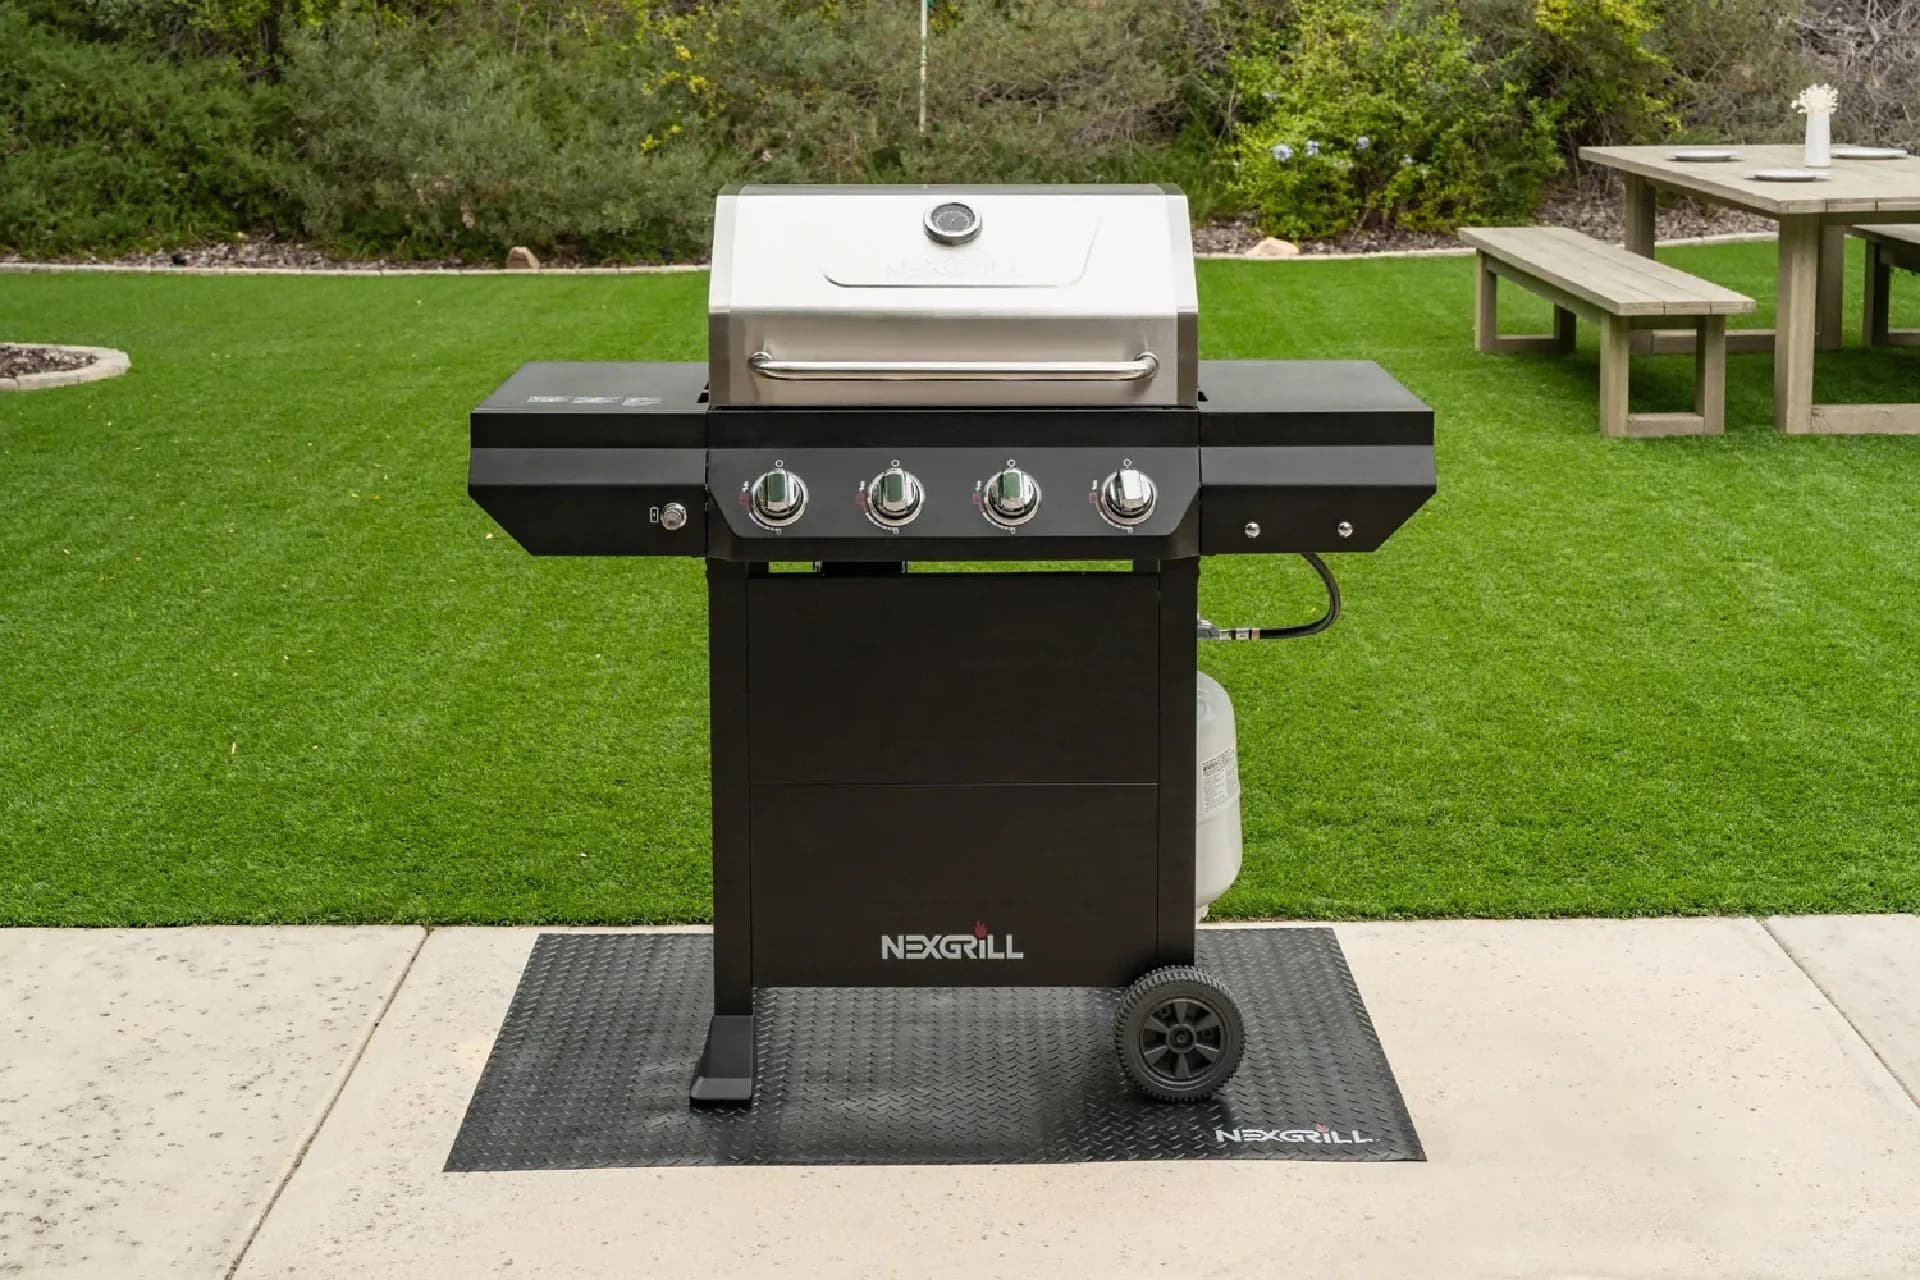
Most Nexgrill cart gas grills ship in two boxes: firebox and lid in one, cart panels, shelves and hardware in the other. Confirm both cartons arrived and neither has a crushed corner where the lid or manifold sits. A cart grill is a two-person build - one holds panels square while the other drives bolts, and solo assembly is where most bent brackets and stripped nuts originate. Budget 60 to 120 minutes depending on whether your model includes a side burner and cabinet doors. Work on a flat, hard surface (garage floor or patio slab, not grass) with flattened cardboard as a non-scratch mat for the lid and painted panels.
Confirm Your Exact Model and Manual Before Step One
Photograph the rating plate (usually on the back of the firebox or inside the cabinet) showing model and serial number - you need both if a part is missing, and the plate is the only reliable confirmation that the manual in the box belongs to your unit. Manuals get swapped between carton revisions constantly; a manual showing six burners on a four-burner grill is a red flag to stop and contact support.
Tool and Workspace Checklist for a Two-Person Cart Grill Build
| Item | Why it matters |
|---|---|
| 7/16-in and adjustable wrench (or included tool) | Most cart and firebox bolts are 7/16-in hex |
| Phillips screwdriver | Shelves, knobs, thermometer bezel |
| Spray bottle with soapy water | LP leak test at regulator and manifold |
| Second person | Holds cart square; lifts the firebox safely |
| Flattened cardboard | Protects lid paint and porcelain finishes |
Inventory the Hardware Bag Against the Parts List First
Empty the hardware bag into a muffin tin or cups sorted by bolt length, and count against the manual's parts list before assembly, not after. A single missing M6 bolt discovered at the lid step costs a support ticket and a week; discovered now, it costs one phone call.
Tip: keep the parts list page open and tick counts off in pencil. Photograph the finished hardware layout - it doubles as proof of a short shipment if you need to request parts.
The Assembly Order That Prevents Having to Take It Apart Again
Build the cart first, firebox last, and leave every bolt finger-tight until the frame is square. The order that works for nearly every Nexgrill cart model:
- Cart base and legs - finger-tight only
- Side and back panels
- Cart shelf or cabinet floor
- Casters or leveling feet
- Firebox seated onto the cart
- Side shelves (and side burner if equipped)
- Control panel and knobs
- Lid handle and thermometer
- Cooking grates and flame tamers / heat tents
- LP regulator and hose
Install grates and flame tamers dead last - they block access to the firebox bolts and make final tightening awkward. Once the cart stands level and doors (if fitted) close evenly, torque all frame bolts in a cross pattern.
Common Assembly Mistakes That Force a Do-Over
Three errors account for most rework: fully torquing the cart before it is squared (racks the frame and throws doors out of alignment), skipping the soapy-water leak test at the regulator and manifold connection, and dropping grates into the firebox before it is seated. Any one of these means taking the grill apart again.
The remaining steps quietly decide whether the grill lights cleanly on the first try: the gas connection, the leak test, and the burn-off. Do not skip them - they take fifteen minutes total and catch the failures assembly checklists often miss.
After the Frame Stands: Gas Connection, Leak Test, and First Burn-Off
Attach the LP regulator to the cylinder and confirm the hose runs without kinks or contact with hot surfaces. Mix dish soap with water in a spray bottle, open the cylinder valve, and spray every connection - cylinder-to-regulator, regulator-to-hose, hose-to-manifold. Bubbles that grow mean a leak: close the valve, reseat the fitting, and retest. Never test with a flame.
Warning: If bubbles persist after reseating, stop. Contact Nexgrill support before lighting the grill.
Then burn off: lid closed, all burners on high for 10-15 minutes to cook away manufacturing oils. Expect light smoke and a faint smell - normal. Let it cool, then brush the grates.
Which Build Scenario Matches Your Situation
| Scenario | Realistic time & approach |
|---|---|
| Solo builder, no side burner | 60-90 min; brace the cart against a wall; call a second person only for the firebox lift |
| Two people, side burner or cabinet doors | 90-120 min; one holds panel alignment while the other tightens cross-pattern |
| Manual missing or mismatched | Pause build; request the correct manual via support using your photographed rating plate |
Step-by-Step Build Checklist: From Box to First Cook
Keep this short-list next to you: verify both cartons and rating plate; sort and count hardware; build cart finger-tight; add panels, shelf, casters; level and square; torque cross-pattern; seat firebox; fit shelves, control panel, lid handle, thermometer; install grates and flame tamers; connect regulator and hose; soapy-water leak test at every joint; 10-15 minute high-heat burn-off. If any step stalls more than ten minutes, stop and diagnose rather than forcing bolts - cross-threading a firebox nut is far costlier than a phone call.
Missing, Bent, or Wrong Parts: How to Resolve It Without Stalling
With the rating plate photo, model number, serial number, and the manual's part number (e.g. a specific bracket or bolt reference), contact Nexgrill support directly. Replacement brackets and hardware are generally low-cost - often a few dollars to roughly $30 USD depending on the part, and many small hardware shortages are sent at no charge under warranty (confirm terms for your unit). If a firebox or lid arrives dented, photograph the damage before assembly and do not bolt it up.
When You Cannot Match the Manual to Your Grill
If the manual's burner count, shelf layout, or cart style does not match the unit on your mat, stop. Nexgrill has manufactured outdoor cooking equipment since 1993 and has shipped multiple cart-grill revisions under similar model families, so a mismatched manual is common - and using one risks seating the firebox on the wrong bolt pattern. Confirm your actual model against the current catalog and request the matching document through support. For broader background on the brand and its product lines, see Nexgrill's About page.