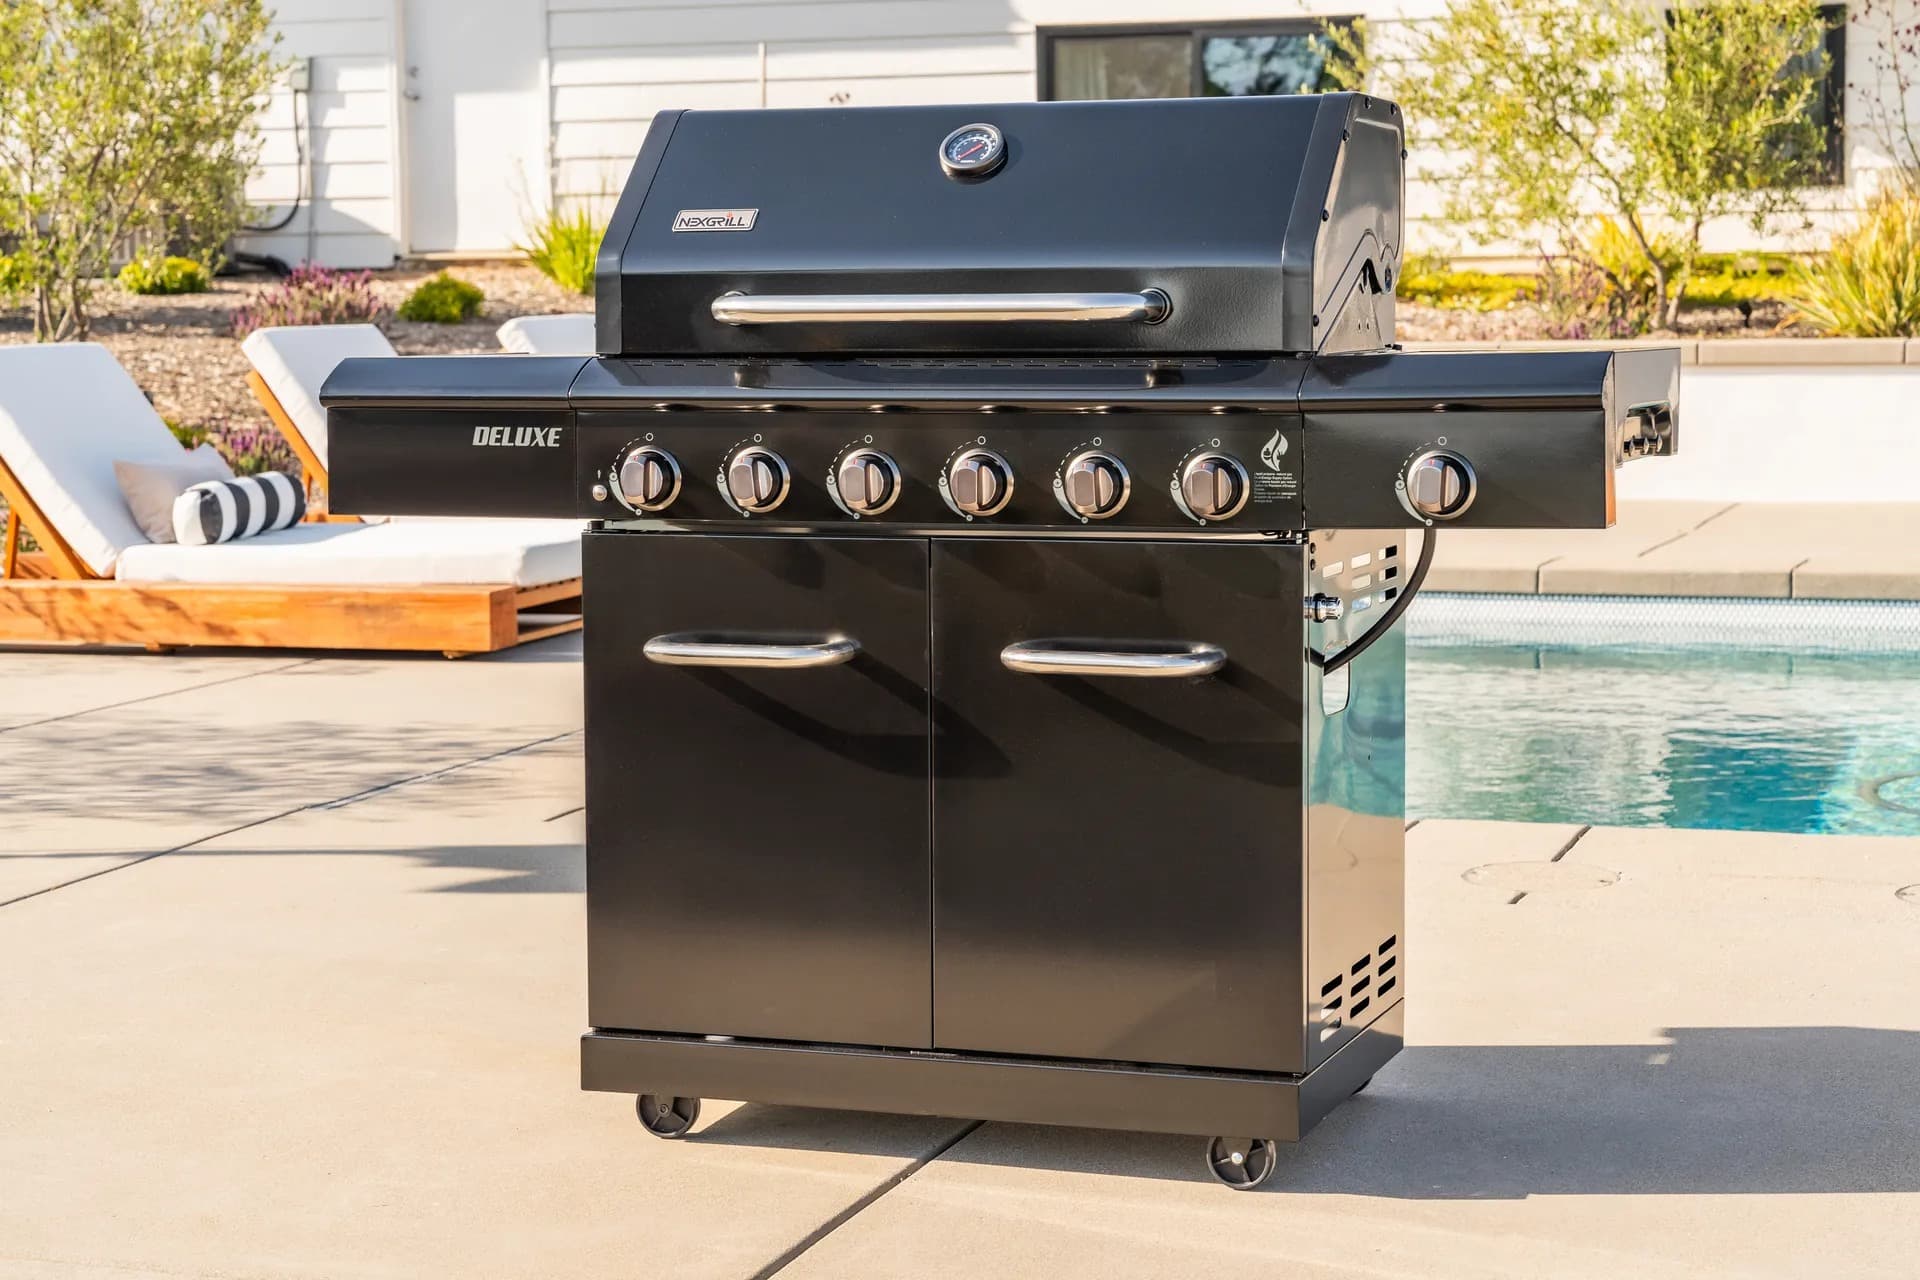
Nexgrill 720-1046A Assembly Instructions: A First-Timer's Build and Safety Walkthrough
Decode your model suffix, follow a stage-by-stage build sequence, and finish with the leak test and first burn most builders skip.
In This Article
Confirm the Suffix First
Stage-by-Stage Build Order
Leak Test and First Burn
Start Here: Decode the 720-1046A Label Before You Open the Hardware Bag
Before you cut a zip tie, confirm which grill you own. The 'A' in 720-1046A is a revision suffix, not a typo. Nexgrill uses the 720- prefix as its model-code convention (see the 720-0925PG and 720-0888), and the trailing letter signals a minor revision. Hardware kits, bracket shapes, and bolt counts can change between revisions, so a video for the base 720-1046 won't always match your cart. Build from your own parts list.
Reading the Rating Sticker
On most Nexgrill cart gas grills, the model/serial sticker is on the back of the cabinet panel, sometimes under the left side shelf, and also on the shipping carton. Photograph both before assembly; that photo becomes your reference for parts claims, warranty registration, and manual lookup. If the sticker is unreadable, contact Nexgrill support with your order number-don't guess the suffix.
Warning: Discarding the carton before noting the model and revision number can turn a simple parts request into a week of back-and-forth.
What You Need on Hand Before Step One
Assemble on a flat, hard surface-a driveway or garage floor beats a soft deck. You'll need two adjustable wrenches or a socket set (typically 7/16 and 1/2 inch, but check your hardware list), a Phillips screwdriver, a magnetic parts tray, and a moving blanket to protect the lid paint. Sort the hardware into cups by bolt size first. Budget 90 to 150 minutes plus a 15-minute leak test; one person can do it, but the lid and firebox stages are easier with a second set of hands. Lay out every panel and bag on the blanket and take a wide photo-a bent or missing part claim needs that shot plus the sticker photo.
The Build Sequence, Stage by Stage
Follow this order to avoid trapping hardware or scratching panels. Your manual may number steps differently-use this as a logic check.
Stages 1-2: Cabinet and Cart Frame
Build the cart upside down on the blanket. Attach the legs and lower panel, leaving every bolt finger-tight until the frame is square, then snug them down. Fully tightening one corner before the opposite side is aligned is a common error.
Stage 3: Setting the Firebox Onto the Cart
With the cart upright, lift the firebox on with two people or a slow solo tilt. Align the mounting holes before inserting bolts-if a hole won't line up, the cart isn't square. Recheck the frame before forcing anything.
Stages 4-5: Lid, Then Side Shelves and Side Burner
Install the lid and hinge pins first. Attaching side shelves before the lid can make the hinge pins unreachable-a classic do-over. Then add shelves and the side burner (if equipped), finger-tight until aligned.
Stages 6-7: Flame Tamers, Grates, and Tank Hookup
Drop in flame tamers and cooking grates. Hook up the regulator to the tank by hand only-no wrench-and check that the nut threads cleanly. Cross-threading here is a safety issue, not just a nuisance. You're now ready for the leak test.
Once you've weighed two options against each other, here's what else matters-especially the post-assembly steps that determine whether your first cook is safe and flavorful.
Where First-Time Builders Go Wrong, and How to Avoid the Do-Over
Cross-Threading and Over-Tightening on Thin Sheet Metal
The most common damage is over-tightening flange bolts until the paint cracks around the hole. Thin sheet metal deforms easily; snug is enough. On the regulator nut, hand-tighten only-a wrench can strip the brass threads.
Sequence Slip-Ups: Shelves Before Lid
Installing side shelves before the lid is a frequent mistake-hinge pins end up blocked. Always fit the lid and hinges first, then shelves. If you've already gone out of order, loosen the shelf bolts rather than forcing the hinge.
Missing Parts and Damaged Panels
Photograph the damaged part next to the model sticker and your order number. Submit the claim through Nexgrill contact with the full model and suffix. Keep the carton until the build is complete-return labels often require it.
The Step Most People Skip: Leak Check and First Burn
How to Run a Soapy-Water Leak Test
Mix dish soap and water in a spray bottle. With the tank valve open a quarter turn, spray the regulator-to-tank connection and the manifold-to-hose joint. Watch for bubbles that grow. If bubbles appear, close the tank, tighten the connection by hand, and retest. Never use a flame to check for leaks. The NFPA recommends this soapy-water method before first use each season.
First Burn-Off
Run all burners on high for 10-15 minutes with the lid closed to burn off manufacturing oils. Expect light smoke and a faint smell-that's normal. Then brush the grates and you're ready to cook.
Short Pre-Cook Checklist for the 720-1046A
| Check | Status |
|---|---|
| Model sticker photographed | ☐ |
| All bolts snug (not crushed) | ☐ |
| Lid hinges move freely | ☐ |
| Soapy-water test passed | ☐ |
| First burn-off completed | ☐ |
Tip: Keep the manual and sticker photo in a ziplock bag inside the cabinet-future you will thank you.
Where to Get the Exact Manual and Parts for Your Revision
Manuals for a specific revision are best requested directly from Nexgrill with your full model number. Start at the Nexgrill products page to locate your model, then use the contact page for the manual or parts diagram.