Nexgrill Oakford 715 Review: How to Set Up and Run a Mid-Size Oakford Pellet Smoker
A practical burn-in-to-first-brisket workflow for the Oakford pellet platform - plus what to do when your model number doesn't match the current catalogue.
In This Article
Model Number Reality Check
Burn-In to First Cook
Pellet Mistakes That Ruin Cooks
Nexgrill Oakford 715 Review: Start With the Cook, Not the Spec Sheet
You've probably arrived here after seeing “Oakford 715” somewhere - a marketplace listing, a forum post, a clearance tag - and you want to know whether it's worth your money. Fair question. But a genuinely useful review doesn't begin with a spec sheet; it begins with the cook you plan to run. This guide treats the Oakford pellet platform as an operating system: what to stage, how to prime the auger, why burn-in matters, and how to plan a 225°F rib cook versus a 350°F chicken-thigh cook. Where the 715 badge fits (or doesn't) is addressed first, honestly, so you can calibrate expectations before you spend a Saturday learning a new machine.
Reality check: Nexgrill's public catalogue does not list an Oakford 715. The Oakford Pro pellet models currently shown are the 875 Pro and 1125 Pro. If a seller uses the 715 name, ask for the data-plate photo and confirm the model string before any money changes hands.
Does an Oakford 715 Actually Exist? Reading the Oakford Line Honestly
As of this writing, Nexgrill's all-products page shows the Oakford 875 Pro Pellet Smoker Grill and the Oakford 1125 Pro Pellet Smoker Grill. There is no Oakford 715 product page, and no verified third-party listing we can point to. That doesn't automatically mean a 715 never existed - legacy and regional model numbers happen - but it does mean you should not accept BTU, hopper-capacity, or square-inch figures for a “715” from any source, including this one. We won't invent them.
What we can review is the operating discipline that applies across the Oakford pellet line. The workflow below is written for a mid-size Oakford Pro (the 875 Pro is the natural anchor), and it scales down to smaller pellet cookers and up to the 1125 Pro without changing the sequence. That's the useful part of a review: not the badge, but the procedure.
What the Oakford Pro Pellet Platform Delivers (Using the 875 and 1125 as Anchors)
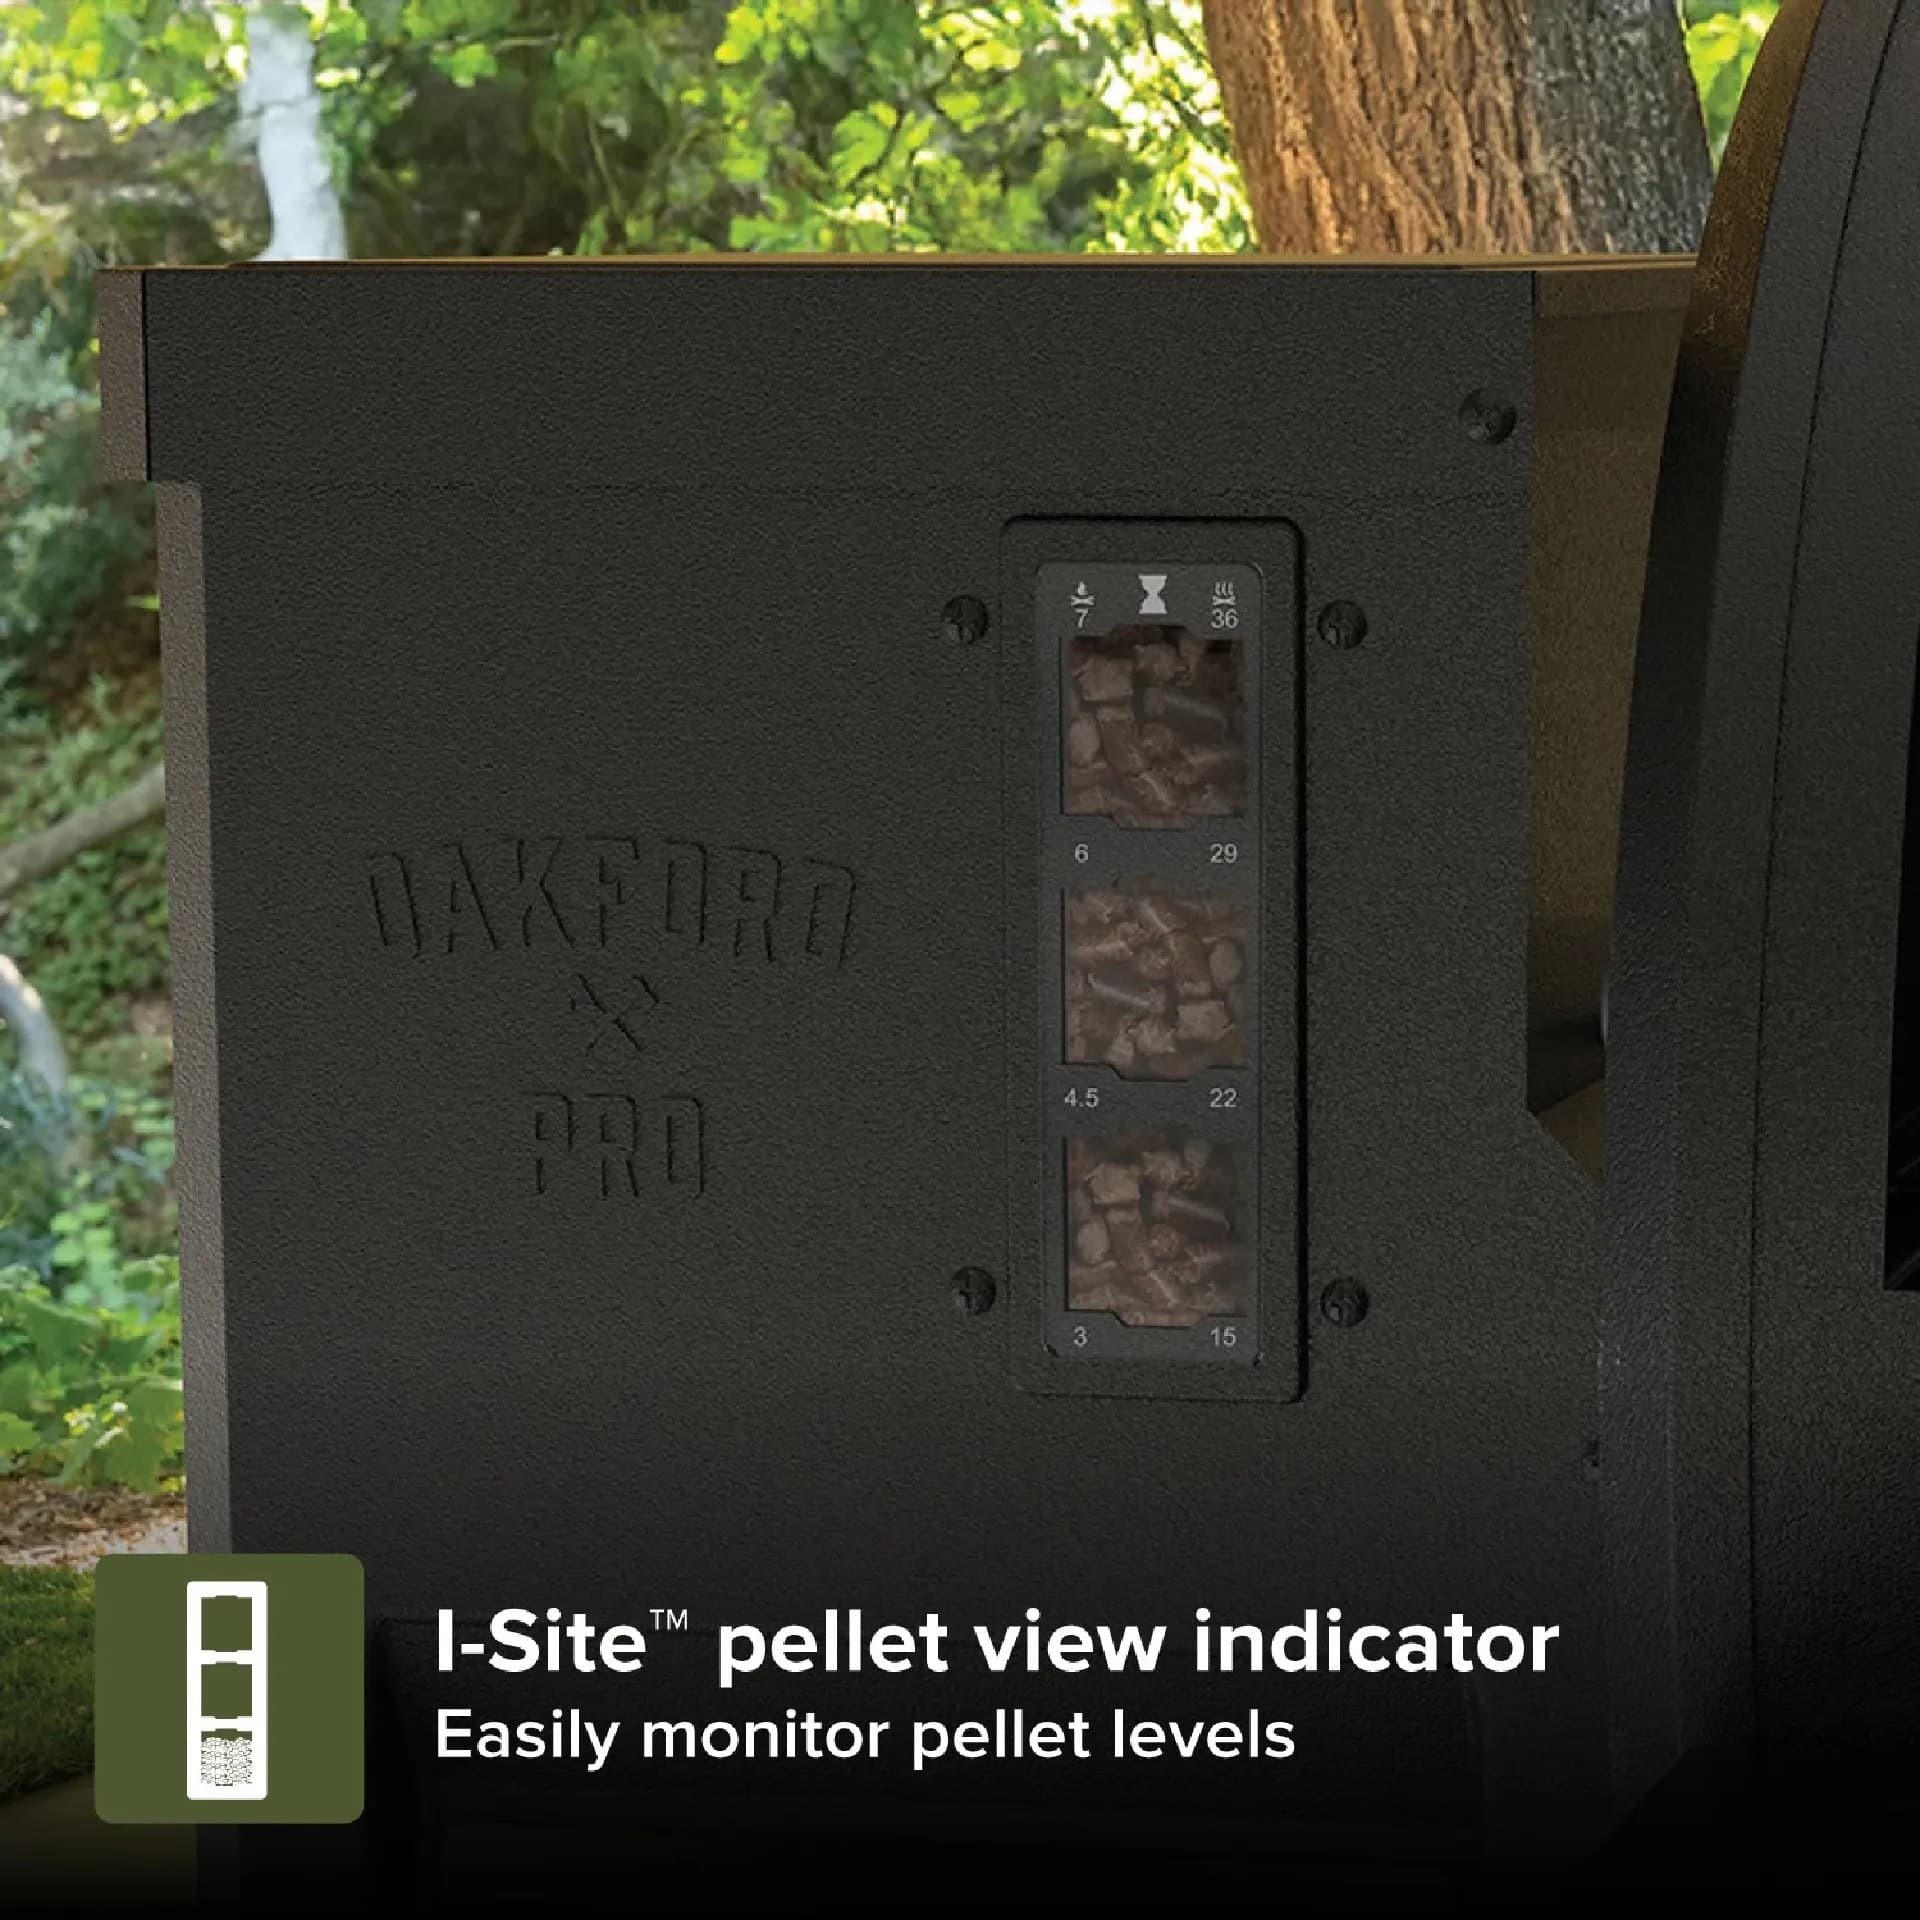
The Oakford Pro line is Nexgrill's pellet-smoker answer for backyard cooks who want set-and-forget temperature control without abandoning real smoke flavor. Both models ship with a cover, which matters more than buyers expect - more on that in the weather section. The platform uses a hopper-fed auger, a fire pot with an igniter, and a controller that cycles the fan and auger to hold a target temperature. That architecture is what makes a 225°F six-hour rib cook feasible on a Saturday afternoon while you do other things.
What the platform does not do is read your mind. Pellet cookers reward preparation and punish improvisation. You cannot skip burn-in, you cannot let pellets sit in a damp hopper for three weeks, and you cannot trust the dial thermometer on the lid as your only temperature source. Those are the themes that run through every step below.
Why a mid-size pellet smoker suits most US backyards: it handles two racks of ribs or a 12-14 lb brisket without dominating a standard 10x10 patio, and it heats faster than a large cabinet smoker on a weeknight.
Stage These Four Things Before the First Burn: Pellets, Probe, Cover, Fire-Pot Scoop
Before you light anything, gather four items. Skipping any one of them is the most common reason a first cook goes sideways.
- Fresh pellets, stored dry. A 20 lb bag of a reputable hardwood pellet (hickory, oak, or a competition blend) is your fuel. Store the open bag in a sealed bucket or a lidded bin - not a ripped bag on a garage floor.
- A digital probe thermometer. The lid dial is a rough guide at best; grate-level temperature and internal meat temp are what actually matter.
- The cover that came with the unit. Both Oakford Pro models ship with one. Use it from day one, not after the first rust spot.
- A fire-pot scoop or narrow ash vacuum. Ash compaction in the fire pot is the single most common cause of a failed start.
Step 1 - Load and Prime: Getting Pellets From Hopper to Fire Pot
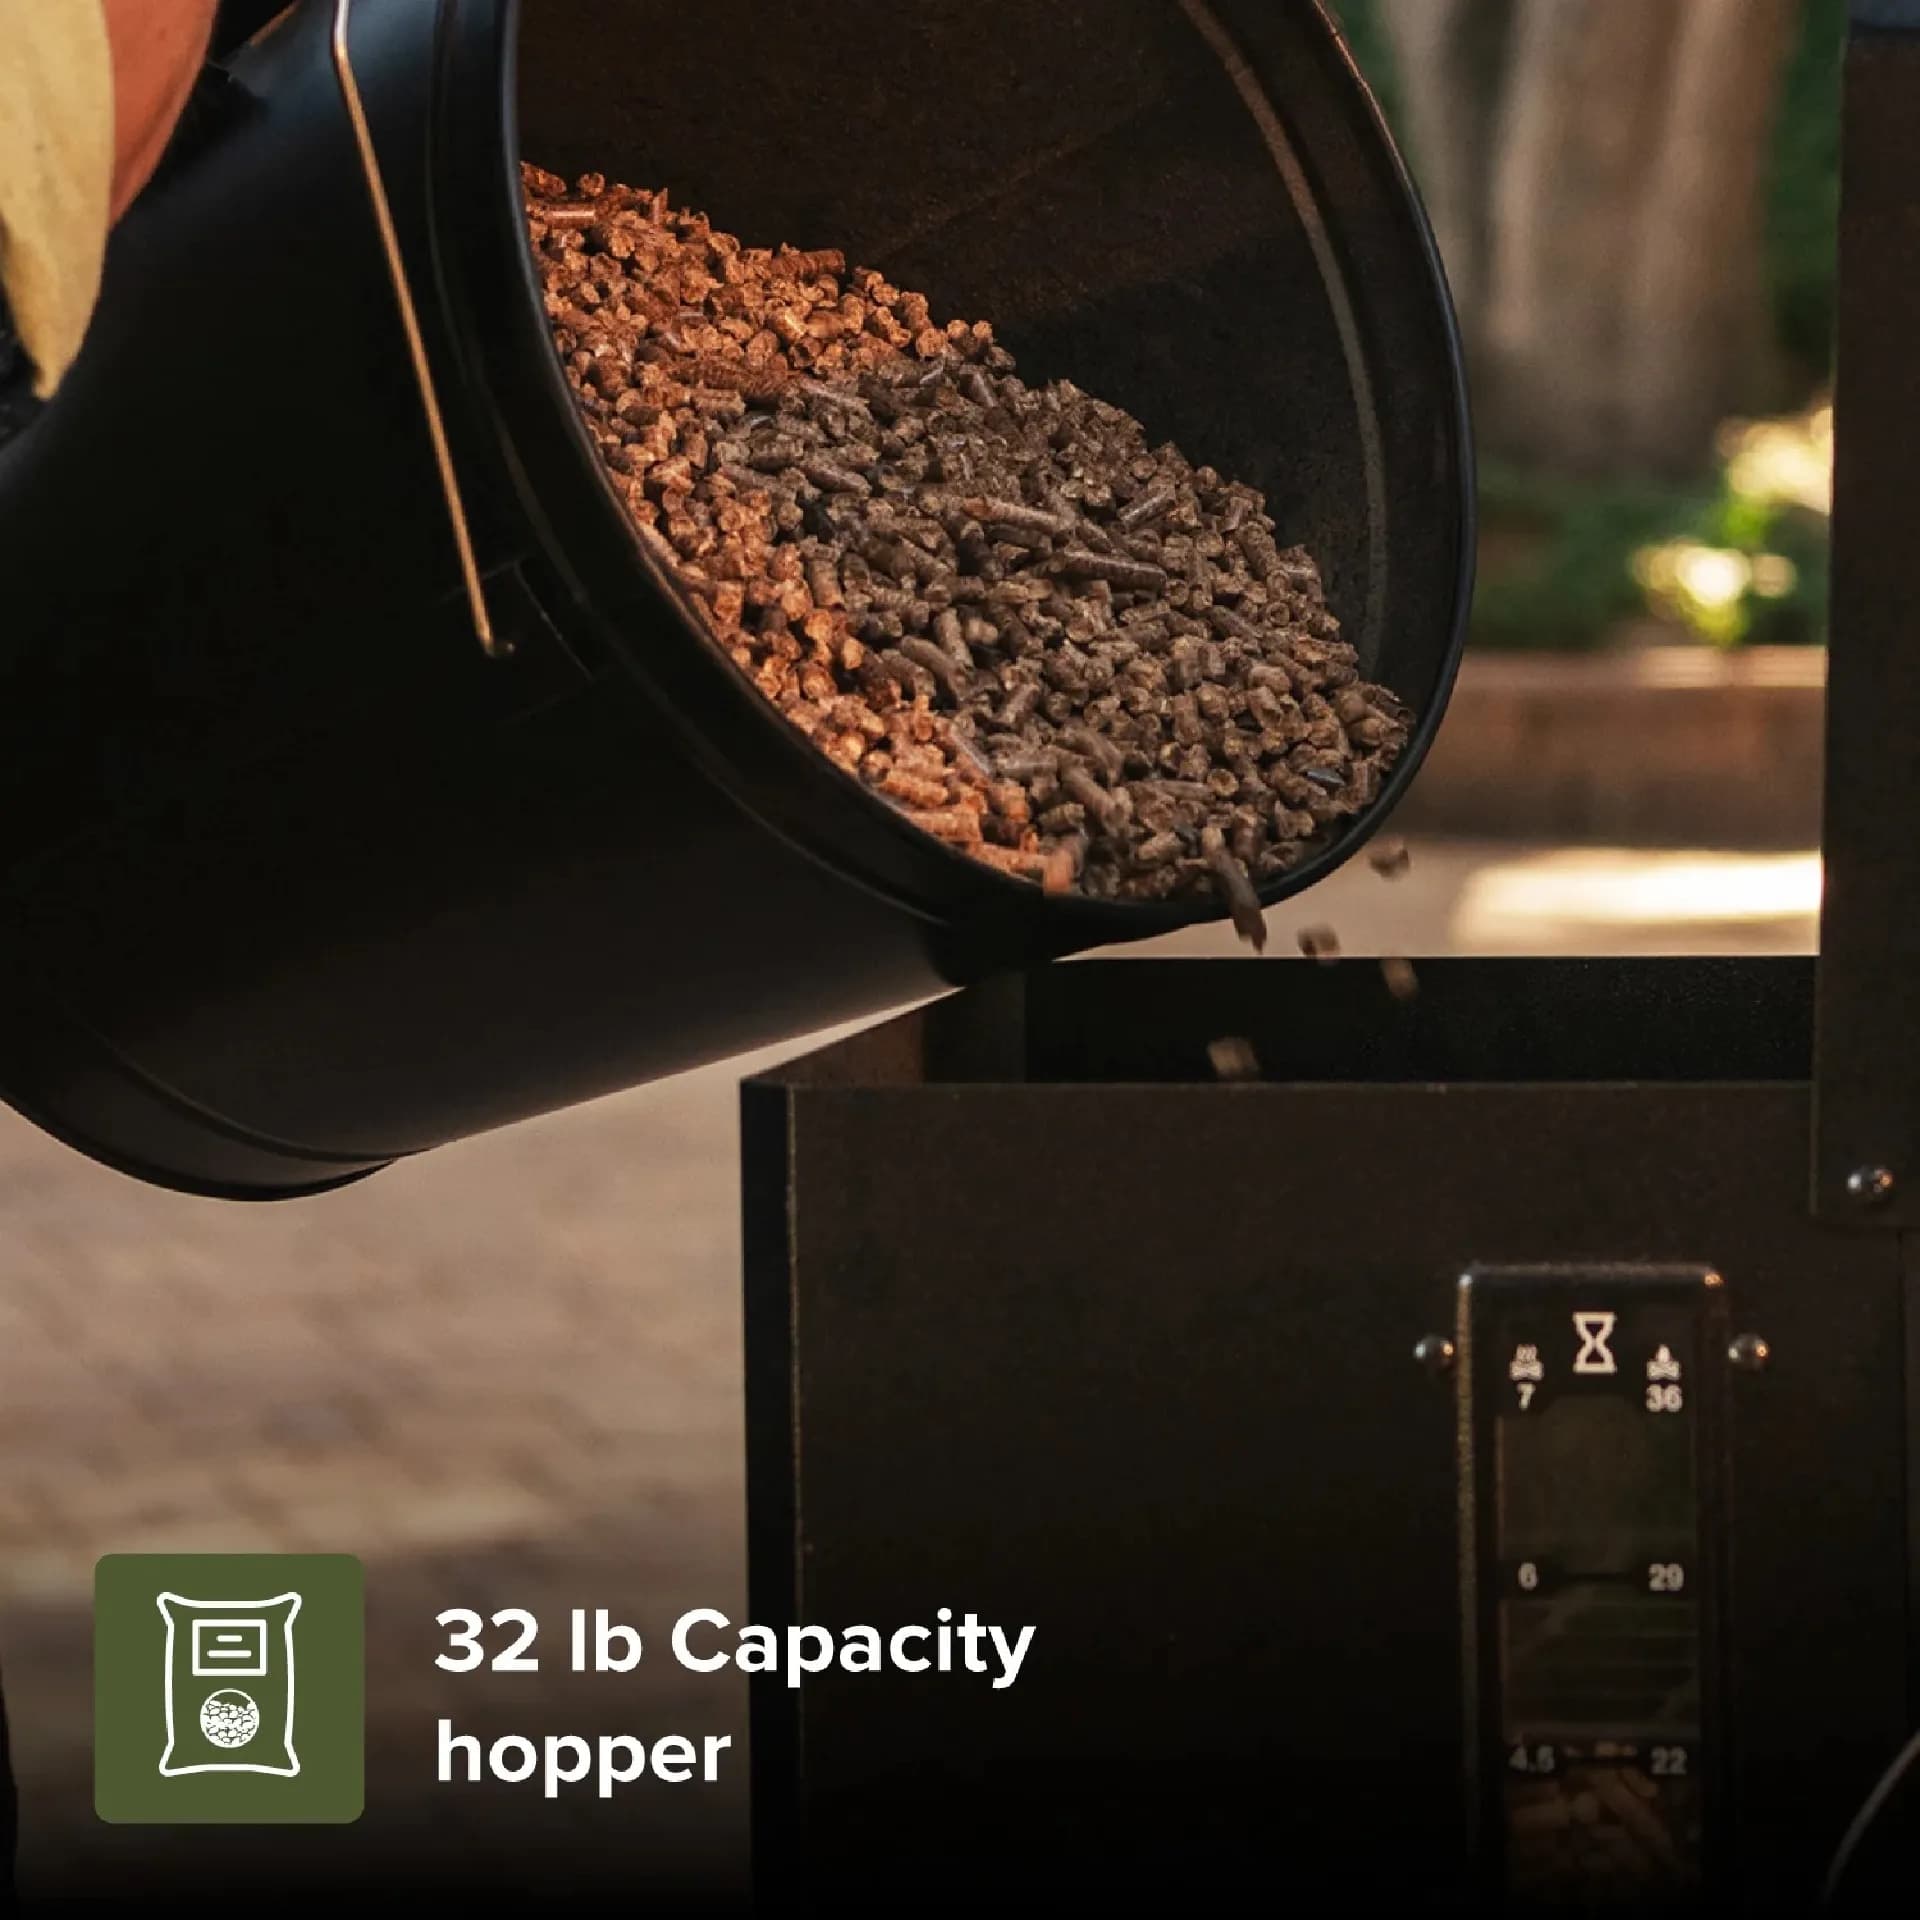
Fill the hopper no more than three-quarters full for the first run - you want to see how the auger feeds before committing a full bag. Open the lid, remove the cooking grates and heat deflector so you can see the fire pot, then run the controller's feed or prime cycle until pellets just begin to drop into the pot. Do not over-prime: a fire pot overflowing with pellets smothers the igniter and produces a lazy, smoky start instead of a clean burn. Once you see pellets in the pot, stop, replace the deflector and grates, and close the lid.
Tip: if you hear the auger motor running but see no pellets after 60-90 seconds of priming, stop and check the hopper for a void or a bridge of pellets. Forcing it just wears the auger.
Step 2 - Burn-In: Why Your First Fire Should Not Touch Food
Every new pellet grill carries manufacturing oils and residual dust. Burn-in is a 45-60 minute run at roughly 350-400°F with the lid closed and nothing on the grates. This does two things: it bakes off residues so they don't end up on your first chicken, and it lets you watch the controller hold a temperature for the first time. Note how long it takes to reach target and whether the temperature swings wildly. A well-seated unit will overshoot slightly, settle, and then cycle within a modest band.
After burn-in, let the unit cool, then brush the grates and wipe down the exterior. Your smoker is now seasoned and ready for real food.
Step 3 - The 225°F Hold Test (and Why 350°F Is a Different Cook)
The 225°F hold is the heartbeat of low-and-slow barbecue. Set the controller to 225°F, place your probe at grate level near the center, and watch for 30 minutes. You're looking for stability: a cooker that holds 225°F within about ±15°F is behaving normally. If it spikes to 300°F and stays there, check for a pellet bridge in the hopper or a partially blocked fire pot.
350°F is a different job entirely. At that setting you're roasting or crisping - chicken thighs, vegetables, a reverse-seared steak finish - and the controller will cycle the auger more aggressively. Don't expect the same stability; expect responsiveness. Plan your cook around the target, not around a single dial number.
Step 4 - Your First Real Cook: Ribs Before Brisket
Ribs are the right first cook on any mid-size pellet smoker: forgiving, relatively quick at 225°F (roughly 5-6 hours for a St. Louis cut), and a good test of whether your temperature holds. Brisket is a 12-plus-hour commitment and a poor first date with a new machine. Run the ribs, learn the fuel consumption, learn the smoke profile, then graduate.
Step 5 - Shutdown, Ash Cleanup, and Covering the Unit
Always run the controller's shutdown cycle - it keeps the fan running to burn off remaining pellets in the pot. Once cool, scoop the ash from the fire pot and empty the ash drawer if your model has one. Then cover the unit. A cover is not cosmetic; it keeps morning dew and summer rain out of the hopper and controller.
Try comparing two products side by side below to see which fits best:
Once You've Weighed Two Options Against Each Other, Here's What Else Matters
If you've just run the comparison tool, you've seen how the 875 Pro and 1125 Pro differ on paper. What the spec sheet won't tell you is which one suits the way you actually cook. That's the gap this section fills - buyer profiles, the mistakes that waste a Saturday, and a temperature-planning table you can tape inside the cabinet door.
Mid-Size vs the 875 and 1125: Who Each Oakford Pro Actually Suits
Use the following profiles as a decision shortcut. They're grounded in the real differences between a mid-size pellet cooker and a larger cabinet unit, not in hypothetical “715” numbers.
| Buyer profile | Typical cooks per month | Best fit | Why |
|---|---|---|---|
| Weeknight griller, household of 2-4 | 2-4 | Mid-size Oakford Pro (875 Pro class) | Faster heat-up, less fuel per cook, fits a standard patio |
| Weekend host, 6-10 guests | 4-6 | Oakford 1125 Pro | More grate area for multiple racks or a packer brisket plus sides |
| First-time pellet owner | 1-2 | 875 Pro | Lower fuel bill while learning the controller; easier to manage ash |
Pellet Mistakes That Ruin a Cook - and How to Catch Them Early
These are the failures we see most often from new pellet owners, in rough order of frequency.
- Wet pellets jam the auger. Pellets absorb humidity; a damp bag swells and bridges, stalling the feed. Catch it by squeezing a pellet - if it crumbles instead of snapping, don't use it.
- Ash-packed fire pot. Skipping the post-cook scoop eventually blocks airflow and kills ignition. Catch it by removing the deflector before every cook and looking at the pot.
- Lid-flipping. Every time you open the lid you dump heat; a pellet smoker recovers slowly. Catch yourself by using a probe instead of visual checks.
- Trusting the dial thermometer. The lid dial reads air temp near the top of the chamber, not at grate level where the food sits. Catch it by clipping a probe to the grate once and comparing.
Temperature Planning Table: What to Set vs What to Expect at the Grate
Use this table as a starting plan, then adjust based on what your own probe reads. Expect the grate to run slightly cooler than the controller setpoint on a cold or windy day.
| Cook | Controller setpoint | Expected grate range | Typical time |
|---|---|---|---|
| Pork ribs (St. Louis) | 225°F | 210-235°F | 5-6 hours |
| Chicken thighs | 350°F | 330-365°F | 45-60 minutes |
| Packer brisket | 225°F | 210-235°F | 12-16 hours |
Warning: on a windy day, a pellet smoker can lose 20-30°F at the grate versus the setpoint. If your ribs are stalling early, check the wind before you blame the pellets.
Weather, Storage, and Cover Discipline in US Backyards
Pellet smokers are outdoor appliances, and US weather is unforgiving - Gulf Coast humidity, Midwest thunderstorms, and Northern California dry heat all stress a cooker differently. The single highest-leverage habit is using the cover that ships with the Oakford Pro. A covered smoker keeps rain out of the hopper, keeps morning dew off the controller, and dramatically slows rust on the fire pot. Store pellets indoors in a sealed container; a garage floor in July is not a dry place. And if you live somewhere with hard winter freezes, empty the hopper before the first hard frost rather than letting pellets turn to mush.
Where the Oakford Fits Next to Daytona Griddles and Gas Grills
The Oakford is not a replacement for a gas grill or a griddle - it's a different tool. A 4-burner propane grill or a Daytona flat-top griddle gets you a fast weeknight sear or a breakfast spread; the Oakford gets you smoke and slow-cook flavor. Many owners run both: a gas grill or griddle for speed and a pellet smoker for the weekend cook. If you're choosing only one, ask whether you want 20-minute dinners or 6-hour projects. The Oakford's answer is the latter - and it's very good at it.