Nexgrill Oakford 1150 Assembly Instructions: Build a Pellet Grill in the Right Order So You Only Build It Once
A stage-by-stage build guide for Oakford pellet smokers - frame, hopper, auger, fire pot, controller and burn-in - plus the pellet-specific mistakes that force a teardown.
In This Article
Build in Zones
Confirm Your Model First
Never Skip Burn-In
Nexgrill Oakford 1150 Assembly Instructions: Build It in the Right Order and You Only Build It Once
You have a Saturday morning, one adjustable wrench, a #2 Phillips, and a friend arriving in about an hour. This guide walks you through the Oakford pellet grill build in five zones so you never have to disassemble a finished section. The sequence applies to the Oakford 1150 and its stablemates-the 1125 Pro and 875 Pro-because the architecture is shared: cart, hopper and auger, fire pot, drip tray, grates, controller, then burn-in.
Always work from the manual that shipped with your grill or the current version from Nexgrill support. Part numbers and torque specs vary by revision.
Before You Open the First Box: Tools, Surface, and the Two-Person Rule
You need a 7/16 in and 1/2 in wrench (or adjustable), a #2 Phillips screwdriver, needle-nose pliers, a box cutter, and a 4 mm hex key if your kit includes one. Work on a flat, hard, swept surface-not grass, where a dropped washer can vanish. Allow the grill footprint plus about 3 ft of clearance on each side. Photograph the exploded parts diagram before opening bags, sort hardware into a muffin tin by step number, and verify bag counts against the parts list. A second person helps when lifting the hopper and aligning the lid; if your helper is an hour away, start with the cart and legs solo.
Which Oakford Did You Actually Buy? Confirm the Plate Before You Start
Find the serial plate on the cart or firebox and note the model number. It may read 1150, 1125 Pro, 875 Pro, or a retailer-exclusive variant. Scan the QR code on the carton for the digital manual, then cross-check that the cover image matches your grill. A quick photo of the plate and the diagram saves a mid-build call to support.
Stage the Build in Five Zones So Nothing Gets Reassembled
Zone 1: cart and legs. Zone 2: hopper and auger. Zone 3: fire pot, hot rod, and flame plate. Zone 4: drip tray, grease bucket, and grates. Zone 5: controller, RTD probe, and wiring. Complete each zone fully before moving to the next. This order prevents the classic error of bolting the hopper before the legs are square.
Step 1: Square the Cart and Legs Before Any Panel Goes On
Assemble the cart frame and legs on your hard surface. Leave all bolts finger-tight until the frame is square-measure diagonally corner to corner; the two measurements should match within about 1/8 in. Only then snug the bolts. A twisted cart will cause the lid to bind later.
Step 2: Hopper and Auger - the Assembly That Decides Whether the Grill Feeds
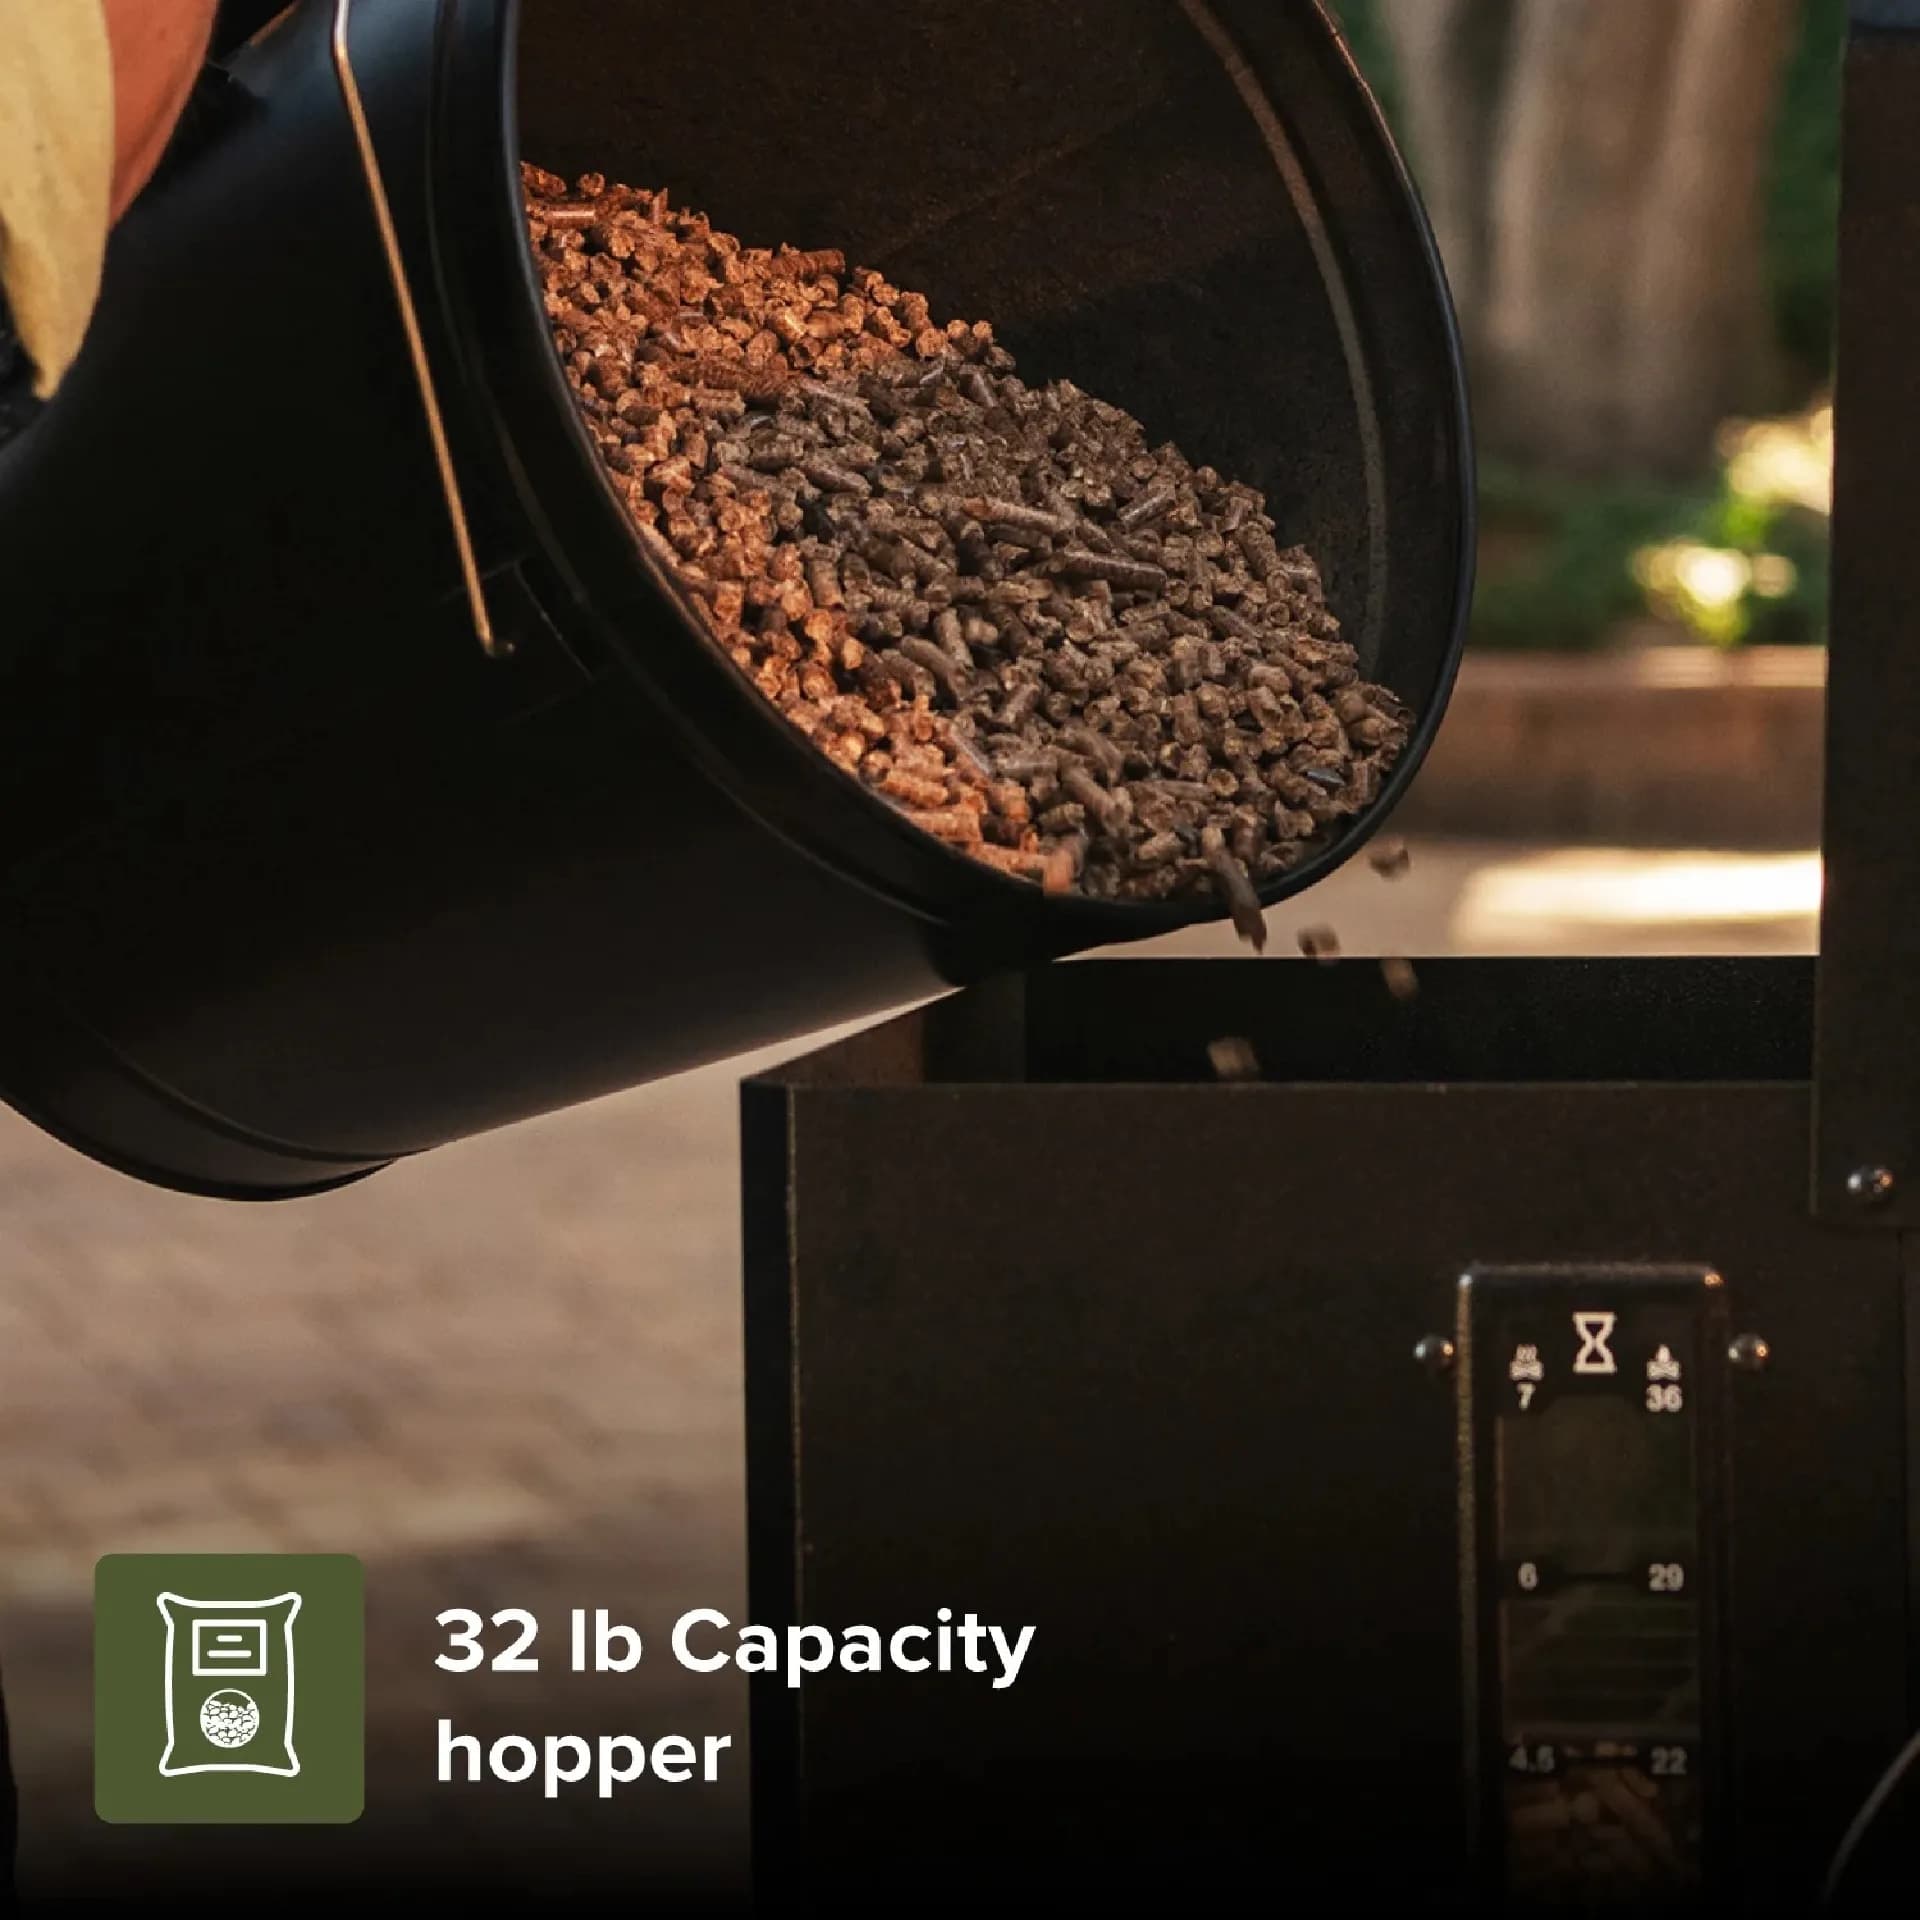
Mount the hopper to the cart with the hardware provided. The auger motor typically attaches to the hopper base; make sure the motor leads are not reversed-consult your manual for the correct polarity. Spin the auger by hand (if accessible) to confirm it turns freely before adding pellets. This is your last easy chance to catch a jam.
Step 3: Fire Pot, Hot Rod, and Flame Plate in the Correct Order
Install the fire pot into the firebox opening, then the hot rod (igniter) in its bracket, then the flame plate over the pot. The hot rod must sit at the correct depth per your manual-too far in and it won't light the pellets; too far out and it burns out early. Route the hot rod wire away from the fire pot edge to avoid pinching.
Step 4: Drip Tray, Grease Bucket, and Grates (In That Order, Not the Other Way Round)
Slide the drip tray into its rails below the cooking chamber. Hang the grease bucket on its hook. Then set the cooking grates in place. Fitting grates first forces you to remove them to access the tray-a common time-waster.
Step 5: Controller, RTD Probe, and the Wiring You Should Photograph
Mount the controller in the cart panel. Feed the RTD probe wire through the firebox wall and clip the probe to its bracket inside the chamber. Photograph the wiring before you close any panels-this reference saves hours if a connection loosens later. Connect the controller leads per the manual; do not force connectors.
The Four Fasteners You Should Not Fully Tighten Yet
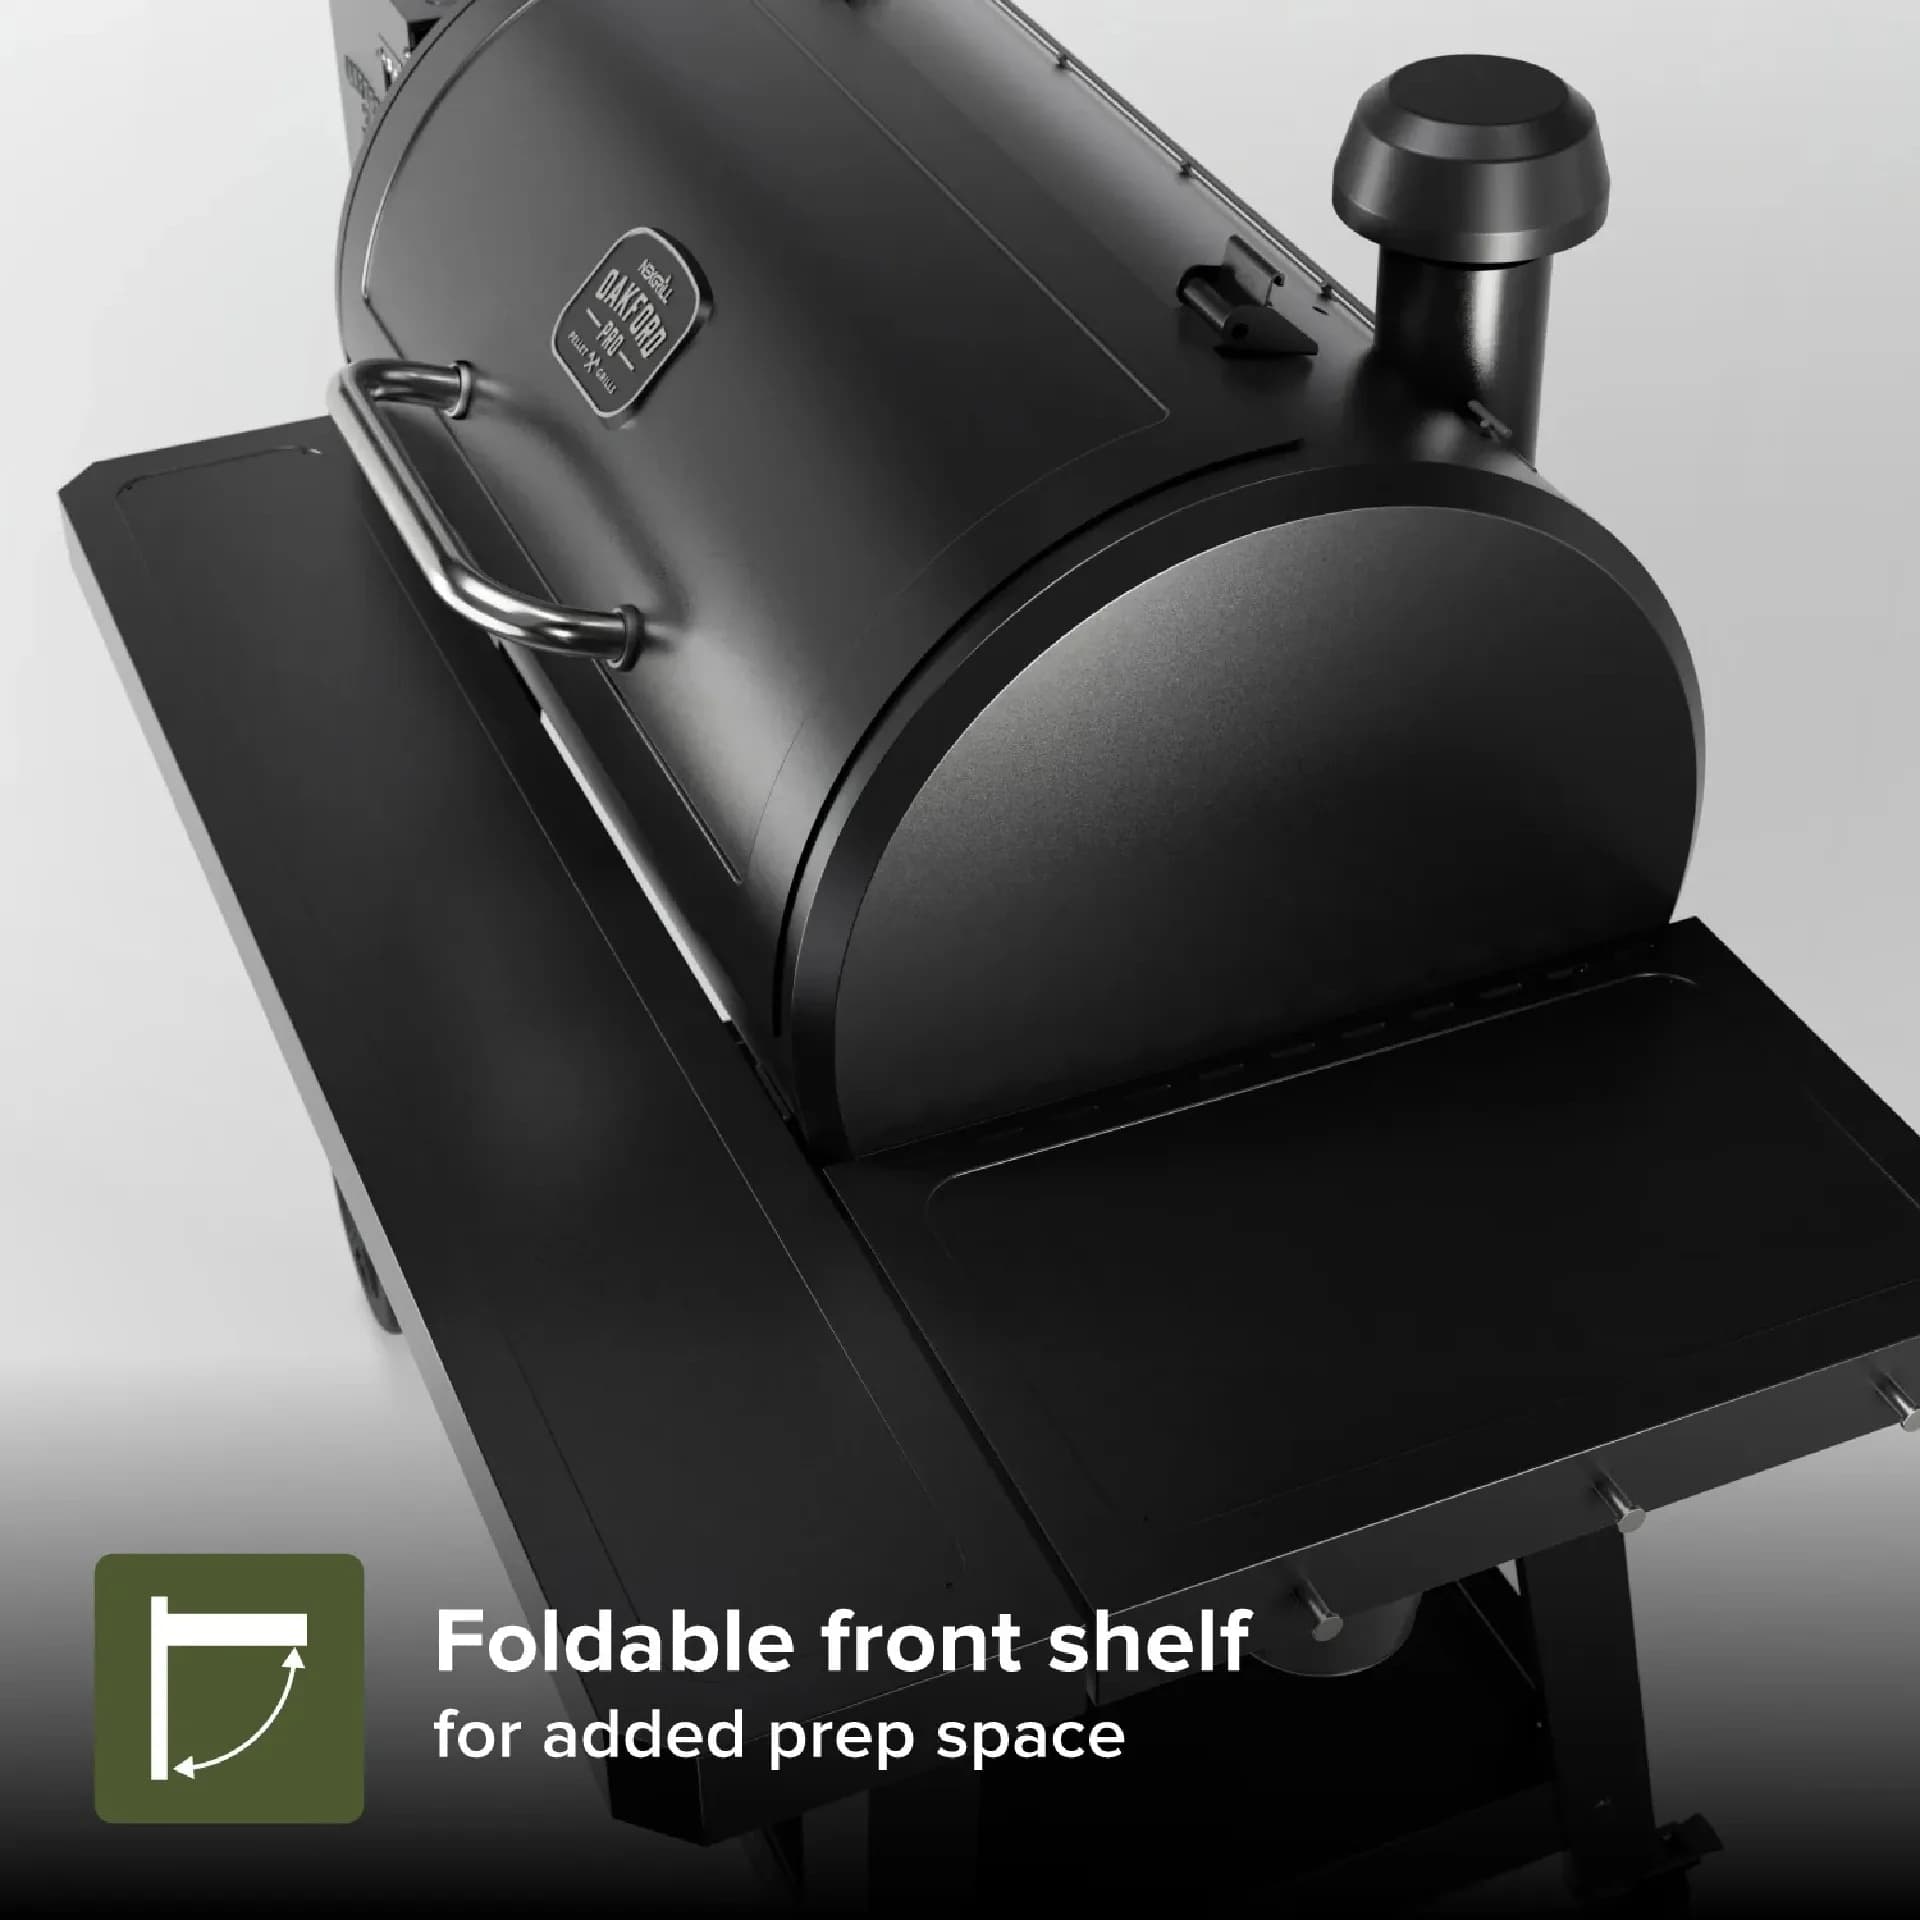
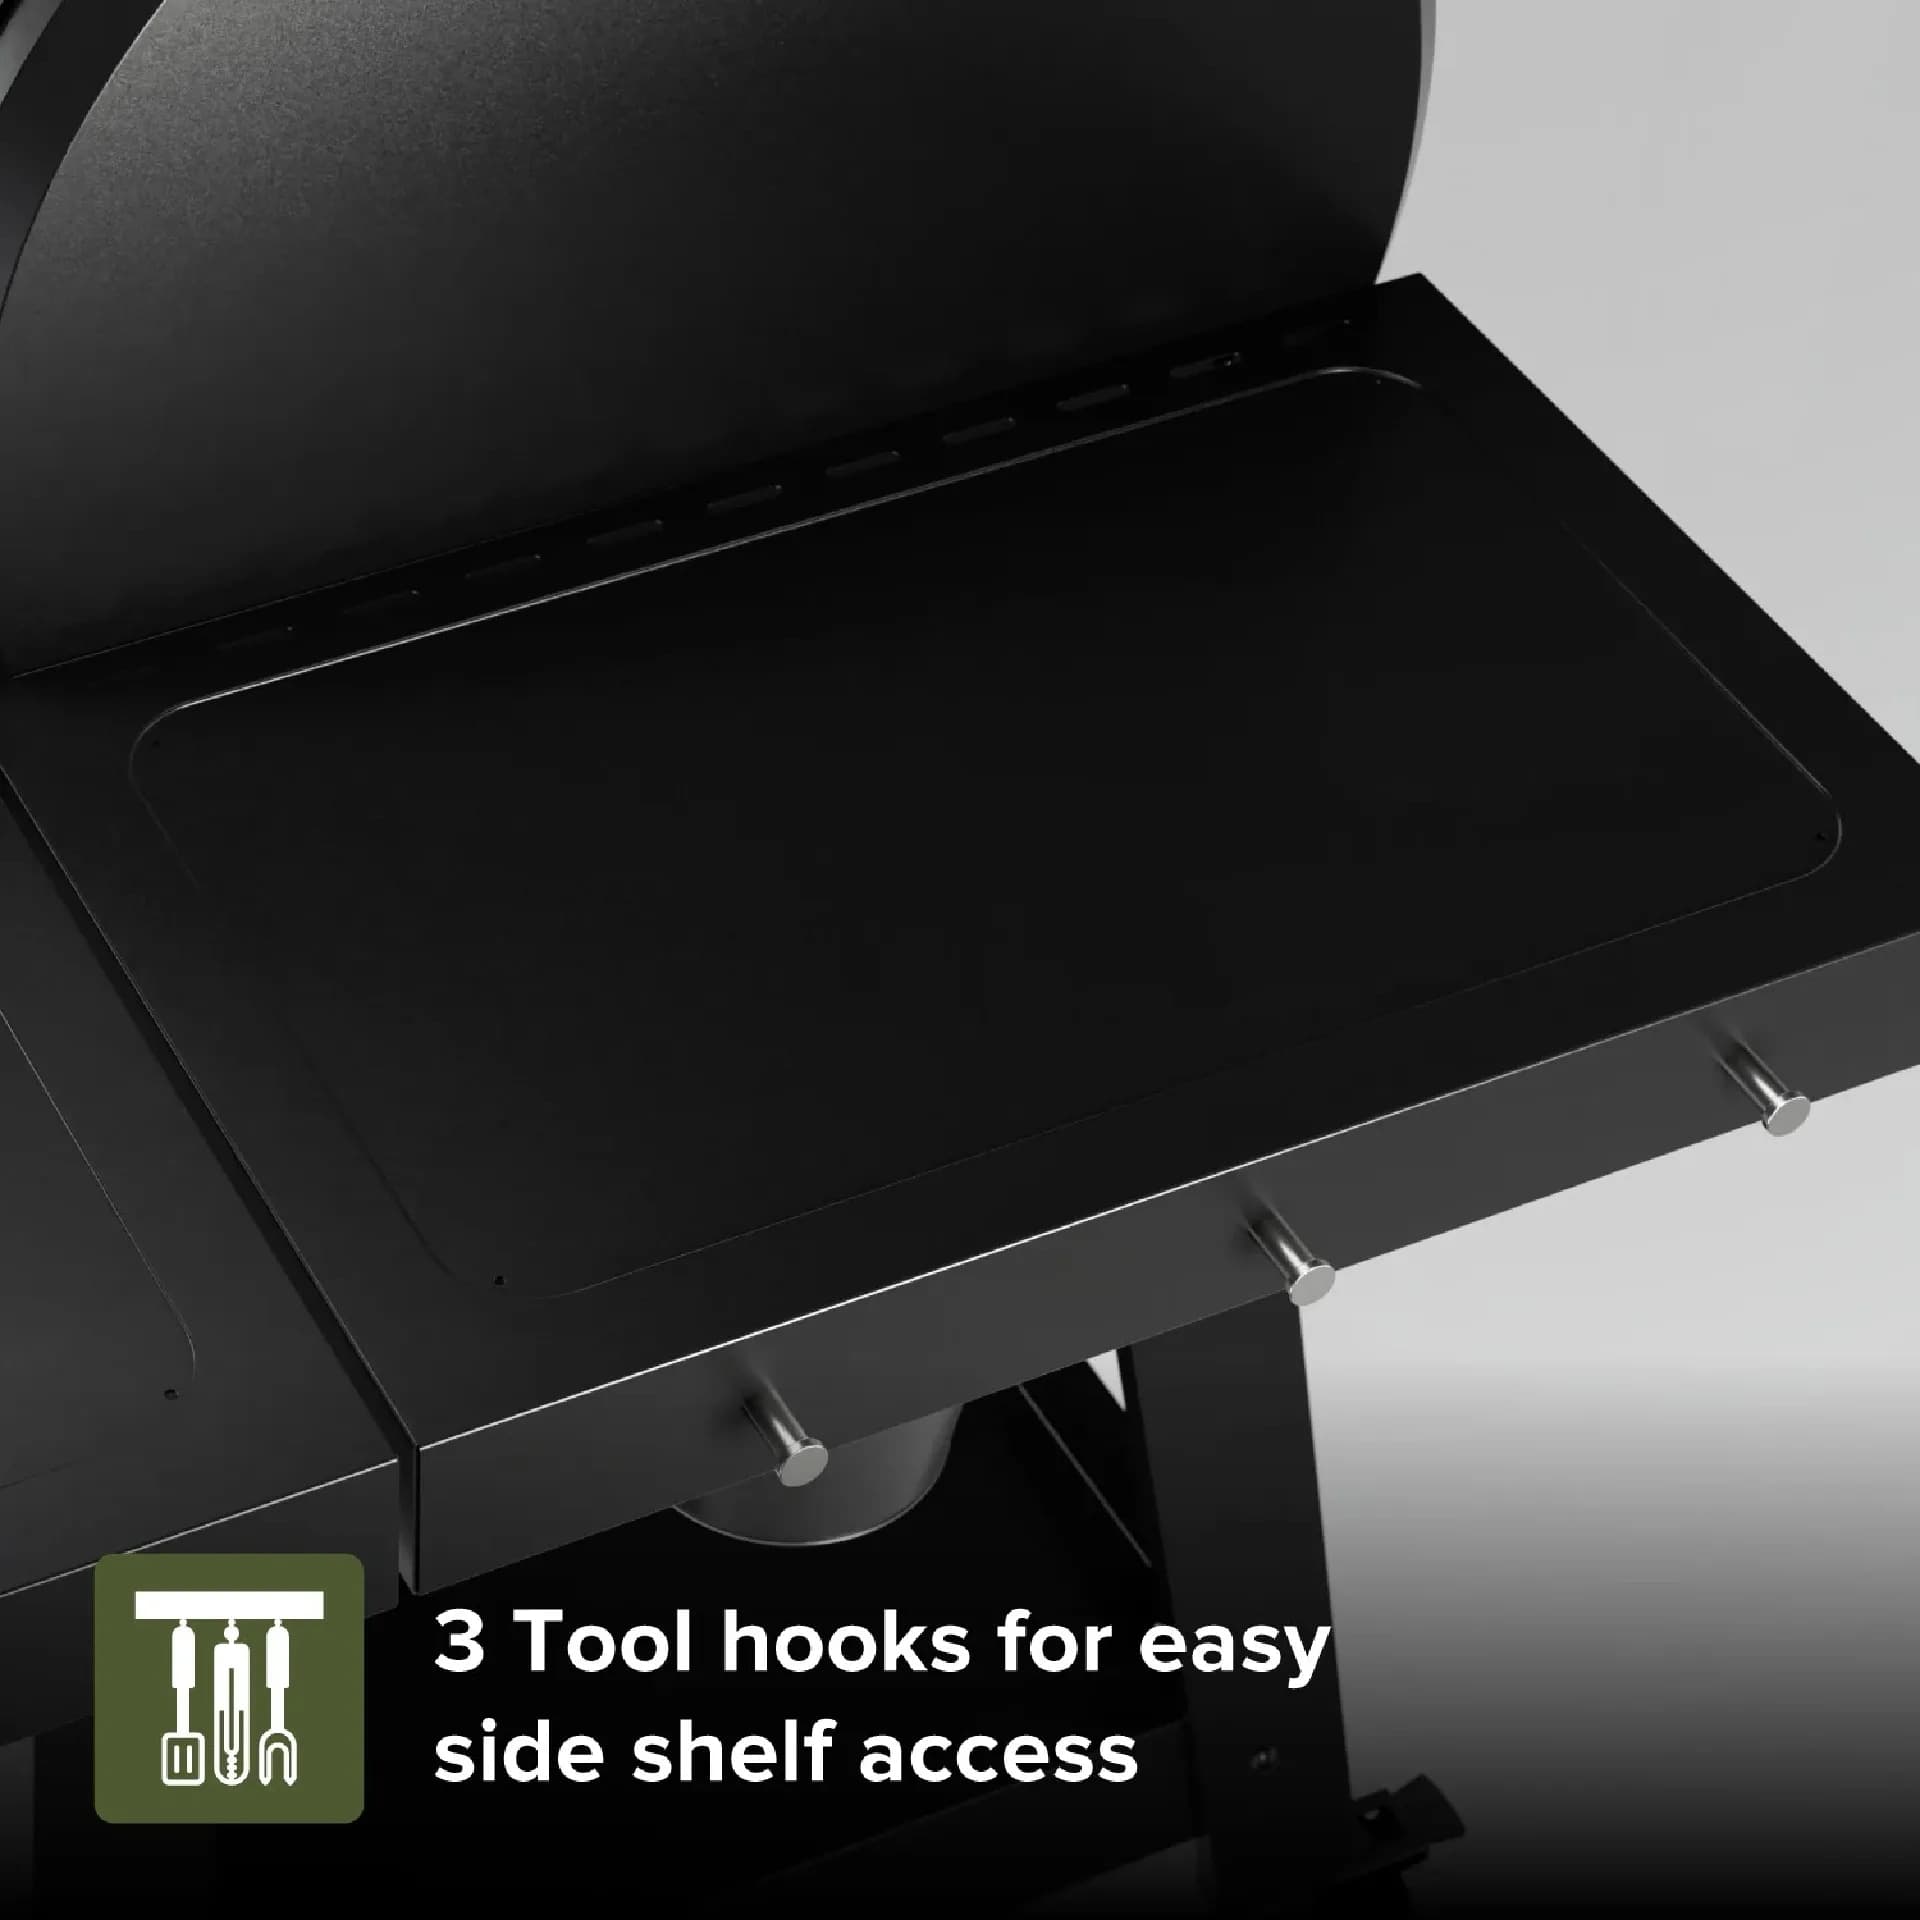
Leave the lid hinge bolts, the lid handle screws, the side shelf bolts, and the hopper-to-cart bolts loose until the lid is aligned and closes evenly. Once the lid sits flush, torque them in a cross pattern. Overtightening the handle can crack the lid steel.
Compare Two Oakford Models Side by Side Before You Commit
If you are still deciding between an Oakford 1150 and a 1125 Pro or 875 Pro, use the comparison tool below to see how their build sequences and features differ. Try comparing two products side by side below to see which fits best:
Once You've Weighed Two Options Against Each Other, Here's What Else Matters
After the side-by-side comparison, the real differentiator is not the spec sheet-it's how the grill behaves on its first fire. An Oakford that feeds pellets reliably and holds temperature is worth more than one with extra features that jam. Focus on the auger and controller integration.
How Long an Oakford Build Actually Takes, Zone by Zone
| Zone | Task | Estimated Time (minutes) |
|---|---|---|
| 1 | Cart and legs | 20-30 |
| 2 | Hopper and auger | 30-40 |
| 3 | Fire pot and hot rod | 20-30 |
| 4 | Drip tray and grates | 10-15 |
| 5 | Controller and wiring | 20-30 |
These are estimates for a first-time builder with a helper for lifting; an experienced builder may halve them.
The Burn-In: Why the First 45 Minutes Decide How Your Food Tastes
Before cooking, run a burn-in to clear manufacturing oils and cure paint. Prime the auger by running the feed cycle until pellets drop into the fire pot-this confirms the feed path. Then set the controller to the burn-in temperature specified in your manual (often 350-450°F for 30-60 minutes). Do not cover the grill; visible smoke and a slight odour are normal. A grill that won't climb to temperature usually has an empty auger, not a failed controller.
Never skip burn-in. Cooking on a new grill without it can impart off-flavours and leave protective oils on the grates.
Five Pellet-Specific Mistakes That Cause a Full Teardown
| Mistake | Consequence | Prevention |
|---|---|---|
| Bolting hopper before legs are square | Lid misalignment, hinge bind | Square cart first with diagonal measurements |
| Fully torquing firebox before lid alignment | Lid gaps, difficult opening | Leave hinge and handle fasteners loose until alignment |
| Reversed auger motor leads | Auger runs backward, no feed | Check polarity against manual diagram |
| RTD wire pinched between fire pot and body | Inaccurate temperature readings | Route wire clear of pinch points, photograph wiring |
| Skipping burn-in and cooking immediately | Off-flavours, paint cure odour | Always run burn-in per manual |
Your 20-Minute Pre-Fire Checklist
- All bolts and screws tightened except the four alignment fasteners (now torqued after lid alignment).
- Auger turns freely and feed cycle produces pellets.
- RTD probe clipped in place and wire not pinched.
- Drip tray and grease bucket installed.
- Controller powers on and displays temperature.
- Burn-in completed per manual.
Where to Get the Right Manual and Spare Parts for Your Oakford
Download the manual from the QR code on your carton or visit Nexgrill support to request a copy. For replacement parts, have your model and serial number ready. Nexgrill, founded in 1993 and headquartered in California, offers a range of pellet grills; browse the full product line to confirm model names and find accessories.