Nexgrill "Oakford 28A" Assembly Instructions: The No-Manual Build Path for Pellet and Charcoal Oakford Units
A practical build order for owners holding a box and a screenshot instead of a clean PDF - including how to tell which Oakford sub-family you actually have in under two minutes.
In This Article
Identify the Sub-Family First
Build Loosely, Square, Then Torque
Last Five Minutes Save the First Cook
"Oakford 28A" Isn't in Nexgrill's Published Line-Up - Here's How to Read That
If you're holding a carton or a marketplace listing that says "Oakford 28A," start here: that model number doesn't appear anywhere in Nexgrill's published range. The Oakford name is real and active - it covers the Oakford 875 Pro Pellet Smoker Grill, the Oakford 1125 Pro Pellet Smoker Grill, and the Oakford Homestead 24 Heavy Duty Charcoal Grill. The "28A" suffix is most likely a reseller SKU, bundle code, or typo - not a factory number you can search a manual against.
So build from the unit itself: identify the sub-family physically, follow a stage-gate bolt order, and run the final checkpoints so your first cook isn't your first repair.
A marketplace title is not a model number. Build from the carton parts callout and hardware bags, and use the physical diagnostic below as your primary cross-check.
The Two-Minute Physical Check: Pellet Cabinet or Charcoal Barrel?
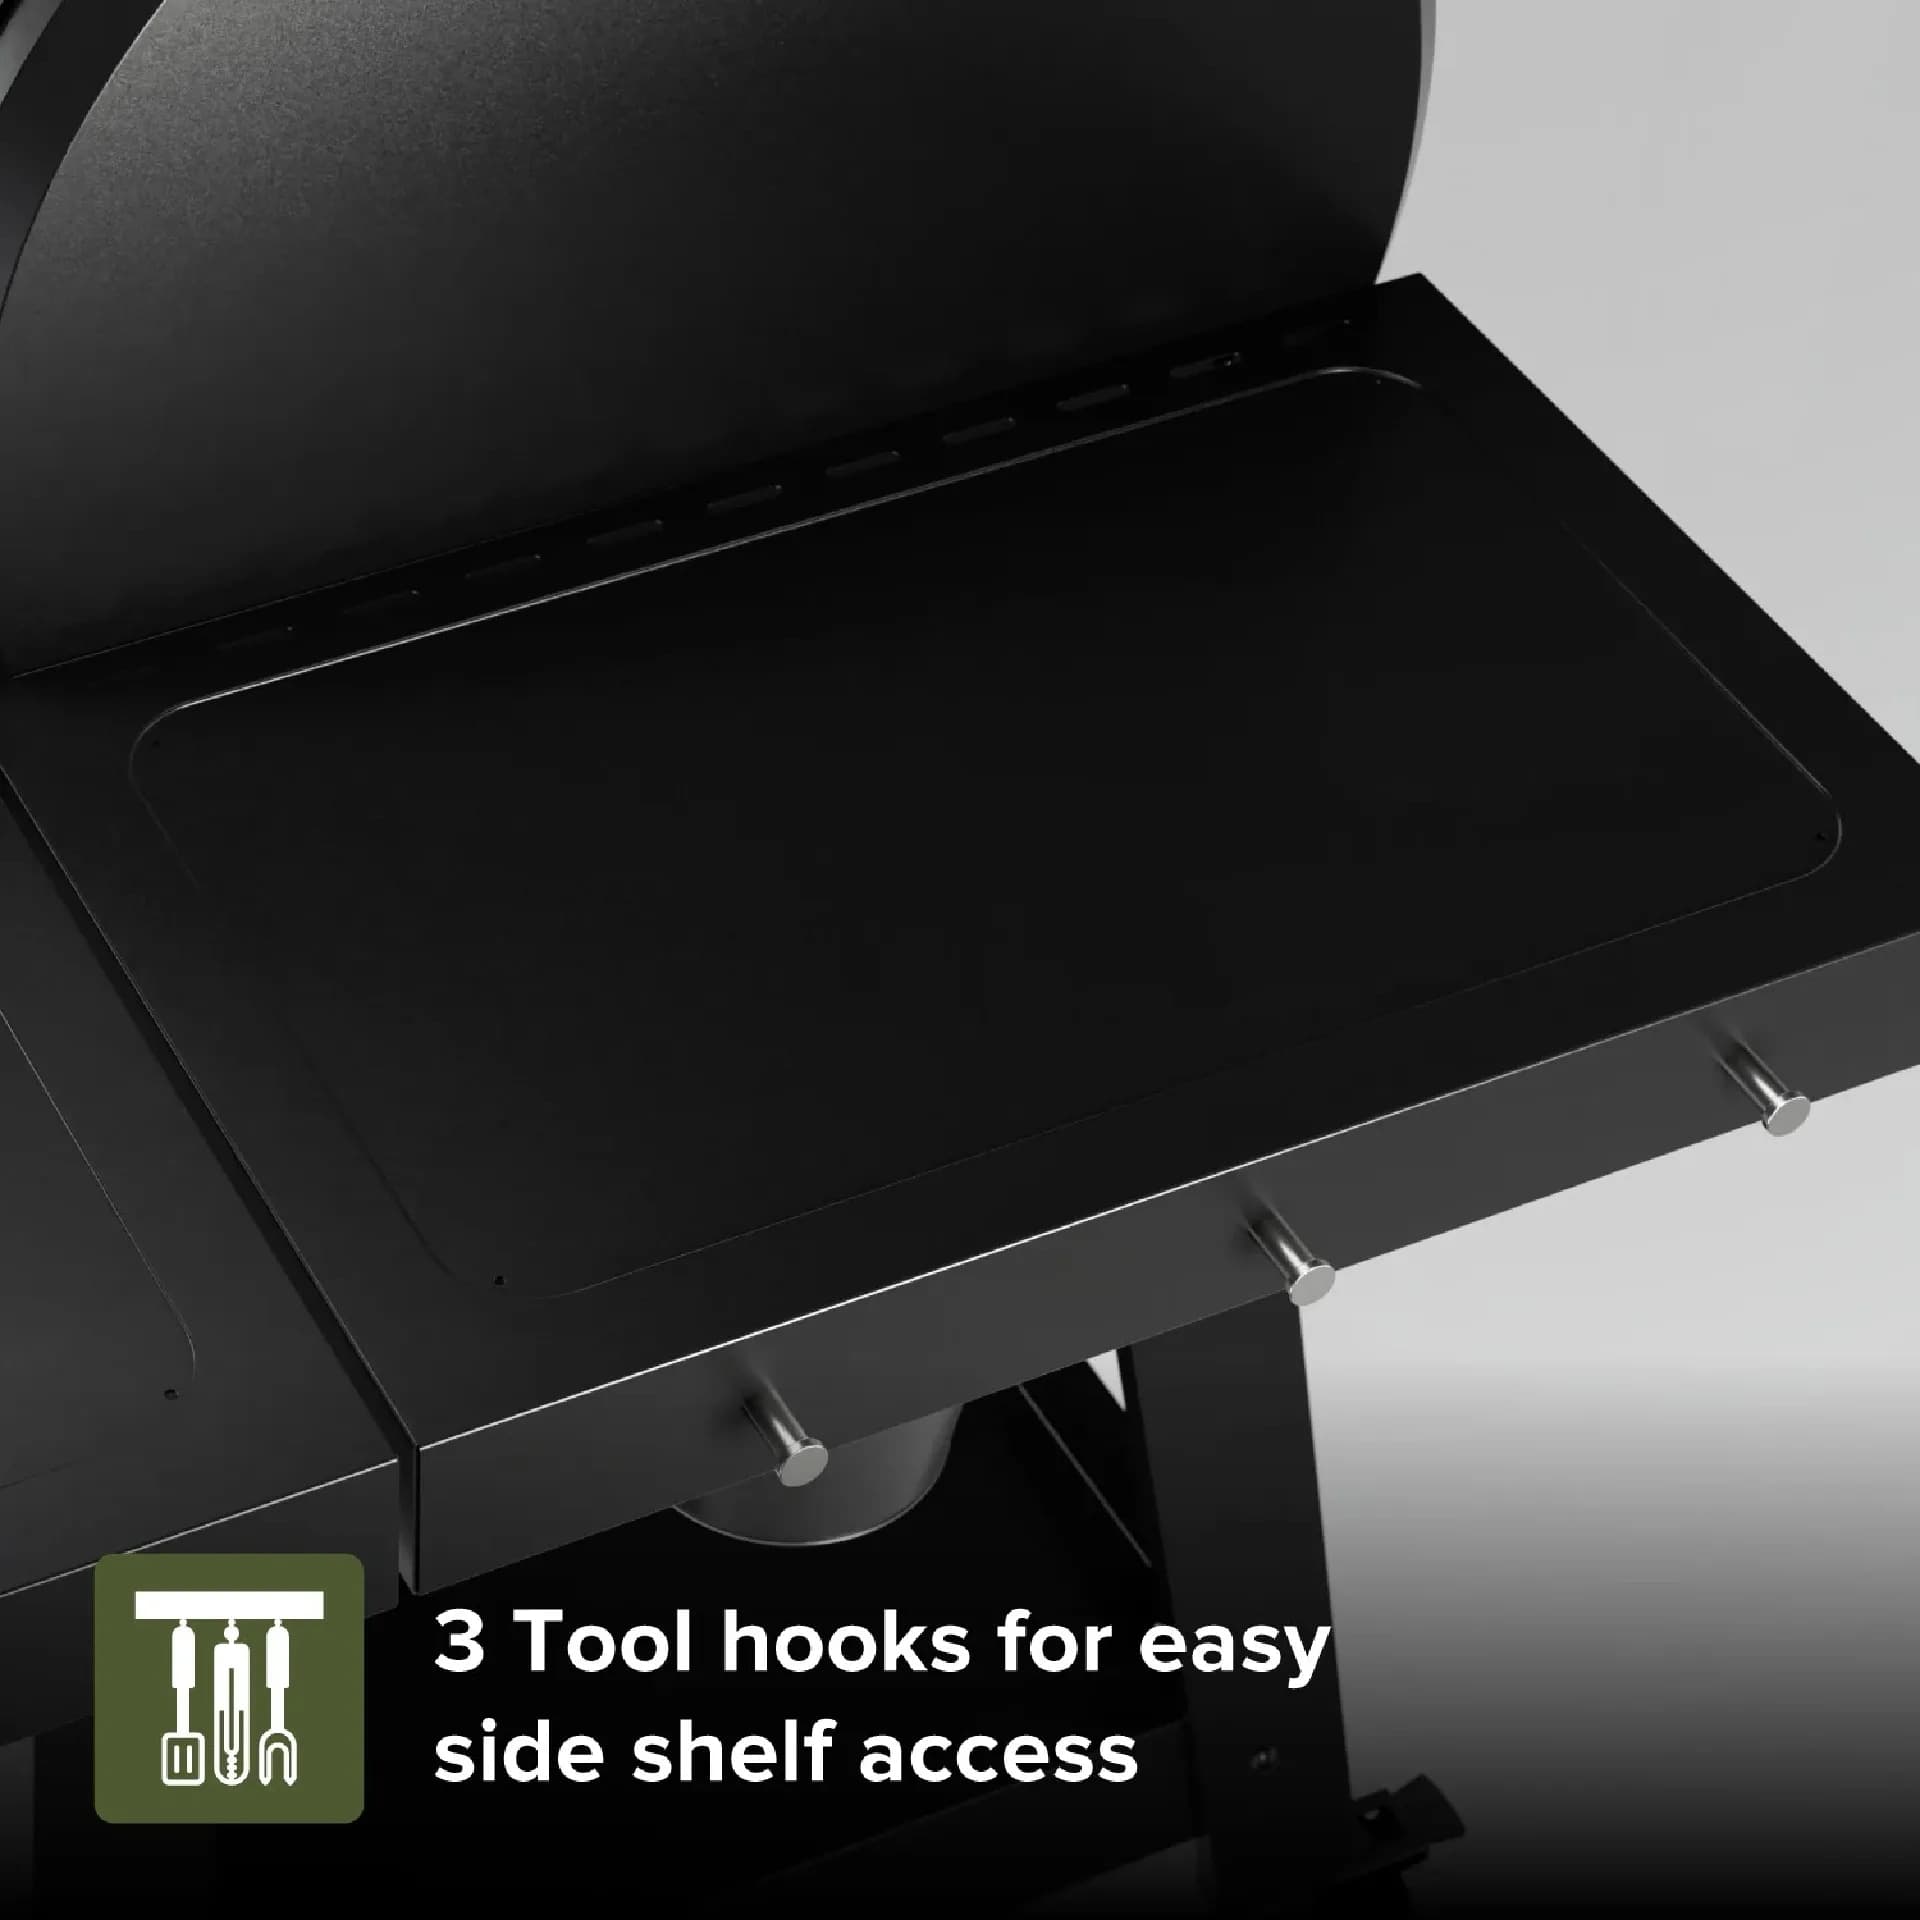
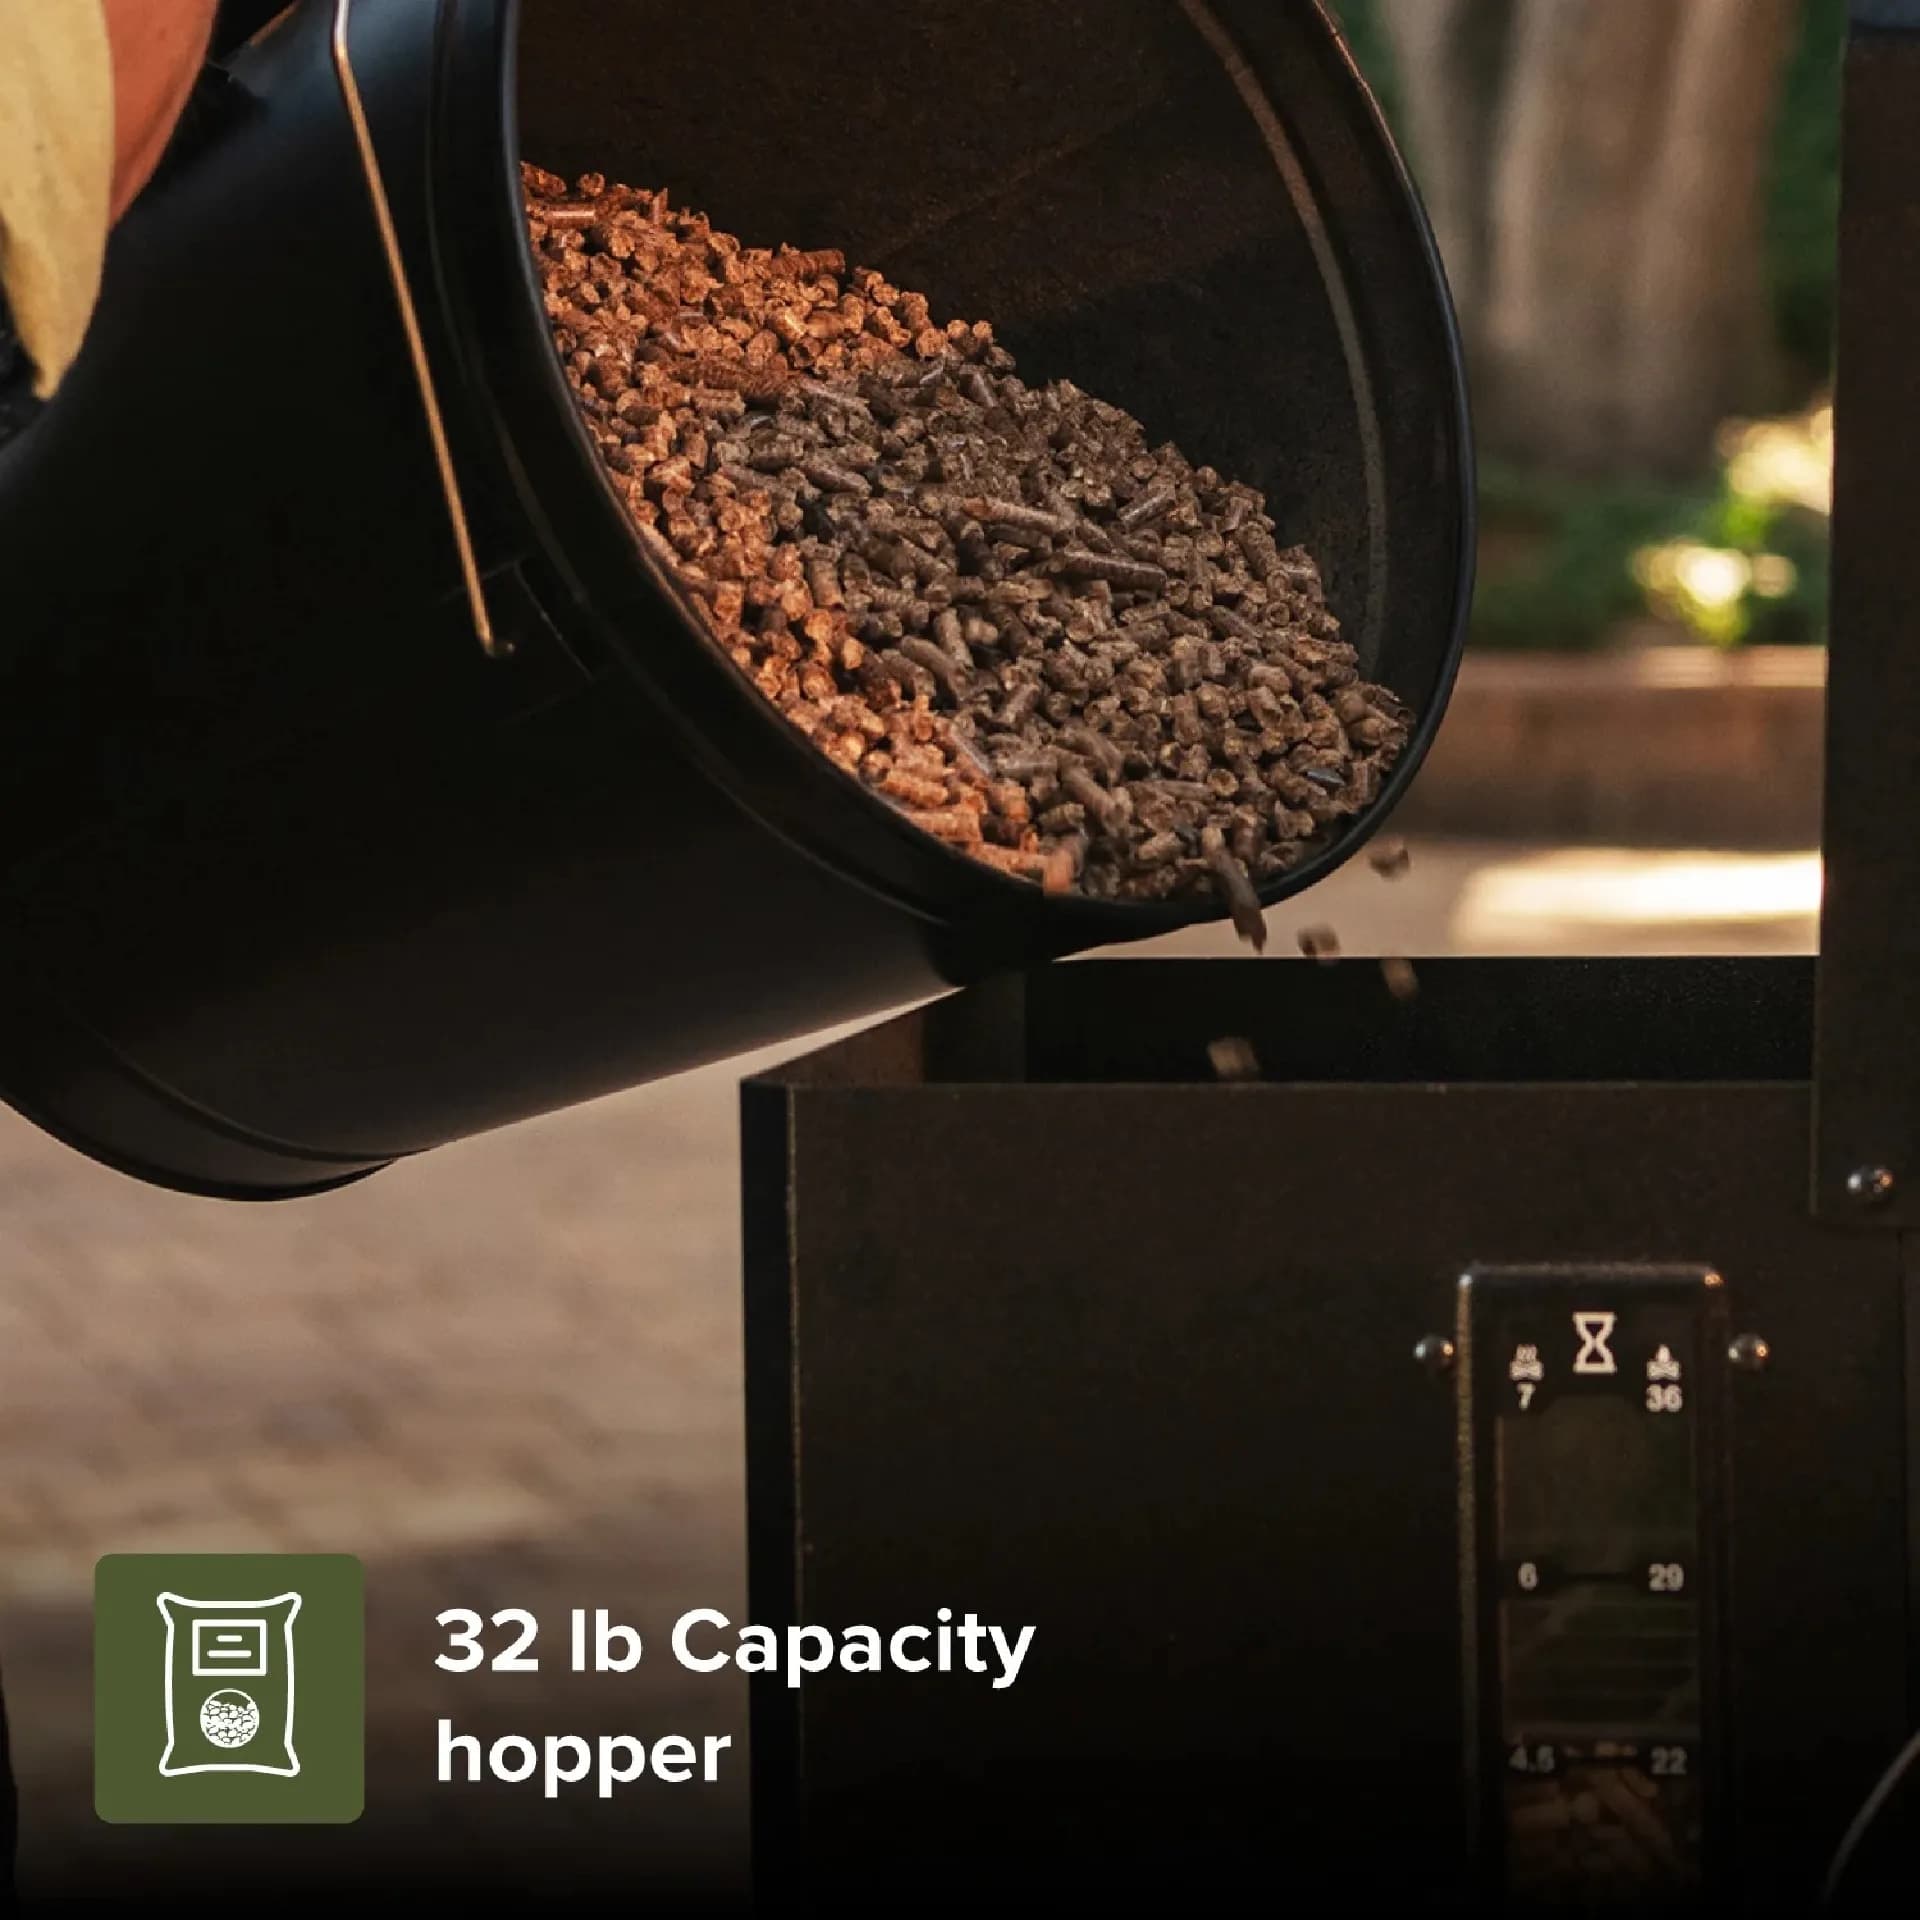
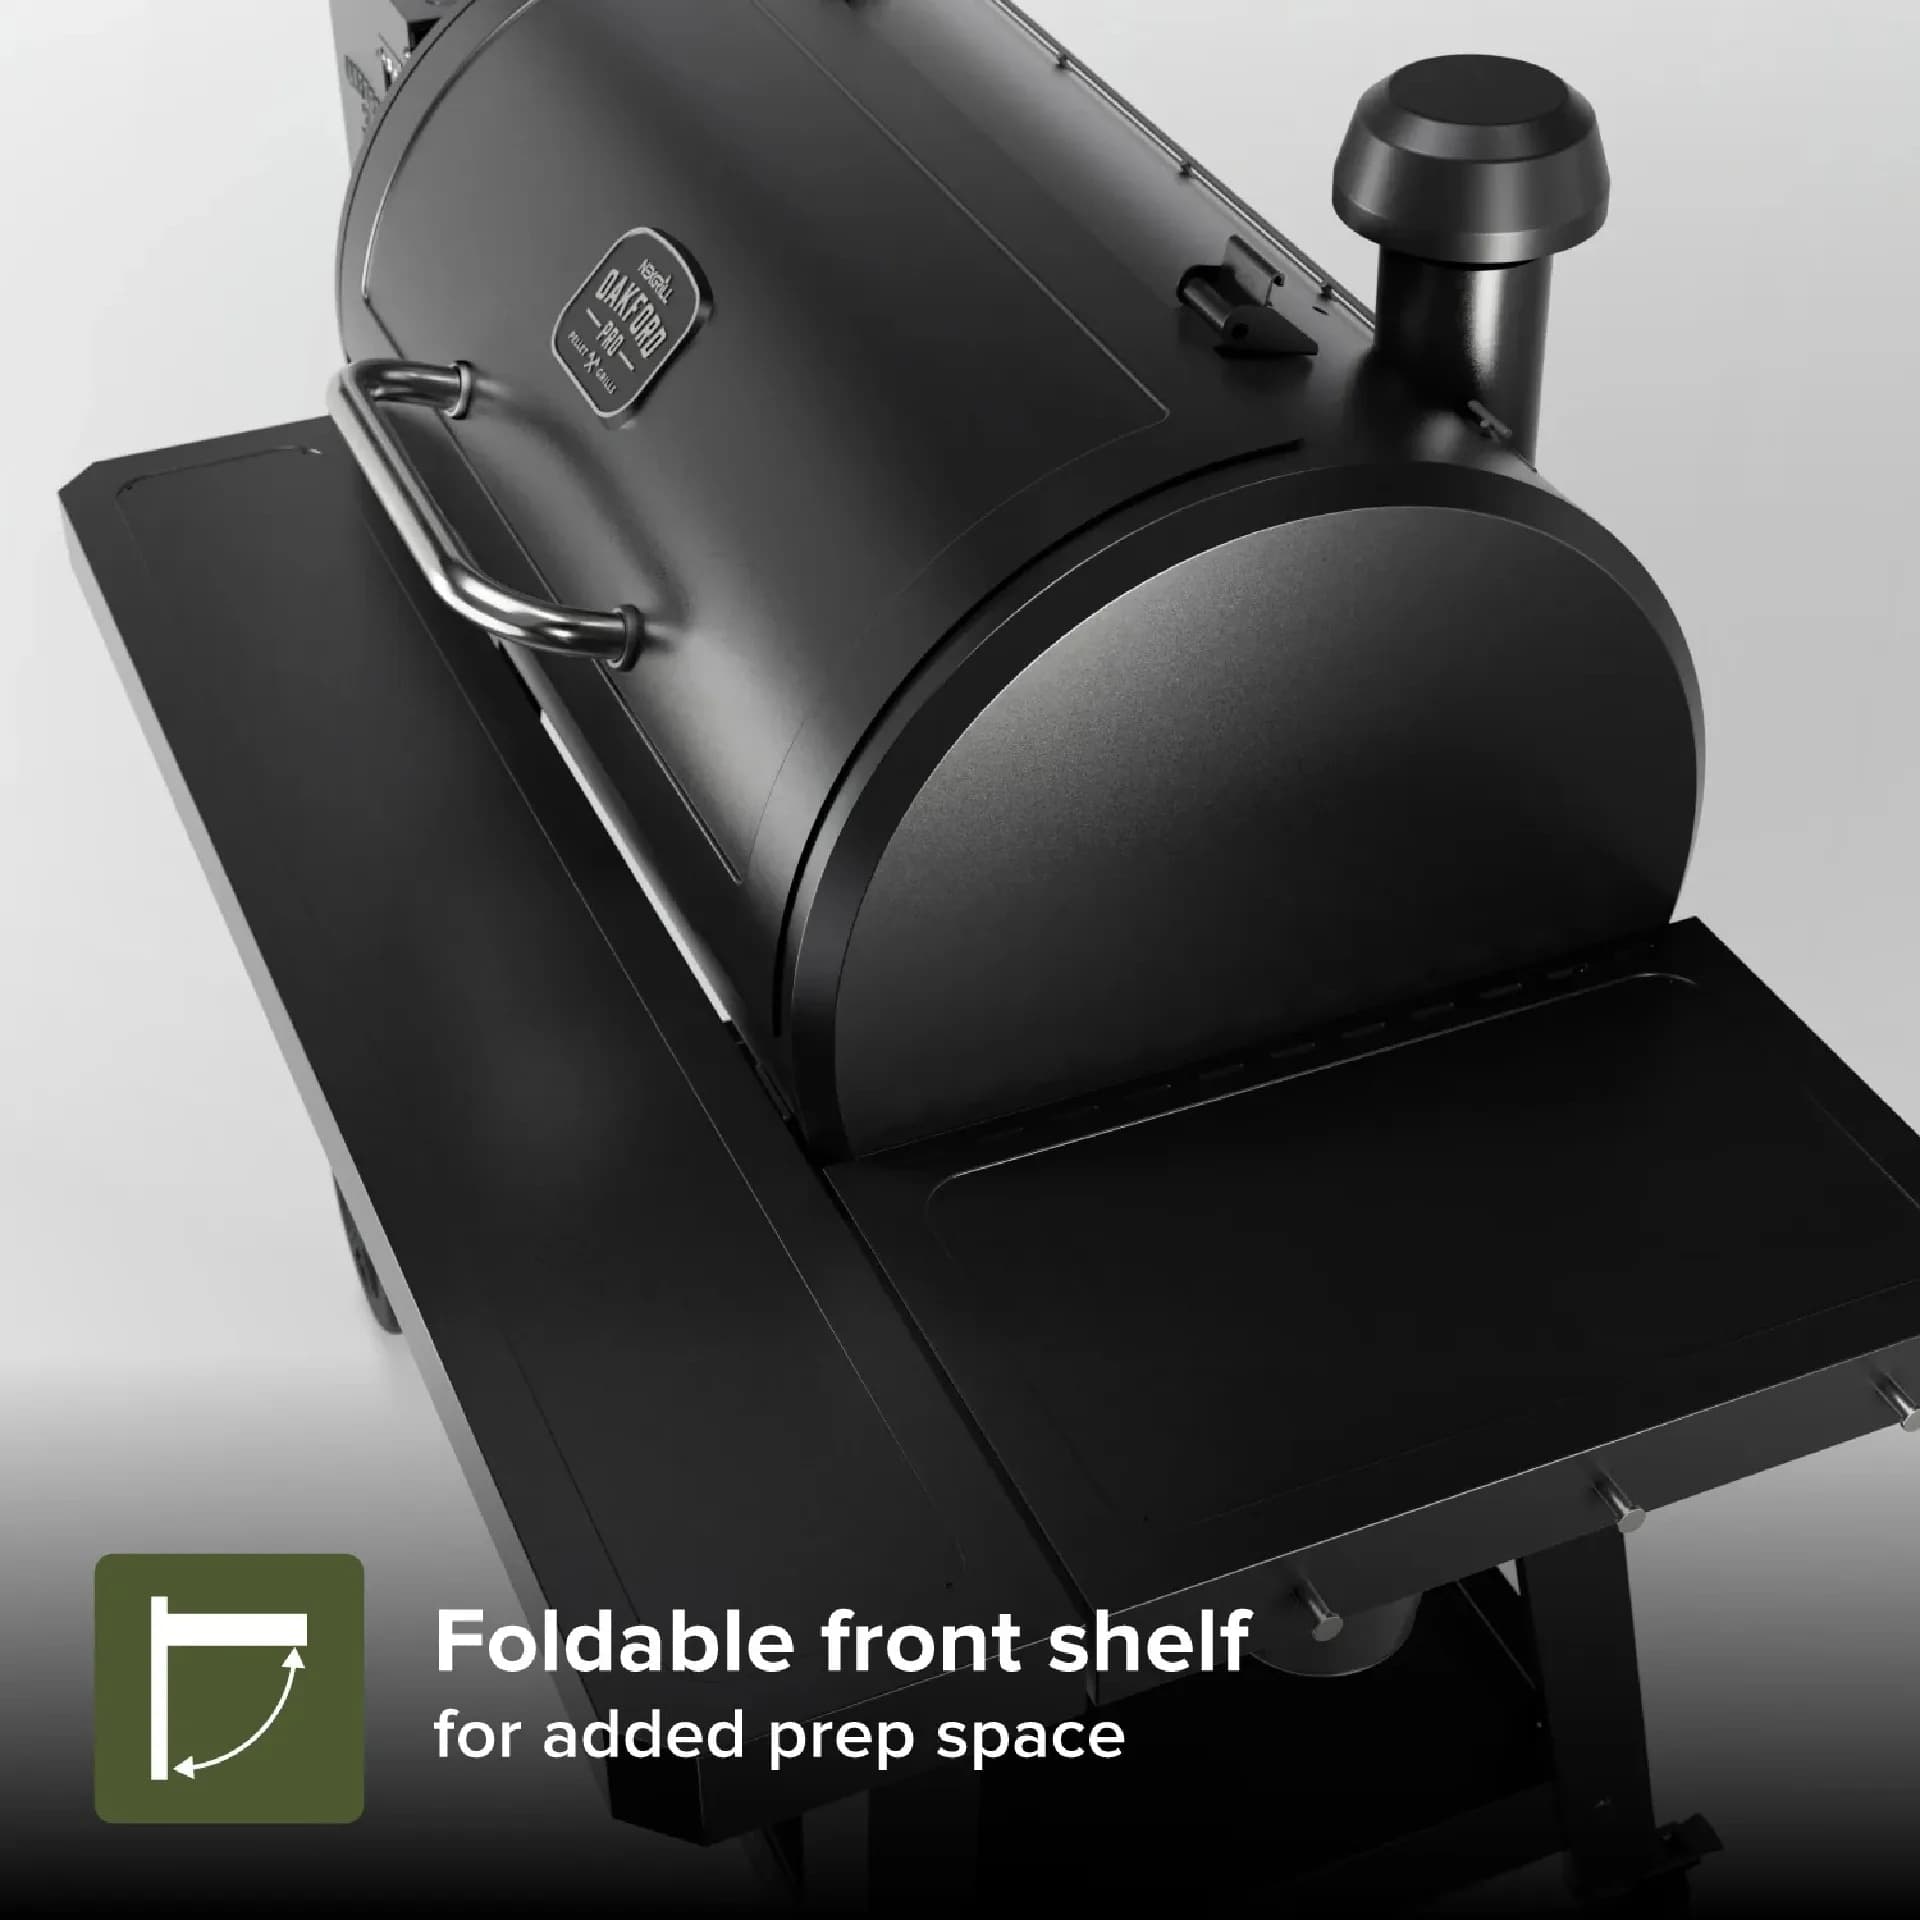
Before opening a hardware bag, answer one question: is there a hopper? A pellet Oakford has a side-mounted pellet hopper, an auger tube feeding the fire pot, a digital controller, and a chimney with a damper. A charcoal Homestead 24 has none of that - instead a barrel or kettle body, hinged or vented lid, ash pan underneath, and a bottom vent stack with no electronics.
Say it out loud: hopper, auger, controller, chimney - pellet. Ash pan, vent stack, no wiring - charcoal. That test routes you to the right build path in under two minutes and prevents the most common wrong turn: reading pellet controller hardware as charcoal vent hardware.
The 10-Minute Driveway Setup Before the First Wrench
Lay flattened cardboard on a flat, level surface - driveway or garage floor, not grass or gravel. Keep hardware bags separated by sub-assembly; mixing cart-stage washers into the hopper stage is how builds stall. Have on hand: a socket set (typically 10mm and 13mm, plus an adjustable wrench), a Phillips screwdriver, a utility knife, and a second pair of hands. Confirm doors and the lid open fully - assembling indoors and rolling the unit through a doorway is a frequent, avoidable failure.
Why the Bolt Order Matters More Than the Bolt Count
Run the entire build finger-tight. A cart frame tightened bolt-by-bolt as you go will rack out of square, and every later stage - firebox seat, lid alignment, shelf brackets - inherits that twist. Tighten only after the structure is square and the legs sit level. This one rule eliminates most teardowns.
Step 1: Cart Base, Casters, and Getting the Frame Square
Fit casters to the leg plates first (locking casters to the front where supplied), then join the legs to the base rails finger-tight. Stand the frame up, press down on opposite corners, and check for rock. Adjust, then snug the base bolts only.
Step 2: Firebox or Barrel Seating (and the Lift Rule)
Never lift a barrel or chamber by the chimney, hopper handle, or lid handle. Two people lift from the body edges and lower it straight onto the cart mounts. For the pellet family this is the heavy stage; for the Homestead 24 it's a quick seat onto the leg ring with the ash pan below.
Step 3: Hopper, Controller and Chimney (Pellet) or Grate and Ash Pan (Charcoal)
Pellet build: route controller wiring clear of metal edges before the hopper is seated, confirm nothing is pinched, then mount the hopper, connect the auger drive, and fit the chimney with its damper swinging freely. Charcoal build: drop the charcoal grate in level and set the ash pan so it slides without binding.
Step 4: Lid, Handle and Shelf Alignment - the Stage That Fails Quietly
Fit the lid and handle last, leaving hinge bolts loose until the lid closes flush on both sides, then torque. Attach side shelves only after the legs are level - a shelf on an unlevelled frame pulls the whole unit out of true. Compare two Oakford options side by side below to see which build path fits best:
Once You've Weighed Two Options: Matching the Build to Your Oakford Model
If the comparison left you deciding between a pellet cabinet and a charcoal barrel, the build difficulty and daily-use experience diverge more than spec sheets suggest. The pellet path is longer, with wiring and calibration checkpoints; the charcoal path is short and rewards a properly seasoned firebox. Neither is harder - they fail in different ways.
| Sub-family | Key components | Tools needed | Time (2 people, est.) | Helper |
|---|---|---|---|---|
| Pellet (875 Pro / 1125 Pro family) | Hopper, auger, controller, chimney | Socket set, screwdriver, knife | ~60-90 min | Strongly recommended |
| Charcoal (Homestead 24) | Barrel, ash pan, vents, grate | Adjustable wrench, screwdriver | ~10-20 min + seasoning | Optional |
Time figures are estimates for prepared, two-person builds on a flat surface - a marketplace unit with missing hardware can double that range.
Realistic Time and Helper Expectations by Sub-Family
Pellet cabinets have a genuinely heavy chamber lift. If you're alone, stop and wait rather than dragging the barrel across the cart mounts - bent mounts throw off every later alignment. The Homestead 24 is light enough for one person, but a helper still shortens lid and handle fitting. Budget time for inventory; ten minutes sorting bags pays for itself the first time you need one specific washer.
The Six Mistakes That Force a Full Teardown
- Tightening every bolt as you go, racking the frame out of square.
- Feeding pellets and switching on before confirming auger and controller wiring.
- Losing brass or steel washers and substituting - fit matters.
- Fitting the chimney with the damper facing inward and unable to swing.
- Setting shelves before the legs are level.
- Assembling indoors and failing the door or patio clearance check.
Wiring-pinch warning: before the hopper goes on, trace the controller cable by hand and confirm it clears every metal edge. A pinched lead is most often found only at first power-on.
The Last Five Minutes: Burn-In, Feed Test and Vent Check
Pellet models: run a heat cycle with no food, walk the controller through startup, and confirm the auger feeds pellets steadily into the fire pot and the chimney damper swings. Charcoal models: check the charcoal grate sits level and the bottom vent opens and closes fully before your first fire. These five minutes separate a working grill from a surprise.
Burn-in tip: run the first heat cycle outdoors and empty, then wipe the grates before any food touches them.
When the Model Number Still Won't Resolve: Nexgrill Support and Parts Sheets
If the carton parts callout is missing or the hardware bag is short, stop assembling and contact Nexgrill support with photos of the unit and its callout sheet. Browse the full product range to match your unit visually, and read the Nexgrill story for context on the Oakford line.