Nexgrill Oakford 1125 Pro Assembly Instructions: A Pellet Smoker Build Guide
A two-person, pellet-specific walkthrough - from hopper and burn-pot orientation to priming the auger and a successful first burn.
In This Article
Cart Before Chamber
Hopper and Burn Pot Orientation
Prime and Burn In
Readiness Check Before the First Bolt: Outlet, Level Ground, Two People, Shop Vac
A pellet cabinet grill is an appliance with a controller, auger motor, and burn pot, not just a bowl and legs. Before you cut tape on the Oakford 1125 Pro, clear four preconditions: a dedicated 15-amp circuit within cord reach (not shared with a cycling freezer or compressor), a level surface, two adults, and a shop vac to clear sawdust and loose pellets from the hopper and fire pot.
Plan the lift before opening the carton. The chamber is the heaviest component - line up your second person before panels hit the floor.
Tools are commonly a Phillips screwdriver, adjustable wrench or socket set, and sometimes an included hex key. Check your manual for the exact list.
Unbox by Sub-Assembly: Sorting the 1125 Pro Hardware and Panels
Do not empty the carton into one pile. Group hardware by sub-assembly and bag-and-label as you go - this is the difference between a 90-minute and a 150-minute build.
| Sub-assembly | Typical hardware | Common error |
|---|---|---|
| Cart frame and wheels | Hex bolts, locking casters | Wheels fitted before frame is square |
| Chamber to cart | Long bolts, washers | Lid tipped hinge-down on concrete |
| Hopper and auger | Small machine screws | Hopper reversed; feed tube misaligned |
| Controller and probe | Self-tapping screws, lead clips | Leads zip-tied before port check |
Cart First, Chamber Second: Planning the Heavy Lift Safely
Build the cart complete - frame squared, casters on, shelves attached - then lock the wheels. Lift the chamber with one person at each end, hands under the frame rails, not on the lid handle. Never set the chamber lid-down on a hard surface: the hinge can bend and the lid will never seal flush. Lower it onto the cart mounts, start bolts by hand, and tighten only once all four are engaged.
Hopper, Auger and Burn Pot: The Orientation Step That Decides Whether Pellets Feed
Seat the hopper so the auger outlet points into the drop chute above the burn pot, and confirm the igniter sits in its sleeve beside the pot with air holes unobstructed. A reversed hopper or chute gap produces a full hopper and an empty fire pot on first start.
Controller, RTD Probe and Igniter Wiring: Match Leads to Labeled Ports First
Before any zip-tie goes on, match each lead to its labeled port: RTD probe, igniter, auger motor, fan. Push each connector fully until it seats, then tidy the loom away from the burn-pot heat. A half-seated controller plug is the most common cause of a dead panel on first power-up.
Torque Order and Where Not to Overtighten Sheet-Metal Panels
Hand-tighten every bolt, square the cabinet, then snug in a cross pattern. Sheet-metal screws into thin panels strip easily - snug is the target, not maximum force.
Once the Build Is Standing: What Else Determines a Clean First Fire
With the build done, the first-fire routine takes over. A correctly assembled unit still fails its first start if the fire pot holds shipping debris or the auger is dry. Vacuum the pot, confirm the drip tray slides in the right way round (sloped toward the drain, not reversed), and fit the grease-tray liner before any pellets go in.
Fuel and First Fire: Filling the Hopper, Priming the Auger, and the Burn-In Window
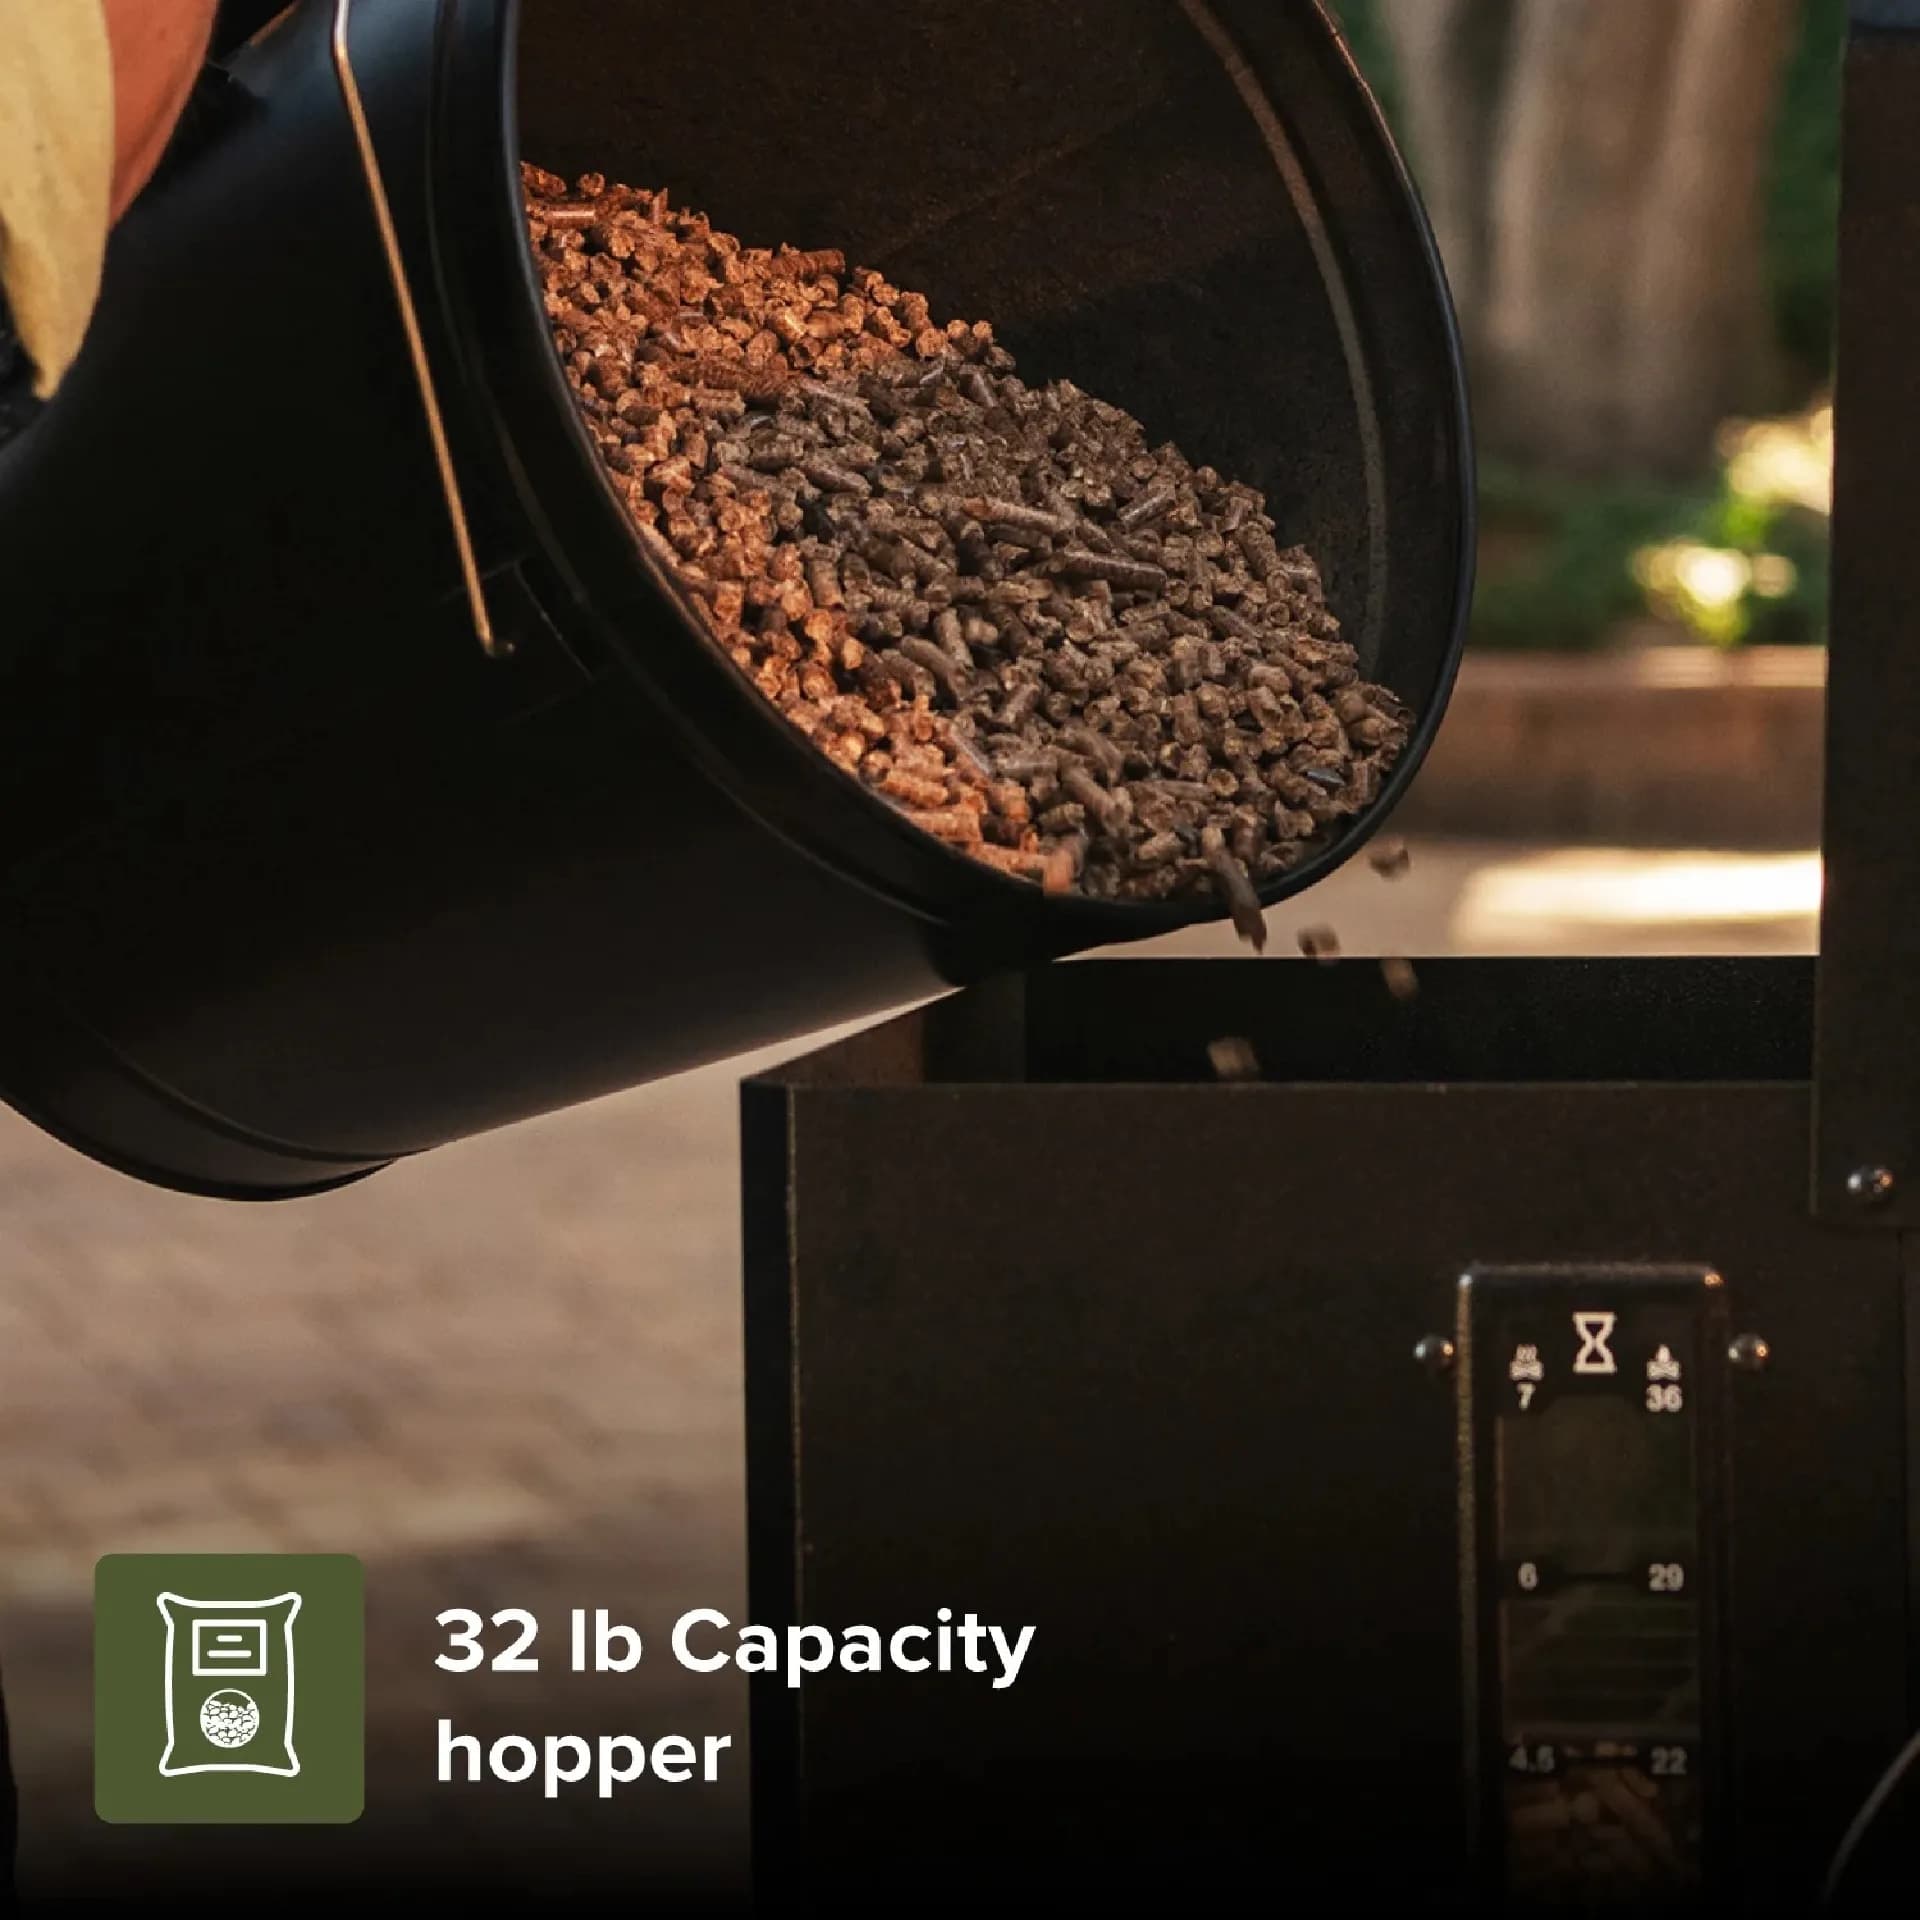
Fill the hopper - check your manual for the exact capacity figure - then run the prime or feed cycle until you hear pellets drop into the pot. Pellet grills ship with an empty auger tube, so the first 60-90 seconds of feed is priming, not a fault.
Burn-in tip: run 30-45 minutes outdoors at high temperature, lid open at the start, to cure paint and burn off manufacturing oils. Expect visible smoke and odour - this is normal pellet-grill practice, not a defect.
Mistakes That Cost Time on a Pellet Build
- Reversed drip tray, which pools grease instead of draining it.
- Pellets left in the hopper before burn-in, which can scorch and clog the feed.
- Controller not fully seated - panel lights but nothing runs.
- Overtightened sheet-metal screws distorting panel alignment.
- Missing grease-tray liner, discovered only at cleanup.
- Shipping bolts or straps left in the auger or fire pot.
Pre-First-Cook Checklist: Ten Checks Before You Load Food
- Lid gasket seated evenly.
- RTD probe reads ambient temperature.
- Auger primes and pellets reach the pot.
- No loose pellets in the ash area.
- Wheels locked.
- Cover removed.
- Drip tray oriented correctly.
- Grease liner fitted.
- Controller leads seated.
- Circuit is dedicated.
For cook temperatures, follow the USDA FSIS safe minimum internal temperature chart and verify with a probe, not the lid gauge.
Which Builder Profile Are You? Matching the Build to Your Setup
The solo builder with a garage bay should schedule two hours and recruit a neighbour only for the chamber lift. The couple building on a patio can move faster but should still assign one person to wiring and one to panels. The experienced pellet owner upgrading from a smaller unit can skip step-by-step reading but should still verify hopper and igniter orientation.
Where to Get the Model-Specific Manual and Support
Torque specs, hopper capacity, and unit weight vary - check your manual for the exact figures. For missing parts or a lead that will not seat, use the Nexgrill contact page.