Nexgrill Oakford 580 Assembly Instructions: Pellet-Smoker Build Order, Wiring Checks, and First Burn-In
A pellet-specific build guide for Oakford owners - confirm your model plate, sequence the cart and hopper correctly, avoid pinched RTD and auger wiring, and run a proper first fire.
In This Article
Model Plate First
Pellet-Specific Build Order
Prime and Burn-Off
What 'Oakford 580' Should Mean on Your Carton - Confirm the Model Plate and Manual Revision First
Before you cut a single zip tie, walk to the carton and find the rating/data plate. On Nexgrill pellet units it is typically riveted to the hopper body or the inside face of a cart leg, and it carries the model number, serial number, gas/electrical ratings, and the manufacturer date. Photograph it with your phone. That photo is your reference for every later step and your proof of purchase support will ask for if a part arrives bent.
Here is the honest part: Nexgrill's public catalogue currently lists the Oakford Pro 875 and Oakford 1125 pellet smoker grills, and we could not verify a standalone 'Oakford 580' SKU or a downloadable 580 manual in any official Nexgrill source. That does not mean your grill is fake - model numbers get regionalised, revised, and retired. It means the authoritative build sequence is the printed manual inside your carton, not a webpage. Use this guide as a pellet-architecture framework: it tells you what order the sub-assemblies must go together and which mistakes cause the most rework. Use your manual for exact bolt callouts and button names.
If the model on the plate does not match the model on the carton label or the manual cover, stop and contact Nexgrill support before assembly. Building from the wrong revision is the single most common cause of leftover hardware and misaligned panels.
Set the Workspace Before You Open a Single Bag: Space, Helper, and the Exact Tool List
A pellet smoker is bulkier than a same-width gas grill because the hopper adds depth and the controller adds a wiring harness. Give yourself a flat, swept 10 x 10 ft area - a garage floor or driveway apron - with a moving blanket or cardboard down. Laying a painted hopper directly on concrete is how you get the scratches that end up in your first-season photos.
Tools you actually need, in the order you will reach for them:
- 3/8-inch drive ratchet with 7/16, 1/2, and 9/16-inch sockets (most Nexgrill cart hardware sits in this range)
- Combination wrenches in the same sizes for holding a nut while you turn a bolt
- Phillips #2 screwdriver and a small flathead for prying hinge pins and gasket seating
- Torque-limited or just hand-feel - do not put an impact driver on sheet-metal cart panels
- Utility knife, side-cutters for zip ties, and a magnetic tray for loose bolts
- Two 4-foot levels or a straight edge for squaring the cart
If you own no sockets at all, a basic homeowner set runs roughly $30-60 in the U.S. (estimate; varies by brand and store). A second adult is genuinely useful for exactly two steps: lifting the hopper/auger box onto the cart, and holding the lid while you drive hinge pins. Everything else is a one-person job.
The Pellet-Specific Build Order: Cart, Hopper/Auger, Fire Pot, Controller, RTD, Then Lid
A pellet grill is not a gas firebox with a different burner. It is a fuel-delivery machine: hopper feeds an auger, the auger drops pellets into a fire pot, a fan supplies combustion air, an igniter rod lights the pellets, and a controller reads a resistance temperature detector (RTD) probe to decide how fast to run the auger. Assemble it in that logic order and the wiring lands where it should.
| Stage | What Goes On | Torque State | Why This Order |
|---|---|---|---|
| 1 | Cart legs, caster plate, lower shelf | Finger-tight | Frame must flex while you square it |
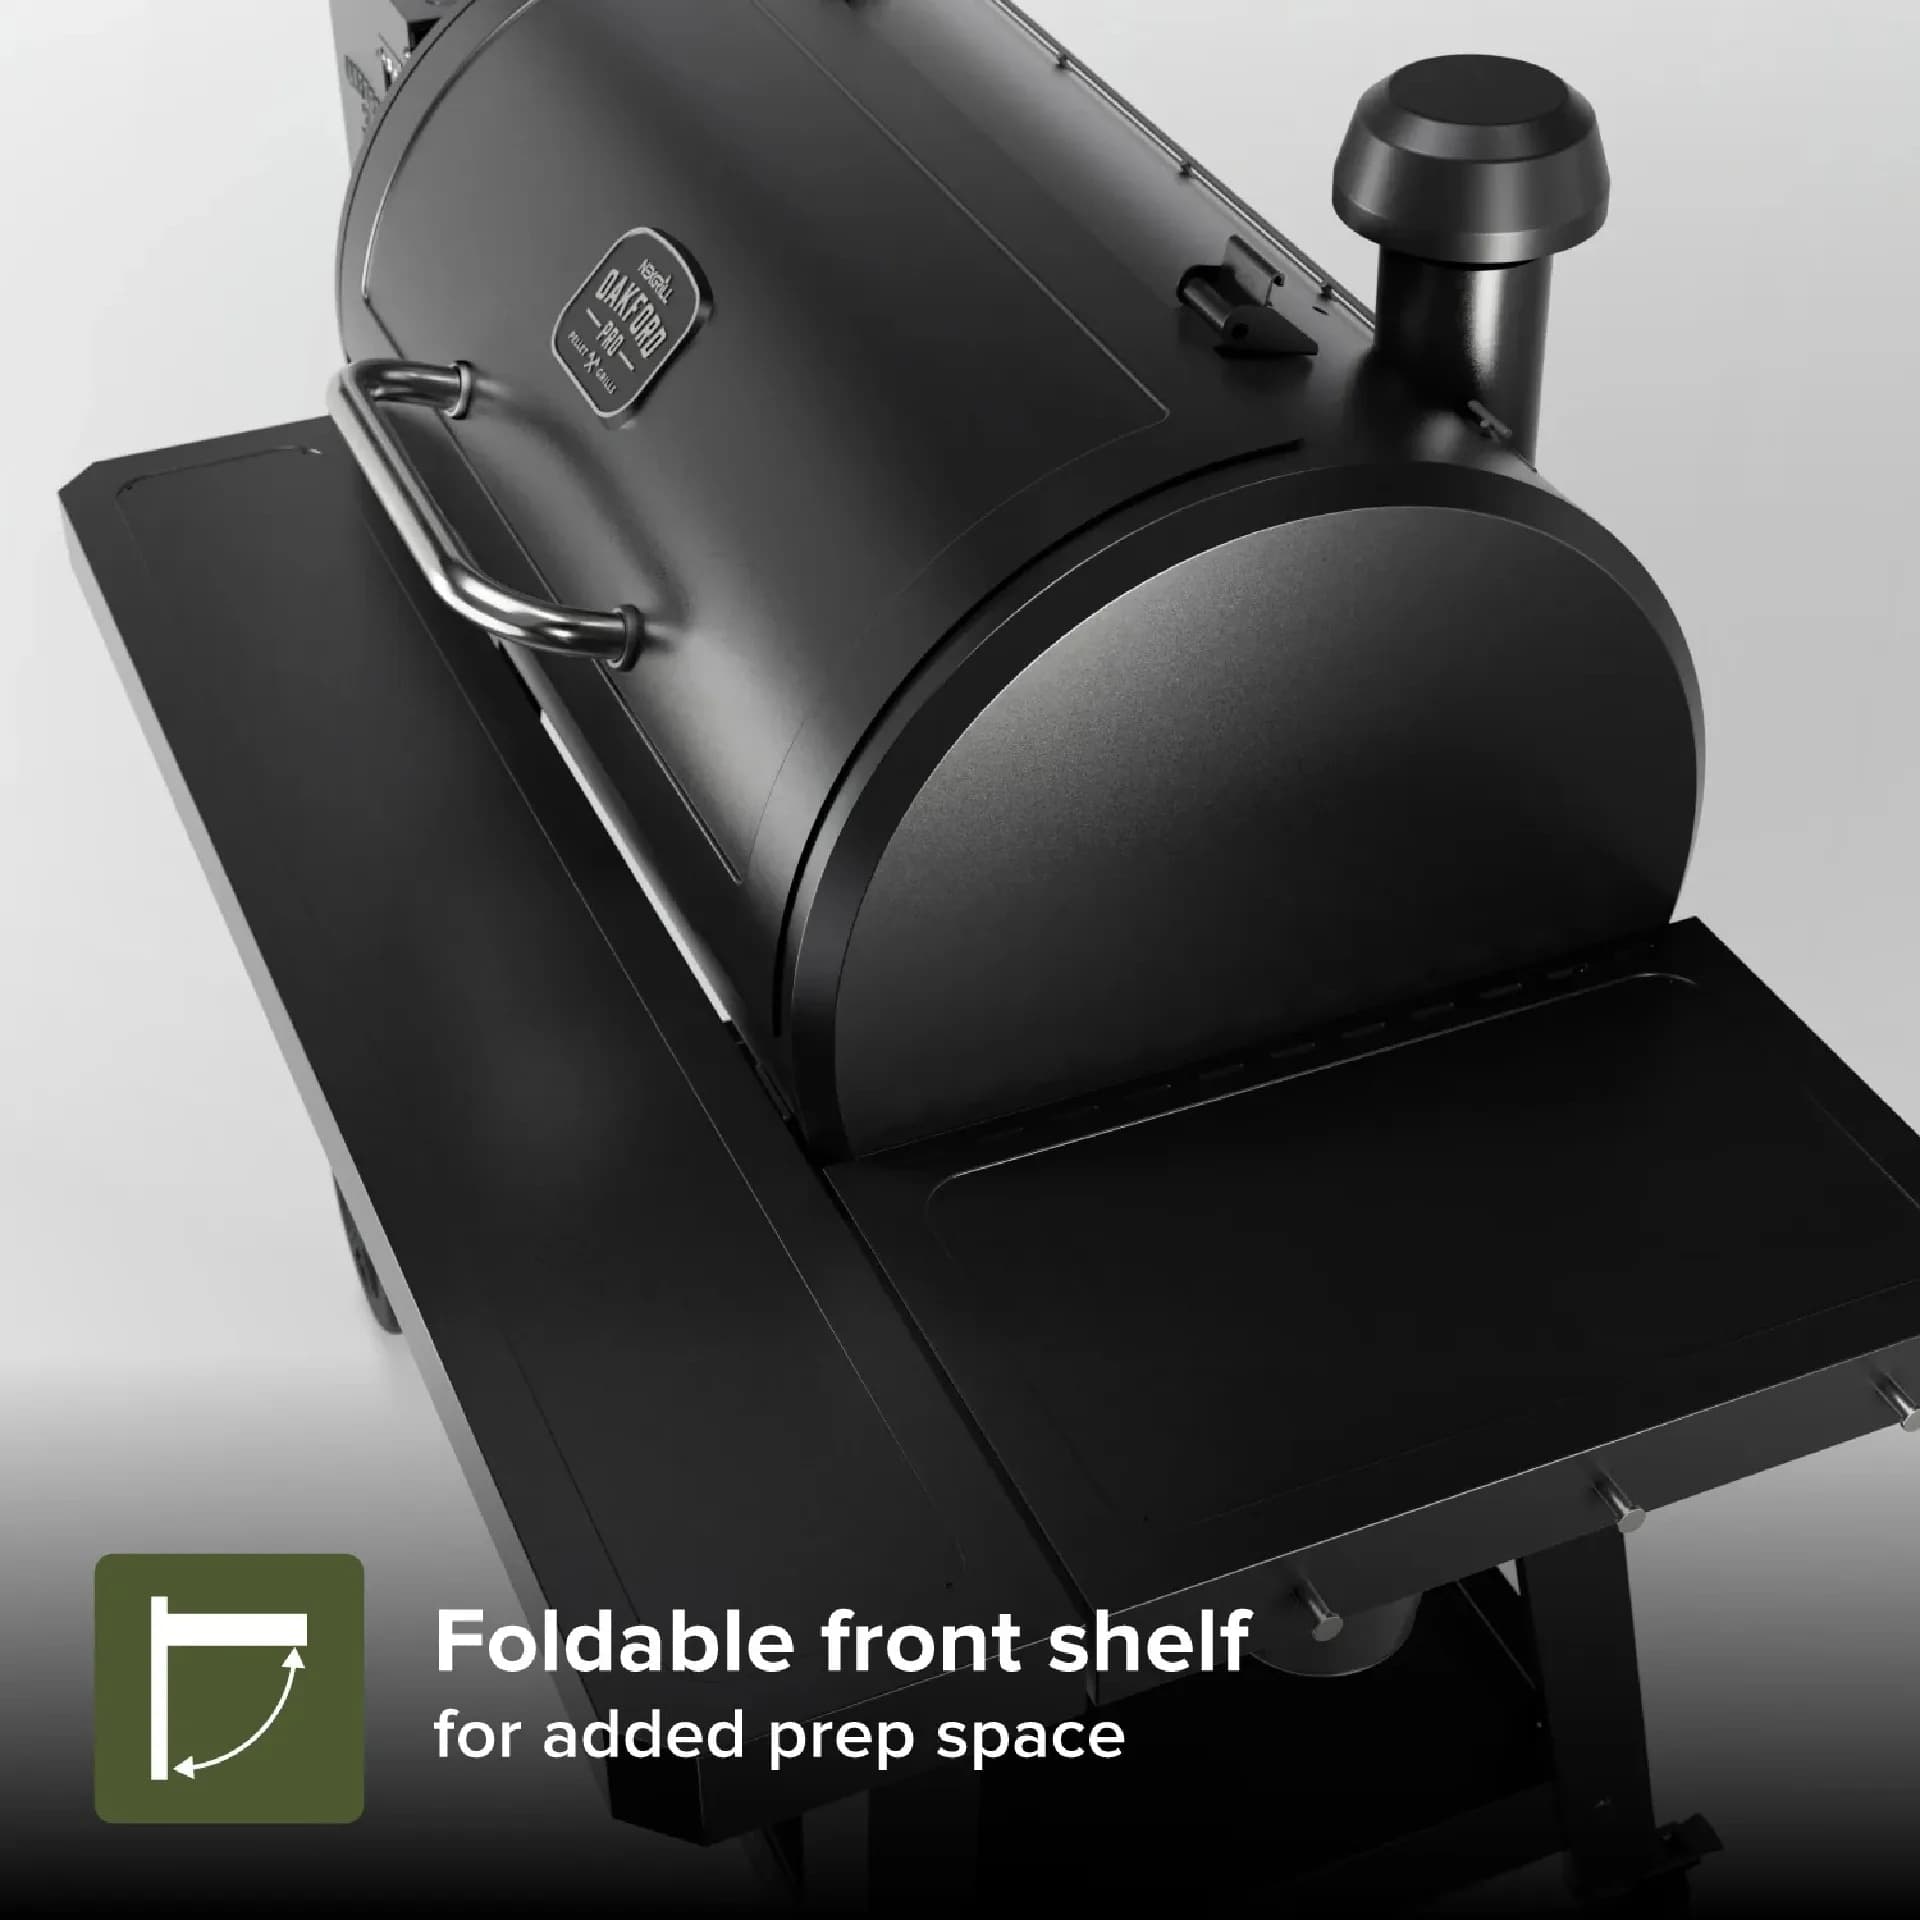
| 2 | Side shelf brackets and towel bar | Finger-tight | Brackets share cart bolts; align before locking |
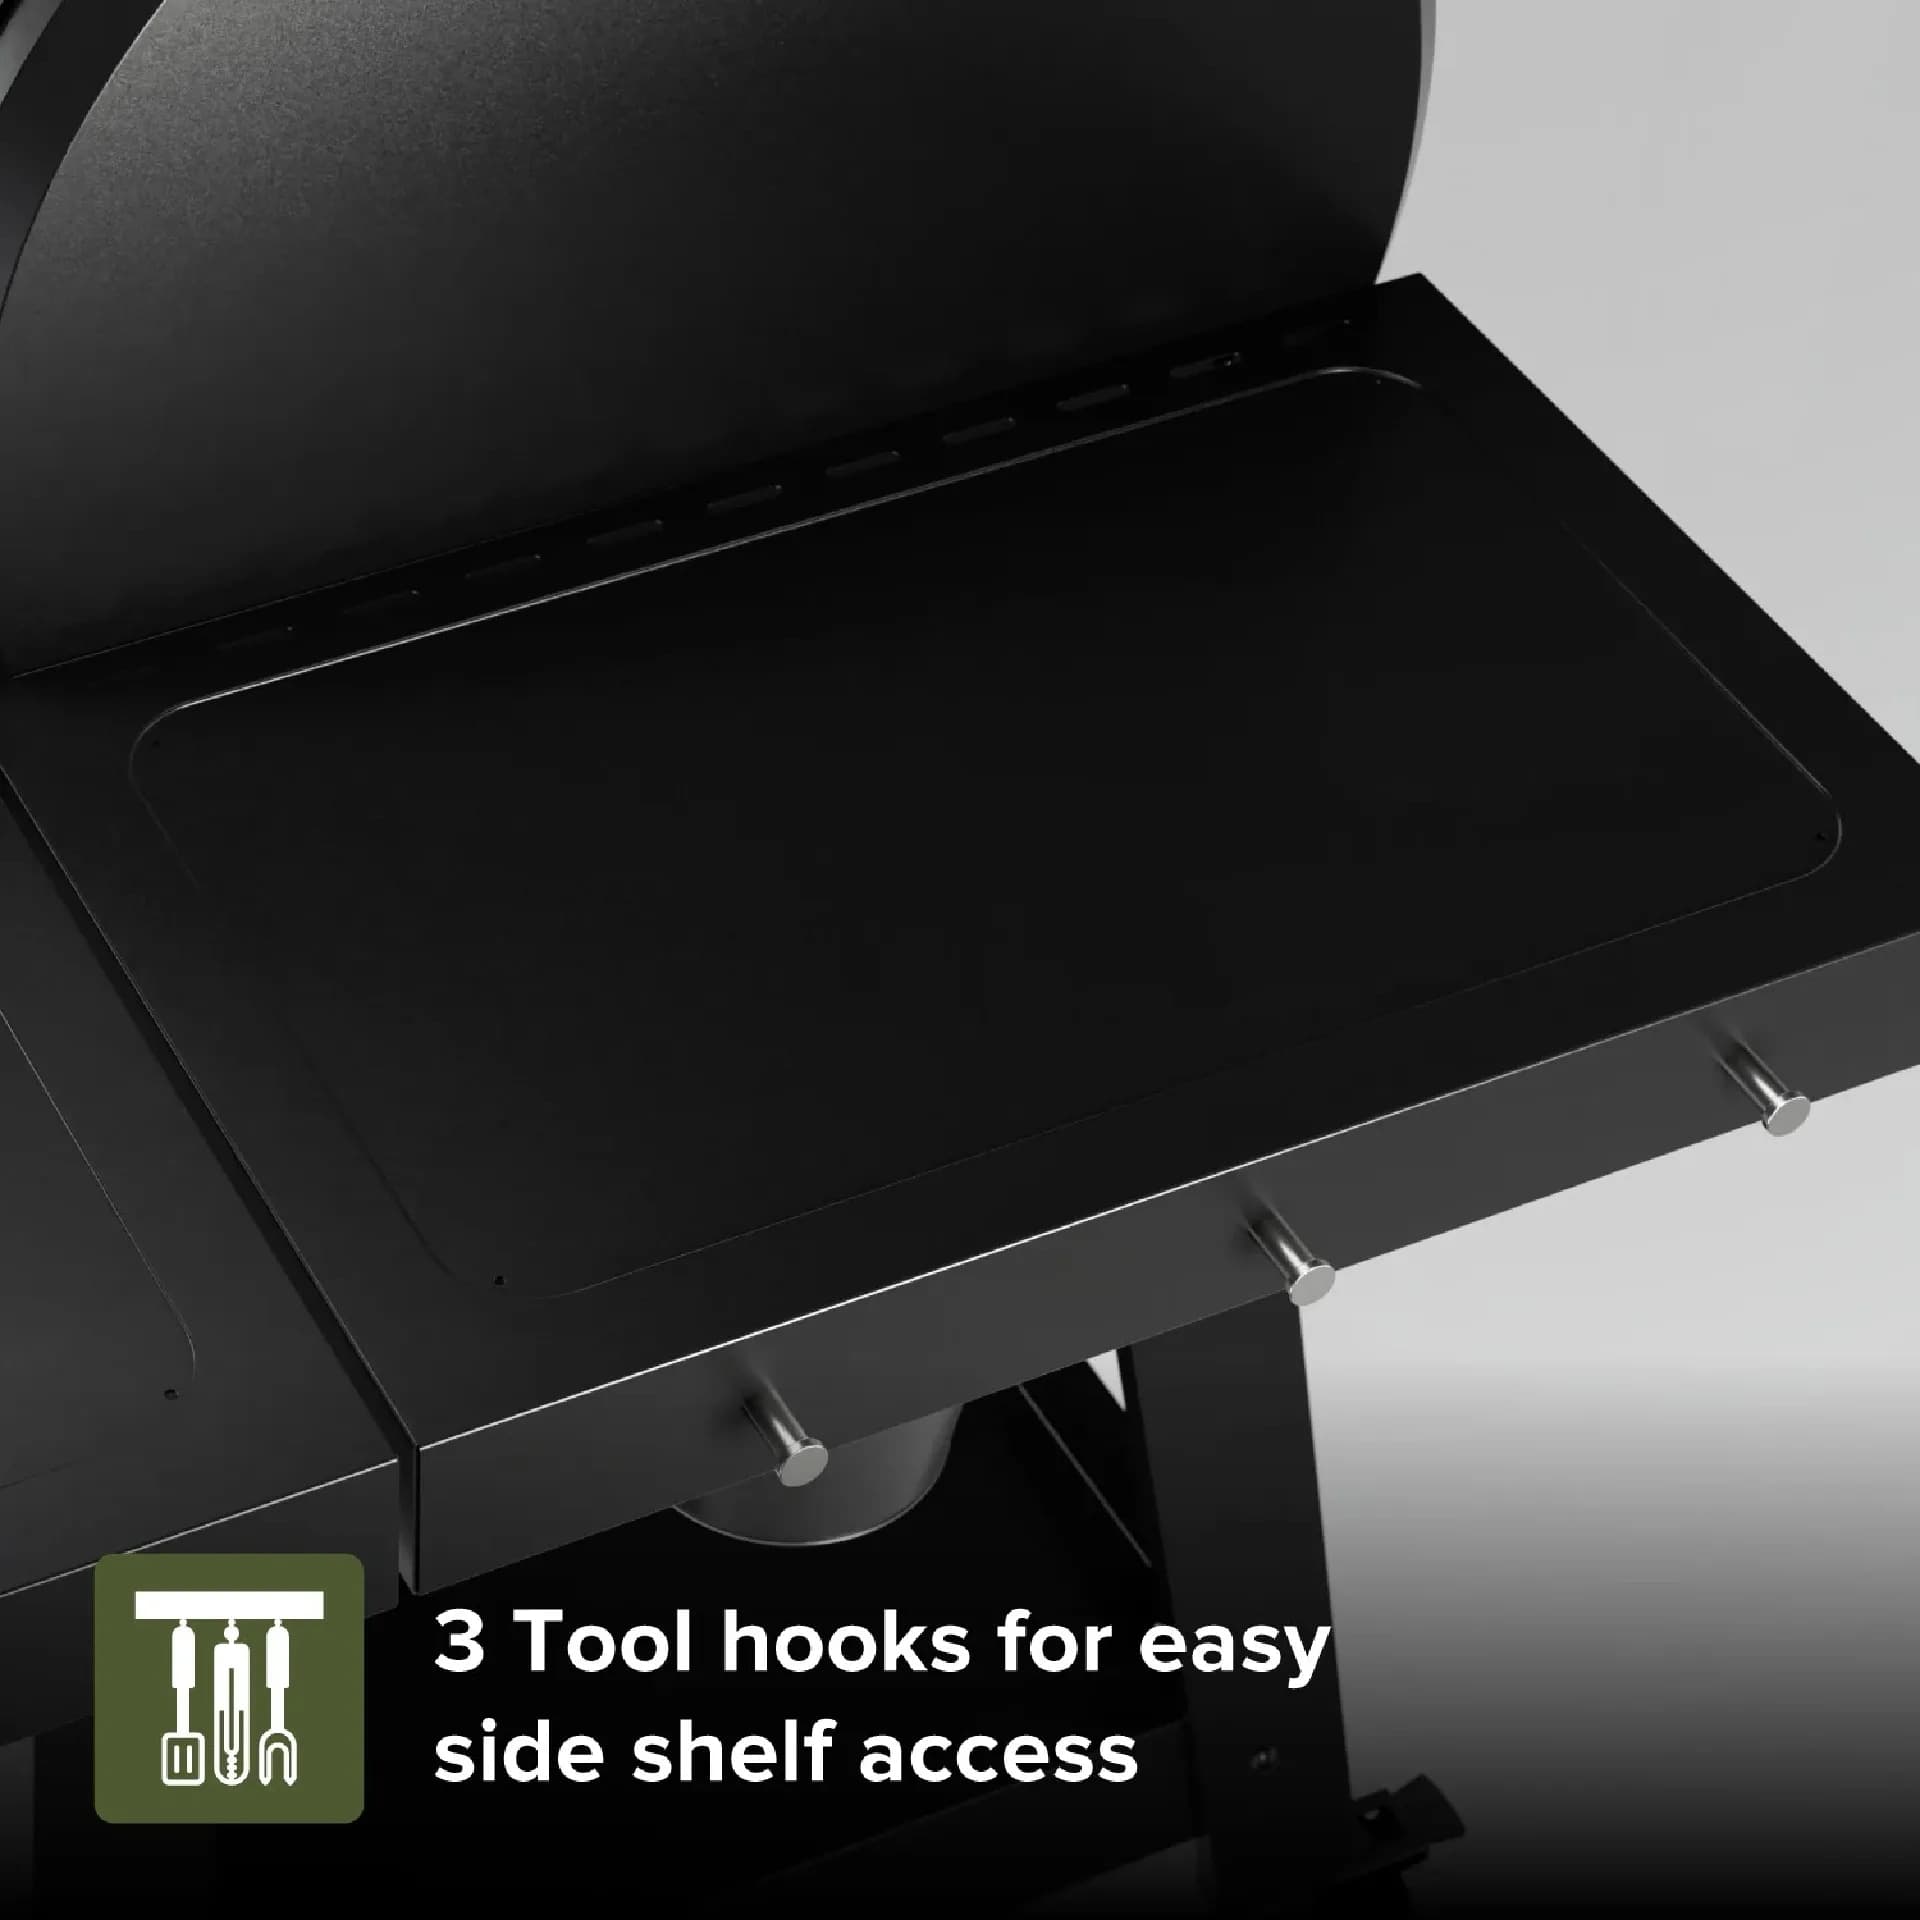
| 3 | Hopper/auger box onto cart | Snug only | Two-person lift; wiring exits underneath |
| 4 | Fire pot and burn grate | Full | Small fasteners, easy to cross-thread |
| 5 | Controller and RTD probe | Snug, no over-torque | Plastic housing cracks if overtightened |
| 6 | Lid, handle, hinge pins, chimney | Full, hinge last | Gasket must seat before hinge torque |
| 7 | Grease tray, bucket, warming rack | Hand-tight | Removable parts - no threadlocker |
Square the cart at the end: measure diagonally corner-to-corner at the base, adjust until the two numbers match within about 1/8 inch, then torque front-to-back bolts first and the diagonal cross-braces last. Casters go in before you call it done - cross-threaded caster stems are the number-one cause of a wobbling cart that no amount of re-torquing fixes.
Where Pellet Assembly Diverges From Gas: Auger Wiring, Probe Seating, and the Fire Pot Grate
Three pellet-only failure points deserve their own attention because they look identical to 'the controller is broken' when they are not.
Auger wiring. The auger motor harness runs from the hopper underside into the controller. It is easy to pinch this bundle between the hopper and cart cross-brace during stage 3. Route it through the factory grommet, not around it. If the auger runs but no pellets move, check that the safety grate over the auger intake is not still zip-tied to the hopper wall from shipping.
RTD probe seating. The RTD is the thin stainless probe inside the cook chamber, and it must be pushed fully into its clip with the connector prongs seated in the controller plug. A half-seated RTD reads ambient or wildly fluctuating temperatures, which sends the controller into either a runaway feed or a flameout.
Fire pot grate and igniter. The burn grate sits above the igniter rod. It only indexes one way - if it rocks, it is upside down. The igniter tip should be visible near the fire pot wall, not buried under the grate.
Before you plug into a GFCI patio outlet, trace every harness by hand: auger motor, fan, igniter, RTD, and controller display. Nothing should pass through a lid hinge, rest on a hot fire pot wall, or drape across the grease tray.
Why 'Loose-Start, Square, Then Torque' Still Applies - and Where It Stops
Sheet-metal cart construction is forgiving only while bolts are loose. Tighten every leg bolt as you go and the frame locks into whatever small parallelogram it formed on the floor, producing a grill that rocks and a lid that gaps. So: build the cart loose, square the diagonals, then torque front-to-back and finish with the cross-braces.
Where the rule stops is at moving and load-bearing parts. Fire pot fasteners, hinge hardware, caster nuts, and the hopper mounting bolts should go to full snug as you install them - they carry weight and heat, and 'loose' there just means a rattle later. Also stop the loose-start approach entirely at the controller: plastic housing fasteners get snug only, and if you feel the boss starting to give, back off 1/4 turn and stop.
Comparing Two Oakford Models? What the Specs Actually Tell You Before You Buy
If you have not committed to a carton yet, the honest comparison is between the two Oakford Pro pellet models Nexgrill publishes - the Oakford 875 Pro Pellet Smoker Grill and the larger Oakford 1125 Pro Pellet Smoker Grill. The product-page model numbers refer to cooking area, not build difficulty - both assemble on the same cart-plus-hopper architecture described above. What changes with size is the two-person requirement during the hopper lift and the time to heat-soak a larger chamber on first burn-in.
Two or three distinct buyer profiles map cleanly: a weeknight backyard cook feeding 2-4 people fits the smaller unit; a weekend entertainer doing full briskets and multiple racks wants the larger chamber; and a buyer who needs to move the grill across a deck or store it under a cover should check caster quality and overall footprint on the spec sheet before price. Try comparing two products side by side below to see which fits your cart space, cook volume, and budget before you build.
Once You've Weighed Two Options: Common Assembly Mistakes and How to Fix Them
Whichever Oakford you end up building, the assembly mistakes are remarkably consistent across the pellet line - and almost all of them trace back to the same handful of root causes. Here is the shortlist.
- Building on concrete without a blanket. Painted hopper panels scratch as soon as you set them down. Lay cardboard under the whole footprint before stage 1.
- Torquing the cart before squaring. Produces a permanent parallelogram and a lid that never sits flat.
- Ignoring the manual's hardware callout page. Pellet units ship with more small fasteners than gas grills; count them against the callouts so a missing bolt is caught before you are halfway in.
- Plugging in before the first physical inspection. Energising a grill with a pinched harness is a genuine safety issue, not just an annoyance.
- Leaving desiccant packs inside the hopper or fire pot. They will burn or jam the auger. Two minutes with a flashlight saves a service call.
Symptom → Cause → Fix: Controller, Auger, Lid Smoke, and Cart Wobble
| Symptom | Likely Cause | Fix |
|---|---|---|
| Controller reads wrong or fluctuating temperature | RTD probe not fully seated, or pinched during controller install | Re-seat probe in clip, check plug prongs, un-pinch harness |
| Auger runs but no pellets reach fire pot | Safety grate zip tie still on, or feed not primed | Cut tie, run prime/feed cycle until pellets drop |
| Smoke escaping around lid, not chimney | Gasket not seated before hinge torque | Loosen hinges, seat gasket, re-torque |
| Cart wobbles on flat ground | Torqued before squaring, or cross-threaded caster | Back off leg bolts, square diagonals, re-torque casters |
| Fan does not run at startup | Fan connector not pushed home at controller | Power off, reseat connector, retest |
If a symptom persists after these fixes, do not keep pressing buttons hoping the controller resets. Power down, unplug, and email Nexgrill support with your model-plate photo and a short description. Guessing at a live electrical fault is not worth it.
The First-Fire Checklist That Is Genuinely Pellet-Specific
Gas grills have a leak check; pellet grills have a feed-and-ignite check. Run these in order with the lid open on first light:
- Remove all packing, twist ties, and desiccant from the hopper, auger intake, and fire pot.
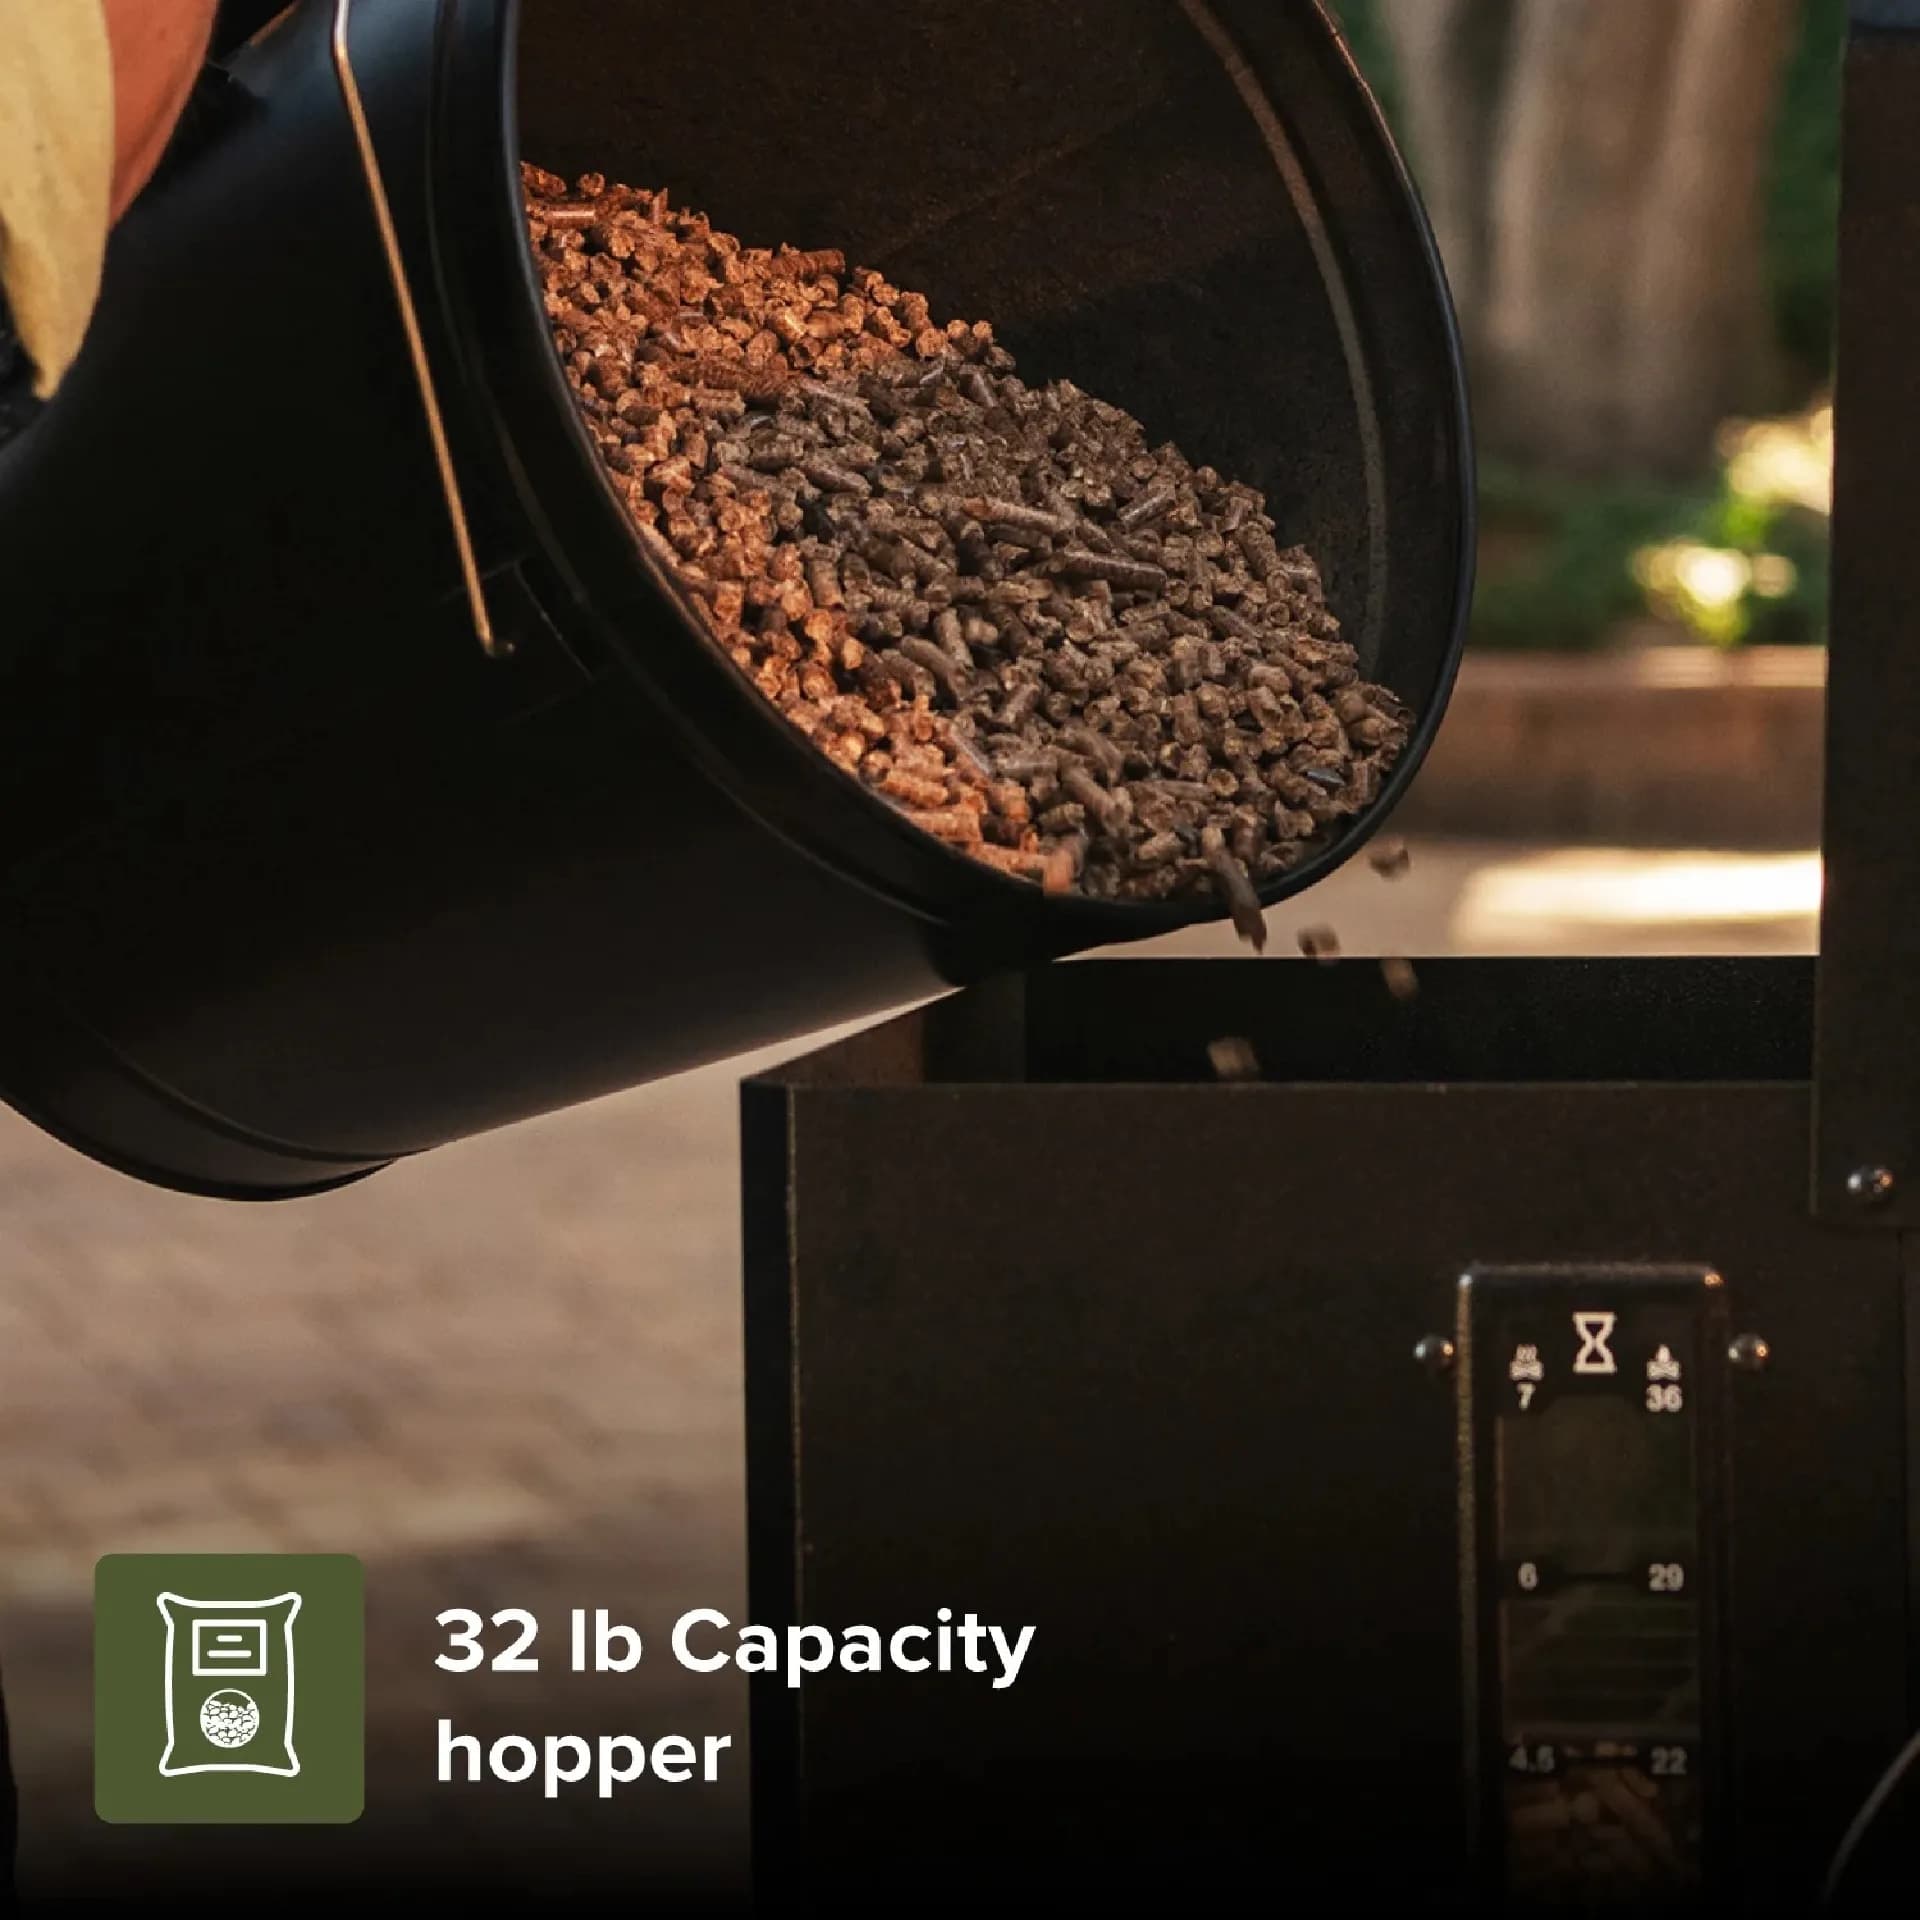
- Fill the hopper with dry pellets - check for moisture damage from shipping before you pour.
- Run the prime/feed function until you physically see pellets drop into the fire pot. Do not skip this and assume they arrived.
- Confirm the fan runs and that the auger stops when you issue the stop command (see your manual's exact button names).
- Light off, lid open, watching for a clean ignition with visible combustion air.
- Close the lid and run an empty burn-off at high for 30-45 minutes to burn off manufacturing oils. Expect some smell and light smoke; that is normal.
- Let the unit cool, empty the fire pot of ash, and grease the cooking grates before your first real cook.
Ash from a first burn is fine to bag and bin once fully cool - do not dump warm ash into a plastic trash can or near combustibles.
Tools, Helper, Hardware Count, and the Photo You Should Take Before Zip-Tying Anything
The single best habit in pellet assembly is documentation. Before you cut the first zip tie, take four photos: the closed carton label, the rating plate, the open carton showing hardware bags in place, and a wide shot of the fire pot and controller area as received. Those four images resolve 90% of later 'which part was damaged' conversations with support and give you a visual reference if you need to disassemble for a return.
Count hardware against the manual's callout table before step one, not after. A pellet cart typically uses a handful of bolt lengths that look almost identical - mixing a long bolt into a short-boss hole is how you strip a threaded insert. Keep the magnetic tray organised by length and do the count in one sitting with good light.
When to Stop and Contact Nexgrill Support for Missing or Damaged Parts
Stop assembly and reach out immediately if you find: a bent or cracked hopper panel, a cart leg with a deformed mounting flange, a controller with a visibly crushed connector, a missing hardware bag, or any electrical harness with exposed conductor. Do not 'make it work' with a substitute bolt on load-bearing joints, and do not try to bend a hopper back into shape - you will crack the powder coat and start a corrosion point that will outlast the warranty conversation.
Have your model-plate photo, serial number, purchase receipt, and a photo of the damaged part ready. Nexgrill's support channel is listed on the contact page, and the full catalogue for cross-checking part names and model numbers is at All Products.
How Assembly Choices Affect Long-Term Performance and Safety
Every shortcut you take at assembly shows up in year two. A cart torqued out of square means casters wear unevenly and the lid hinges load on one side. A pinched auger harness means intermittent feeding that looks like a controller fault and costs you a service visit. A gasket seated under a heavy hinge torque means smoke leaking from the lid for the life of the grill.
Pellet-specific safety habits also start at assembly: route the power cord away from the fire pot and grease tray, keep the hopper lid closable so pellets stay dry, and confirm the unit sits level so grease flows to the bucket rather than pooling. Check the U.S. Consumer Product Safety Commission recall database against your model before first use, and register your grill if your manual provides a registration path. Build it slow, square it true, burn it off properly - the payoff is a smoker you only think about when you are cooking.