Nexgrill Oakford 36A Manual: Setup, First Cook, and Troubleshooting Guide
Find the right Oakford manual, run the correct assembly and burn-off sequence, and avoid the pellet-grill mistakes that cause flame-outs and auger jams.
In This Article
Confirm Your Exact Model
Follow the Real Setup Order
Avoid Auger Jams
Your Oakford 36A Manual: What to Do Before You Download Anything
If you searched for a Nexgrill Oakford 36A manual and came up empty, you are not alone - and you are also not stuck. Pellet grill model naming across the outdoor cooking industry changes faster than documentation gets indexed, and a model badge on the front of the unit does not always match the file name on a support page. The practical move is to stop hunting for a PDF by name and start by identifying the exact unit on your patio, then work from the documentation that genuinely applies to it.
Nexgrill has been building outdoor cooking equipment since 1993 and its Oakford line covers pellet smoker grills such as the Oakford Pro 875 and Oakford 1125 Pro, which are published on the brand's product catalogue. Those listings are useful reference points because pellet grills share a common operating logic: a hopper feeds an auger, the auger drops pellets into a fire pot, a fan feeds combustion air, and a controller manages the whole cycle. Once you understand that chain, most setup and troubleshooting questions answer themselves regardless of which badge is on your lid.
Do not assume that a manual you found for a different Oakford model matches your grill. Controller firmware, igniter position, hopper capacity, and grate layout vary between SKUs, and using the wrong wiring diagram or clearance figure can create a real safety problem.
How to Confirm Which Oakford Model You Actually Own
Before downloading anything, walk outside with a phone and photograph the rating plate. On Nexgrill pellet grills this data sticker is typically fixed to the back or side of the hopper assembly or the inside of the cart leg. You need three strings of characters:
- Model number - the full alphanumeric string, not just the marketing name
- Serial number - needed for any parts request or warranty conversation
- Date code or manufacture date - tells you which production revision you have
Write those down before you contact support. When you reach out through the Nexgrill contact page at Nexgrill Support, that information lets the team pull the correct exploded parts diagram and assembly instructions for your specific revision instead of a generic file. It also protects you from a very common and expensive mistake: ordering a replacement auger motor, igniter, or controller board for the wrong revision and finding it does not fit.
Model, serial, and date code from the rating plate resolve almost every manual and parts question.
If your unit is a current Oakford model, start with the published product pages rather than a third-party PDF scan. The Nexgrill product catalogue lists the Oakford pellet models currently sold, and matching your rating plate against those listings is the fastest way to confirm whether you own a current SKU or an earlier revision. Third-party manual aggregator sites often host outdated revisions with incorrect clearance distances and obsolete controller instructions.
Before You Turn It On: What to Have Ready
A pellet grill first run goes badly when people improvise. Gather these items before you open a single box panel: a #2 Phillips screwdriver, a 10mm and 13mm wrench or socket set, a level, food-safe hardwood pellets (not charcoal, not chips, not a blend with added oils), a grill cover, and a grounded outdoor outlet. Budget roughly 60 to 90 minutes for assembly alone on a full-size Oakford, and do it on a flat surface - assembly on grass or gravel is a reliable way to end up with a crooked cart.
Plan for the space too. Pellet grills need several inches of clearance behind the hopper for the lid to swing and for heat to escape, plus headroom if you are under an overhang. A pellet unit produces visible smoke and a steady updraft; tucking it tight against a wall or under a low wooden structure traps heat and discolours surfaces.
Step-by-Step: Getting Your Oakford Pellet Grill Running
Whether you are working from an official Oakford manual or from the process below, the order matters more than most owners expect:
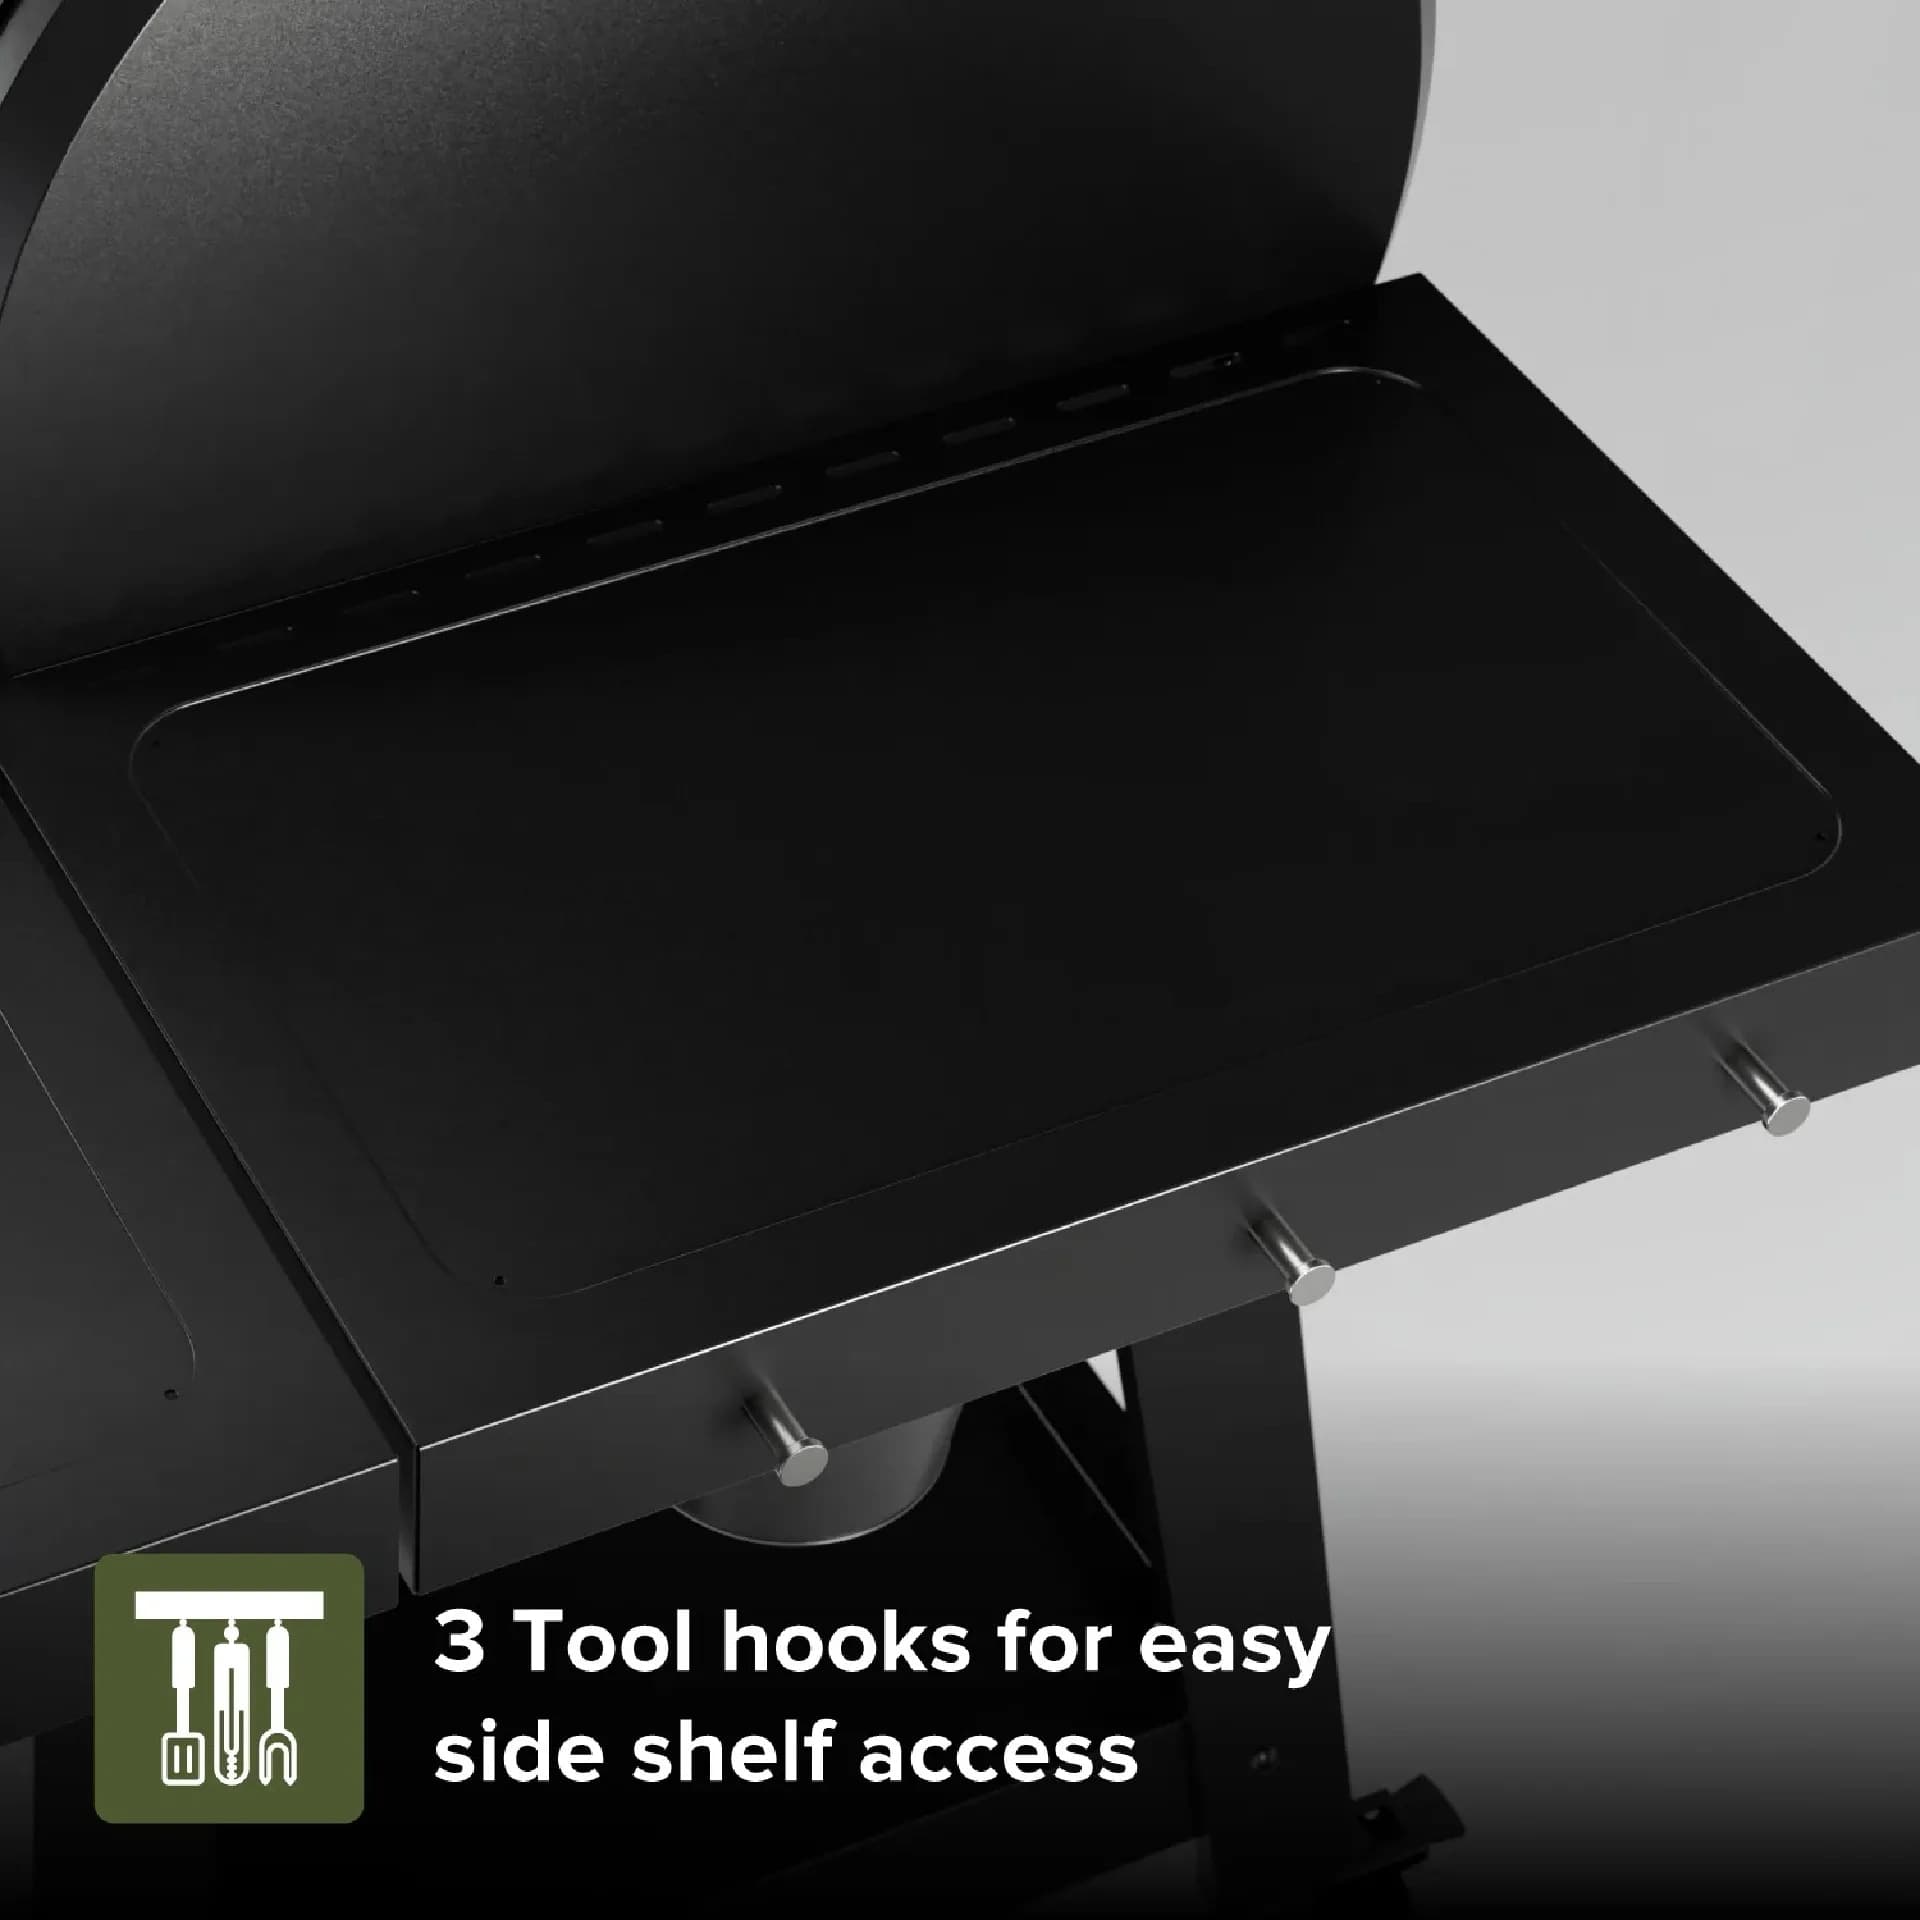
- Assemble the cart, legs, and side shelf first, then attach the hopper and chamber. Tighten hardware only after everything is aligned.
- Install the heat baffle, drip tray, and grates, then confirm the fire pot is seated correctly and free of packing material.
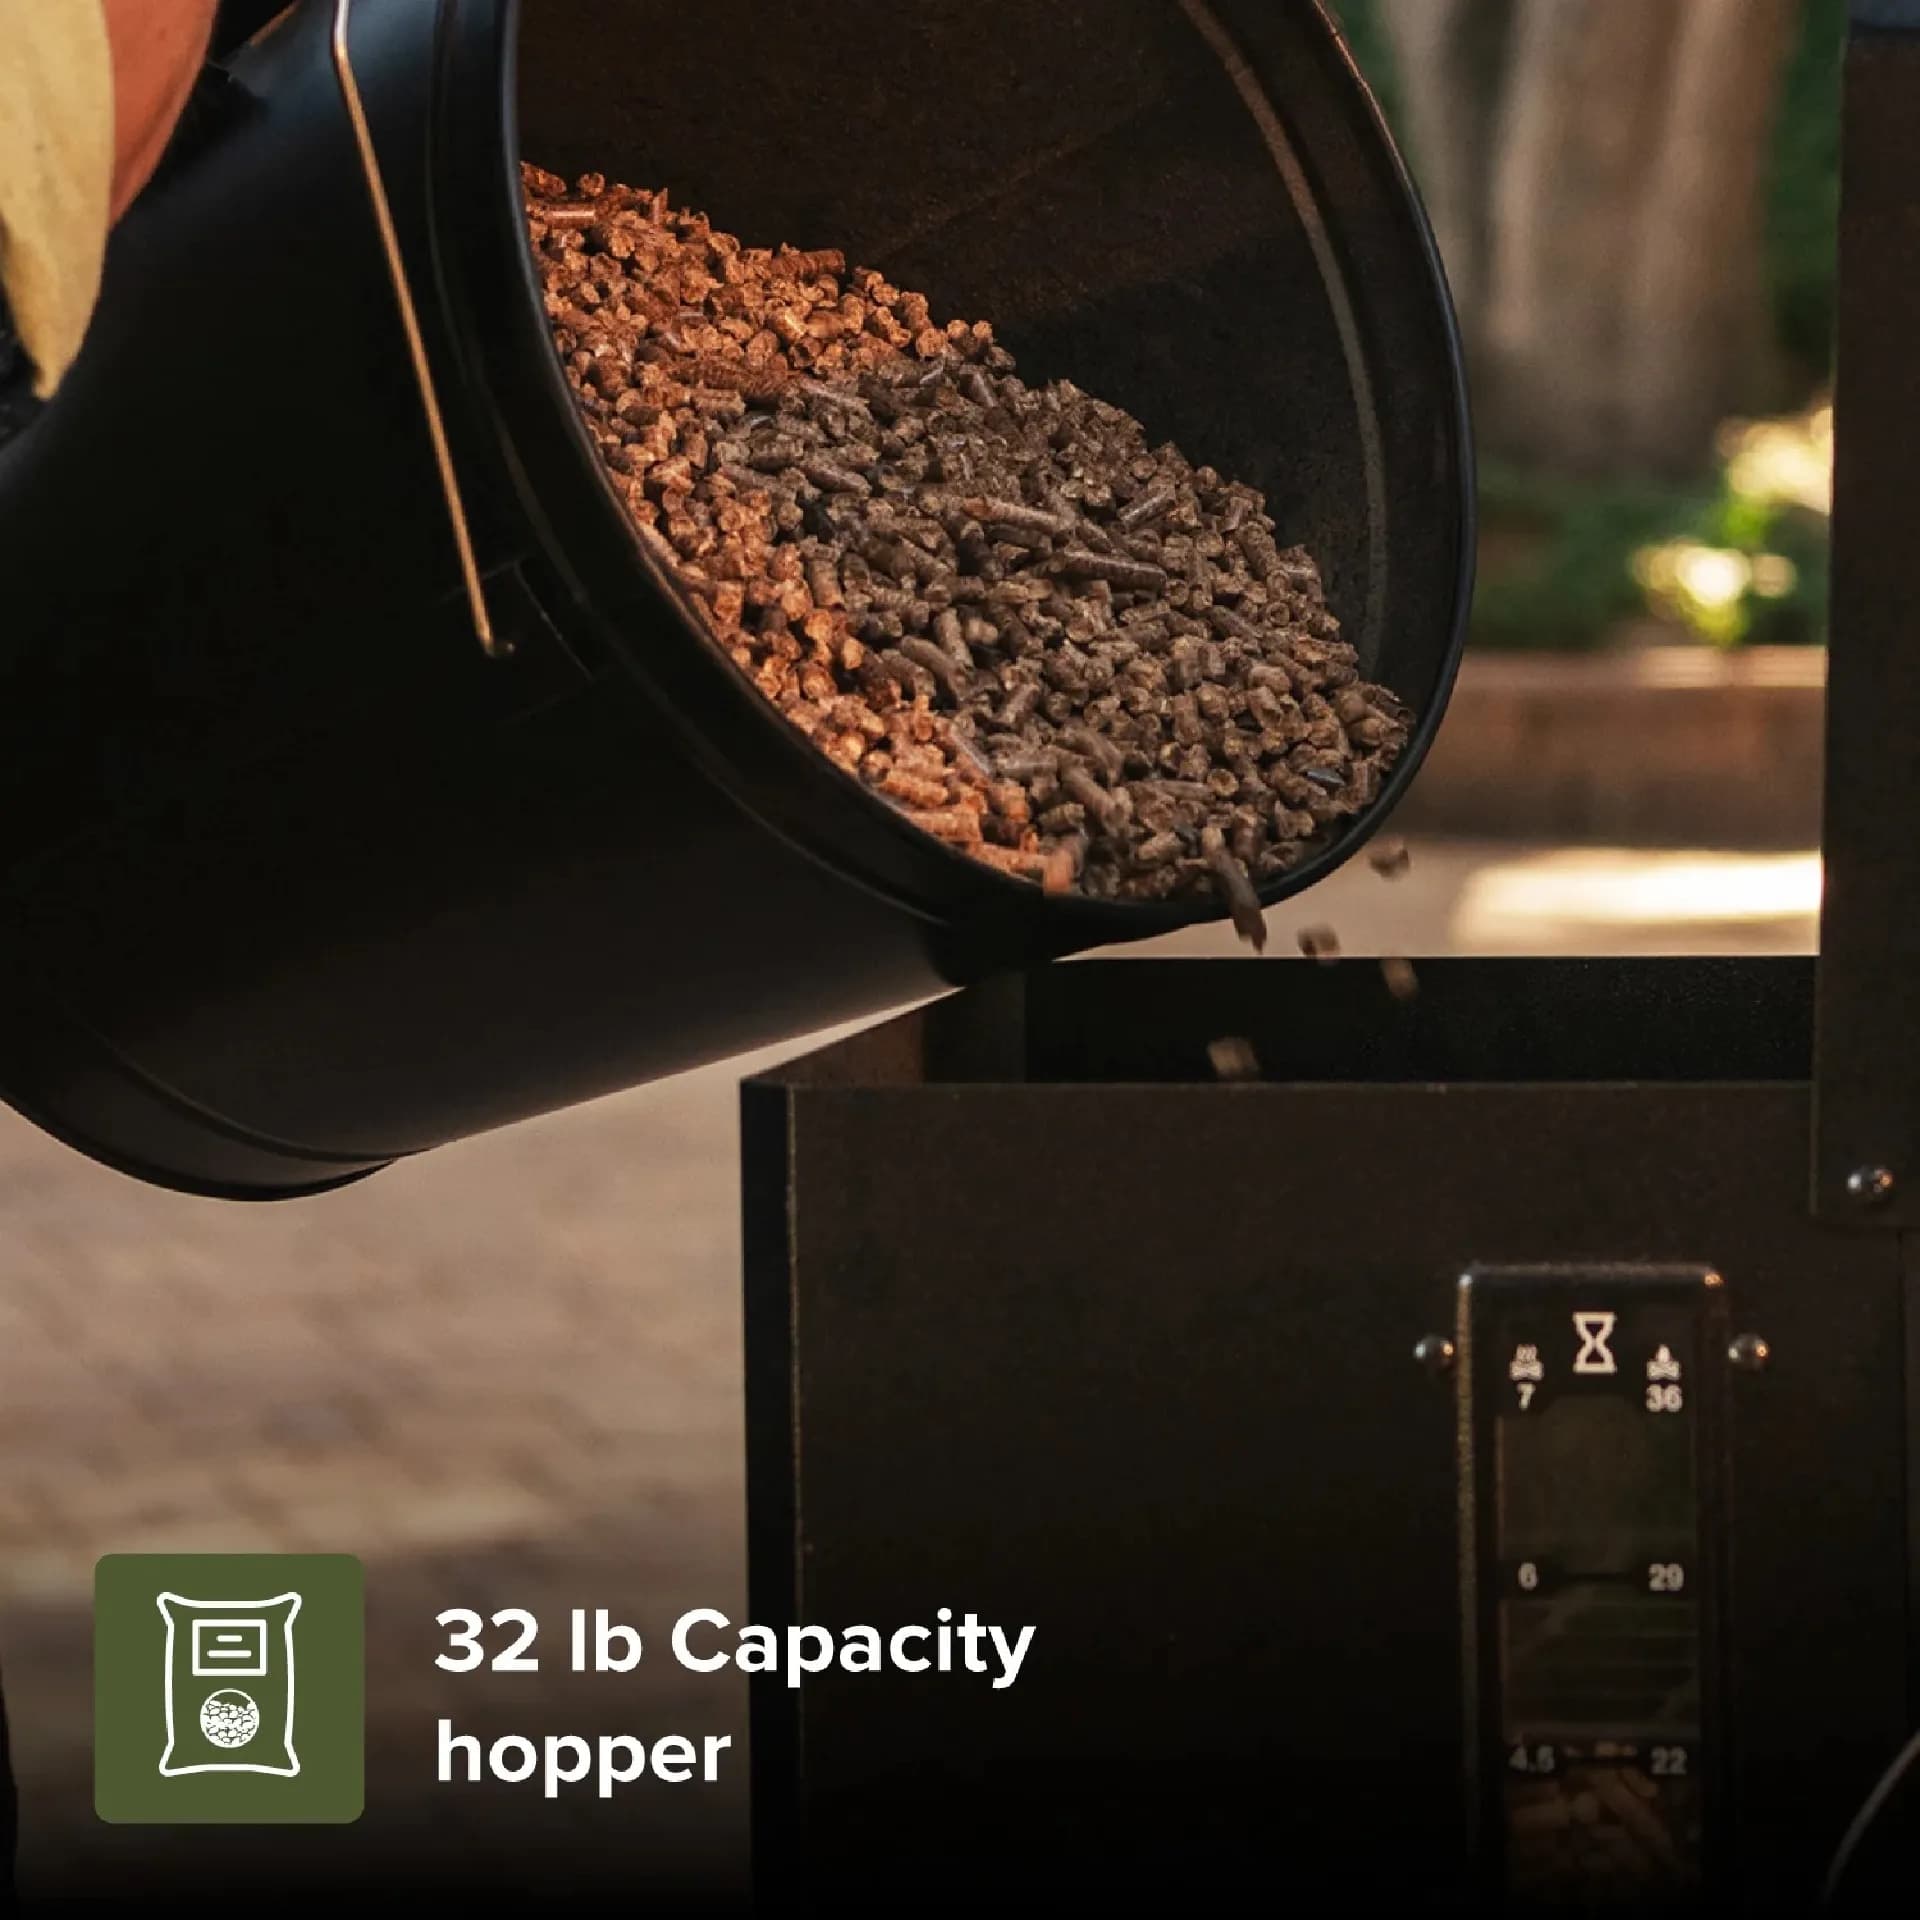
- Load pellets - fill the hopper no more than about three quarters full for the first run, since you need room to see how the auger feeds.
- Prime the auger. Run the controller in its feed or prime mode until you hear pellets dropping into the fire pot, which typically takes 60 to 120 seconds on an empty auger tube.
- Run the burn-off. Set the controller to roughly 350 to 400°F with the lid closed for 30 to 45 minutes to cook off manufacturing oils and protective coatings.
- Cool down, wipe the grates, and only then cook food.
Prime the auger with the lid closed and the fire pot empty. Priming into an already-lit fire pot is the single most common cause of a dangerous flare-up during a first cook.
Where New Owners Usually Go Wrong
These failures are predictable and almost entirely preventable:
| Mistake | What Happens | Correct Approach |
|---|---|---|
| Skipping the burn-off | Oily taste, discoloured food, lingering odour | Run 350-400°F for 30-45 minutes before any food |
| Overfilling the hopper | Pellet bridging, inconsistent feed, auger strain | Fill to about three quarters on first runs |
| Wrong pellet type or size | Auger jam, crumbled pellets, blocked fire pot | Use standard food-grade hardwood pellets only |
| Lid open during startup | Slow ignition, temperature overshoot, smoke surge | Keep the lid closed through the entire startup cycle |
| Cutting power mid-cycle | Pellets smoulder in the fire pot, next start flares | Always complete the shutdown cycle |
One more that catches people out: gas grill habits do not transfer. BTU ratings and burner counts tell you very little about pellet grill performance, because pellet cooking is about airflow, fuel feed rate, and controller logic. Judging a pellet grill by a BTU number is like judging an oven by its wattage.
Try Comparing Two Products Side by Side Below
If you are still deciding whether your situation calls for a pellet smoker, a flat-top griddle, or a traditional gas grill, the specifications only tell half the story. Try comparing two products side by side below to see which fits best:
Once You've Weighed Two Options Against Each Other, Here's What Else Matters
Comparing two grills side by side usually settles the big question - pellet, gas, or griddle. What it does not settle is the day-to-day reality of owning a pellet smoker: how the controller behaves, what pellets cost you over a season, whether your outlet can handle the draw, and how much cleaning the unit demands. Those are the details that determine whether a grill gets used twice a month or sits under a cover by August.
A pellet grill is a small appliance that happens to cook outside. Treat it like one and it rewards you. Treat it like a charcoal kettle and you will spend weekends clearing jammed augers.
Reading Your Controller: Temperature, Startup, and Shutdown Cycles
Your controller runs three distinct cycles, and confusing them causes most owner frustration. Learn the difference between them:
| Cycle | What the Grill Is Doing | Typical Duration | Lid Position |
|---|---|---|---|
| Startup / ignition | Auger feeds, igniter heats, fan drives combustion | 4-8 minutes | Closed |
| Run / hold | Controller modulates feed to hold setpoint | As long as you cook | Closed, brief checks only |
| Shutdown / cool-down | Auger stops, fan runs to burn out the fire pot | 10-20 minutes | Closed |
Never unplug a pellet grill to shut it down faster. Killing power before the cool-down finishes leaves smouldering pellets in the fire pot, and the next startup can produce a sharp flare-up that scorches your food and your eyebrows.
Temperature swings of 15 to 25°F around your setpoint are normal on a pellet grill, especially in wind or cold. If you are seeing swings beyond that, the usual suspects are a dirty temperature probe, a partially bridged hopper, or a lid that is not sealing. Clean the probe with a damp cloth, stir the pellets, and check the lid gasket before you assume the controller is faulty.
Pellet Selection and Storage for US Climates
Pellets are the fuel, the flavour, and the most common failure point all at once. Use food-grade hardwood pellets manufactured for cooking - never heating pellets, which can contain softwood binders and additives not intended for food contact. Pellet diameter matters too; oversized or overly long pellets are a leading cause of auger jams, and damp pellets crumble into dust that packs the auger tube solid.
Storage is where humid-climate owners in the Southeast and Midwest get into trouble. Pellets absorb moisture from the air, and a hopper left loaded through a rainy week is an auger jam waiting to happen. Empty the hopper after each cook if you live somewhere with summer humidity above roughly 60 percent, and store pellets in a sealed container rather than the bag they shipped in. In arid climates you have more slack, but sealed storage still extends pellet life.
Budget roughly 1 to 2 pounds of pellets per hour at 225°F on a mid-size pellet grill, more in cold or windy conditions. A 20-pound bag therefore covers a long brisket cook with some margin.
Cold-Weather and Power Considerations for 120V Pellet Grills
Nexgrill pellet grills run on standard 120V household power, and that shapes how you place the unit. Key points for US owners:
- Use a GFCI-protected outdoor outlet where one is available. Pellet grills run unattended for hours, which is exactly the scenario GFCI protection exists for.
- Prefer a direct outlet over an extension cord. If you must use a cord, choose a heavy-gauge outdoor-rated one sized for the grill's amperage draw and keep the run as short as practical - undersized cords cause voltage drop, and voltage drop causes erratic controller behaviour and failed ignitions.
- Route the cord so it is not pinched under the cart leg or resting on a hot chamber surface.
- In freezing weather, expect longer heat-up times and higher pellet consumption. Pre-warming the chamber and using a thermal blanket or welding blanket over the lid (leaving vents clear) helps hold temperature.
- Below roughly 20°F, plan on a longer startup and accept that your maximum achievable temperature will drop.
Routine Cleaning and Seasonal Storage
Pellet grills reward a short, consistent cleaning routine. Vacuum the fire pot and the area around the auger every few cooks - ash buildup restricts airflow and is the most common reason a grill starts failing to reach temperature. Line the drip tray with heavy-duty foil and replace the foil rather than scraping grease for twenty minutes. Empty and wipe the grease tray before it fills, especially after fatty cooks like pork shoulder or duck.
For seasonal storage, complete a full shutdown cycle, let the unit cool completely, empty the hopper and auger tube of pellets, vacuum the fire pot, and cover the grill with a breathable cover. A cover that traps condensation can do more harm than no cover at all, so look for one designed for outdoor cooking equipment. Nexgrill sells fitted covers with several pellet models, including the Oakford Pro 875 bundle listed in the Nexgrill catalogue. If you are unsure which accessories match your revision, the team at Nexgrill Support can confirm fit from your model and serial number.
Your Pre-Cook Checklist
Run through this every time, and most pellet grill problems simply will not happen:
PRE-COOK CHECK
[ ] Hopper loaded with dry food-grade hardwood pellets
[ ] Fire pot empty and free of ash buildup
[ ] Drip tray foil fresh, grease tray empty
[ ] Temperature probe wiped clean
[ ] Lid closed, gasket sealing
[ ] Clearance behind hopper and above lid confirmed
[ ] Plugged into GFCI outlet (no undersized extension cord)
[ ] Controller set to target temp, startup cycle complete
[ ] Timer set for shutdown cycle before you walk away

FOOD SAFETY (USDA FSIS)
[ ] Poultry 165 F internal
[ ] Ground meats 160 F internal
[ ] Whole cuts of beef, pork, lamb 145 F + 3 min rest
Those internal temperature targets come from USDA FSIS guidance and are not negotiable regardless of what your controller display says. Cook to temperature, not to time.