Nexgrill "Oakford 1400" Assembly Instructions: Confirm the Pellet Model, Then Build in Stages
A pellet-grill-specific build path - cart and legs, barrel, hopper and controller wiring, RTD probe placement - plus the mistakes that force a teardown and the first burn the manual doesn't count as assembly.
In This Article
Confirm the Model First
Loosely Assemble, Then Torque
Assembly Ends at First Burn
Confirm Which Oakford You Actually Own Before the First Bolt
If your carton or listing says "Oakford 1400," check the rating label before unpacking the hardware bags. Nexgrill's documented Oakford pellet line is the 875 Pro and 1125 Pro; no 1400 model appears on current Nexgrill spec sheets. A wrong-model start is the most common reason pellet-grill assembly stalls, because hopper, controller, and barrel hardware differ between models.
You are not building a "1400." You are building the Oakford that matches your label - identify it first to avoid reordering parts.
Where the Model Label Lives on a Pellet Grill
Check four spots: the side of the hopper (easiest to read), the rear of the barrel near the chimney, inside the cart frame, and the controller housing. The label lists the model number (e.g., 875 Pro or 1125 Pro), serial number, and electrical rating.
Why "Oakford 1400" Doesn't Appear on a Nexgrill Spec Sheet
Retailer titles, marketplace listings, and third-party bundles sometimes append unofficial numbers that do not correspond to a Nexgrill SKU. If your label shows 875 Pro or 1125 Pro, you have a real model with a real manual. If it shows 1400, you likely have a mislabeled listing or a different brand.
Two People, One Flat Pad, and the Tools the Carton Doesn't Include
Plan for two adults and a flat, level surface - a driveway or patio, not grass. The carton includes hardware, but not a 7/16-inch wrench, Phillips screwdriver, utility knife, or magnetic parts tray. A 4-foot level helps square the cart. Budget 60-120 minutes; that is an estimate based on typical pellet-grill assembly, not a Nexgrill specification.
Inventory the Hardware Bags Before Stage One
Open all bags and sort bolts by length - pellet builds use several similar-looking bolts, and mixing them strips threads. Compare counts against the manual's parts list; a missing bag is easier to resolve before the cart is half-built.
Stage-by-Stage Build: Cart, Barrel, Hopper, Then Chimney
Loosely assemble each stage, square and level, then torque. This order prevents disassembling the hopper to reach a cart bolt.
Stage 1: Cart Base and Legs
Attach legs and shelf brackets finger-tight. Measure diagonally across the cart frame - both diagonals should match within 1/8 inch. If not, loosen and adjust until square, then tighten.
Stage 2: Barrel Mounting and Lid Hinge Alignment
Set the barrel on the cart and install hinge bolts loosely. The lid should swing without binding; if it rubs, shim or adjust the hinge plates before final tightening. A misaligned lid leaks smoke and heat.
Stage 3: Hopper, Auger Tube, and Fire Pot Seating
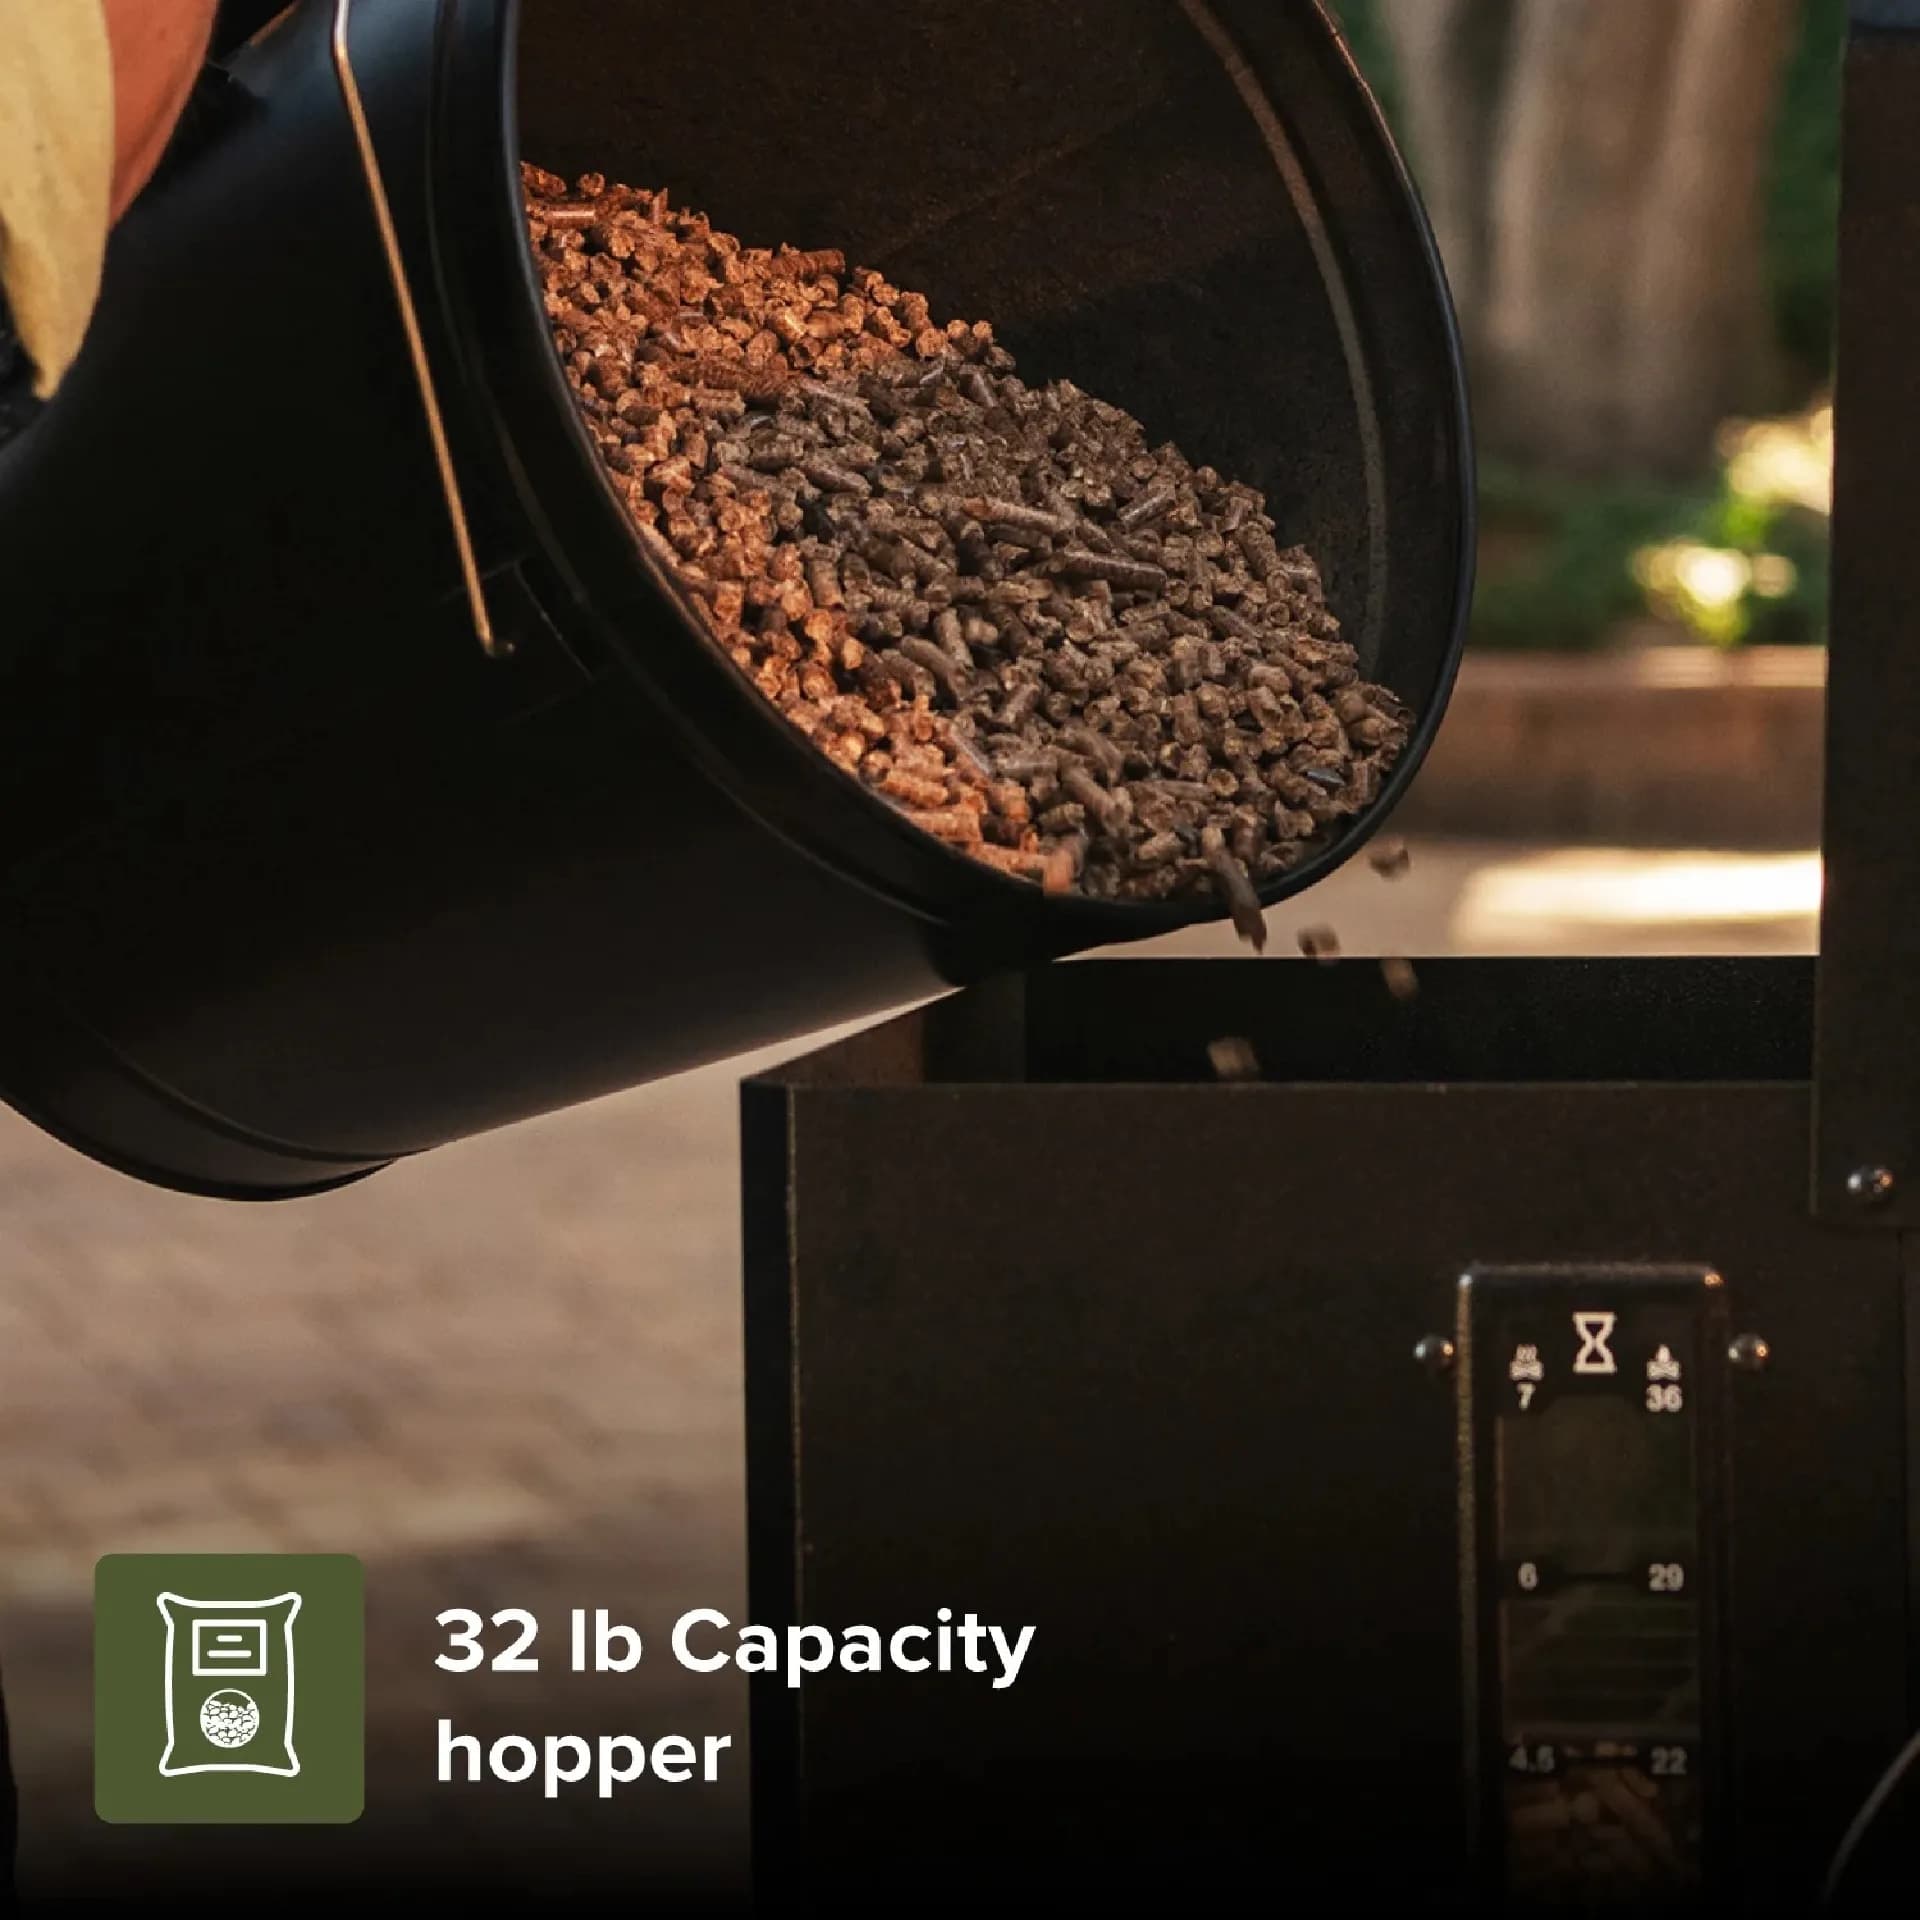
Slide the hopper onto its mounts and confirm the auger tube enters the fire pot opening without force. Remove shipping ties or foam from inside the auger tube - a common oversight that jams the auger on first start. Seat the fire pot and burn grate flush.
Stage 4: Chimney, Drip Tray, and Grease Bucket
Install the chimney cap and vent stack, then the drip tray and grease bucket. The tray should slide freely; if it binds, the barrel is not seated correctly.
Wiring the Controller and Placing the RTD Probe Correctly
Connect the controller, auger motor, fan, and RTD probe per the wiring diagram. The probe must sit 1-2 inches from the fire pot, not touching the barrel or grate - too close reads hot, too far causes swings. Secure the probe clip so it cannot shift.
Once wiring is complete, compare two Oakford models side by side below to see which fits your cooking style before you finalize the build:
Once You've Weighed Two Oakford Models, Here's What Else Changes the Build
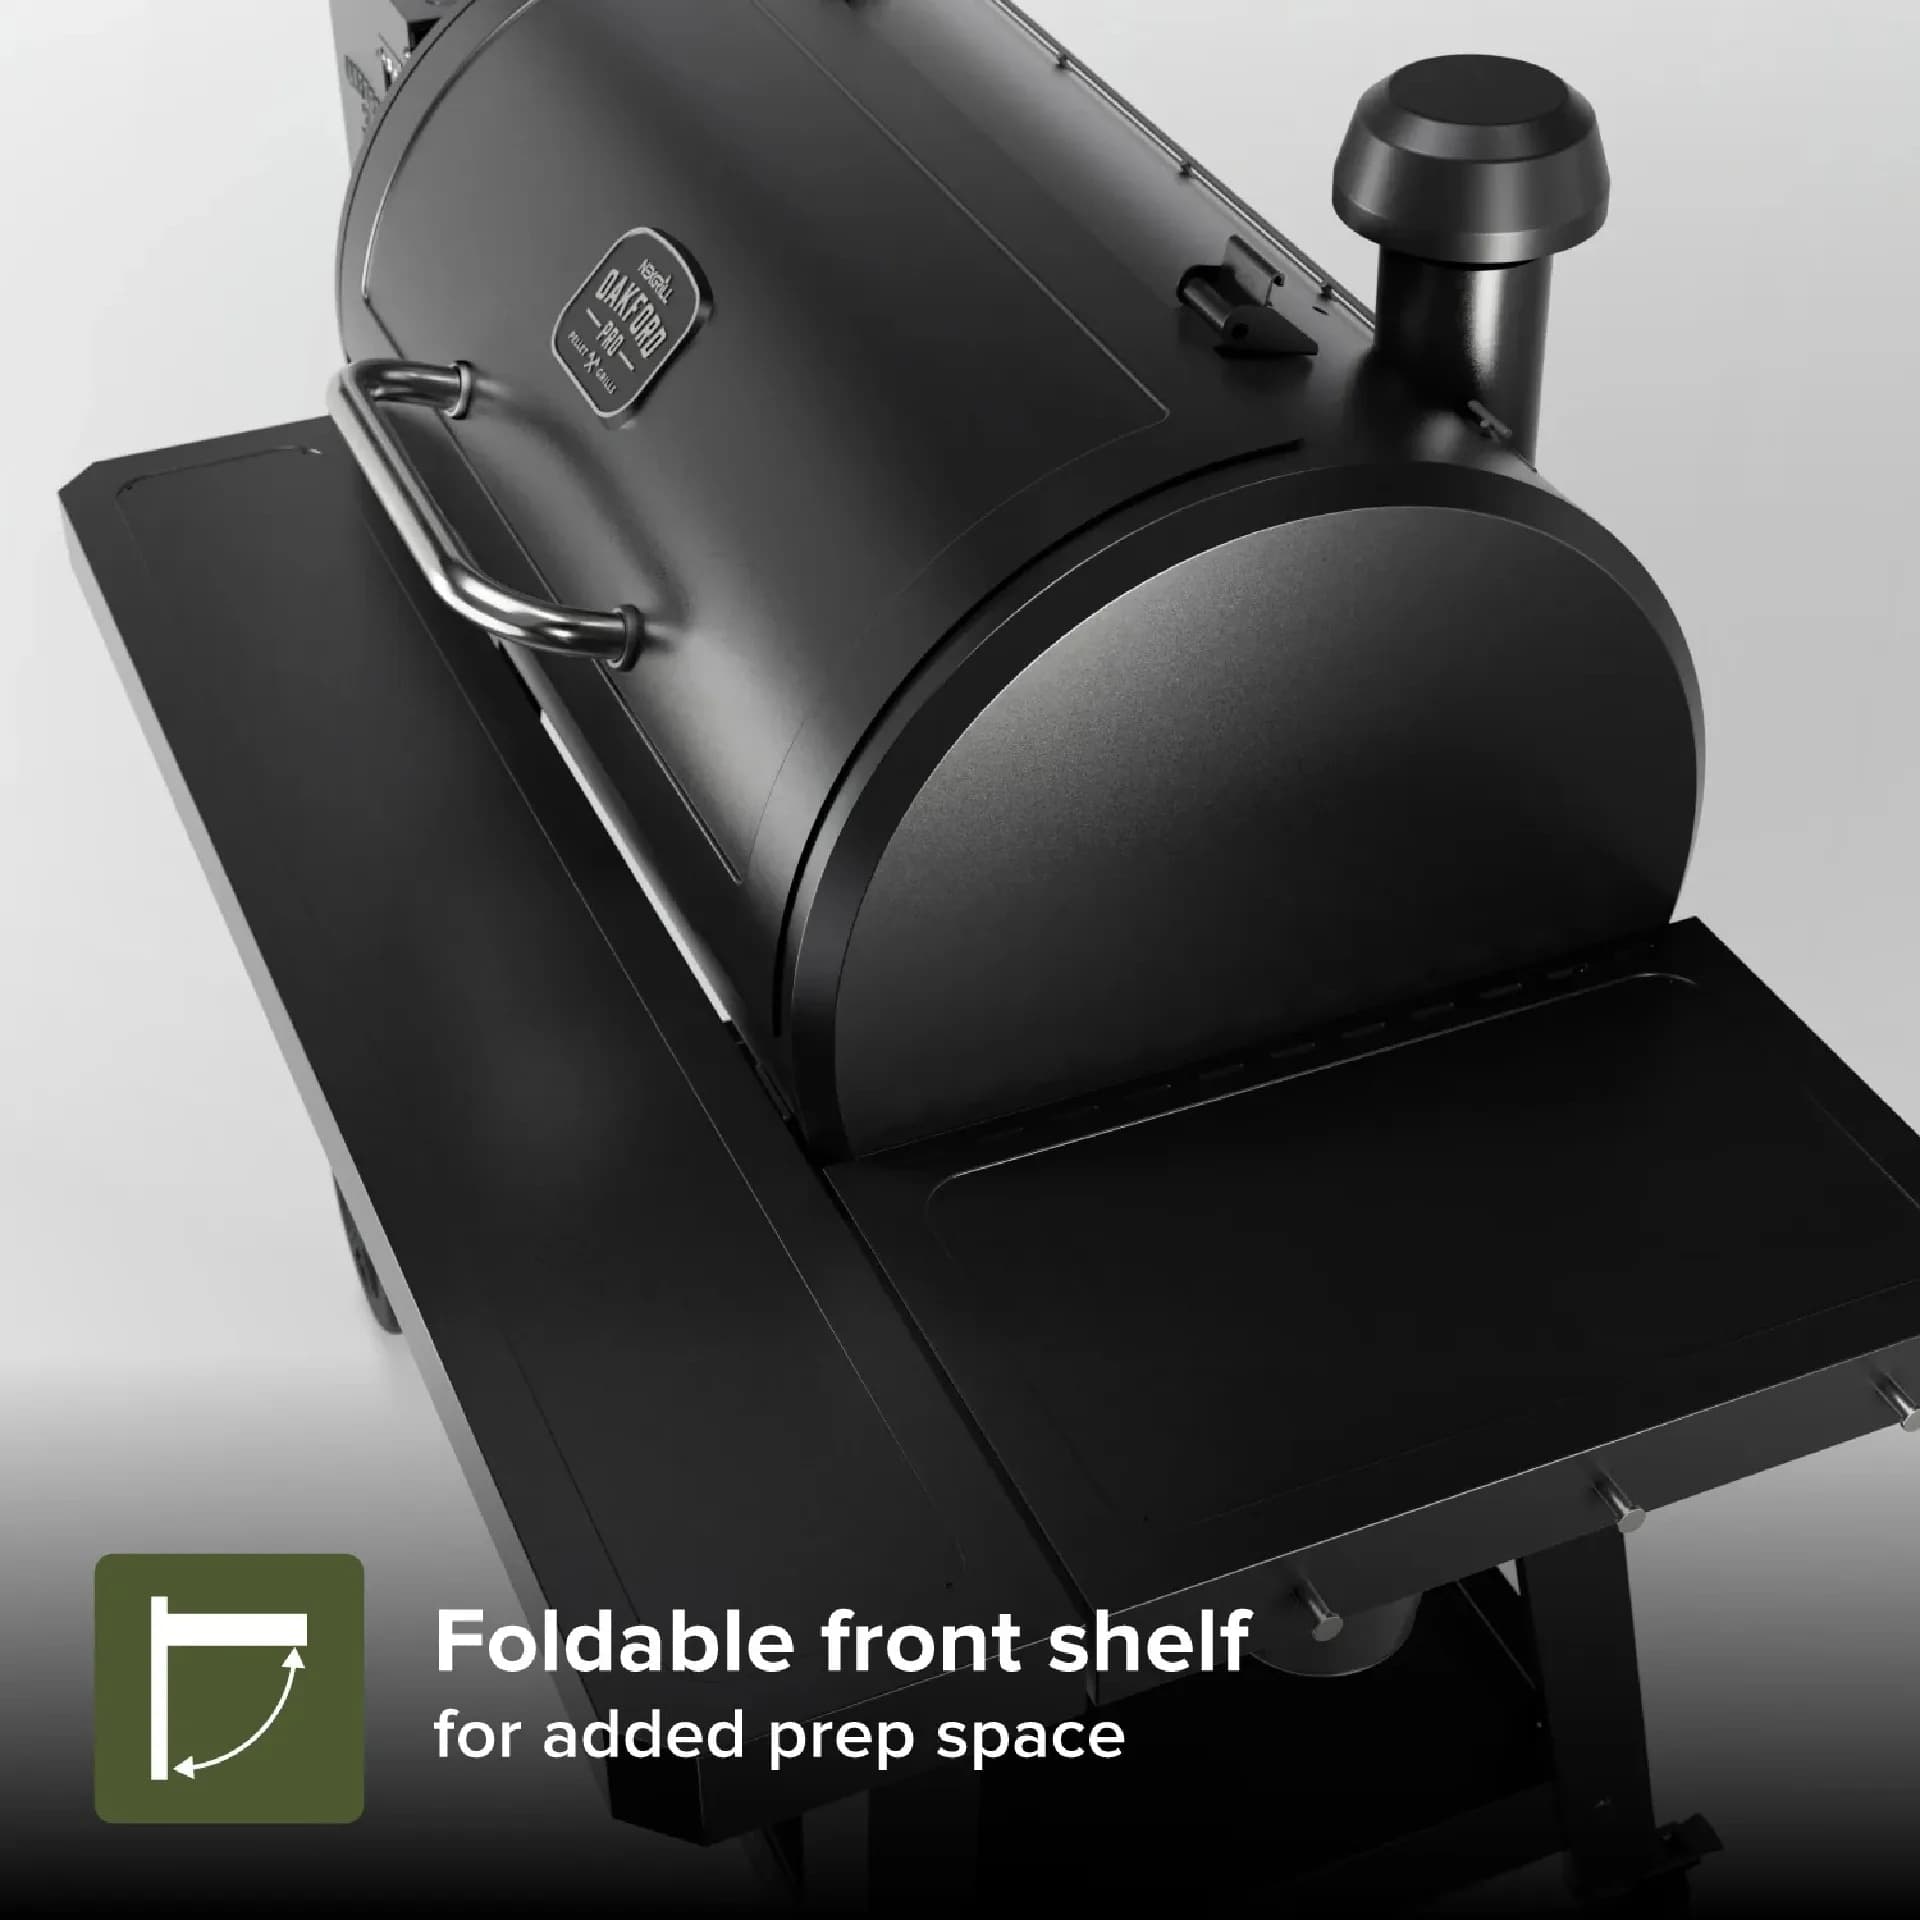
After comparing the 875 Pro and 1125 Pro, the build differences come down to hopper capacity, barrel size, and cart configuration - but the sequence stays the same. If you chose the larger 1125 Pro, allow extra time for the heavier barrel and confirm the cart is level to support the added weight.
The Five Mistakes That Force a Pellet-Grill Teardown
- Powering the controller before verifying auger and fan wiring.
- Leaving shipping ties or foam inside the auger tube.
- Mounting the RTD probe too close to the fire pot (temperature spikes) or too far (swings).
- Skipping the burn-in and cooking immediately.
- Assembling on an unlevel surface, causing uneven pellet feed.
Why RTD Probe Placement Drives Every Temperature Reading
The RTD probe is the controller's only view of barrel temperature. A probe 1-2 inches from the fire pot, shielded from direct flame, gives stable readings. Closer than 1 inch, it reads hot and the controller starves the fire; farther than 2 inches, it reads cool and the controller overfeeds. Check placement after any cleaning or moving.
Electrical Setup: GFCI, Extension Cord Gauge, and Power-Up Order
Plug into a GFCI-protected outlet. For extension cords up to 50 feet, use 12-gauge; 14-gauge is marginal for the controller and fan load. Power-up order: connect all wiring, then plug in, then turn on the controller. Never hot-plug the auger or fan.
A GFCI trip during the first burn usually indicates a wiring fault, not a defective controller - recheck the auger and fan connectors.
Leveling the Grill So Pellets Feed Evenly
An unlevel grill causes pellets to pile on one side of the hopper, starving the auger. Use the level on the barrel and adjust the cart legs or casters. Recheck after the first burn, as heat can settle the frame.
First Burn: The Assembly Step That Isn't in the Manual
The build isn't done until the controller holds temperature through a seasoning run. Fill the hopper, prime the auger, set to 350°F, and run 30-45 minutes to burn off manufacturing oils. This is general pellet-grill best practice, not a Nexgrill specification. If temperature swings more than 25°F, recheck the RTD probe.
Assembly Time Reality Check
The 60-120 minute estimate assumes two people, pre-sorted hardware, and no missing parts. Solo builders or those repairing a mislabeled unit should plan for the upper end. Rushing the squaring and leveling stages costs more time in the long run.
Short Pre-First-Cook Checklist
| Check | Done |
|---|---|
| Model label matches manual (875 Pro or 1125 Pro) | ☐ |
| All bolts tight, cart square | ☐ |
| Auger tube clear of ties/foam | ☐ |
| RTD probe 1-2 inches from fire pot | ☐ |
| Grill level on all casters | ☐ |
| Burn-in completed at 350°F for 30-45 min | ☐ |