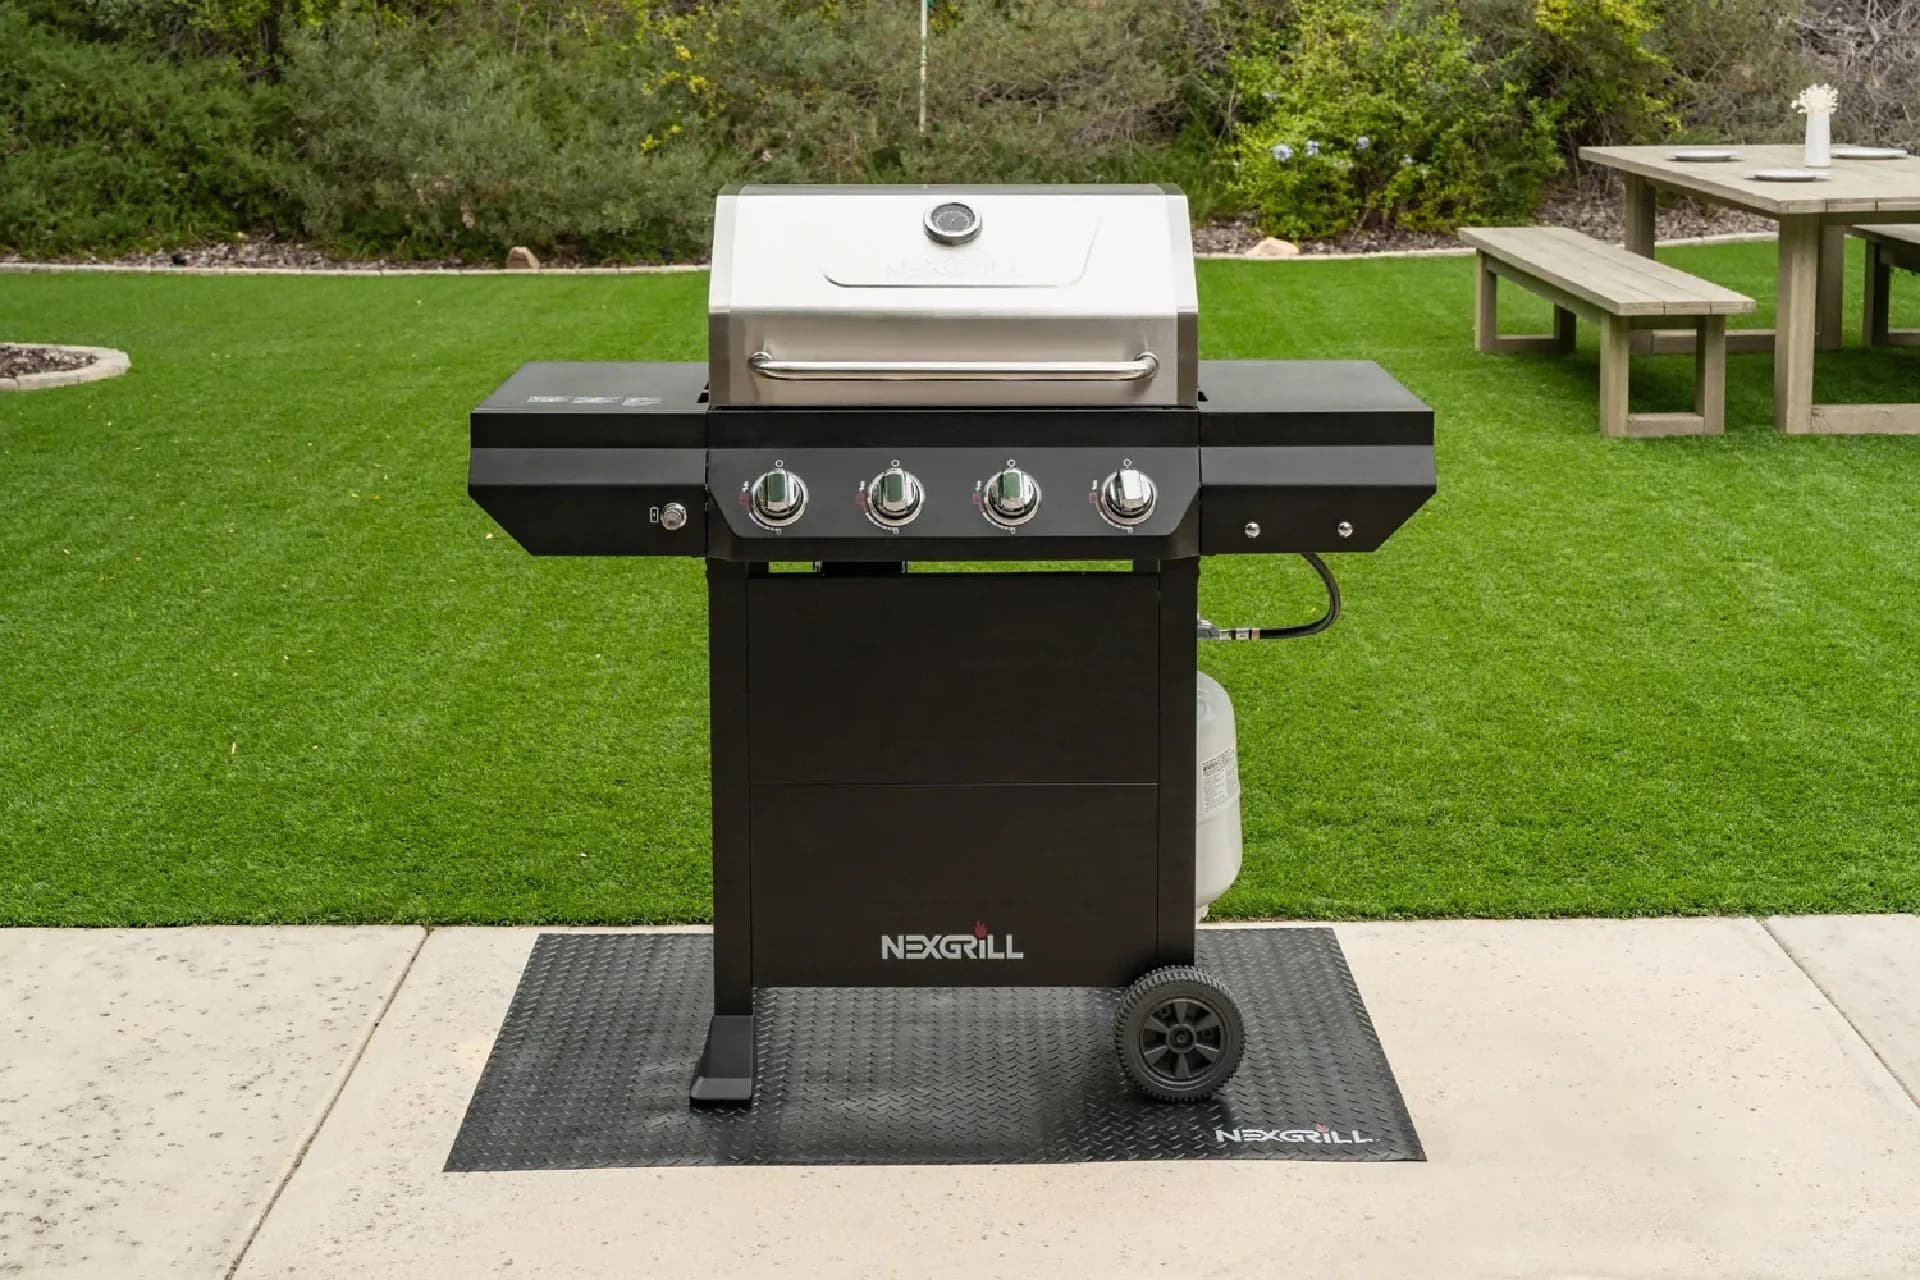
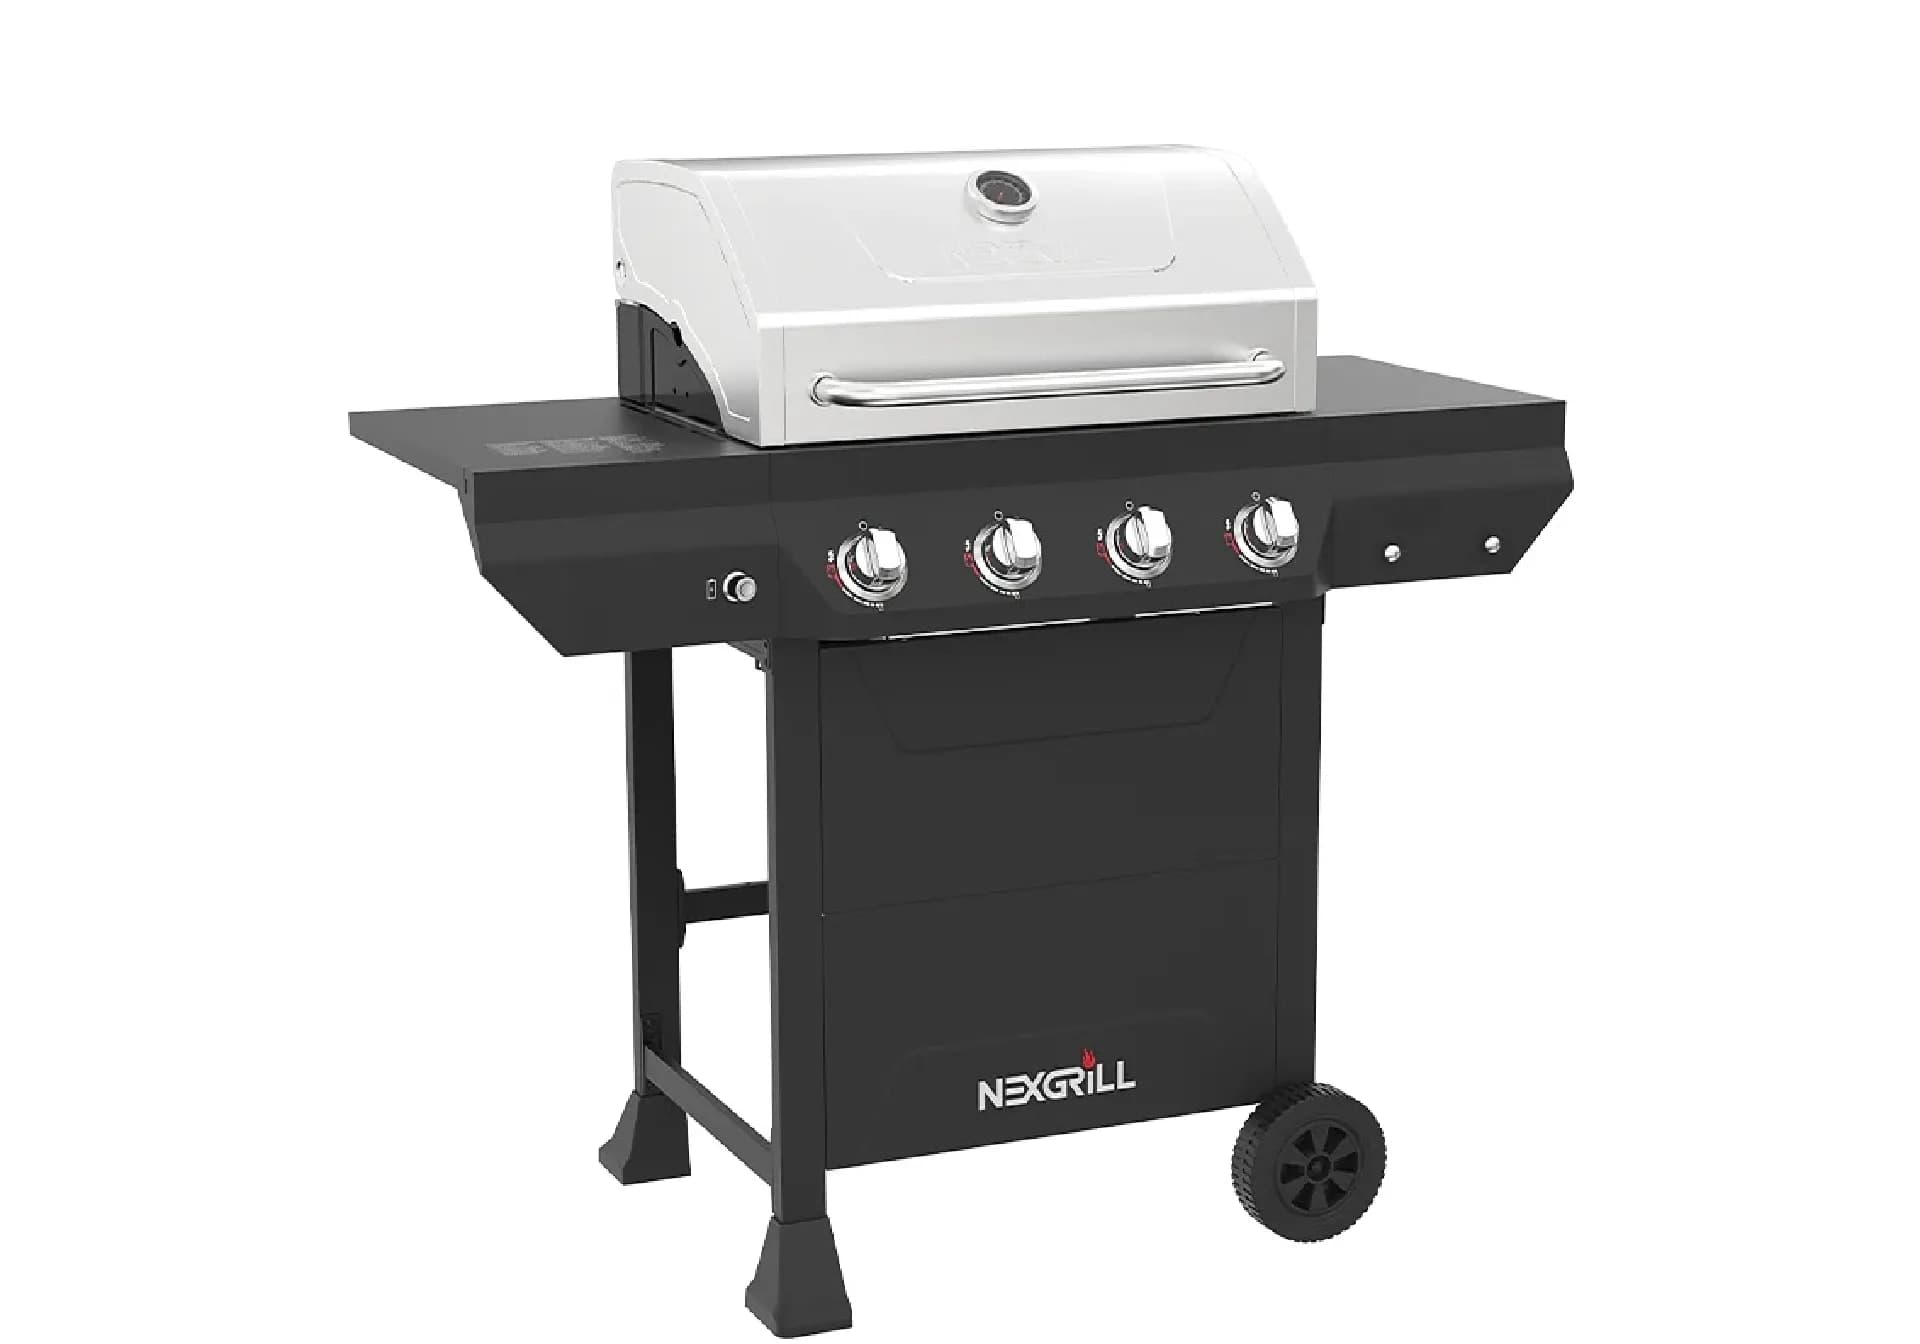
Nexgrill Gourmet Pro 5-Burner Manual: Find It, Read It, Use It
How to locate the right manual for your 5-burner Nexgrill, follow its assembly and lighting steps correctly, and fix the ignition and flame problems that send most owners searching.
In This Article
Find the Right Manual
Assembly and Lighting Order
Troubleshoot Ignition and Flame
How to Find the Correct Nexgrill Manual for Your 5-Burner Grill
If you own a five-burner Nexgrill and the paperwork is long gone, you need the manual written for your exact unit - not one for a similar-looking model. Nexgrill has sold gas grills since its 1993 founding in California, now across gas, charcoal, pellet, and griddle lines through retail partners that include Home Depot. That long product history is why so many owners end up searching for a manual: the grill on your patio may be several seasons old.
Treat the manual as a document tied to a model number, not a product name. Locate the rating plate on the grill, confirm the model against Nexgrill's current product listings at nexgrill.com/collections/all, then request or download the matching document through Nexgrill's contact and product support page.
Nexgrill does not use model names alone as identifiers. Two grills can share a marketing name across model years and still use different burners, regulators, or orifice sizes. The model and serial number on the rating plate are the only reliable match.
Find Your Model Number and Serial Number on the Rating Plate
On most Nexgrill gas grills, the rating plate is a silver or white label fixed to the back of the firebox, the inside of the cart door, or the rear of the cart panel. It lists the model number, serial number, gas type (propane or natural gas), and often the manifold pressure and BTU rating. Photograph it with your phone before you go inside to search.
- Write down the full model number, including any letter suffixes or revision codes.
- Record the serial number; support teams use it to trace the production run and the correct parts diagram.
- Note the fuel type printed on the plate, because a propane manual and a natural-gas manual differ in the regulator and orifice sections.
When you contact support, provide the model number, serial number, and a photo of the plate so the team pulls the correct document rather than the closest match.
Why "Gourmet Pro" May Not Match a Current SKU (and What to Do About It)
Retailer-exclusive names and legacy lines are a real complication. A name printed on a box or shelf tag does not always appear as a live SKU on the manufacturer's site. If a search for "Nexgrill Gourmet Pro 5-burner" returns no current listing, the manual is not necessarily unavailable - you just need to identify the grill by its physical characteristics instead of its promotional name.
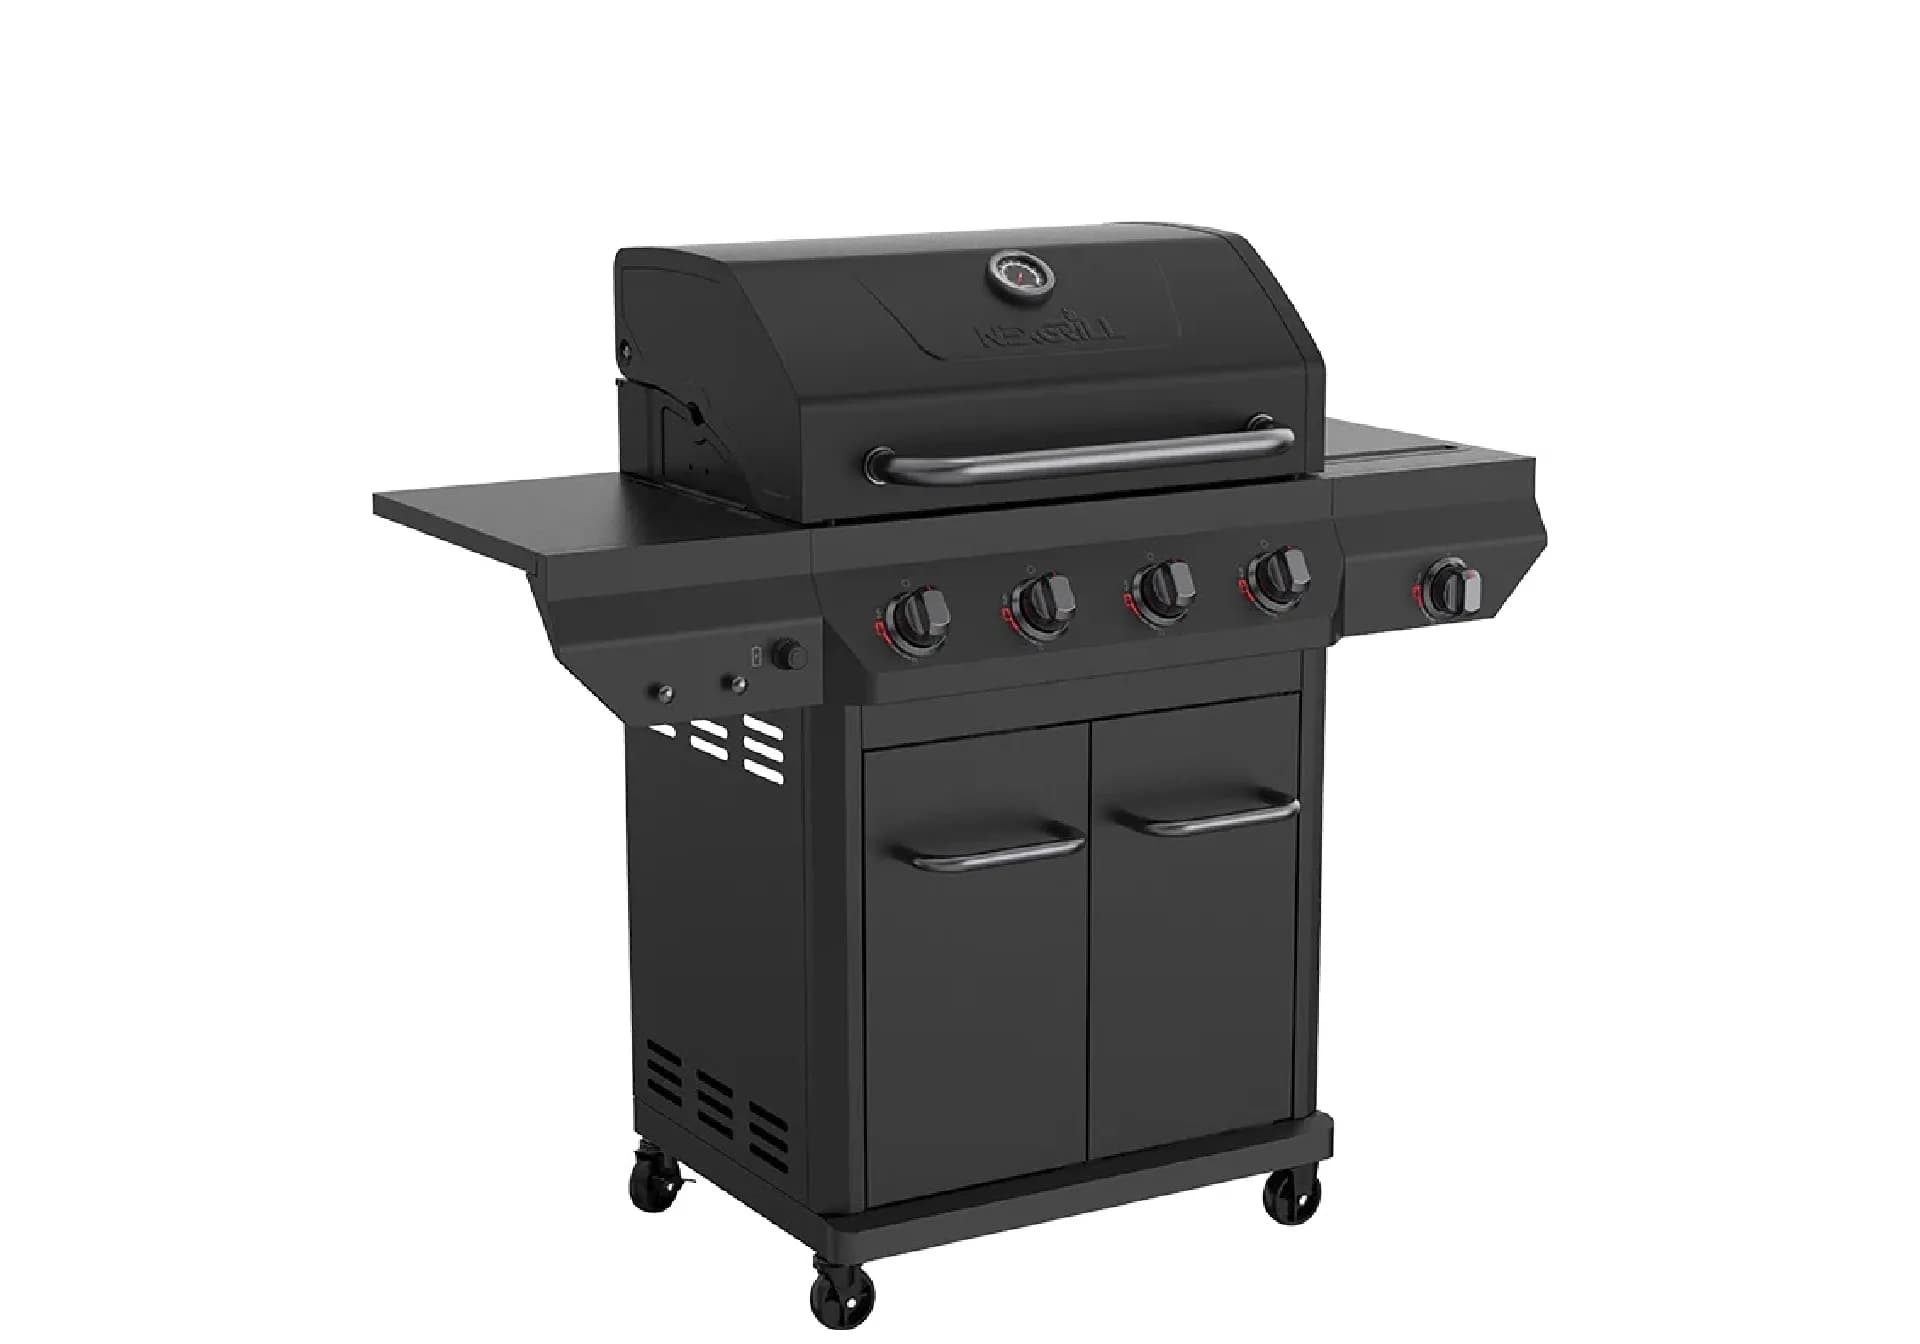
- Count the main burner control knobs on the front panel. Five knobs usually indicates five main burners; a sixth knob may be a side burner or a sear burner.
- Note whether the side burner is present and whether it has its own lid.
- Check the cart configuration: open cart with legs, enclosed cabinet, or a cabinet with doors.
- Match these features against the current catalog and images on the Nexgrill site to narrow down the family.
If the name does not resolve, describe the grill in those terms when you request support. Physical description plus rating plate data is what actually identifies the unit.
What Every Nexgrill 5-Burner Manual Contains: Parts List to Care Schedule
Once you have the right PDF, the structure will look familiar regardless of model. A typical five-burner Nexgrill manual moves through a predictable spine:
| Manual Section | What It Covers | Why It Matters |
|---|---|---|
| Parts list and hardware diagram | Every bolt, washer, caster, and grate, with quantities | Prevents wrong-fastener assembly and missing parts claims |
| Assembly steps | Cart, firebox, burners, heat tents, grates, side shelves | Sequencing errors are the most common build mistake |
| Leak test procedure | Soapy-water test at every gas joint | Required before first lighting |
| Lighting and shutdown | Ignition sequence, lid position, tank valve order | Directly affects safety and burner life |
| Care and maintenance | Burn-off, grate brushing, burner tube inspection | Extends service life between seasons |
| Troubleshooting | Ignition faults, flame quality, regulator flow limits | Solves most owner complaints without a service call |
Before You Start Assembly: Tools, Space, and the Leak-Test Solution
Assembly is easier than most owners expect if you set up correctly. The manual specifies a two-person lift for the lid and firebox sections - boxed weights for a five-burner gas grill commonly fall in the 90-130 lb range. Clear a flat, hard surface such as a driveway or patio slab; working on grass or a sloped deck makes cart alignment difficult and increases tipping risk.
- A Phillips-head screwdriver and an adjustable wrench cover most fasteners.
- A small bowl or cup keeps loose hardware from disappearing into the yard.
- Mix a leak-test solution of one part liquid dish soap to two or three parts water.
- Have a full propane tank on hand, or the natural-gas hose kit if your grill is set up for household gas.
Never skip the leak test because the grill looks intact out of the box. Factory fittings can loosen in transit, and the manual treats the test as a prerequisite to the first lighting - not an optional step.
Step-by-Step: Assembling a 5-Burner Gas Grill in the Manual's Order
Follow the manual's numbered order rather than improvising. A typical sequence for a five-burner Nexgrill looks like this:
- Inventory the hardware. Lay out all fasteners and compare against the parts list before starting.
- Build the cart. Attach legs and casters, then lock the casters so the cart does not roll mid-assembly.
- Install side shelves and the side burner (if equipped) to the cart frame.
- Lift the firebox onto the cart with a second person, then secure it per the manual's torque guidance - firm, not overtightened.
- Seat the burners so each tube sits properly over its valve orifice and the venturi openings align with the control valves.
- Place heat tents and cooking grates in their specified positions; heat tents are directional on many models.
- Connect the regulator to the tank and hand-tighten only, then run the leak test.
- Perform the first burn-off before cooking any food.
Connecting the Regulator and Running the Soapy-Water Leak Test
Brush or spray the soapy solution onto every gas connection: the regulator-to-tank coupling, the regulator-to-manifold joint, and each burner valve connection. Open the tank valve slowly - about a quarter turn, then full. Growing bubbles mean a leak. Close the tank valve, tighten the joint, and retest. If bubbles persist, stop and contact support before lighting anything.
First Burn-Off: What the Manual Means by Curing the Cooking Grates
The first burn-off removes manufacturing oils from the grates and burner components. The manual directs you to light the grill with the lid open, run all burners on high for roughly 10 to 15 minutes with the lid closed, and let the grill cool before wiping the grates. Expect some odor and light smoke - that is normal and exactly why the manual tells you not to cook food until it is done. A light coat of cooking oil on the grates after cooling helps protect them and improves release on the first cook.
Which Second Product Should You Compare Before You Buy Parts?
If your manual reading turns into a parts hunt - a replacement burner, a regulator, a set of heat tents - compare the exact part and its alternative side by side before ordering. One model's regulator or burner may fit your grill, and another may look identical but use a different orifice size or mounting pattern. Try comparing two products side by side below to see which fits best:
Once You've Weighed Two Options: Reading Your Manual Like a Technician
If you have just compared two candidate parts or models, the manual becomes your decision document. A technician does not read the manual start to finish each time - they jump straight to the parts list and the troubleshooting section. Do the same. The parts list tells you whether a replacement burner or regulator matches your grill's model year and fuel type. The troubleshooting section tells you whether you actually need a part at all, or whether the problem is a blocked burner tube or a tripped regulator flow limiter.
Read the parts list with the serial number in hand. The same visual part - a burner tube, a heat tent - can differ across production runs. Serial number matching is the most reliable way to avoid a return shipment.
The Lighting Sequence and Why Lid Position Changes Everything
Every Nexgrill gas manual follows the same safety logic for lighting: open the lid before you turn on any burner. Propane and natural gas can accumulate under a closed lid and ignite suddenly, which is the mechanism behind many outdoor grill incidents documented by safety agencies. The sequence is deliberate - lid open, one burner at a time, igniter pressed, and a short wait. If the burner does not light within about five seconds, turn the control knob off, wait for gas to disperse, and try again. Holding the igniter down while gas continues to flow is the most common owner error, and it is exactly what the sequence is designed to prevent.
Shutdown and Storage Steps Most Owners Skip
Shutdown order matters for regulator life. Turn all burner control knobs to off first, then close the tank valve. Doing it in reverse - closing the tank while burners still demand gas - can leave residual pressure in the line and trigger the regulator's flow-limiting device on the next startup, producing the weak or low flame that sends owners looking for a replacement regulator.
For storage longer than a few weeks, the manual typically calls for disconnecting the regulator and capping the tank. Store the tank upright, outdoors, and away from heat sources. A grill cover protects the cart, control panel, and burner tubes from moisture and debris during the off-season.
Troubleshooting Table: No Ignition, Low Flame, Uneven Heat, Yellow Flame
| Symptom | Likely Cause | Manual-Referenced Fix |
|---|---|---|
| Burner will not light | Igniter battery dead, electrode gap incorrect, or burner tube blocked | Replace the igniter battery, check electrode spacing against the manual diagram, and clear the burner tube |
| Low or uneven flame | Regulator flow limiter engaged, tank valve partly closed, or spider webs in the burner tube | Reset the regulator per the manual, open the tank valve fully, and brush out the burner tubes |
| Yellow or orange flame | Wrong orifice for the fuel type or incorrect air shutter setting | Confirm fuel type on the rating plate and adjust the air shutter per the manual's specification |
| Popping or roaring sound | Burner misalignment or blockage at the venturi | Re-seat the burner over the valve orifice and inspect for debris |
Propane vs Natural Gas: What the Manual Says About Orifice Kits
Propane and natural gas are not interchangeable without the correct orifice and regulator conversion. If your grill arrived set up for propane and you want to run it on household natural gas - or the reverse - the manual specifies a conversion kit and, in many cases, a licensed technician for the gas line connection. Running a propane-rated grill on natural gas without the correct orifice produces a yellow, sooting flame and low heat. There is no safe shortcut here.
Seasonal Maintenance Checklist From the Manual's Care Section
- Burn off residue after each cook, then brush the grates while warm.
- Inspect burner tubes for spider nests and blockages at the start of each season.
- Check the regulator, hose, and O-rings for cracking or stiffness.
- Re-run the soapy-water leak test after any part replacement or tank swap.
- Cover the grill when not in use and store the tank upright and outdoors.
Common Assembly and Setup Mistakes That Cause Callbacks
Most support requests trace back to four setup errors: installing heat tents or grates in the wrong orientation, cross-threading the regulator coupling by overtightening, lighting the grill before running the leak test, and building the cart on a sloped surface that prevents proper alignment. Each is addressed directly in the assembly section of the manual. Reading the parts list before you open hardware bags and following the numbered order is what separates a one-hour build from a weekend of frustration.
A quiet but important rule from every gas grill manual: never use the grill indoors, in a garage, or under an unvented structure. Carbon monoxide is the reason, and the risk is not related to how well the grill is working.
When to Stop DIY and Request Parts or Support
If the manual's troubleshooting steps do not resolve a gas smell, a persistent leak at a joint you cannot tighten, or a flame that stays yellow after orifice and shutter checks, stop using the grill and contact Nexgrill support with your model and serial number. If a part has failed, request it by model number rather than a generic description - a five-burner grill's burners, heat tents, and regulator are model-specific. For general product browsing, the Nexgrill catalog and the company background page help you confirm current model families if you are considering a replacement grill instead of a repair.
Sources
- Nexgrill - Contact and Product Support (for manual requests and parts lookup by model number)
- Nexgrill - All Products (to confirm current model families)
- Nexgrill - About Us (company history and brand context)
- U.S. Consumer Product Safety Commission (outdoor grilling safety guidance)
- National Fire Protection Association (grilling and LP gas safety resources)