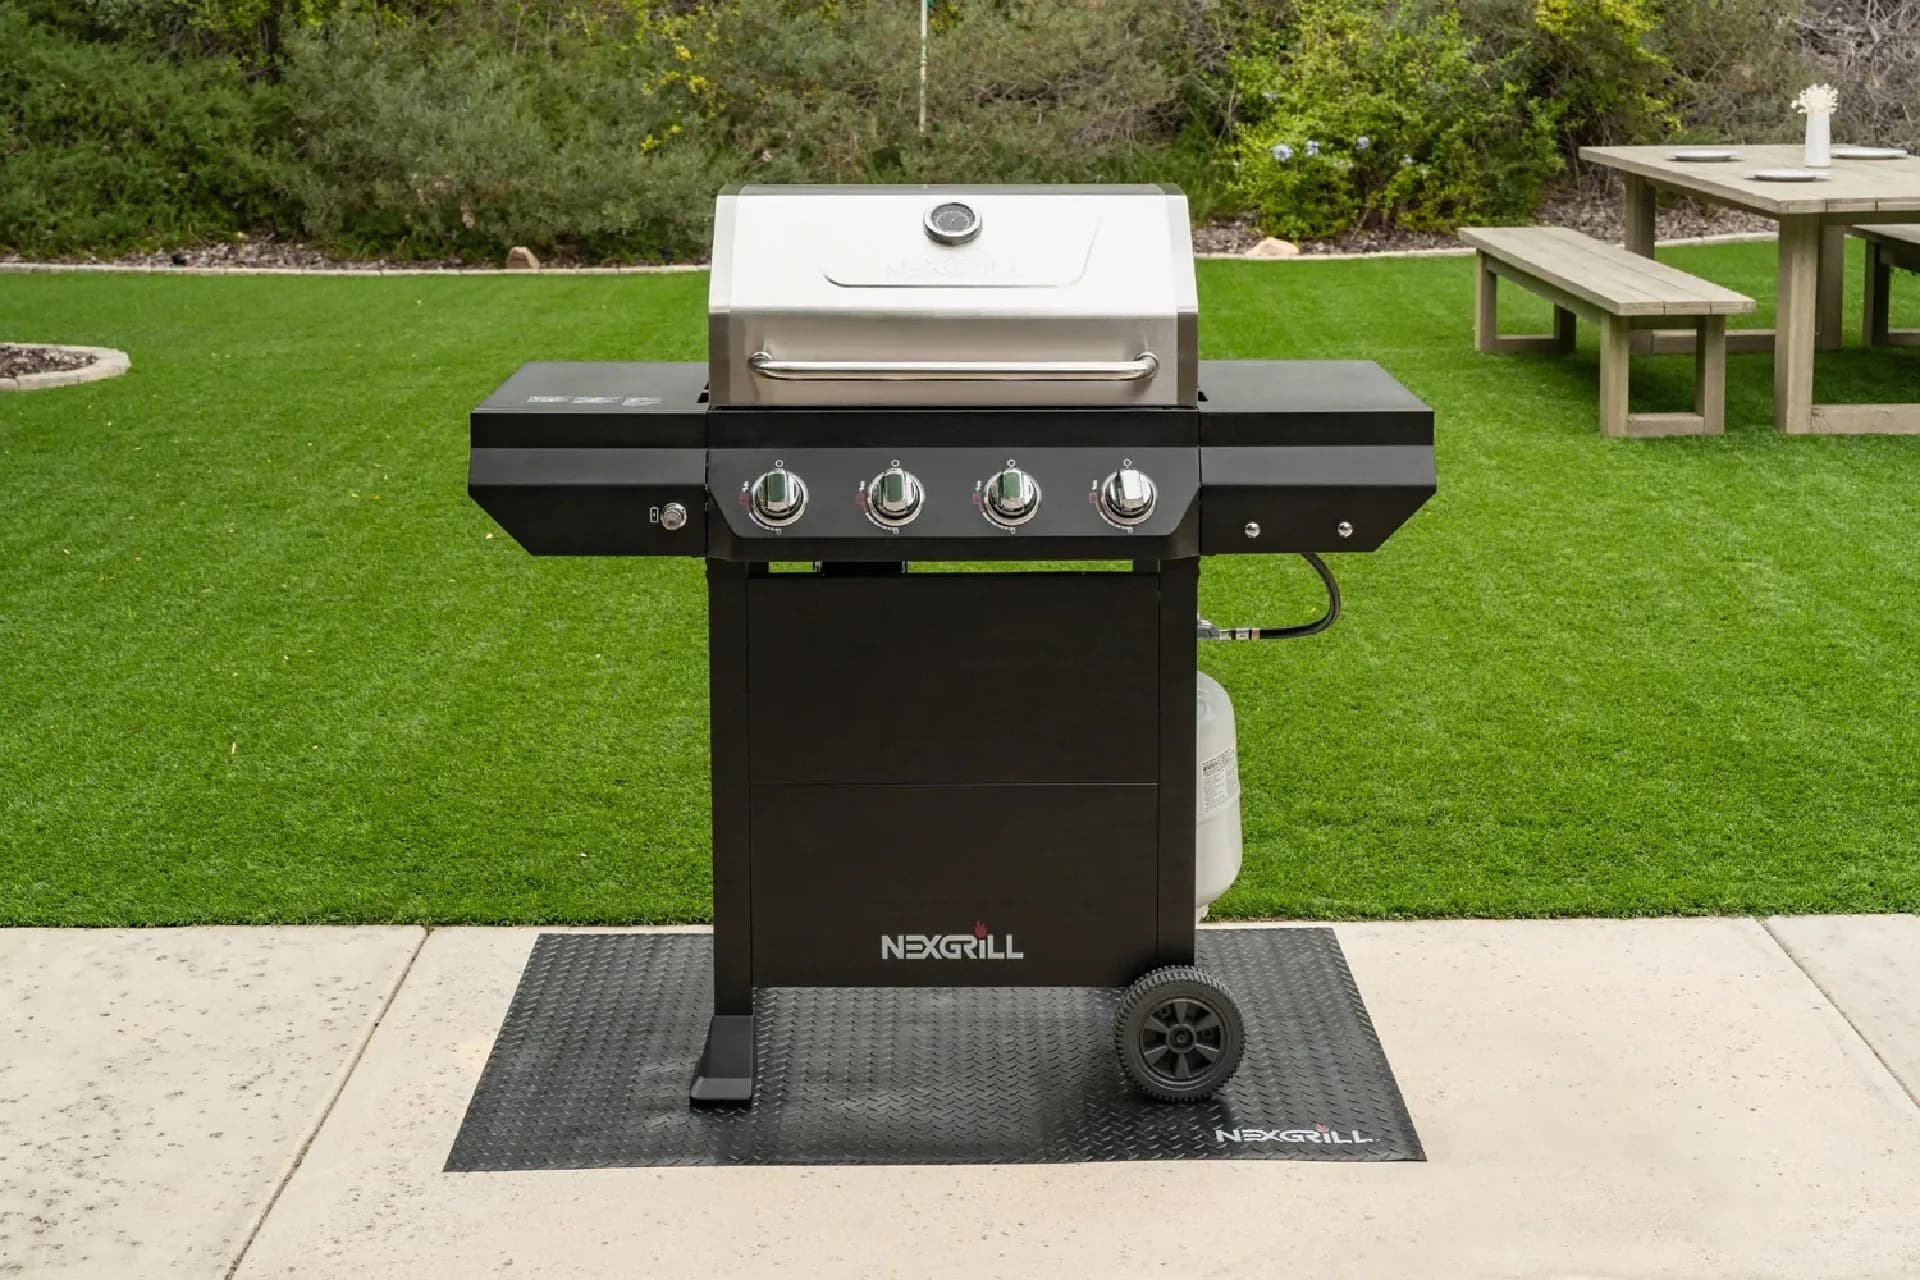
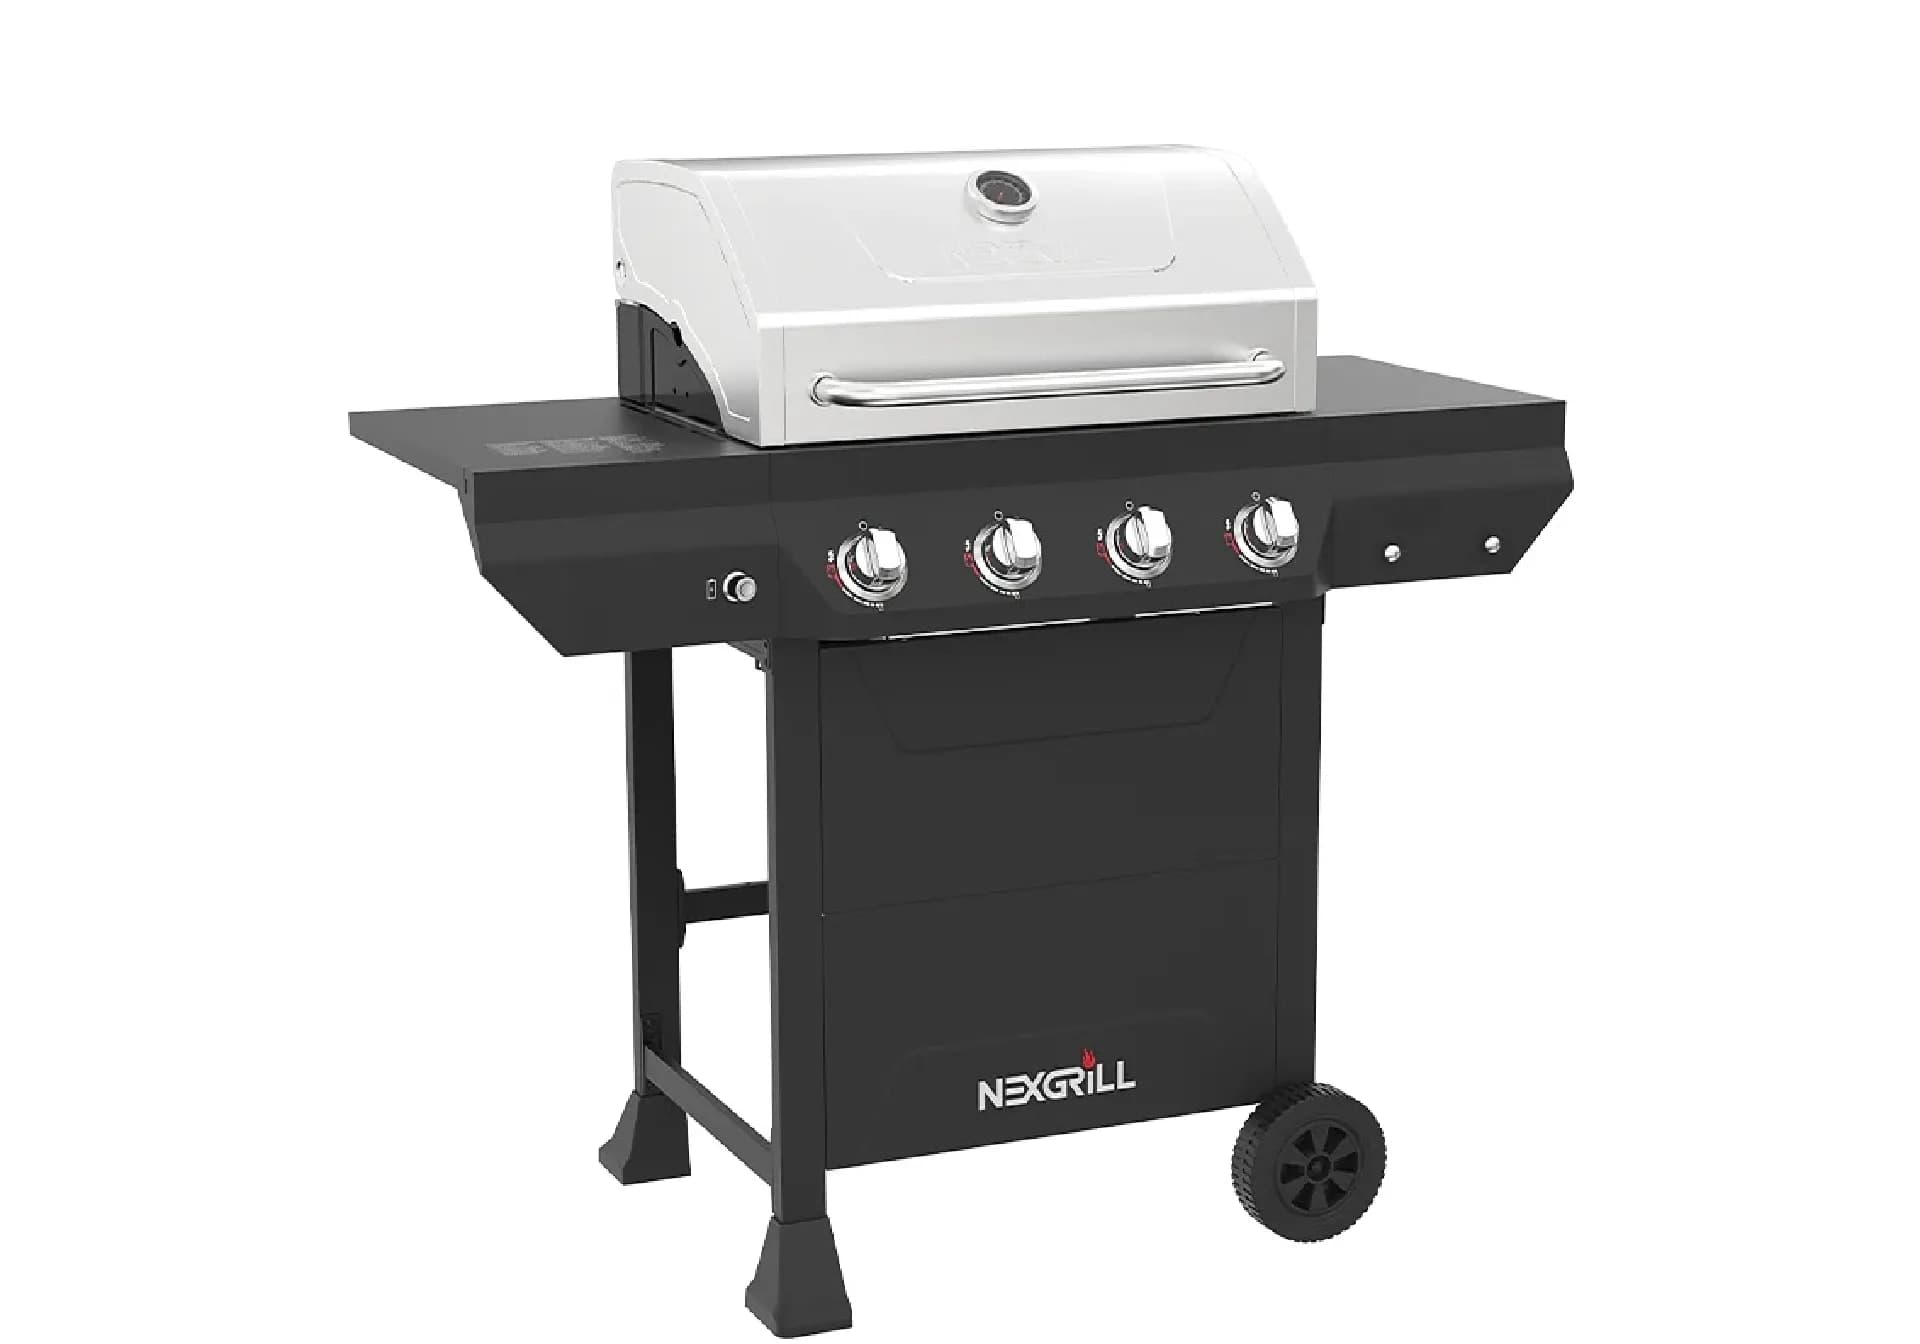
Nexgrill Gourmet Pro 4-Burner Manual: Identify, Assemble, Leak-Test
A gas-grill how-to for owners whose badge says Gourmet Pro but whose rating plate says something else - plus the assembly order, leak test, and first-burn sequence the manual prescribes.
In This Article
Identify Before You Download
Cart First, Firebox Last
Soapy-Water Leak Test First
Why a 'Gourmet Pro' Search Usually Returns the Wrong Manual
Picture the exact situation: a four-burner gas grill arrived from a big-box store - or from a neighbour's driveway with a price tag taped to the lid - and the carton copy reads Gourmet Pro. The paper manual went into a drawer that no longer exists. Every search for a 'Gourmet Pro 4-burner manual' returns griddle guides, pellet-smoker videos, or PDFs for grills that look nothing like yours. That dead end is not your fault, and it is not a sign the grill is counterfeit. It is a naming mismatch, and it is fixable in about twenty minutes with the right sequence.
Nexgrill has used retail-facing trade names - including Gourmet Pro - that are not always published as catalogue families on nexgrill.com. The currently surfaced families are Oakford (charcoal and pellet), Daytona (gas griddles and grills), and legacy numbered series such as 720-, 810-, and 820-. Do not assume a specific 'Gourmet Pro' PDF exists.
The practical answer: stop searching the badge and start searching the plate. Every gas grill sold in the United States carries a rating plate with the real model number, and that string is what unlocks assembly diagrams, parts lists, and regulator specifications. This guide walks from the stuck state to a working, leak-tested, burn-off-complete grill.
What the Badge Says vs. What the Rating Plate Says
Retailers and manufacturers frequently use two vocabularies. Marketing copy on the box, the lid badge, and the store's website might say 'Gourmet Pro 4-Burner.' Engineering and after-sales documentation use a coded identifier like 720-0925, 820-0063, or a two-letter legacy code. The two identifiers describe the same physical object, but only one of them will resolve to documentation. Treat the badge as a shopping label and the plate as the serial-numbered legal identity of your specific unit. If you bought second-hand, the badge may even have been swapped or repainted - the plate has not.
Prerequisites: Three Things in Hand Before You Search
Rating-Plate Photo, Tools Inventory, and a Second Person
Before opening a browser tab, gather three things. First, a clear, well-lit photo of the rating plate - not a note jotted on a receipt. Second, a tools inventory: a 10mm and 13mm combination wrench or socket set, a Phillips screwdriver, a basin or bucket for the soap solution, and a brass-bristle grill brush. Third, a second person for the ten minutes when the firebox has to be lifted onto the cart. A 4-burner firebox with grates installed weighs roughly 60-90 lb depending on model, and holding it steady while starting bolts alone is how porcelain lids get chipped.
- A pad or blanket to set the lid on during assembly
- Old towels for soapy water drips around the regulator
- A headlamp or phone torch - the plate on many units sits inside the cart door in permanent shadow
Step 1 - Read the Rating Plate and Record Six Data Points
Rating plates on Nexgrill-style gas grills typically live in one of three places: the rear face of the firebox, inside the left cart door, or tucked under a side shelf next to the burner valves. Once you have located it, transcribe six points exactly as printed, including hyphens.
| Field on the Plate | Why it matters for the manual |
|---|---|
| Model number | The only string that reliably resolves to a document |
| Serial number | Needed when a support agent pulls the exact parts diagram |
| BTU rating | Confirms you are looking at the correct burner configuration |
| Gas / fuel type | Propane vs. natural gas; the two take different orifices and hoses |
| Burner count | Distinguishes a 4-burner from a 5-burner sibling in the same family |
| Manufacture date / cert body | Narrows mid-run revisions and safety certification era |
Step 2 - Resolve Your Unit to a Real Nexgrill Family
Oakford, Daytona, and the Numbered 720-/810-/820- Series
Once you have the code, match it against the families Nexgrill actually publishes. Oakford covers charcoal and pellet platforms such as the Oakford 875 and Oakford 1125 Pro pellet smokers. Daytona covers gas griddles and grills, from the 2-burner cart model to the 5-burner Nitroguard propane griddle. The numbered legacy series (720-, 810-, 820-) covers a large installed base of gas and charcoal units, some still sold through retail partners. A 'Gourmet Pro' 4-burner gas grill with a 720- or 820- prefix is far more likely to be documented under that numbered code than under a Gourmet Pro name.
Write the number on a strip of masking tape and stick it inside a cart door before you start any work. You will need it again in eighteen months when a burner tube needs replacing.
Step 3 - Where the Manual Actually Comes From
Nexgrill Support, Retailer Document Tabs, and Parts Diagrams
There are three legitimate, verifiable routes. First, Nexgrill's contact page, where you can send the exact model and serial number and request the correct assembly and parts documentation. Second, the retailer's product page: Home Depot is Nexgrill's principal US retail partner, and product pages often host a 'Documents' or 'Info & Guides' tab with the assembly PDF attached. Third, the parts diagram, which is often more useful than the manual once assembly is done, because it names every replaceable component by index number and lets you order the exact burner, igniter electrode, or regulator. Note that as of this writing no general public manual-download directory at nexgrill.com has been verified, so route through support or the retailer rather than guessing at a URL.
Step 4 - If Nothing Matches by Name, Match by Physical Features
Burner Count, Lid Shape, Shelf Configuration, Side Burner Present?
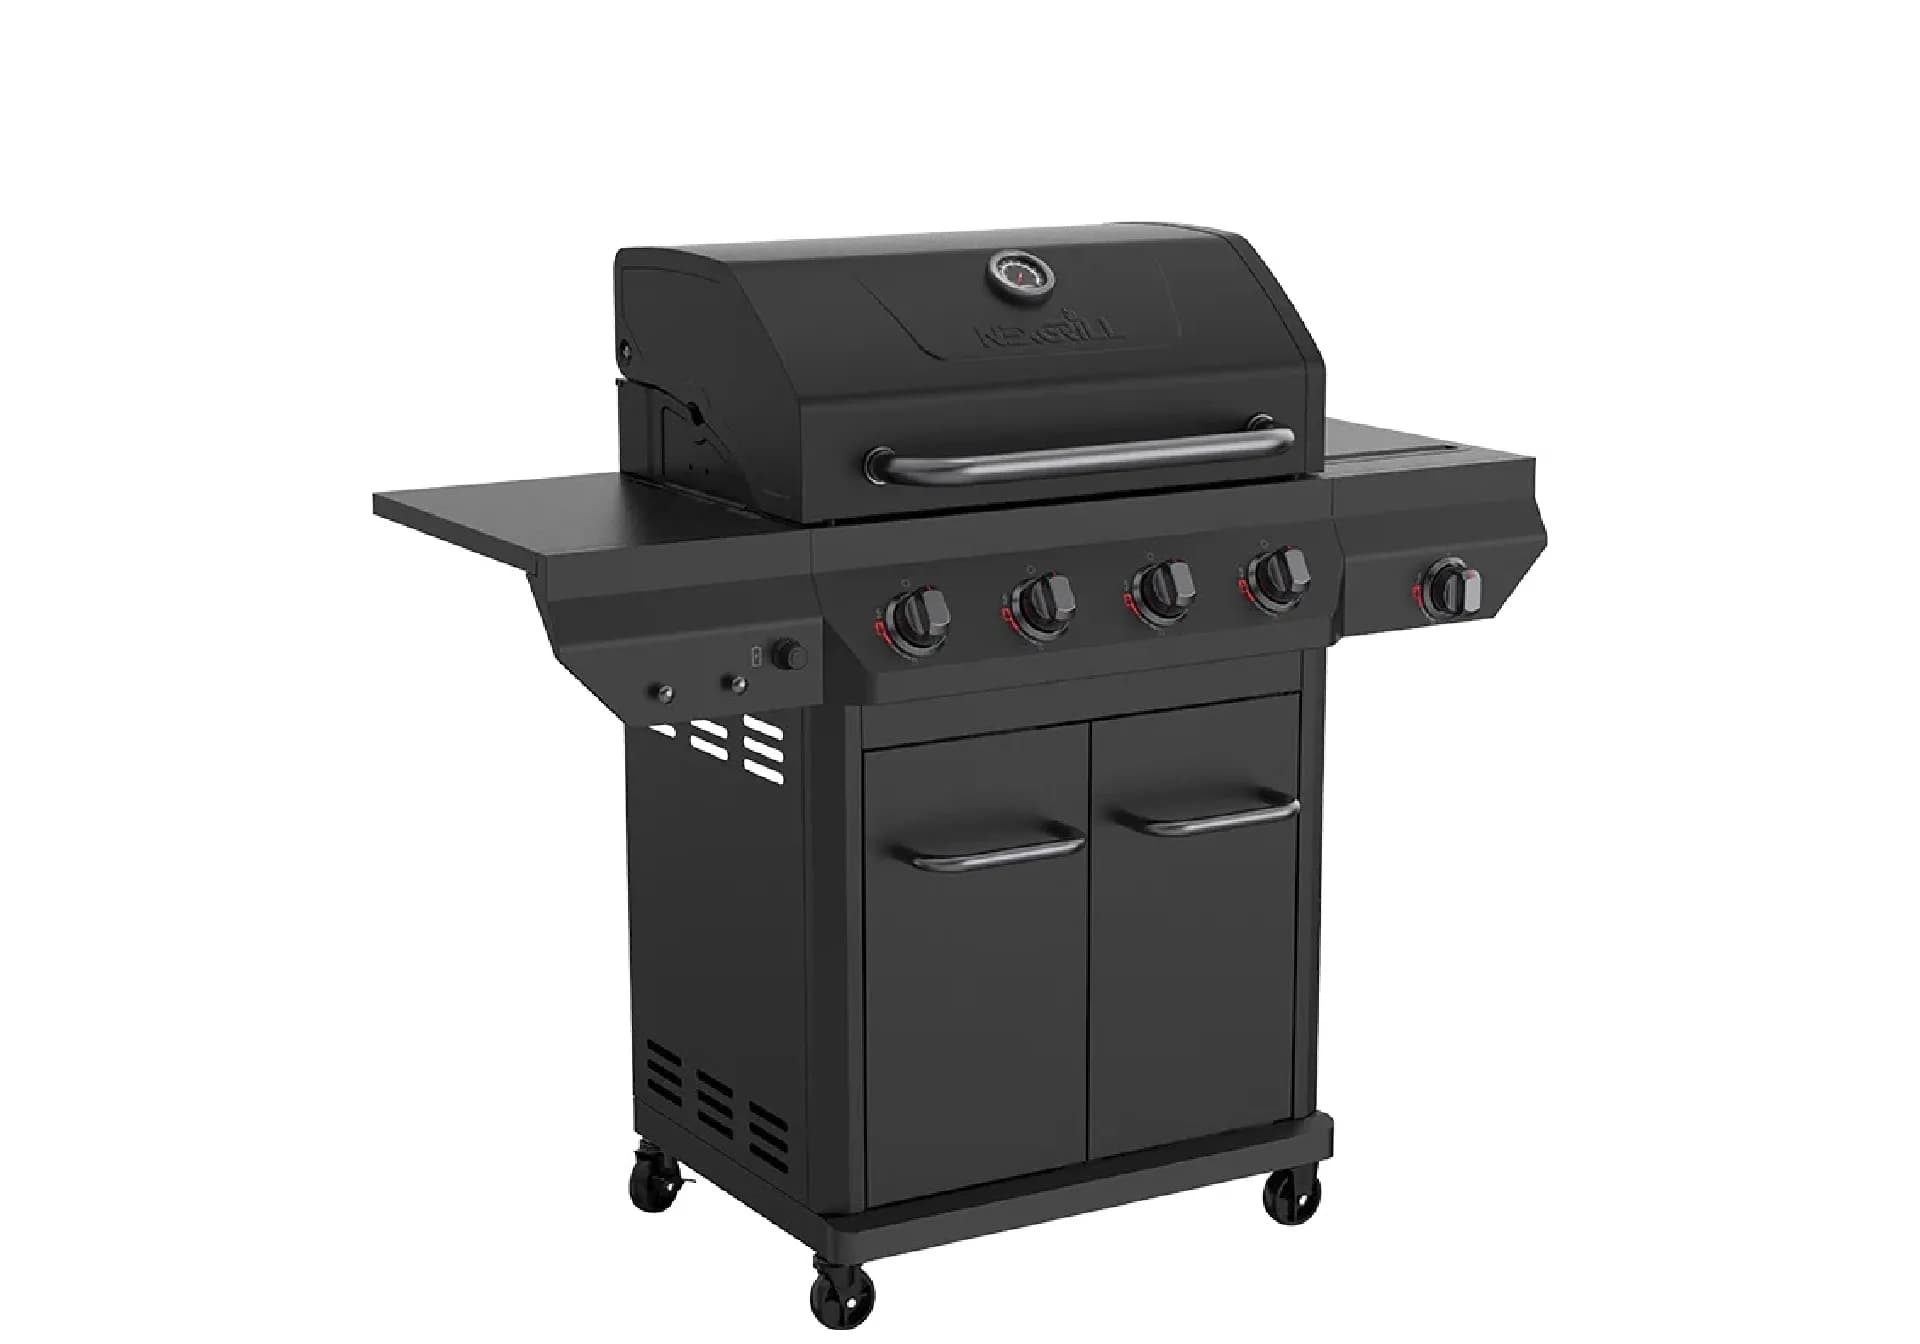
Some trade-name runs are short enough that their documentation is effectively pooled with a sibling SKU. Two grills may share the same firebox, cart, and burner layout while differing only in lid finish or shelf material. In that case the assembly sequence, torque values, and regulator specification apply to both. To find the sibling, match on visible features: exact burner count, cast vs. stamped lid with or without a temperature gauge, side shelves (one or two, folding or fixed), presence of a side burner, and the shape of the control panel.
Tip: A clear side-on photo with a tape measure along the firebox gives a support agent three cross-references on one image - width, lid profile, and shelf configuration.
What a 4-Burner Gas Manual Covers, Section by Section
Understanding the manual's internal logic makes the missing page count far less of a problem. A typical 4-burner gas grill manual is organised in four functional blocks, and each has a specific job.
- Cart and casters: leg pairing, caster placement (locking units on the front-left and rear-left by convention), bottom shelf and any cabinet doors. Clearance guidance usually specifies a minimum of roughly 36 inches from combustible walls and never indoors or under a roof overhang.
- Firebox and lid: mounting the firebox to the cart, hinge alignment, and lid-stop hardware so the lid rests rather than slams.
- Burner tubes and collector box: seating the tube burner necks over the valve orifices, then installing the carry-over or collector box and the igniter electrodes with their specified gap.
- Regulator, hose, and gas system: the hose and regulator assembly (Type 1 / QCC1 for a standard 20 lb refillable cylinder), the leak-test procedure, and the lighting sequence.
- Cooking grates, warming rack, and side shelves: drop-in placement, plus the accessory hookup for any rotisserie or side burner plumbing.
Quick Checklist Before You Pick Up a Wrench
Confirm all six rating-plate data points are written down, all packing foam and protective film are removed, casters and hardware are counted against the parts diagram (a missing M6 bolt on the last step wastes another day), your propane cylinder is a standard 20 lb / roughly 4.7 US gallon refillable with a QCC1 valve, and your work area is on a hard, level surface with the lid propped away from wind. Once those five things are true, the assembly goes in one uninterrupted sitting.
If you are choosing between two possible sibling models before you commit to a documentation route, differences in burner layout and cart geometry decide which manual set applies. Try comparing two products side by side below to see which fits best:
Once you've weighed two options against each other - whether that is two sibling SKUs or a Gourmet Pro badge versus a numbered legacy plate - the rest of the job is mechanical. The following is the order, the sequence, and the errors to avoid. Everything below assumes a propane unit with a standard 20 lb cylinder, which is what the overwhelming majority of US 4-burner gas grills use.
The Assembly Order the Manual Actually Prescribes
Cart and Casters First, Firebox Second - and Why That Order Saves an Afternoon
Every gas-grill manual in this class starts with the cart, and the reason is purely physical. The firebox is the heaviest, most awkward subassembly, and it mounts down onto cart rails, not up from the ground. Build the cart on a blanket or cardboard sheet, install all four casters with locking ones on the same side, fit the bottom shelf or cabinet, then lift the firebox into place with a second person. Hand-tighten the firebox bolts first, square the cart, then torque them. If you torque as you go, the cart will twist and the doors will not close.
After the firebox: drop the burner tubes in so each valve orifice enters the burner neck, then fit the collector box and igniter electrodes. The electrode tip typically sits roughly 1/8 to 3/16 inch from the burner surface - that gap matters for spark quality. Connect the igniter wires to the collector, then install the control knobs, drip tray, side shelves, warming rack, and grates last. Grates last for a practical reason: they are heavy, they invite accidental drops onto porcelain, and you cannot install anything else once they are in.
Connecting Propane: QCC1 Regulator, 20 lb Tank, and the Slow-Open Valve Rule
Why the Manual Tells You to Open the Tank Valve Slowly
Turn the tank valve until it is just cracked, wait two to three seconds, then open it fully. Most modern propane regulators contain an excess-flow or flow-limiting device. Cracking the valve wide-open in a fraction of a second can be interpreted by that device as a sudden surge, and it shuts the flow down to a trickle as a safety measure. The symptom owners then report is 'low flame' or 'heat drop after ten minutes,' and they replace a perfectly good tank. The fix is simple: close the valve, disconnect the regulator, wait thirty seconds for the device to reset, reconnect, and open slowly.
Estimated propane consumption for a typical 4-burner gas grill at full output. Actual burn varies with BTU rating, ambient temperature, and wind. A standard 20 lb cylinder therefore yields roughly 8-13 hours of full-output cooking.
The Leak Test: 50/50 Dish Soap on Every Connection
No Flame, Ever - and What Bubbles Actually Mean
Mix equal parts dish soap and water, brush or sponge it onto the tank valve threads, the regulator-to-tank coupling, the full length of the hose, and every joint up to the manifold. Open the tank slowly and watch. Growing bubbles mean escaping gas - shut the valve immediately, tighten or reseat the connection, and re-test. No bubbles means the path is sealed. This is the procedure the CPSC and NFPA 58 both effectively describe, and it is the reason neither authority endorses a flame for leak detection.
Never use a match, a lighter, or a lit twist of paper to 'check' a propane connection. A flame will find the leak - it finds it explosively. Soapy water is the only safe test, and the test is done with the burners OFF.
First Fire: The 10-15 Minute Burn-Off and Why It Matters
Before you cook anything, confirm no packing material, plastic wrap, or protective film remains on the burners, grates, or inside the firebox. Open the lid, ignite the burners as the manual's lighting sequence specifies - typically push and turn one burner to high, push the igniter, and once lit, turn on the remaining burners from left to right - then leave the lid open and run every burner on high for 10 to 15 minutes. This burns off manufacturing oils and residue that would otherwise end up on your first meal. Expect a faint smell and light smoke; that is normal. When it clears, you are ready to cook.
Symptom-to-Fix Table: Ignition, Flame Quality, Low Heat
| Symptom | Most likely cause | Fix, in order |
|---|---|---|
| No spark at all | Dead or reversed battery, loose igniter wire | Replace the AA cell, check polarity, reseat the electrode wire at the collector box |
| Sparks but no flame | Tank valve closed or partially open, air in the line, blocked burner tube | Open the tank slowly, wait for gas to purge, leak-test, then run a brush or wire up each tube |
| Uneven or yellow flame | Burner tube obstruction - spider webs and debris are a top-three cause in the humid South and Midwest - or a mis-set air shutter | Remove each burner and clear the tube; adjust the air shutter toward more open air until the flame turns blue |
| Flame drops after minutes | Near-empty tank, or regulator flow-limiting device tripped by a fast-open valve | Look for frosting on the cylinder - the tell for a low tank - then reset the regulator and reopen slowly |
Six Assembly Mistakes That Cost 4-Burner Owners a Weekend
- Building the firebox before the cart. The single most common order error, and the hardest to undo.
- Skipping the leak test. Five minutes now versus a gas smell in a closed garage later.
- Cross-threading the regulator onto the tank. Start it by hand; the QCC1 coupling should turn freely for the first few threads. If it resists, back it off and restart.
- Over-tightening burner screws. Burner metal expands under heat; gorilla-tight fasteners can crack the burner neck or strip the mounting hole. Snug, then a quarter turn.
- Using the wrong tank. The regulator expects a 20 lb refillable cylinder with a QCC1 valve. Disposable 1 lb bottles require a completely different adapter.
- Assuming the badge equals a PDF. Always resolve through the rating plate, then support or the retailer's documents tab.
Ongoing Maintenance the Manual Keeps Repeating
Clean Grates Warm, Clear Burner Tubes, Empty Grease Tray at Half
Three habits separate a grill that lasts a decade from one that lasts three seasons. First, brush the grates while they are still warm - food and grease release far more readily than on a cold, set surface. Second, inspect and clear the burner tubes at the start of the season; a shop vacuum or a bottle brush through each tube prevents the uneven-flame problem, and it is the maintenance step owners skip most. Third, empty the grease tray when it reaches roughly half full on a cool grill - an overflowing tray is both a fire risk and a magnet for pests. Finish with a cover, and expect each replacement burner tube or igniter electrode to run roughly $15-$30 and $8-$15 respectively based on typical retail pricing for this class of grill.
Explore the full current grill and griddle lineup at Nexgrill's product catalogue, and request model-specific documentation through Nexgrill support.