Nexgrill Fortress X4 4-in-1 Assembly: Decode the Name, Then Build It Right the First Time
A how-to for owners of compact Fortress-class units: confirm which grill and which '4-in-1' bundle you actually have, then follow a build order that avoids a teardown.
In This Article
Decode Before You Build
Build Order That Holds
First-Fire Confidence
Before You Start: Is Your 'Fortress X4 4-in-1' Actually a Fortress?
'Nexgrill Fortress X4 4-in-1' is a marketing label, not a catalog model number. The Fortress line covers compact propane grills, and '4-in-1' typically means a bundle adding a griddle insert, a warming rack or auxiliary burner, and a folding stand. Before turning a screw, check the data plate on the back or underside of the firebox. It lists the model and serial number, the only reliable way to match your unit to the correct manual. If the plate says something else, stop and find the right guide.
How to Read the Data Plate and Parts List in Three Minutes
The plate is usually a silver sticker with black text. Look for a model number starting with 'Fortress' or containing 'X4,' then cross-check it against the first page of your manual and the exploded parts list, which shows each component with a callout number and quantity. If your hardware bag quantities don't match, you have a missing part or the wrong manual. Contact Nexgrill support via nexgrill.com/pages/contact before proceeding.
What to Lay Out Before the Tape Comes Off
You'll need a Phillips-head screwdriver, an adjustable wrench, and pliers. A magnetic bowl or muffin tin keeps screws from rolling away, and a flattened cardboard box protects the finish and catches small parts. The one thing cartons skip: a clean, flat surface at least 6 feet by 4 feet, so you can spread out the base, firebox, and accessories without stacking them. Photograph the hardware bags before opening to help identify parts later.
How Long Does a Compact Fortress-Class Build Take?
One person can typically finish a single or double-burner Fortress-class grill in 20 to 40 minutes, assuming parts are inventoried and tools are ready. Adding the griddle insert and folding stand adds 10 to 15 minutes. Don't rush burner tube alignment or the leak test-those are where mistakes happen.
Warning: If hardware bags are torn or missing pieces, do not improvise with hardware-store screws. Burner and regulator fasteners are sized for a reason; the wrong screw can damage the valve or create a leak path.
Step 1: Unbox, Photograph, and Inventory Against the Exploded Parts List
Remove all contents and photograph each hardware bag. Compare contents to the exploded parts list, checking off each item and quantity. If anything is missing or damaged, contact Nexgrill before assembly. This takes five minutes and prevents mid-build surprises.
Step 2: Build the Base or Folding Stand First, Latch Facing Front
Assemble the folding stand or fixed base first. On folding stands, the leg latch must face the front so you can reach it when upright. Mount the legs with the specified screws, leaving them slightly loose until all are attached, then tighten. Test that the folding mechanism locks and releases smoothly before attaching the firebox. If the latch binds, the legs may be reversed-check the manual's diagram.
Step 3: Mount the Firebox and Seat Each Burner Tube Over Its Valve Orifice
Lift the firebox onto the base and secure it with the provided bolts. Slide each burner tube over its corresponding manifold orifice until it seats fully, covering the orifice with no gap. Tighten the burner tube screws just enough to hold the tube; over-tightening can bow it and create a gap. A partially seated tube can cause a dangerous gas leak.
Step 4: Route the Ignition Collector Wire and Fit Accessories Last
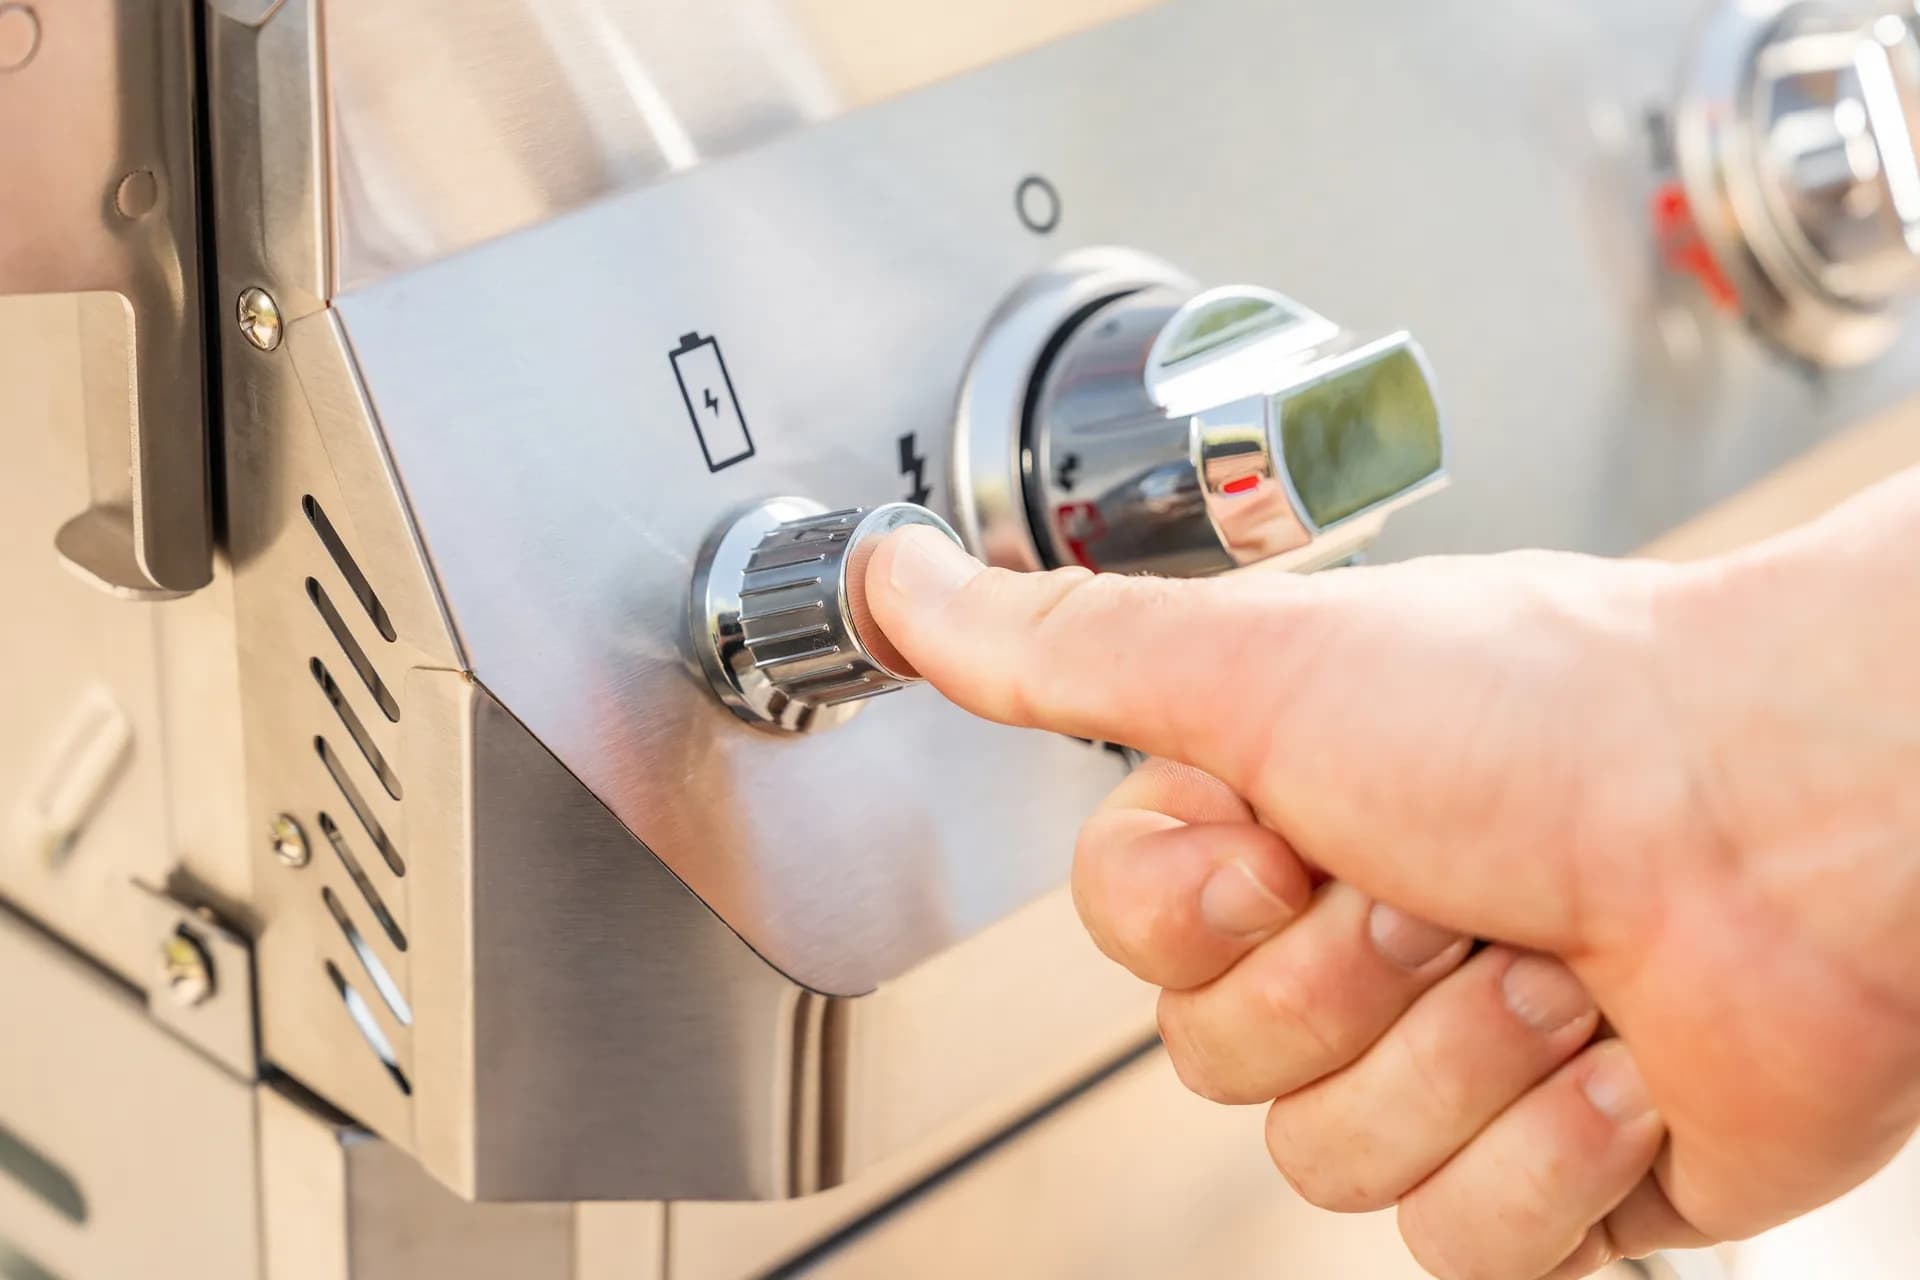
The ignition collector wire (if equipped) runs from the igniter button to a metal collector near the burner. Route it away from hot surfaces and sharp edges, securing it with the provided clips. Install the griddle insert or warming rack last, since they obstruct access to the burner area. Double-check that all screws are tight and no wires are pinched.
Comparing Two Compact Options? See Them Side by Side
Still deciding between two compact Fortress models, or between a Fortress and another Nexgrill portable? Use the comparison tool below to see specifications, features, and prices side by side to confirm which unit matches your cooking style and space.
Once You've Weighed Two Options, Here's What Else Matters
After comparing specs, the real differentiator is daily use. The '4-in-1' label promises versatility, but not every attachment earns its keep. Below: the typical bundle, the mistakes that force a rebuild, and the checks for a safe first fire.
The 4-in-1 Reality Check: Which Attachments You'll Use Weekly
A '4-in-1' bundle usually includes grill mode (standard grates), griddle mode (flat-top insert), an auxiliary burner or warming rack, and a folding stand. The griddle insert is the most-used add-on for breakfast and smash burgers; the warming rack keeps food hot at parties; the folding stand matters if you tailgate or camp. If you rarely make pancakes or stir-fry, the griddle may sit in the garage.
| 4-in-1 Mode | What It Is | When You'll Use It |
|---|---|---|
| Grill mode | Standard grates over burners | Burgers, steaks, chicken |
| Griddle mode | Flat-top insert replaces or sits on grates | Breakfast, smash burgers, stir-fry |
| Auxiliary burner | Side burner or warming rack | Boiling water, keeping food warm |
| Folding stand | Collapsible base for transport | Tailgating, camping, small patios |
Five Mistakes That Force a Full Rebuild
| Mistake | Symptom | Fix |
|---|---|---|
| Griddle installed before burner tubes seated | Tube misalignment, hard access | Remove griddle, reseat tubes, reinstall |
| Lost regulator O-ring or forgotten shipping cap | Leak at regulator; won't light | Inspect O-ring; remove cap before connecting |
| Folding legs mounted backwards | Stand wobbles; won't fold flat | Reverse legs; latch must face front |
| Over-tightening burner tube screws | Tube bows; gap at orifice; uneven flame | Loosen, reseat, tighten snugly |
| Skipping soapy-water leak test | Potential fire hazard | Always test before first light |
The 60-Second Pre-Fire Checklist
- Remove the plastic shipping cap from the regulator (if present).
- Inspect the regulator O-ring for cracks or missing pieces.
- Connect the 1 lb propane cylinder hand-tight-do not use tools.
- Mix 1 part dish soap to 3 parts water and apply to the regulator-to-cylinder and regulator-to-manifold joints.
- Open the gas valve and watch for bubbles; bubbles mean a leak-tighten or replace the O-ring.
- If no bubbles, close the valve and light the grill.
Tip: The soapy-water test is the only reliable way to confirm a leak-free connection on a portable propane grill. It's recommended by the NFPA and USFA-see sources below.
Which Fortress Buyer Are You?
- Weeknight griller: Burgers and chicken for two to four people. A single-burner Fortress with standard grates is enough; skip the griddle if you rarely make breakfast.
- Tailgater or camper: Portability is key. Choose the folding stand and a model with a built-in carry handle; the griddle is a bonus for morning bacon and eggs.
- Small-space entertainer: A double-burner Fortress with a warming rack lets you cook and keep food hot; the auxiliary burner is useful for sides.
Keeping a Portable Unit Reliable Across Seasons
- Clean burner tubes with a wire brush a few times a year; spiders and debris clog the ports.
- Store covered in a dry place; moisture promotes rust.
- Inspect the regulator and hose for cracks before each season.
- Remove the 1 lb cylinder when not in use to prevent accidental gas release.