Nexgrill Rally 2-Burner Manual: Find the Right Guide When Your Model Name Doesn't Match
A practical walk-through for compact 2-burner owners: verify your badge, pull the correct manual revision, leak-test the regulator, and light safely the first time.
In This Article
Read the Badge First
Leak Test Is the Hero Step
Lid-Open First Burn
If Your Grill Says 'Rally' but Nexgrill's Site Doesn't: Start Here
If you're hunting for a "Nexgrill Rally 2-burner manual" and the product pages keep returning the Deluxe 2-Burner, the Daytona 2-Burner Griddle, or a generic support form, you are not imagining things. As of this writing, no verified Nexgrill product page carries the name "Rally." Retail listings, marketplace rebadges, and seasonal SKU names sometimes drift from the manufacturer's own catalogue, which means the word silk-screened on your lid may not be the word in Nexgrill's system.
That distinction matters because a two-burner propane grill is a simple machine with a small number of safety-critical interfaces: the regulator-to-tank connection, the burner tubes, and the grease tray. Guessing at those from a plausible-looking PDF is the fastest way to a grill that won't light or, worse, one that leaks. The path below starts with evidence from your own grill rather than a search engine.
Treat "Rally" as a lead, not a fact. If your badge reads Rally, do not assume any BTU rating, grate material, or side-burner spec you read online applies to your unit. Confirm against your own rating plate.
Before You Download Anything: The Data Plate Beats the Sticker
Lid stickers are for shopping. The data plate is for ownership. On compact Nexgrill 2-burners, the rating plate is typically riveted to the grill body-check the inside of the cabinet door, the rear panel below the control knobs, or the left leg assembly. It carries a model number and a serial number, and it may also list gas type (LP propane), input rating, and a manufacture date.
Photograph that plate line by line before you touch a browser. Model prefixes and suffixes are where manual matching actually happens, and a photograph lets you read the same string into a product-page search later without trusting memory. The serial number is also what support will ask for first if you end up calling.
Model and serial on the rating plate-the only strings that reliably pull the correct document revision
How to Find a Manual When the Model Name Doesn't Match a Listing
Run the plate's model string-not the lid name-through Nexgrill's product catalogue. If the string returns nothing, search the retailer where you bought the grill and open its "Guides & Documents" or "Specifications" tab, which often hosts the assembly PDF the manufacturer supplied. Then compare the parts diagram inside any candidate manual against your actual grill: burner tube count and shape, heat shield layout, grease tray location, and the regulator style at the tank end.
A manual that shows a different regulator is the wrong manual, even if the lid name matches. Two-burner units vary more than people expect-some use a hose-and-regulator assembly fixed to the manifold, others use a clip-on or screw-on regulator at the tank. If the diagram's connection type doesn't match what you're holding, keep looking or contact support.
The Model-Matching Decision Path: 'Rally' Badge to Correct Document
| What You're Seeing | Best Next Move | What Rules It Out |
|---|---|---|
| Plate model number returns a product page | Download that page's manual or contact support with the serial | Diagram shows a different regulator or burner layout |
| Plate number returns nothing | Check retailer's Guides tab; then Nexgrill support | No parts diagram to cross-check-don't trust a random PDF |
| Lid says Rally, plate is unreadable | Measure cooking surface and photograph the regulator and knob layout | Any manual claiming universal fit across 2-burners |
| Close match to a documented 2-burner | Use the Deluxe 2-Burner or Daytona 2-burner guide as a reference only | Assuming identical part numbers-verify before ordering |
The Deluxe 2-Burner Gas Grill and the Daytona 2-Burner Griddle are the closest documented compact two-burner references in Nexgrill's line. They are useful for understanding the general lighting sequence and leak-test routine, but they are not proof that your Rally shares a single part number with either.
What a Compact 2-Burner Manual Actually Covers (and What It Doesn't)
A manual for this class of grill is a parts-and-safety document. Expect a hardware inventory, an assembly order, a lighting procedure, a leak-test method, a care schedule, and a parts diagram with reference numbers. It will not tell you which rub to use or how to reverse-sear a steak.
What it also often does not spell out: that the LP tank is sold separately and must be a standard 20 lb cylinder, that clearance distances vary by unit, and that the regulator connection type is specific to your model. Those gaps are exactly where owners get into trouble, so verify them on your own labels rather than borrowing numbers from a video.
Prerequisites the Manual Assumes You Already Have
- A standard 20 lb LP propane tank-typically not included
- An adjustable wrench for the regulator nut
- A Phillips screwdriver for the assembly fasteners
- A spray bottle of soapy water for the leak test
- Level, firm ground-soft turf swallows fasteners and hides leaks
Step-by-Step First Light for a Compact 2-Burner
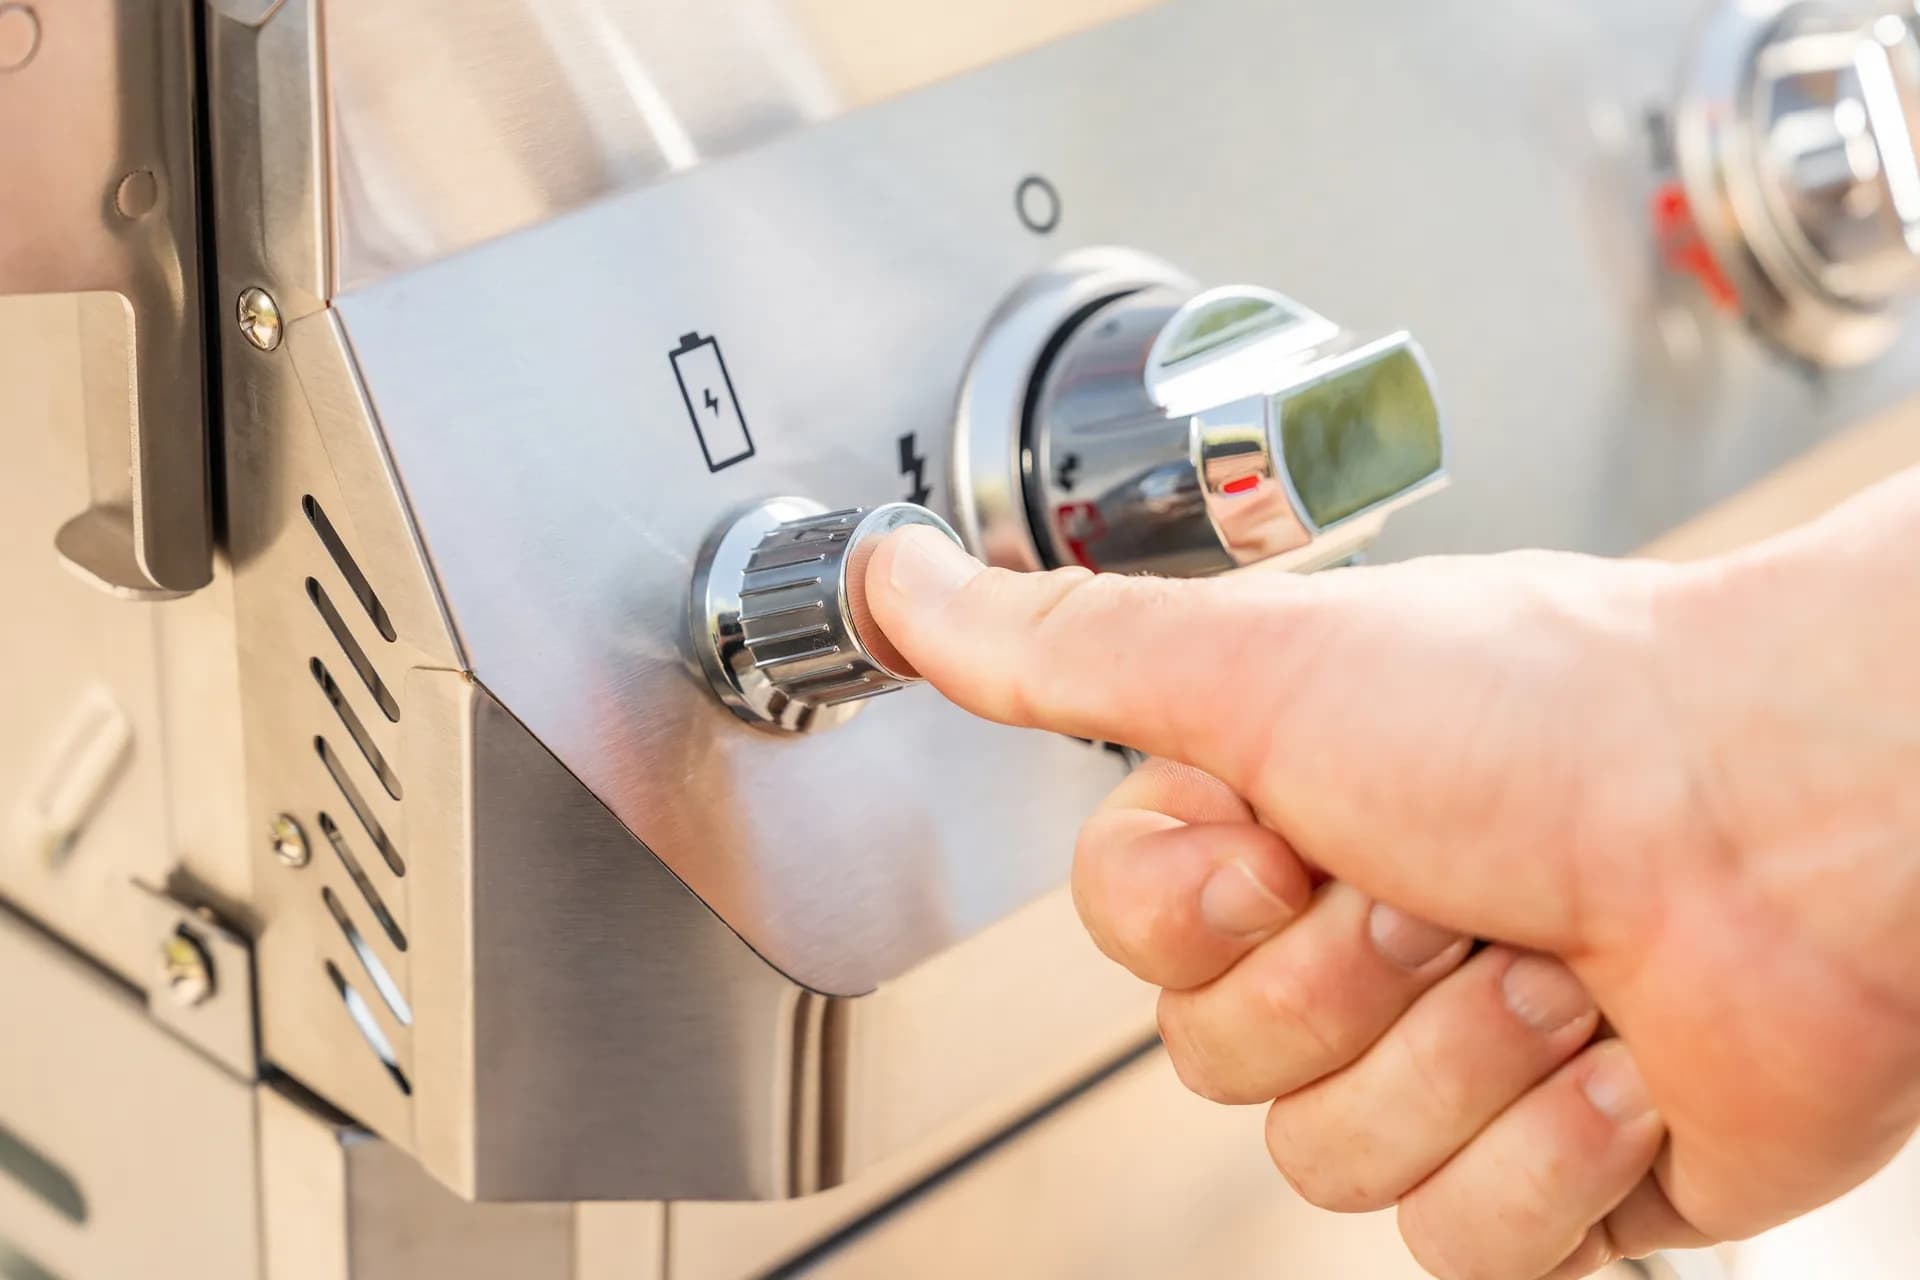
1. Unpack and lay out hardware against the manual's parts list before starting. Missing fasteners are easier to claim now than after assembly. 2. Install burner tubes, heat shields, and the grease tray in the manual's stated order-tubes first, tray last. 3. Attach the regulator to the tank by hand, then snug with the wrench. Do not over-tighten. 4. Perform the soapy-water leak test at every joint. 5. Open the lid and burn off manufacturing oils for roughly 15 minutes on high before any food touches the grates. 6. Then cook.
Comparing two candidate models-or two candidate guides-side by side is the fastest way to see where your assumptions break down:
Once You've Matched Two Candidate Guides, Here's How to Choose the Right One
When two manuals both look plausible, decide with three tests in order. First, the regulator test: does the diagram show the same hose-and-regulator assembly you're holding, attached the same way? Second, the burner test: count and shape-two straight tubes versus any other layout. Third, the grease management test: does the tray slide in from the same side and at the same angle?
If all three match, the document is close enough to work from. If two match and one doesn't, do not order parts from that diagram-that's the point where a phone call beats a download. Nexgrill's about page shows the company has been building outdoor cooking gear since 1993; support can usually trace a serial to the right revision.
The Soapy-Water Leak Test Done Right (Every Reconnect, Not Just the First)
This is the step owners skip most often, and it's the one that matters most. Mix a few drops of dish soap in a spray bottle of water, open the tank valve, and spray every connection point: the tank valve threads, the regulator body, the hose-to-manifold joint, and any quick-connect fitting. Watch for growing bubbles-not foam settling, but new bubbles appearing.
A new regulator is not a safe regulator by default. Factory connections can be loose, and shipping can shift a fitting. Test before the first burn and after every tank swap.
If bubbles form, close the tank valve, tighten the joint a quarter turn, and retest. Persistent bubbling at the regulator body means stop and replace the part-do not tape or seal a gas connection. Never test with a flame.
Five Mistakes That Keep a 2-Burner From Lighting Safely
- Searching the web before reading the rating plate, then trusting a plausible but wrong PDF.
- Skipping the leak test because the regulator "came already attached."
- Doing the first burn with the lid closed, trapping oils and heat.
- Over-tightening the regulator nut until the fitting deforms.
- Leaving the tank valve cracked open between cooks, slowly bleeding gas into the cabinet.
A sixth worth listing separately: assembling on grass or gravel, where small fasteners vanish and a slightly tilted grill changes how the grease tray drains.
Clearance, Placement, and the Space Around Your Grill
Owners routinely quote clearance numbers from forums. Typical guidance for compact propane grills runs around 24 inches of side clearance and 36 inches from combustible overhead structures, but these figures vary by model and must be confirmed against your own manual or rating label. Never place a 2-burner under a covered patio ceiling, against a vinyl siding wall, or inside a garage-even briefly.
| Placement Question | What to Do |
|---|---|
| Deck railing nearby? | Pull the grill clear of the rail; heat discolors wood and composite |
| Overhead roof or pergola? | Confirm your label's overhead distance; do not assume |
| Windy corner? | Rotate so the control panel faces the wind, not the burner openings |
| Uneven surface? | Level it before filling the grease tray; drainage matters |
Printable Pre-Light Checklist for a Compact 2-Burner
- Rating plate photographed (model + serial)
- Tank valve fully closed while connecting regulator
- Regulator hand-tight, then snug with wrench-no more
- Soapy water sprayed at all four connection points
- Two minutes watched for growing bubbles
- All knobs in OFF position before opening tank valve
- Lid open for the first burn
- Grill level, clear of combustibles, grease tray seated
When to Stop Guessing and Contact Nexgrill Support
Stop searching when: the parts diagram conflicts with your physical grill on more than one point, the regulator type is ambiguous, or you've found no document at all for your plate string. At that stage, use the official contact page with your model and serial in hand. A well-matched manual is worth the wait; a wrong one is not worth the risk.