Nexgrill Fortress 1-Burner Assembly Instructions: Single-Burner Build, Orifice Alignment, and Leak-Test Guide
A compact, task-first guide to assembling a single-burner Nexgrill when the manual is missing - covering tool prep, burner-tube seating, regulator fit, and the leak test most owners skip.
In This Article
Confirm the Unit First
Tiny Build, Big Details
Leak Test Is Non-Negotiable
Start Here: Why a 1-Burner Build Fails Differently Than a Cart Grill
Single-burner grills fail assembly for one reason: parts are small and tolerances are tight. A cart grill has forgiving bolt holes and a self-aligning frame. A compact one-burner unit has a stamped burner body, a short venturi tube, and a regulator that must seat squarely on the cylinder collar. If the burner tube is 5 mm off the valve orifice, the flame burns yellow and soots the grate. If the regulator is cross-threaded, you smell gas before you see a flame.
The public Nexgrill catalogue does not prominently list a product literally called “Fortress 1-Burner.” Treat the carton model number and the data plate on the burner body as the authority - “Fortress” may be a retail-channel or packaging label.
Confirm You Have the Right Unit Before the First Bolt
Find the white or silver data plate riveted to the burner body or underside of the base. It lists model number, serial number, and gas type. Photograph it before assembly - that photo is faster than re-reading the carton when you need parts. If the plate says “LP” and your cylinder is a standard 1 lb disposable, confirm the regulator inlet matches; some compact units ship with a different collar thread than a 20 lb tank valve.
What Tools and Prep Does a Single-Burner Assembly Actually Need?
- #2 Phillips screwdriver (magnetic tip helps)
- Small adjustable wrench (6-8 in)
- Spray bottle with dish soap and water (1:3 ratio)
- Clean, flat surface - driveway or patio table, not grass
- Optional: magnetic parts tray
Do not use thread tape on flare fittings - most compact gas grills seal on the cone, not the threads, and tape can block the gas path. Never test for leaks with a flame. A first build typically takes 10-20 minutes including leak testing; past 30 minutes, stop and re-check orifice alignment.
Step 1: Unbox, Inspect, and Inventory Hardware Against the Parts List
Cut the tape along the top seam, lay everything out, and count against the parts list. Critical small parts: burner tube, electrode with wire, heat shield, grease tray, cooking grate, regulator with hose, and 4-6 screws. If the manual is missing, use the Nexgrill contact page with your model number - do not guess at hardware.
Step 2: Mount the Burner Body to the Base, Legs, or Folding Stand
Hand-thread all screws first, then snug them in an X pattern. Do not torque one screw fully before the others are started - that is how stamped metal warps and the burner tube stops seating.
Step 3: Seat the Burner Tube Onto the Valve Orifice Without Forcing It
This step decides whether the grill works. The valve orifice is a tiny brass fitting on the gas valve; the burner tube's venturi opening slides over it. Look into the venturi with a flashlight - you should see a clean hole, no burrs. Slide the tube on until the orifice sits roughly 10-15 mm inside the venturi mouth; the tube should not touch the valve body. If it will not slide on, do not force it - check that the venturi is not bent and the orifice is centered.
Step 4: Fit the Heat Shield, Grease Tray, and Cooking Grate
The heat shield sits above the burner tube and below the grate. The grease tray slides into its channel - confirm it moves freely and sits level. The cooking grate drops into its notches; on most single-burner units it fits only one way, so do not shim it.
Step 5: Install the Regulator and Confirm the Cylinder Collar
Thread the regulator onto the cylinder collar by hand until snug, then tighten about 1/8 turn with the wrench - no more. The cylinder must stand upright. If using a 1 lb disposable cylinder, confirm the regulator is designed for it; a 20 lb tank regulator will not seal on a disposable collar.
Step 6: Leak-Test With Soapy Water Before the First Burn
Turn the gas on at the cylinder (not the burner knob). Spray soapy water on the regulator-to-cylinder joint, the hose-to-regulator joint, and the valve-to-burner-tube area. Bubbles that grow mean a leak. Tighten the joint 1/8 turn and re-test; if bubbles persist, shut off the gas and contact support.
Step 7: First Burn and Warm-Up on a New Single Burner
Light the burner per the manual - typically push and turn the knob, then press the igniter. Run it on high for 10-15 minutes with the lid open to burn off manufacturing oils; slight smoke is normal. The flame should be mostly blue with small yellow tips. A yellow, lazy flame means the venturi is misaligned or partially blocked.
Try comparing two compact options side by side below to see which fits your patio, balcony, or tailgate setup best:
After You've Weighed Two Compact Options, Here's What Else Matters
Once you have compared two grills side by side, the deciding factors for a single-burner owner are footprint, fuel flexibility, and grate area. A 1-burner unit is a deliberate choice for quick meals for one or two people. If you are already thinking about a second burner, size up - but if you are committed to a small footprint, assembly quality determines whether it cooks evenly.
The Five Mistakes That Cause Most Single-Burner Rework
- Forcing the burner tube onto the orifice. This bends the venturi and creates a yellow flame; it should slide on with light hand pressure.
- Cross-threading the regulator. It feels tight but leaks. Start by hand, turn counterclockwise until it clicks, then clockwise.
- Over-tightening small screws. Stamped metal strips easily; snug is enough.
- Skipping the leak test. The most common leak point is the regulator-to-cylinder joint, not the hose.
- Ignoring the electrode gap. The spark should jump about 3-5 mm to the burner tube; if it touches metal, it will not spark.
Cross-Threading, Bent Venturis, and Other Hardware Traps
A bent venturi usually comes from dropping the burner tube during unboxing or forcing it past a misaligned orifice. Inspect the venturi mouth for roundness - if it is oval, the tube will not seal and the burner will not draw air correctly. Cross-threading shows up as resistance in the first two turns; back off and restart. Never use pliers on the regulator nut - an adjustable wrench or your hand is enough.
How to Leak-Test a Regulator Properly (and What Not to Use)
Mix one part dish soap to three parts water. With the gas on at the cylinder and the burner knob off, spray every joint; growing bubbles indicate a leak. Do not use a flame, windshield washer fluid, or solvent - they can damage the regulator diaphragm. Per the NFPA grilling safety guidance, never store or use a cylinder indoors, and check the hose for cracks before each season.
If you smell gas at any point, shut the cylinder valve immediately, move the unit away from ignition sources, and do not light the burner until the leak is found and fixed.
Where to Get a Missing Manual or Parts Diagram for Your SKU
Use the model number from the data plate and contact Nexgrill support through the contact page. The product catalogue can help match the unit to a current model, but do not assume a current SKU shares parts with an older packaging label. Request the parts diagram for your exact model number, not the retail name.
Which Compact Nexgrill Fits Your Patio, Balcony, or Tailgate Setup?
| Model | Best For | Why It Fits |
|---|---|---|
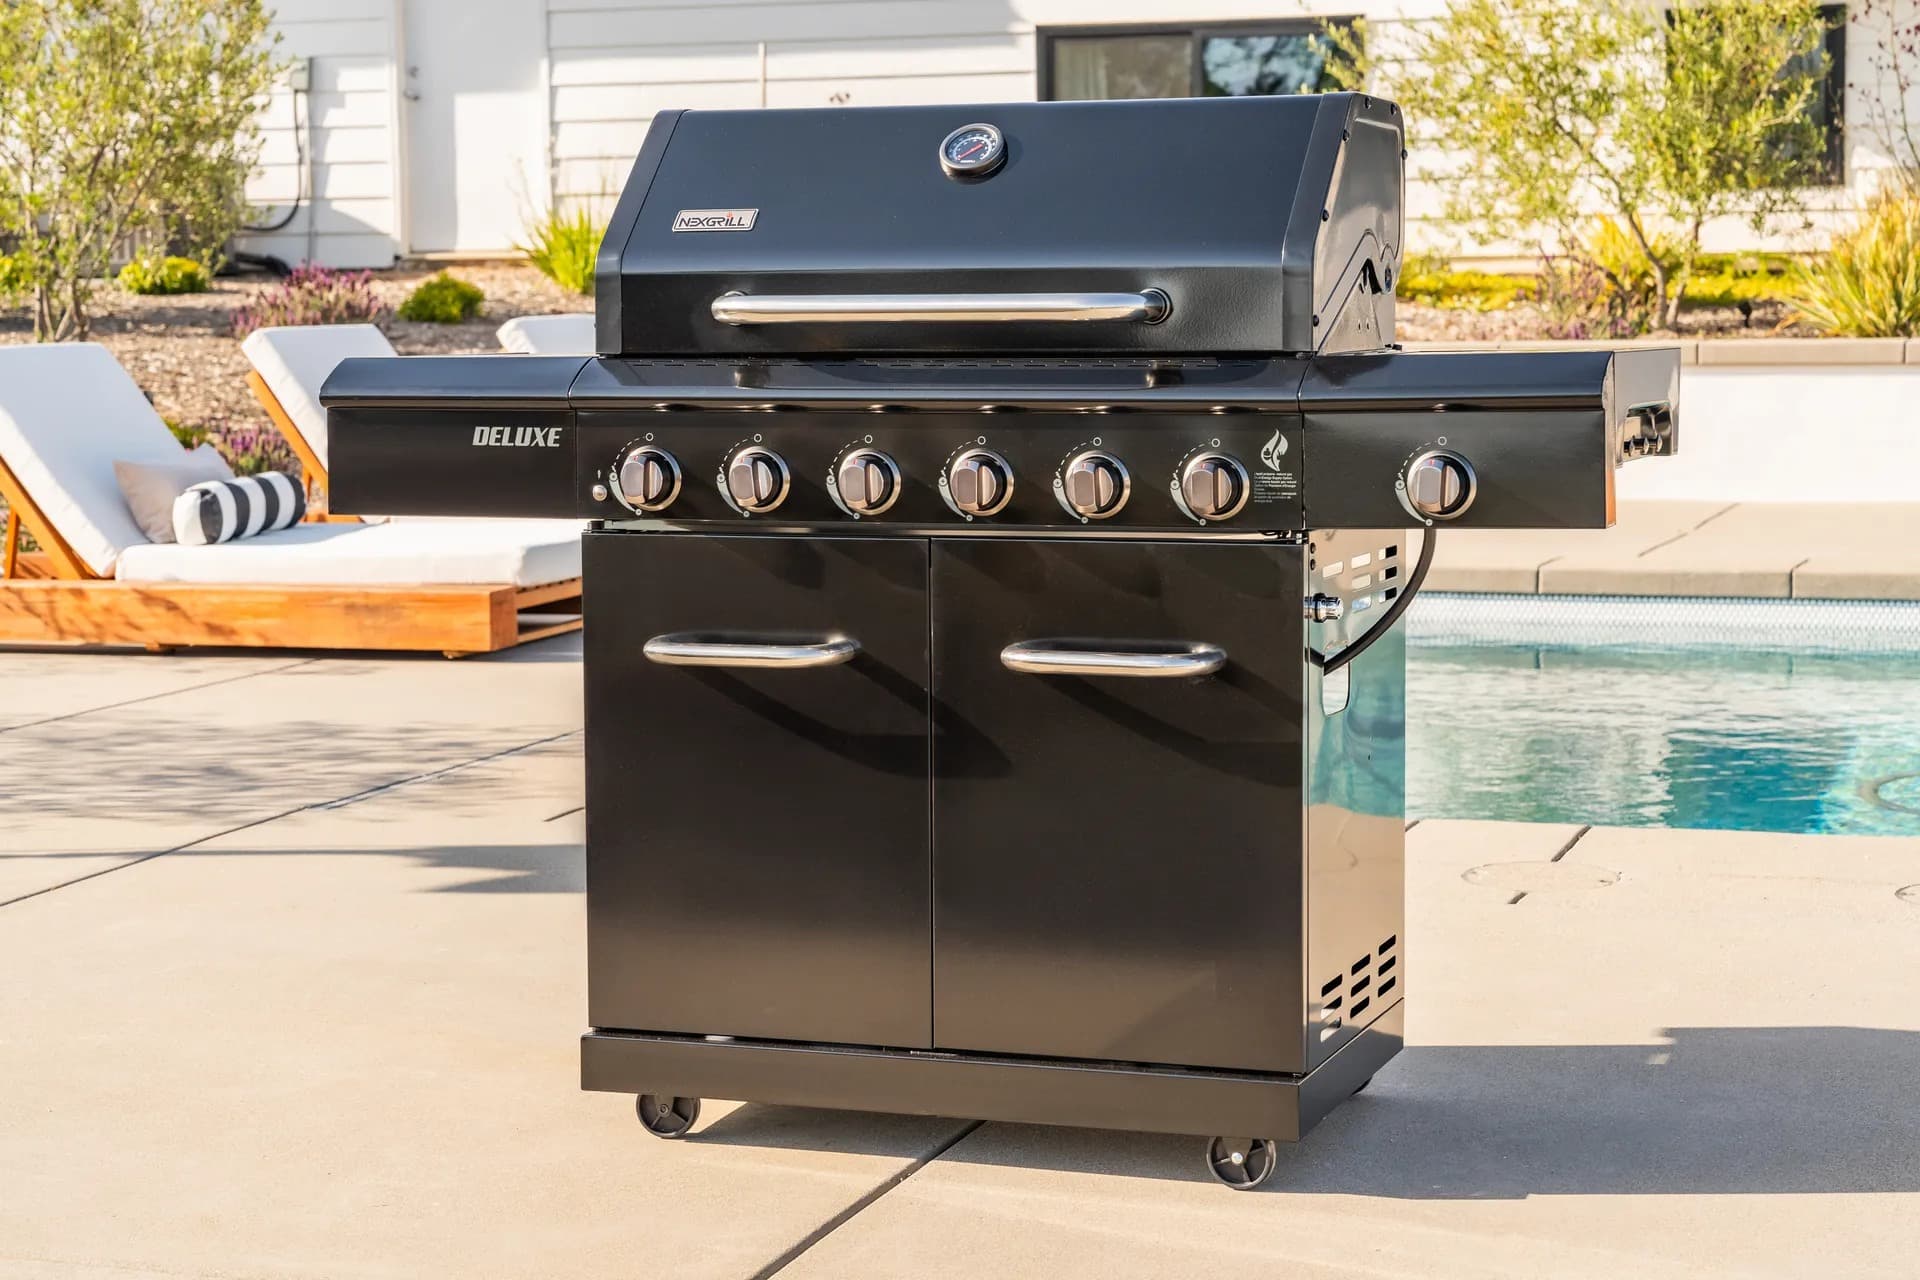
| Deluxe 2-Burner Gas Grill | Renter or small balcony | Two burners give real zone control without a cart footprint |
| Daytona 2-Burner Griddle with foldable cart | Tailgate or RV | Folding cart stores flat; flat-top cooks breakfast and burgers |
| Daytona 4-Burner Propane Gas Griddle | Small family (3-4 people) | 36-inch surface handles full meals at once |
Pre-Burn Checklist Before You Light It
- All screws snug, no wobble in the base
- Burner tube seated over the orifice, not touching the valve body
- Regulator hand-tight plus 1/8 turn; cylinder upright
- Soapy-water test passed at every joint
- Electrode gap 3-5 mm; igniter clicks
- Grease tray level and grate seated in its notches
Caring for a Small Footprint Grill Season to Season
Cover the grill when cool, check the hose for cracks each spring, and brush the burner tube ports with a soft brush - not a wire brush, which can widen the ports. The U.S. Fire Administration recommends keeping grills at least 10 feet from siding, deck rails, and eaves. Store cylinders outdoors, upright, and away from heat.