Nexgrill Fortress 2-Burner Assembly Instructions: Cart-Grill Build, Hinge Help, and First-Burn Checklist
A practical, get-it-done build guide for Nexgrill's 2-burner cart grills - including how to confirm which model your "Fortress" box actually is, the two-person lid step most people skip, and the leak check you must not skip.
In This Article
Confirm Your Model First
Cart Before Firebox
Leak Check and Burn-Off
Before the First Bolt: Confirming You Actually Have a "Fortress" 2-Burner
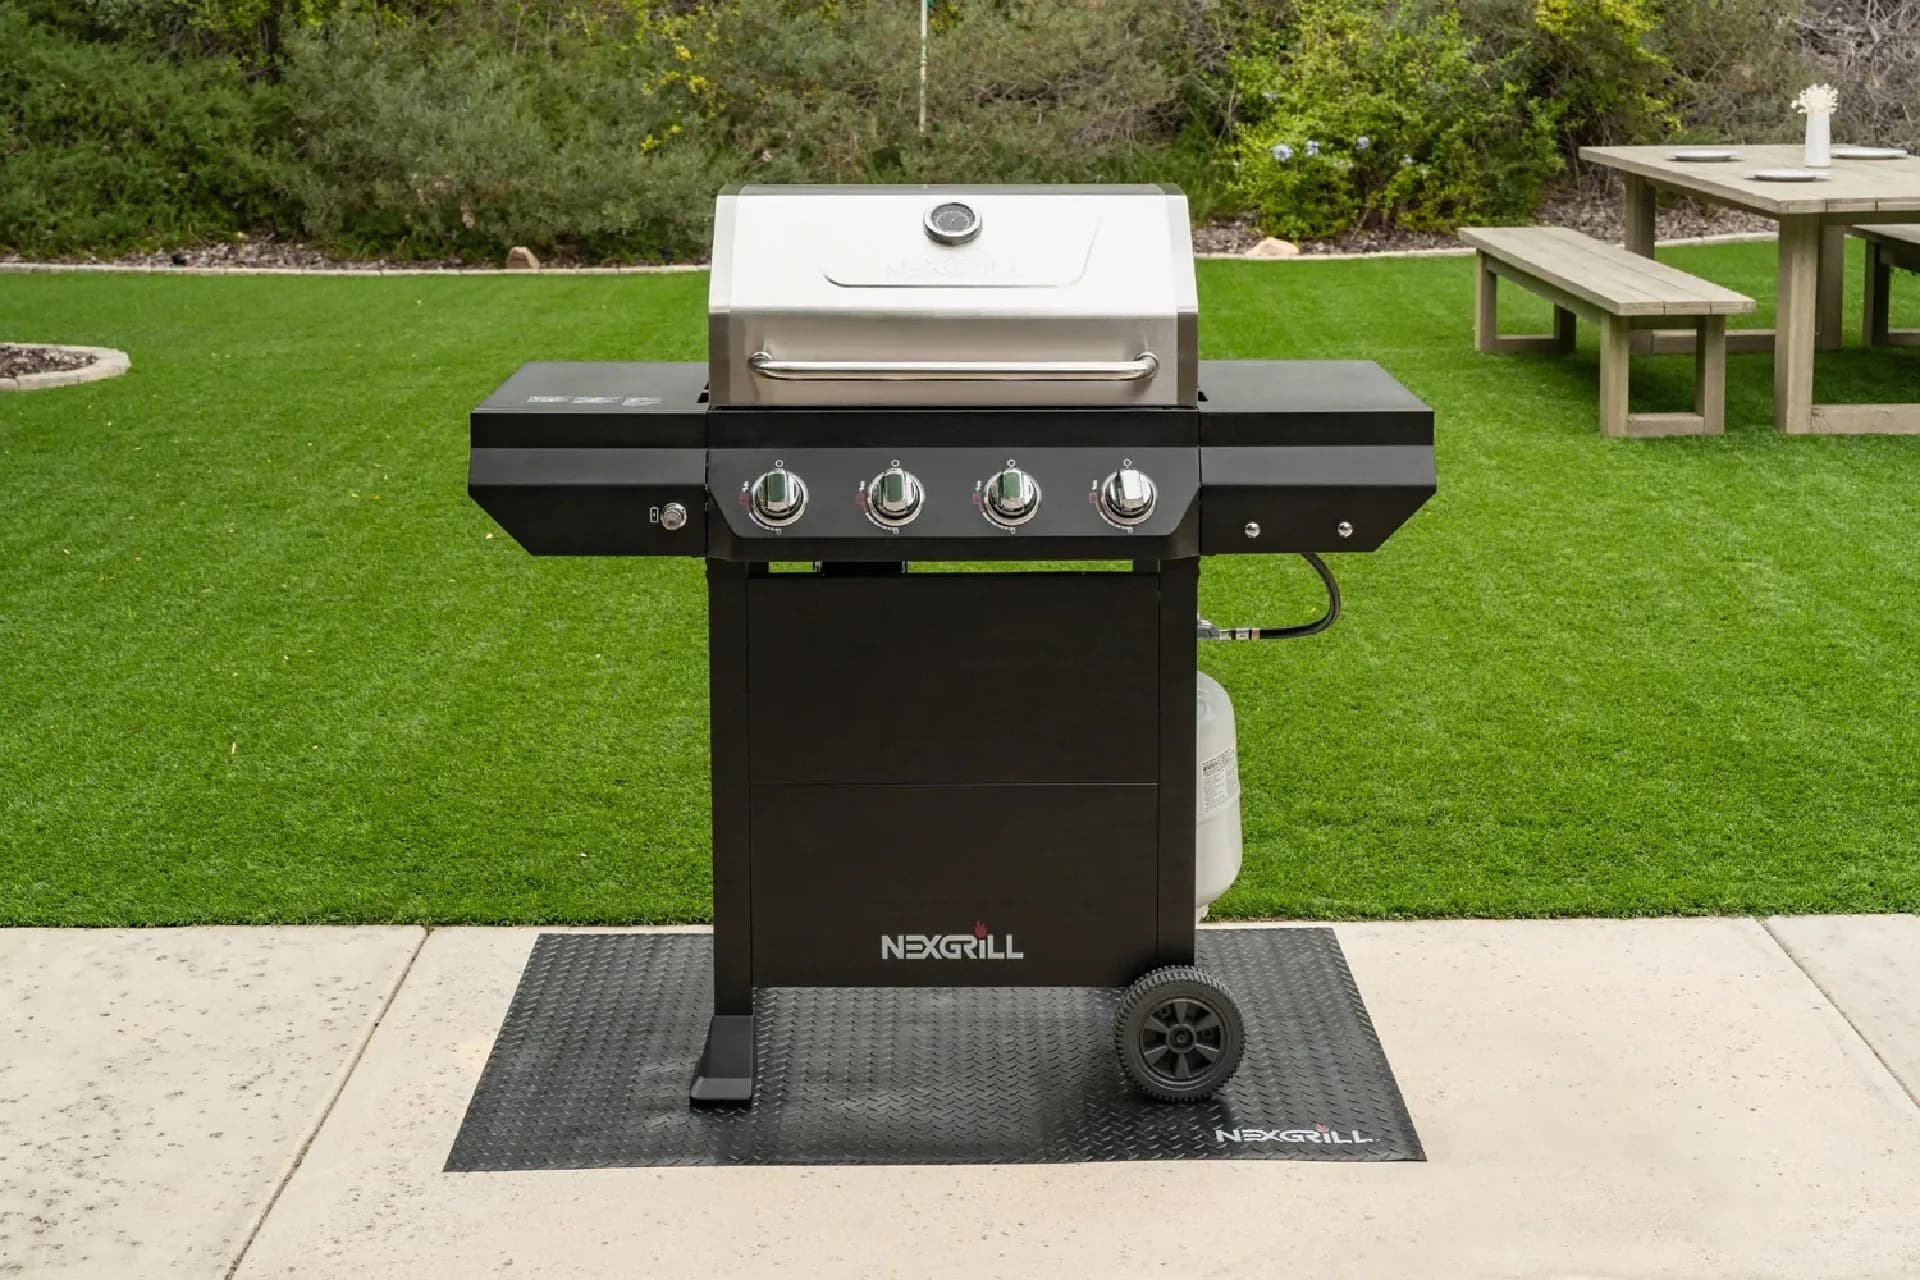
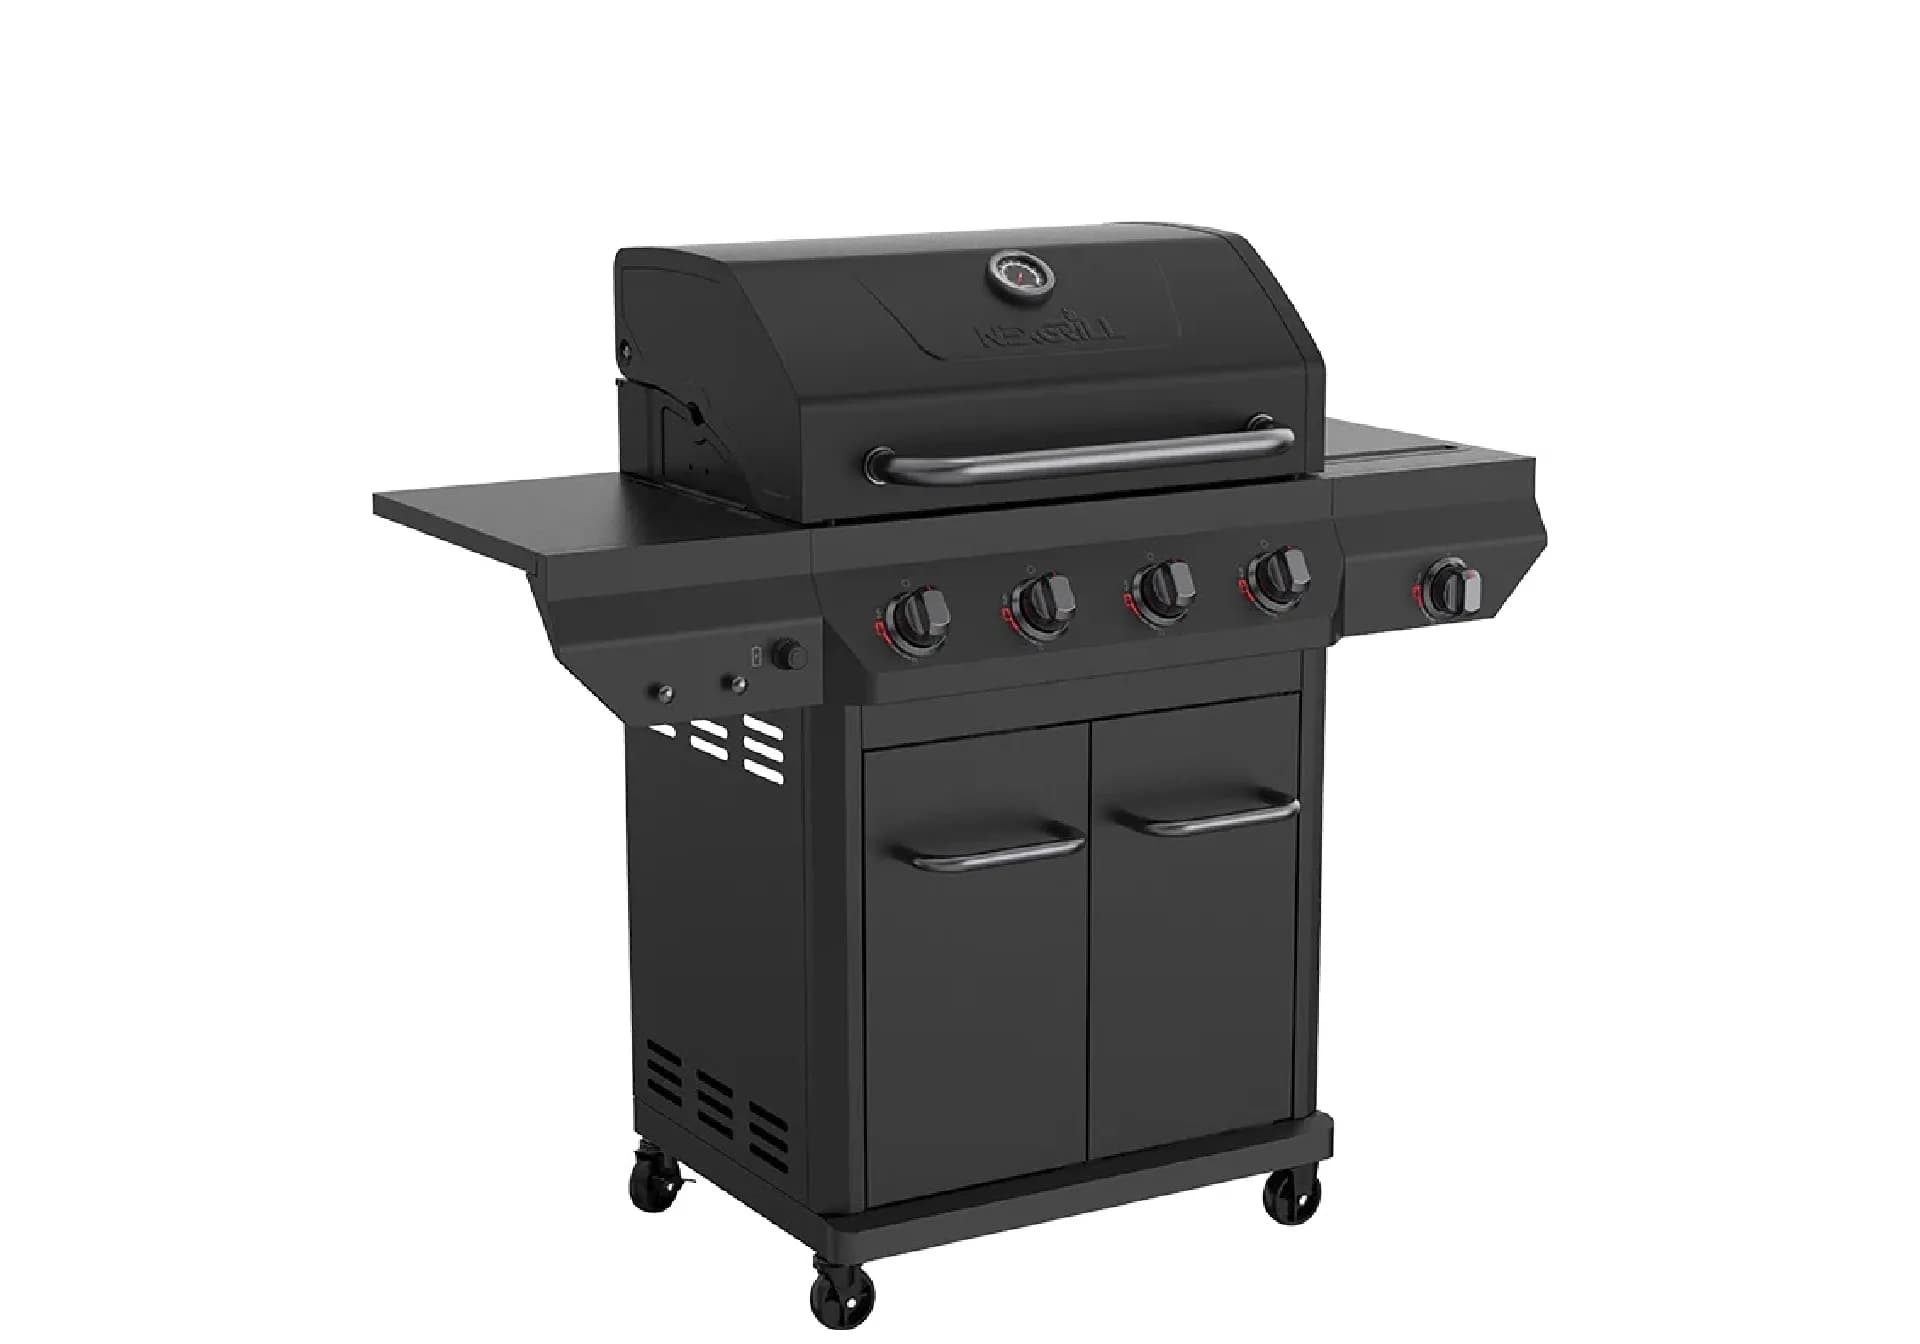
A quick honesty note before you start: we could not confirm a retail model sold under the name "Nexgrill Fortress 2-Burner" on nexgrill.com or at Home Depot. In our experience, the 2-burner cart grill people most often mean is the Deluxe 2-Burner Gas Grill (820-series family). Before turning a single bolt, find the model number printed on the box label and the front cover of your manual - the build steps below apply to 2-burner cart grills generally, but the exact hardware count and figures come from your manual, not this page.
Wrong-model builds are the number-one reason parts seem "missing." Match the label first.
What Should Be on the Patio Before You Cut the Tape?
Lay a flattened cardboard sheet on the patio, not on grass or a sloped driveway. You need a #2 Phillips screwdriver, an adjustable wrench or the supplied wrench, and a second pair of hands for the lid stage. Budget 60-120 minutes for two people (an estimate - novices often land at the high end).
How the Build Splits Into Three Stages (and Why the Manual's Order Matters)
This grill follows a cart-first-then-firebox order. Build the cart legs and shelves, seat the firebox on the finished cart, then mount burners and the lid. Firebox-first - the order used on some other Nexgrill models - forces you to flip a heavy firebox later and re-aligns everything you already set.
Stage 1: Unbox, Check the Box Damage, and Stage Hardware by Step - Not by Bag Color
Photograph any crushed corners before opening. Empty every hardware bag into muffin tins or paper cups labeled with the manual's step numbers. Bag colors vary between production runs; step numbers don't. Count bolts against the manual's parts list now, not mid-build.
Stage 2: Build the Cart First - Legs, Side Shelves, and the Front/Back Orientation Test
Attach the four legs to the cart base, then the lower panel and side shelves. Orientation test: the tool-hook side shelf must sit opposite the control panel, or your legs are reversed. Keep chassis bolts finger-tight until every leg is seated.
Finger-tight until the final torque pass - snugging early guarantees a misaligned cart.
Stage 3: Seat the Firebox, Then Mount the Burner Tubes and Route the Ignition Lead
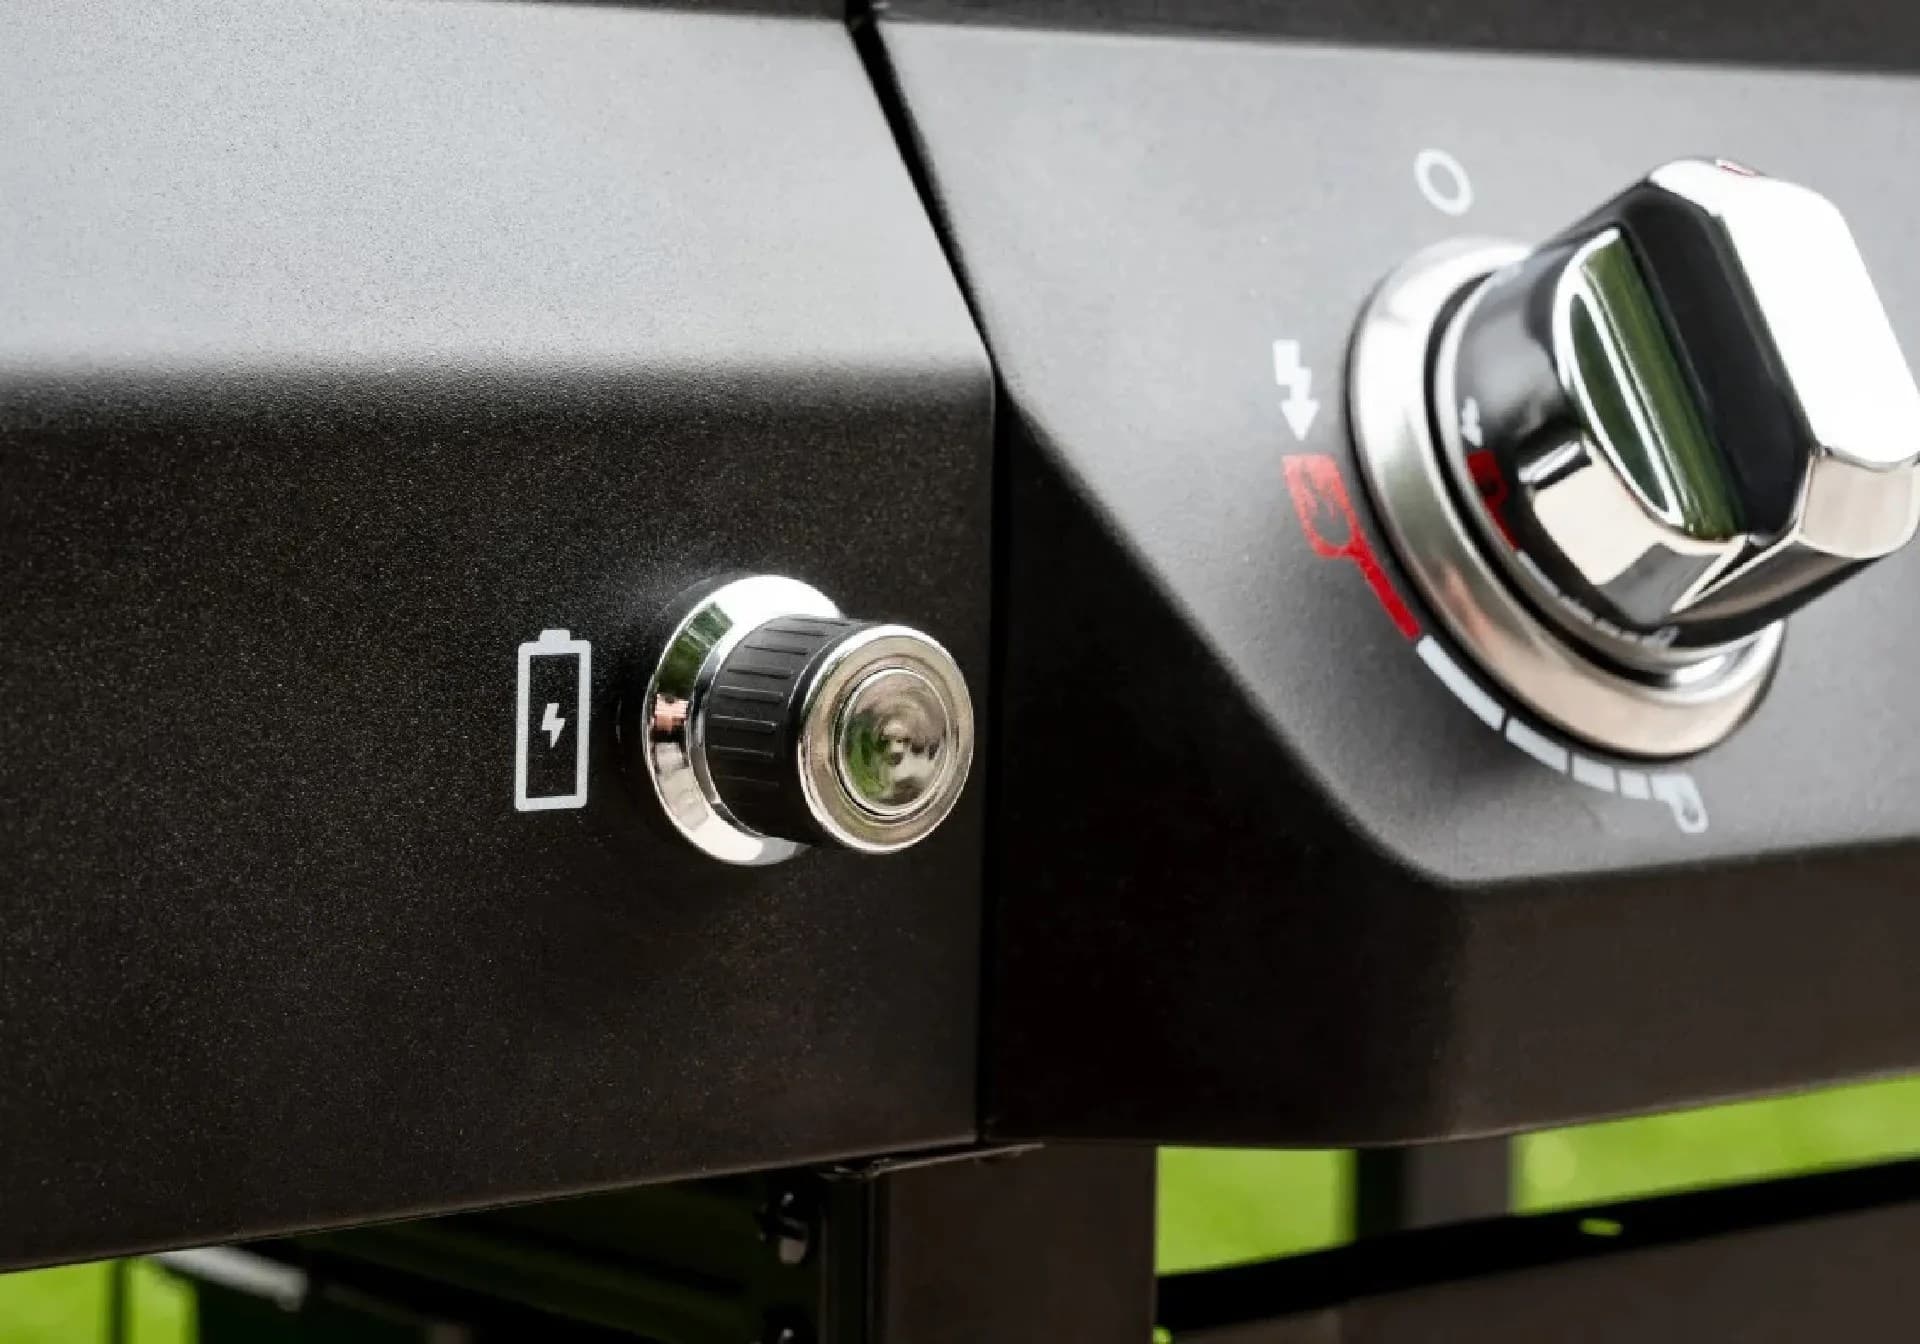
With a helper, lower the firebox onto the cart and start all four bolts before tightening. Slide burner tubes onto their valves, set the electrode-to-burner gap (approximately 3/16 in / 4-5 mm - confirm against your manual), and route the ignition lead away from burner heat and lid travel.
The 90-Second Two-Person Lid Trick That Prevents Most Hinge Rework
Most lid gaps come from tightening one hinge before the other is placed. Have your helper hold the lid centered while you start all hinge bolts loosely, close the lid to check the gap, then tighten in a cross pattern. Ninety seconds here saves a full teardown.
Hardware Snapshot: What to Keep Finger-Tight Until the End
| Component | Keep loose until |
|---|---|
| Cart legs / base | All legs seated |
| Firebox bolts | All four started |
| Hinge bolts | Lid gap checked |
Try Comparing Two Products Side by Side Below to See Which Fits Best
Still deciding whether a 2-burner cart grill is the right size, or weighing it against a larger model? Use the comparison tool below to line up two products and see how they stack up before you commit.
Once You've Weighed Two Options, Here's What Else Matters After the Build
Assembly is only the halfway mark. What separates a grill that runs clean for years from one that disappoints on the first cook is what you do in the ten minutes after the last bolt: the leak check and the burn-off.
Gas Leak Check: The Mandatory Step Between Assembly and First Cook
Mix dish soap and water, brush it on the regulator, hose connections, and every valve fitting, then open the tank slowly. Bubbles that grow mean a leak - tighten, re-test, and never light the grill until it passes.
Never test for leaks with a flame. Soapy water only, every connection, every time.
First Burn-Off: Why an Empty 10-15 Minute Run Comes Before Any Food
Manufacturing oils coat new burners and grates. Run the grill empty on high for 10-15 minutes with the lid closed to burn them off, then let it cool and wipe the grates. Your first meal will taste like food, not factory.
Troubleshooting by Symptom: No Spark, Weak or Uneven Flame, and a Lid That Won't Sit Flush
| Symptom | Likely cause | Fix |
|---|---|---|
| No spark | Lead disconnected or electrode gap wrong | Re-seat lead; set gap ~3/16 in (check manual) |
| Weak / uneven flame | Burner tube misaligned on valve | Re-seat tube over valve orifice |
| Lid won't sit flush | Hinges tightened one-side-first | Loosen both, re-center, cross-tighten |
Five Assembly Mistakes That Cause Callbacks - and How to Avoid Each
- Skipping the model-number check - verify the label first.
- Building firebox-first - build the cart first on this model.
- Tightening hinges before both are placed - start all loosely.
- Routing the ignition lead across lid travel - keep it clear.
- Lighting before the leak check - soapy water, always.
Recording Your Model and Serial Number for Future Parts and a Cover That Fits
Write the model and serial number from the firebox label inside your manual and photograph it. Cover fit and replacement burners are matched to those digits - this five-minute habit saves a wrong-size cover order later.
When to Stop and Contact Support Instead of Forcing a Part
If a bolt cross-threads, a panel won't seat, or hardware is genuinely missing, stop. Forcing a part usually cracks a mount. Reach out through Nexgrill support with your model and serial number and photos of the issue.