Nexgrill Daytona 2-Burner Manual: Your Essential Guide
Master the art of outdoor cooking with the Daytona 2-Burner Gas Griddle.
In This Article
Versatile Cooking
Step-by-Step Setup
Common Mistakes to Avoid
How to Set Up Your Nexgrill Daytona 2-Burner Griddle
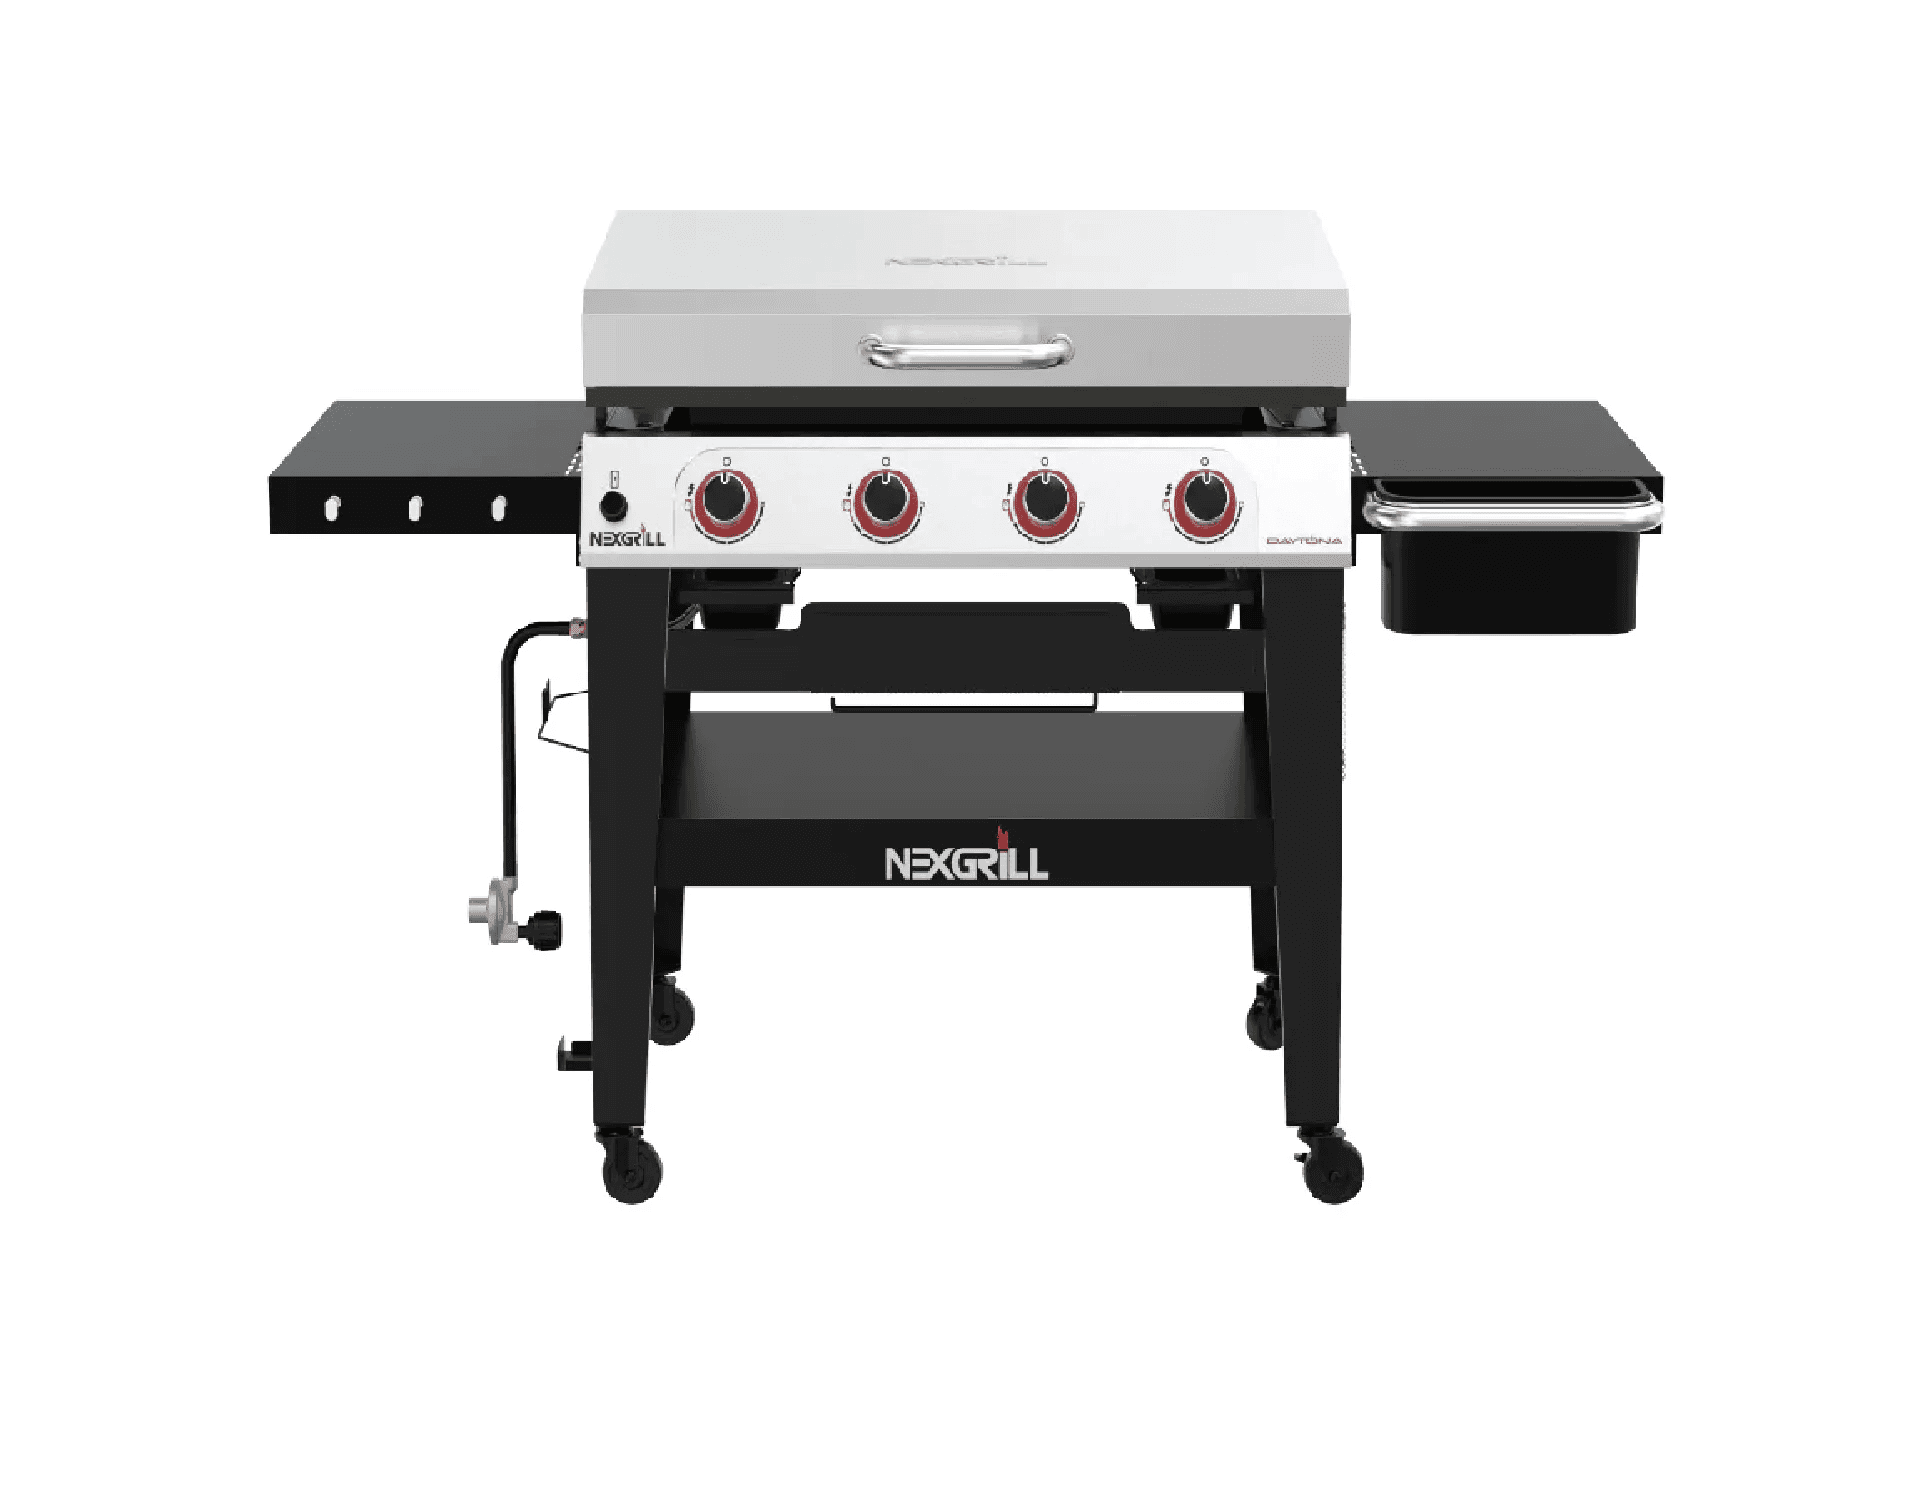
The Daytona 2-Burner Gas Griddle is easiest to use when you treat the first setup like a careful prep session rather than a race to cook. Before you open the packaging, set aside enough floor space to lay out every component, check that you have the required tools, and read the parts list against what is actually in the box. That simple habit prevents the most common setup delay: discovering a missing screw or bracket after the main frame is already partly assembled. For a compact two-burner griddle, a level outdoor surface also matters because uneven placement can affect stability, grease flow, and how evenly the cooktop heats once the burners are lit. The product page identifies this model as a Daytona 2-Burner propane gas griddle with griddle top in black, so setup should be approached as a propane appliance from the start, with the right fuel supply and outdoor-only placement in mind .
Tip: assemble with all fasteners finger-tight first, then fully tighten after the frame is square. That reduces stress on the cart and helps panels line up correctly.
A practical setup also means thinking about workflow. Place the griddle where you will have room to open the lid, move food to a cooling platter, and keep a propane cylinder away from traffic paths. The Nexgrill safety guidance emphasizes using gas appliances with ventilation and keeping the unit outdoors, away from enclosed spaces and combustible materials . If you are setting up on a patio, leave comfortable clearance on all sides so heat does not build up against walls, railings, or overhangs. The goal is not just to get the appliance standing upright, but to create a safer and more efficient cooking station before you ever turn a knob.
Outdoor placement and a level surface should be confirmed before assembly begins.
Step-by-Step Assembly Instructions
Assembly is usually smoother when you build the griddle in the same sequence the frame was designed for: legs or cart base first, then cross supports, then shelves, and finally the cooktop and control components. Start by identifying the hardware packets and matching each bolt, washer, and nut to the instruction diagram. Lay the parts out in order, and if two side panels look similar, compare the predrilled holes before fastening anything. That small pause helps prevent backwards installation, which is one of the easiest mistakes to make on any flat-top griddle cart. As you work, keep the burner and ignition components protected from dirt, and avoid forcing any part into place. If a panel does not fit cleanly, recheck the orientation instead of tightening harder.
After the frame is built, install the cooktop carefully so it sits evenly and does not rock. The griddle surface should rest securely with no visible gaps that could affect heat transfer. Next, attach shelves, handles, and any support brackets, then verify that doors, shelves, or accessory pieces open and close without rubbing. Before adding the propane cylinder, inspect the hose path and make sure it is not pinched, twisted, or resting against sharp edges. This stage matters because a clean routing path helps protect the fuel connection over time. The assembly process described in Nexgrill’s product support and grilling guidance centers on careful setup, correct part alignment, and checking the appliance before first use rather than rushing straight into ignition .
Warning: do not skip the final stability check. If the cart rocks or a wheel is not seated properly, fix that before connecting fuel.
A good final assembly check includes three simple actions: tighten every fastener, confirm the griddle sits flat, and test moving parts for smooth operation. If the unit includes folding or side features, make sure they lock into position as intended. Once everything feels secure, wipe down dust from the cooktop and surrounding surfaces so residue does not burn off during first preheat. Then move on to fuel setup only after you are satisfied the appliance is fully supported and assembled according to the manufacturer’s layout.
Connecting to Propane and Safety Checks
Propane connection should always be treated as a safety step, not a formality. Before attaching the cylinder, confirm that the valve is closed and that the hose, regulator, and connection points appear clean and undamaged. Set the tank in the designated storage area on the cart if your setup includes one, then connect it according to the appliance instructions. The most important habit is to avoid forcing the fitting; a proper connection should thread or lock into place without excessive resistance. Once connected, open the valve slowly and listen for obvious hissing. If anything sounds or smells unusual, shut it back off immediately and inspect the connection again.
A leak check is one of the smartest habits a griddle owner can build. Apply a soap-and-water solution to the connection points and watch for bubbles, which indicate a leak that needs to be corrected before lighting. This kind of basic safety check is consistent with Nexgrill’s gas-grill safety guidance, which emphasizes inspecting connections, using the appliance outdoors, and staying alert to fuel leaks before operation . Once the cylinder and hose pass inspection, keep the griddle lid open while lighting and follow the ignition sequence in the manual so gas does not accumulate inside the cooking area. If the burner fails to light after the recommended attempt, shut off the gas, wait, and try again only after you have followed the restart guidance.
Tip: when checking for leaks, do it every time you reconnect a fresh cylinder. A quick inspection can save time and reduce avoidable shutdowns later.
Preheating and Adjusting Burners
Preheating is where the Daytona 2-Burner Griddle starts to show its versatility. Turn both burners on at the recommended setting and let the cooktop heat evenly before placing food down. A full preheat helps the metal surface stabilize, which improves searing and reduces sticking. On a two-burner unit, you can also use one side as a hotter zone and the other as a medium or low zone, giving you more control over mixed meals. That difference is especially useful if you want to cook bacon and eggs together, keep tortillas warm, or move finished food away from direct heat without turning the appliance off.
Once the surface is hot, fine-tune the burners rather than leaving both on maximum for the entire cook. A smaller griddle benefits from heat zoning because the edges and center can behave differently depending on weather, wind, and food load. If you are cooking in cold or breezy conditions, expect a longer preheat and more frequent burner adjustments. The best approach is to make one or two incremental changes and wait briefly for the surface to respond, instead of rapidly toggling knobs back and forth. That helps you learn how your specific griddle behaves on your patio or deck.
Cooking Techniques for Various Dishes
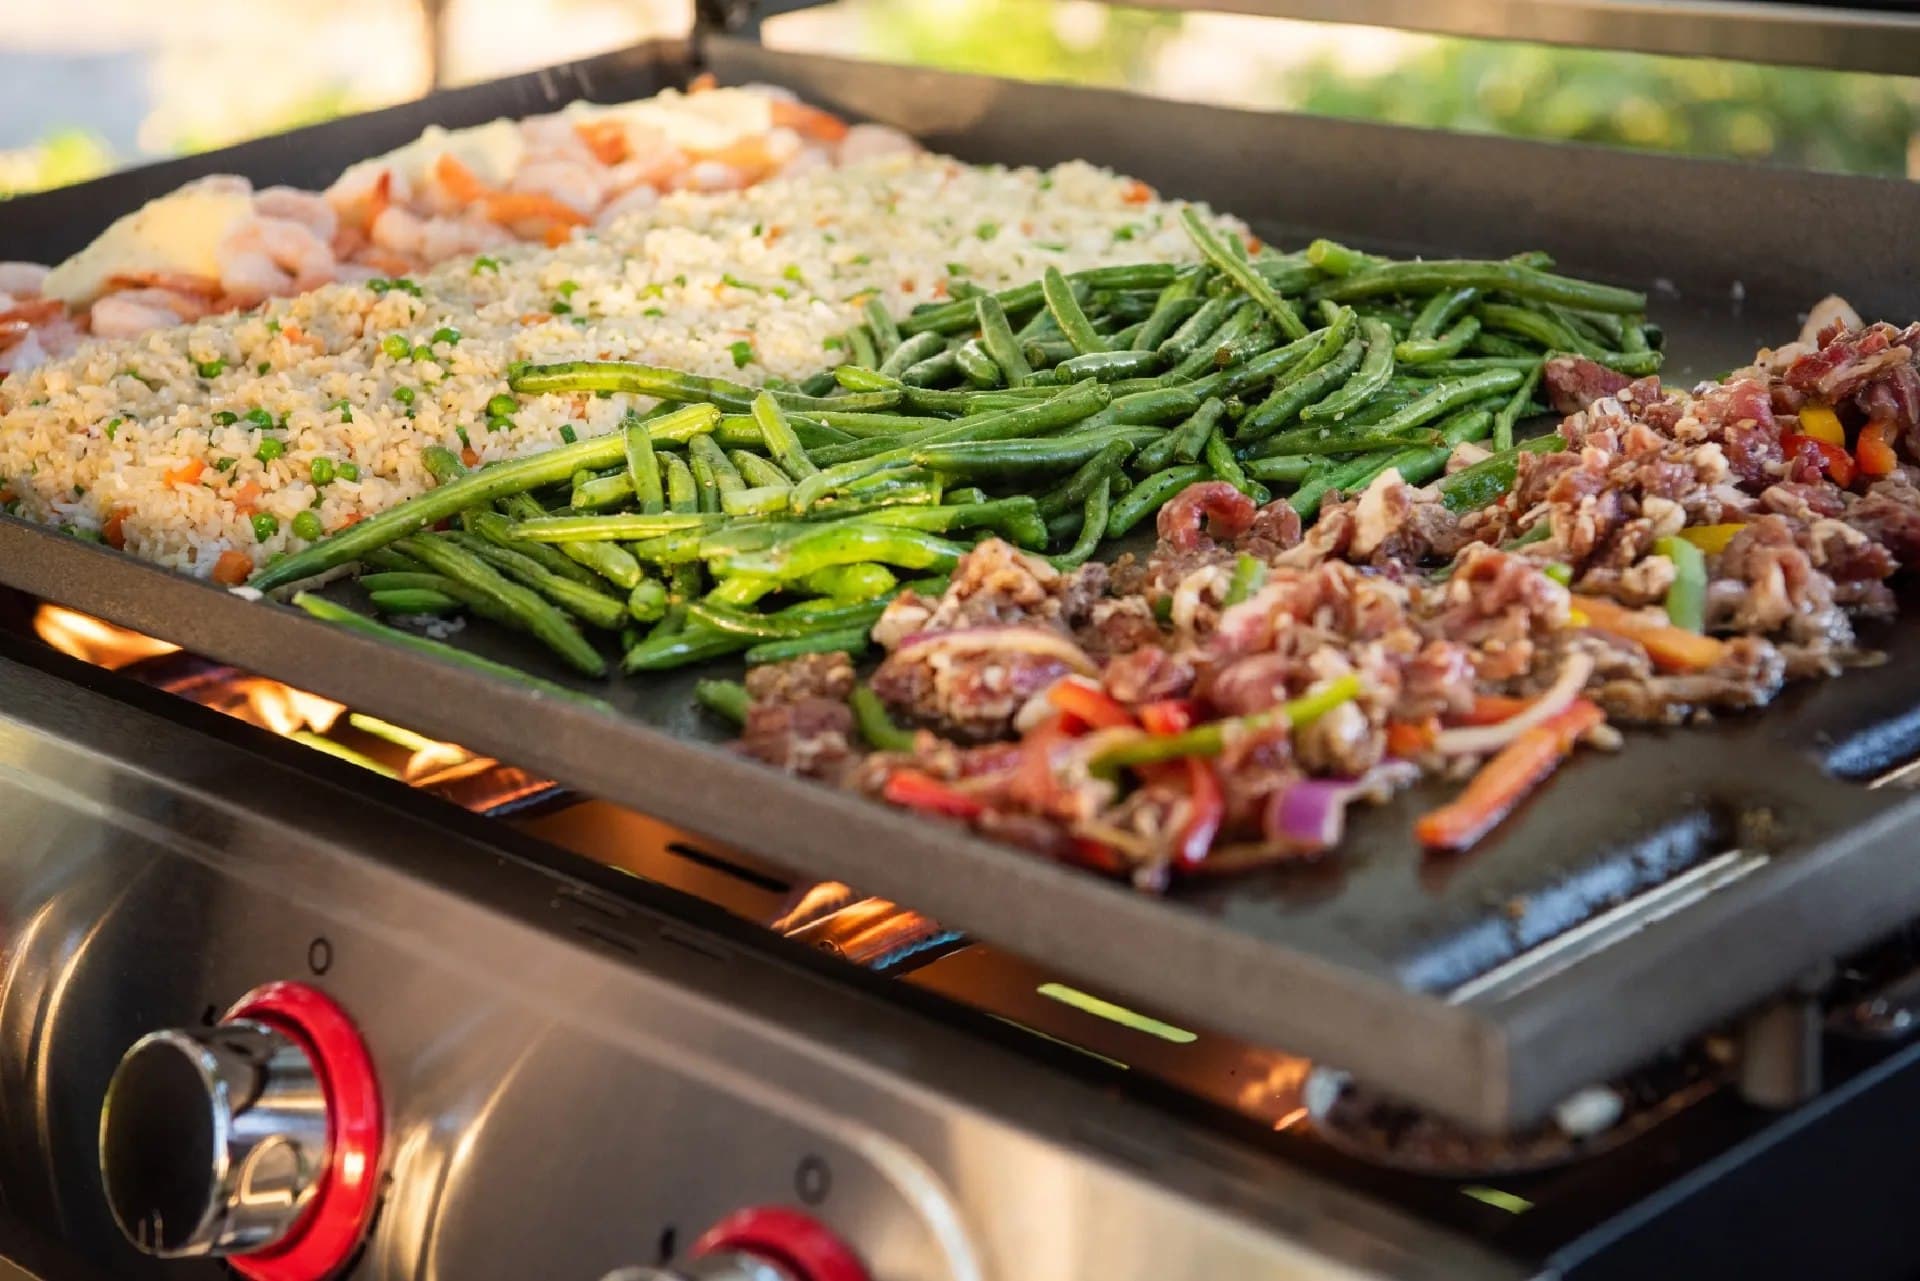
The Daytona 2-Burner Gas Griddle is well suited to food that benefits from flat, even contact with heat. For breakfast, use a medium-hot zone for eggs and a hotter zone for hash browns, sausage, or pancakes that need a quicker set. For lunch, smash burgers work best when the surface is hot enough to create immediate browning, while the second burner can hold buns or vegetables at lower heat. For dinner, the griddle can handle chicken cutlets, shrimp, sliced peppers, onions, and fried rice-style dishes that need constant movement across the surface. The key is to match ingredient size and moisture level to the zone you create.
A useful technique is to pre-stage ingredients in the order they will hit the griddle. Foods that release more moisture should go on after the surface is hot and stabilized, while delicate items should be added once you already know where the cooler zone sits. Use wide spatulas for turning and moving food, and avoid overcrowding the surface. Too much food at once drops surface temperature and can cause steaming instead of browning. If you are new to flat-top cooking, start with a simple meal such as breakfast sandwiches or quesadillas. Those dishes teach heat control quickly and build confidence before you move to more advanced mixed menus. Try comparing two products side by side below to see which fits best.
Common Mistakes to Avoid When Using Your Griddle
Once you have the Daytona 2-Burner Griddle set up, the biggest gains come from avoiding a few predictable mistakes. The most common one is cooking before the surface has fully preheated. When the cooktop is still uneven, food can stick, brown inconsistently, or release too much moisture. Another frequent issue is using only one burner pattern for every meal. A two-burner griddle gives you room to create hot and cool zones, and if you ignore that flexibility, you lose one of the appliance’s best strengths. It is also easy to overload the surface, especially when cooking for a group. Packing too much food onto the griddle lowers heat and makes cleanup messier because juices and oils spread farther than they should.
Warning: do not let grease or scraps build up while cooking. Even flat-top cooking needs active attention to avoid flare-ups, smoke, and a slippery surface.
Another mistake is skipping basic safety habits after a propane changeout. If you reconnect a tank, recheck the hose and fittings before relighting. Nexgrill’s safety guidance stresses outdoor use, connection checks, and careful attention to any sign of fuel irregularity . Finally, avoid scraping or moving food with tools that are too small or flimsy. Flat-top cooking works best when you have sturdy spatulas, a scraper, and enough room to work without crowding the cooktop. Good technique matters because the griddle rewards steady habits more than rushed ones. If you keep the surface clean, give the burners time to stabilize, and manage portions intelligently, the appliance becomes much easier to control meal after meal.
Essential Checklist for Successful Grilling
Before each cooking session, use a quick checklist so you do not discover a problem after the food is already prepped. Confirm that the griddle is on a stable, level surface and that the propane cylinder is properly connected. Verify that the burners light as expected, and let the surface preheat long enough to build an even cooking zone. Keep your cooking tools within reach, and prepare ingredients before you start so you are not scrambling once the griddle is hot. If you are serving multiple people, stage foods that need different doneness levels in separate groups so each item can be managed at the right time. A compact griddle is efficient, but that efficiency depends on organization.
Five quick checks: stable base, fuel connection, ignition, preheat, and utensils ready.
It also helps to think through your cook in advance. Breakfast might need a cooler zone for eggs and a hotter one for hash browns. Lunch could require one side for searing burgers and the other for warming buns. Dinner may call for a flexible mix of vegetables and protein, moving items around as they finish. When you plan that flow before heating the griddle, you reduce waste, prevent overcooking, and make cleanup easier because fewer ingredients are left unattended on the surface.
Cleaning and Maintenance Tips for Longevity
Cleaning the Daytona 2-Burner Griddle soon after use is one of the most effective ways to protect both performance and appearance. While the cooktop is still warm, scrape excess food debris toward the grease management area and wipe the surface with a suitable tool or cloth once it is safe to do so. Warm cleaning is easier than waiting until residue hardens. After the cooktop is clear, empty or service the grease tray according to the manual so buildup does not carry over to the next session. Nexgrill’s grilling guide recommends regular care and practical cleaning habits to keep outdoor cooking equipment working at its best .
For longer-term maintenance, inspect the burners, hoses, and connection points periodically for wear, corrosion, or debris. Keep the griddle covered when it is not in use, and store it in a dry area when possible to protect the finish and internal components from weather exposure. If the cooktop develops stubborn residue, address it promptly instead of letting it become baked on through repeated heating cycles. A well-maintained flat-top griddle does not just look better; it heats more evenly, responds more predictably, and is easier to use on busy weeknights or weekend gatherings. When you pair careful cleanup with routine safety checks, you extend the useful life of the appliance and make each cook start from a cleaner, more reliable baseline.