Mastering Griddle Heat Zones for Optimal Cooking
Unlock the full potential of your griddle by understanding and utilizing heat zones effectively.

In This Article
Understanding Heat Zones
Practical Cooking Techniques
Common Mistakes to Avoid
How to Identify and Set Up Griddle Heat Zones
Griddle heat zones are simply different temperature areas across the cooking surface, and learning to read them is one of the fastest ways to cook more efficiently. Instead of treating the entire top as one uniform hot plate, think of it as a workspace with a hot side, a medium side, and a cooler holding side. That setup lets you keep bacon moving, soften onions without scorching them, sear proteins where the surface is hottest, and finish delicate foods without constant panic-flipping. For home cooks using a flat-top griddle, this approach is especially helpful when breakfast, lunch, and dinner foods are all sharing the same surface at once.
The first step is recognizing that heat rarely spreads perfectly evenly. On a gas griddle, the area directly above each burner usually runs hotter, while the spaces between burners can be slightly cooler. The edges may also behave differently from the center depending on wind exposure, lid use, and preheat time. That is normal, and it is also useful. Once you know where your hot spots live, you can assign foods to the right area instead of forcing every ingredient to cook at the same pace. This is why many experienced griddle users think of zone setup as a cooking strategy, not just a temperature issue.
A practical zone setup usually starts with three bands: high heat for searing, medium heat for general cooking, and low heat for keeping finished food warm.
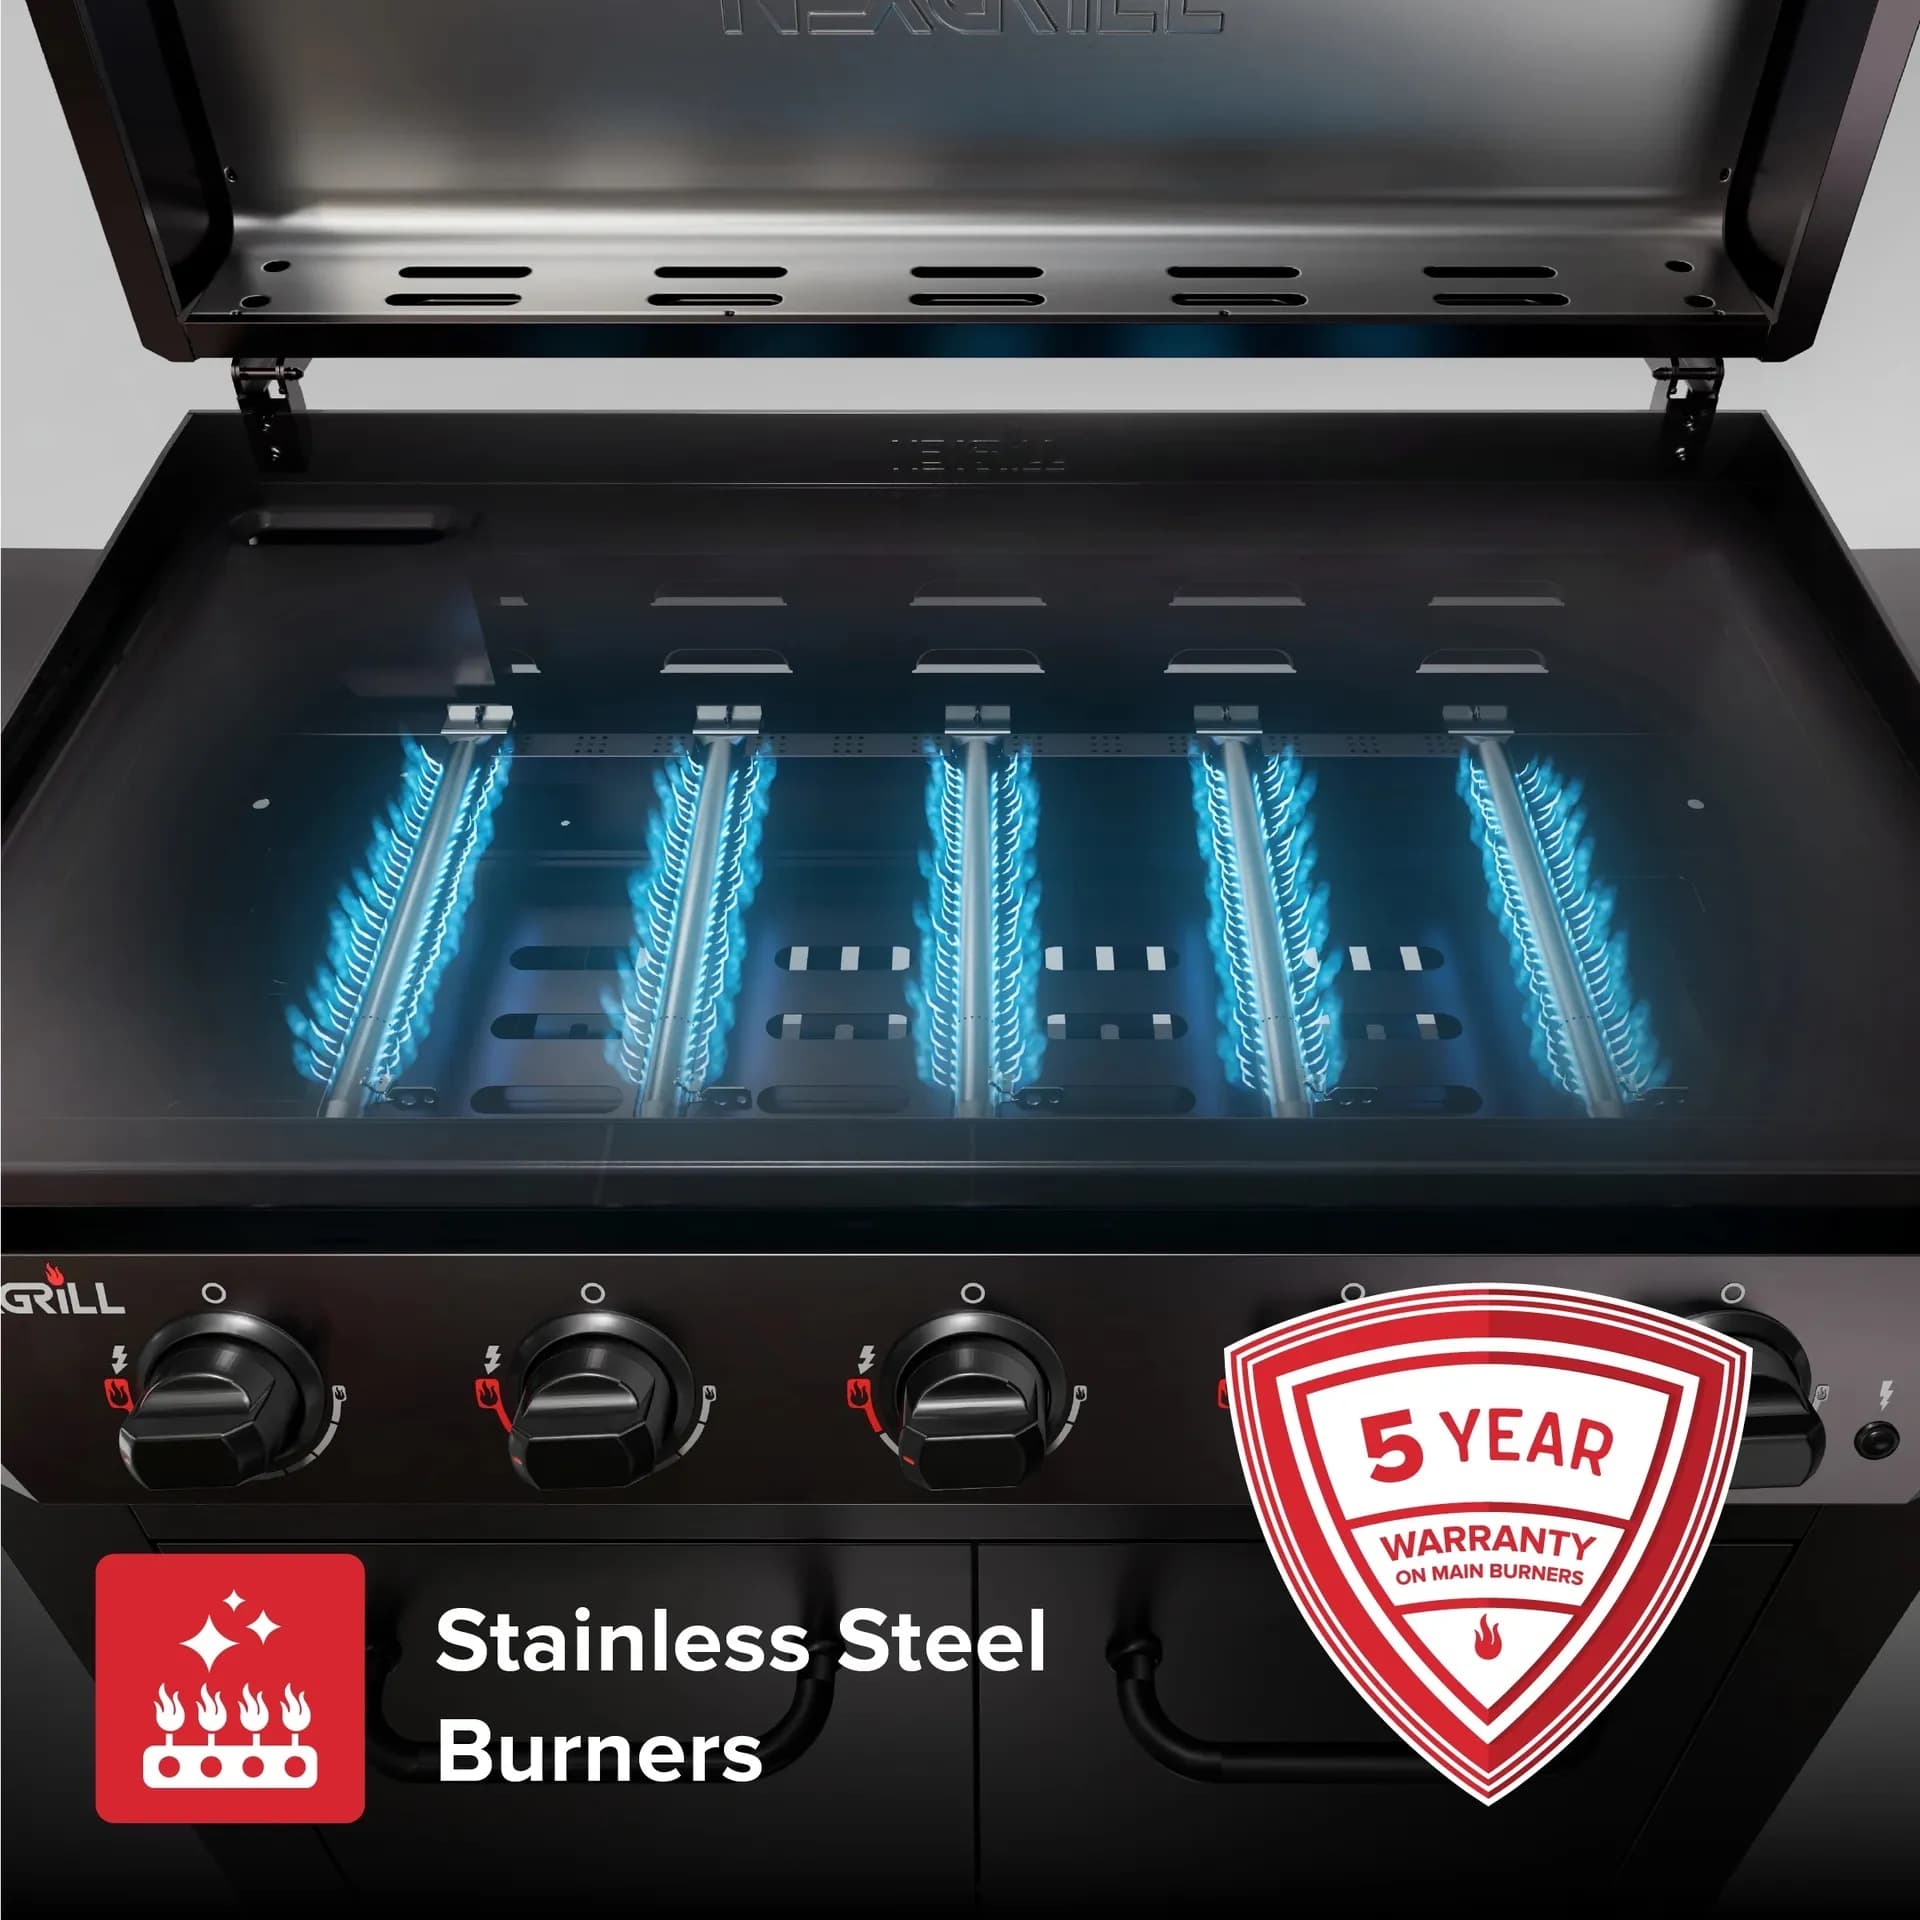
To identify your zones, preheat the griddle for long enough that the metal surface stabilizes. A rushed preheat can make you misread the cooking surface, because one area may still be warming while another is already ready for food. If your griddle has multiple burners, turn them on individually and note how each section reacts. If you have a two-burner unit, for example, you can often create a hot zone directly over one burner, a moderate zone between burners, and a lower zone on the far edge. With a larger four- or five-burner model, you can build more nuanced zones by adjusting burner output rather than leaving every control in the same position.
A useful real-world test is the water droplet check. Flick a few drops of water onto different parts of the surface. If droplets dance and evaporate almost immediately, that area is hotter. If they sizzle more slowly, the surface is moderate. The goal is not scientific precision; it is quick visual feedback that helps you map the cooking surface in real time. You can also use a thin film of oil to see where it spreads and shimmers fastest, which is another clue about where food will brown more aggressively.
| Zone | Best Use | What It Feels Like |
|---|---|---|
| High | Searing steaks, browning burgers, quick char on vegetables | Fast sizzle, strong browning, short cook times |
| Medium | Eggs, pancakes, chicken cutlets, sautéed onions | Active but controllable heat |
| Low | Holding cooked items, softening buns, finishing thick foods | Gentle warmth with less browning |
The setup also depends on your cooking goals. If you are making breakfast for a family, you may want one side hot enough for sausage and hash browns while the other side stays moderate for pancakes and eggs. If you are cooking dinner, a strong sear zone can handle protein first, then the food can move to a cooler area to finish without burning the exterior. The important part is that each zone has a job. When that job is clear, your griddle stops feeling crowded and starts acting like a cooking system.
Step-by-Step Guide to Creating Effective Heat Zones
A reliable zone layout begins before the first ingredient hits the surface. Start with a clean griddle, because leftover grease can make a zone feel hotter than it really is and can create false signals when you are testing the surface. Preheat gradually, then give the griddle enough time to stabilize. On a multi-burner unit, avoid turning everything to full blast unless you truly need all-over high heat. It is easier to raise a zone than to cool down a surface that has overheated.
Next, divide the surface mentally into working sections. If you are cooking on a smaller griddle, one hot zone and one medium zone may be enough. On a larger flat-top, you can create a three-part layout by using burner control and by placing food strategically. The zone nearest the burner flame is often best for the hardest sear, the middle zone for steady cooking, and the outer edge for holding. That edge space is especially valuable because it can save food from overcooking while you finish the rest of the meal.
Do not assume the whole surface is ready just because one area looks hot. Uneven preheating is the most common reason zone cooking feels inconsistent.
Once the burners are set, test the layout with a simple three-item trial: something that needs browning, something that needs steady cooking, and something that only needs warming. For example, a slice of bread can show you the browning speed, a few onion slices can show you how gently the medium zone behaves, and a cooked tortilla or bun can reveal whether the low zone is truly safe for holding. This kind of trial is more informative than trying to test with a full meal immediately, because it gives you clear feedback without a lot of variables.
A good zone setup also includes movement. You are not locking ingredients into one position forever. You are using the hot area to start cooking, then shifting food to a gentler area when the surface color or internal temperature says it is time. That move is the whole point of zone cooking. It helps you manage timing across different ingredients, especially when one part of the meal cooks much faster than another.
If you want consistency, repeat the same zone pattern often. Many home cooks find that a familiar layout makes prep faster because they no longer need to rethink the griddle every time. Over time, you will learn which burner settings produce the best balance for your specific model and outdoor conditions. Wind, ambient temperature, and lid use can all affect how the zones behave, so the best setup is the one you can reproduce and adjust confidently.
Practical Applications of Heat Zones in Cooking
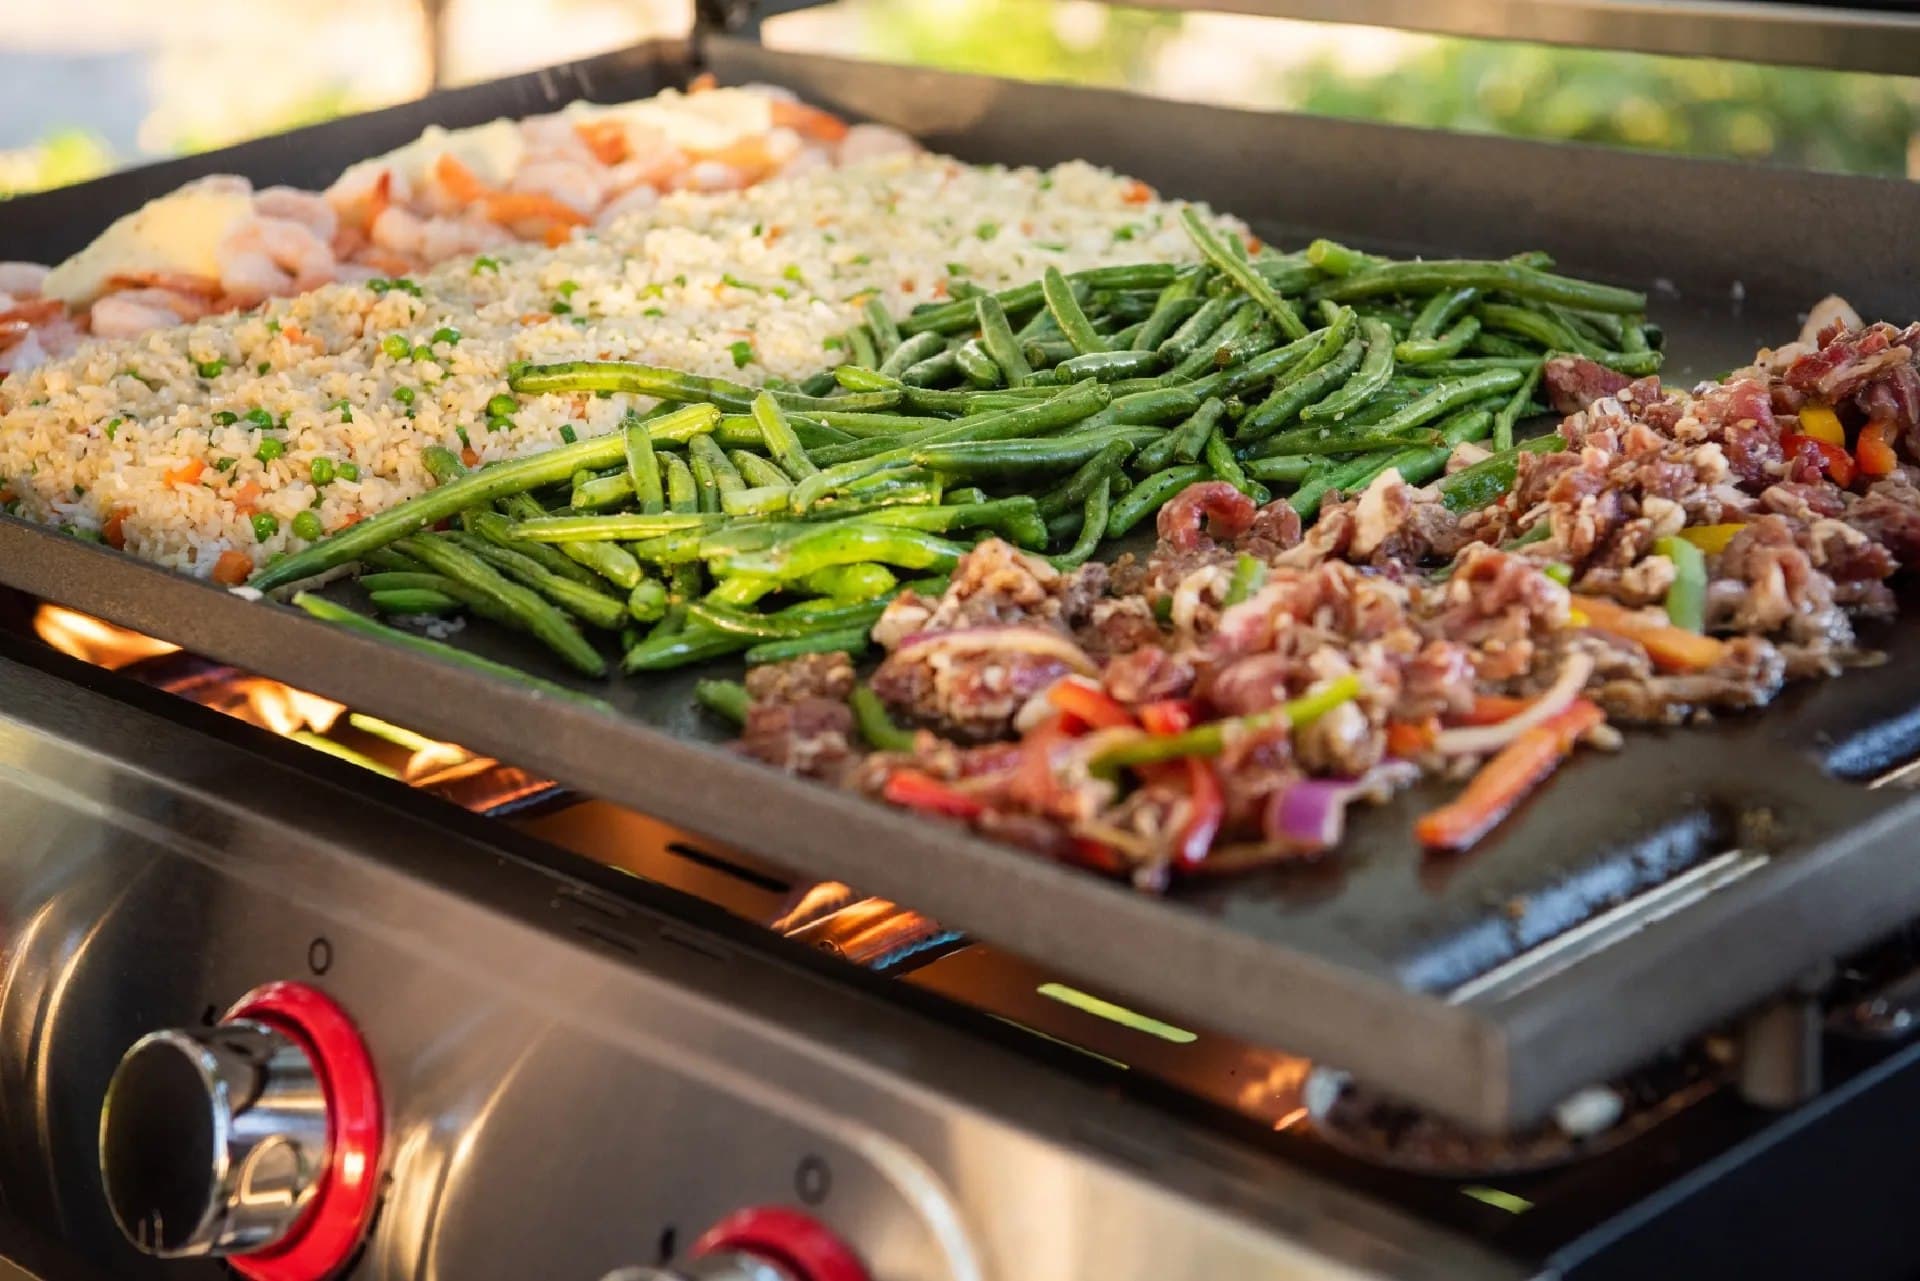
Heat zones earn their keep when the menu gets varied. Breakfast is the easiest example. Bacon or sausage can go on the hotter side to build color, while eggs and pancakes live in the medium zone where they are less likely to scorch. Finished items can rest in the low zone while the rest of the batch catches up. This keeps your breakfast moving without piling cooked food on a plate too early.
For burgers and sandwiches, zones help you control both searing and assembly. The burger patties can start on high heat for crust formation, then move to a lower area if cheese needs a moment to melt or buns need to toast more gently. Vegetables also benefit from zone control: asparagus and peppers may like a fast char, while mushrooms often do better when they begin in a hotter section and then finish where the heat is calmer. When you cook this way, you get more than speed; you get better texture.
Another strong use case is batch cooking for guests. Instead of cooking one portion at a time, you can stage ingredients across the surface. Proteins begin in the hot zone, sides are managed in the medium zone, and completed items move to the low zone. That reduces waiting time and keeps the meal synchronized. It also helps with food safety and serving quality because fewer dishes sit in limbo while others finish.
Think of heat zones as traffic lanes: food can start fast, slow down, and park briefly without leaving the griddle.
Try comparing two products side by side below to see which fits best: a griddle with simple two-zone cooking or a larger model that gives you more control across the surface.
Common Mistakes When Using Griddle Heat Zones
Once you've compared two options and thought through how you would use each zone, the next step is avoiding the habits that make heat control frustrating. The most common mistake is running every burner at the same setting and then expecting the surface to behave like one even sheet of heat. That usually creates one scorching area, one undercooked area, and a lot of unnecessary flipping. Zone cooking only works when you accept that different parts of the griddle are supposed to do different jobs.
Another frequent issue is loading cold food across the entire surface at once. When the surface is crowded, the griddle temperature drops and the zones become harder to distinguish. That is especially true with items that release moisture, such as mushrooms, zucchini, or frozen foods. Water slows browning, and browning is what helps you read the heat map in front of you. If the griddle is packed too tightly, you lose both control and color development.
If food is steaming instead of searing, your zones are probably overloaded or the surface has not fully recovered between batches.
A third mistake is failing to adjust for carryover heat. A griddle that is running hot on one side can continue cooking food even after you move it. That is useful when you want to finish thicker items, but it becomes a problem when delicate foods stay on the surface too long. Eggs can overset, buns can dry out, and sliced vegetables can turn limp. The answer is not to abandon the zone system; it is to move food earlier and use the low zone as a buffer rather than a second hot zone.
People also underestimate the effect of preheat time. A surface can look ready long before it is evenly ready. If you start cooking too quickly, the hottest spots will brown too fast while cooler sections lag behind. Let the griddle stabilize, then test, then cook. That small pause usually saves more time than it costs because you avoid having to rescue burnt or uneven food later.
Key Tips for Maximizing Griddle Efficiency
The best zone setups are simple, repeatable, and tied to a meal plan. Start with the food that benefits most from direct browning, then place slower or more delicate items where the surface is gentler. If you are cooking for a family, build your workflow so the hot zone starts the protein, the medium zone handles sides, and the low zone holds finished food. That sequence keeps the meal moving in one direction instead of forcing you to bounce back and forth across the griddle.
A second tip is to keep tools close and food organized. Heat zones are more effective when you can move quickly. Separate raw and cooked ingredients, keep spatulas ready, and pre-portion items before they hit the surface. This reduces the time food sits in the wrong zone. It also lowers the chance of accidentally mixing pieces that need different cook times.
You should also use oil deliberately, not everywhere by default. A thin coat in the cooking zone can improve release and browning, but too much oil can blur the visual cues that tell you whether the surface is actually hot enough. When the goal is to read the griddle accurately, clean metal gives you better feedback than a glossy, over-oiled top. If sticking happens repeatedly, address the surface condition and heat level before adding more oil.
Efficient griddle cooking is less about using maximum heat and more about preserving a clear temperature map from start to finish.
Finally, make small adjustments instead of dramatic ones. If one side is too hot, lower it a little and wait. If a zone is lagging, give it time before cranking the burner. Most griddle surfaces respond predictably once you understand their personality. Over time, you will stop guessing and start managing the cook with confidence. That is where zone cooking becomes a real advantage rather than a kitchen trick.
Short Checklist for Successful Griddle Cooking
- Preheat long enough for the surface to stabilize before cooking.
- Assign each zone a job: sear, cook through, or hold.
- Keep crowded batches to a minimum so temperatures stay readable.
- Move food before it overcooks, especially delicate ingredients.
- Use the low zone to protect finished items while the rest of the meal completes.
- Adjust in small steps and observe how your griddle responds.
If you want the cleanest results, treat every cook as a chance to refine the map. A reliable zone setup is not just about today's meal; it becomes a repeatable method for better timing, better texture, and less stress every time you fire up the griddle.