Mastering Grill Temperature Control: Techniques and Tools
A comprehensive guide to achieving precise temperature control for optimal grilling results.
In This Article
Understanding Grill Heat Zones
Essential Tools for Temperature Monitoring
Advanced Techniques for Consistent Heat
Introduction to Grill Temperature Control
Grill temperature control is less about chasing a single number and more about building a repeatable cooking environment. If you have ever moved from burgers to chicken thighs to a thick roast on the same grill, you already know why this matters: each food wants a different level of heat, a different amount of airflow, and a different pace of cooking. The most successful grill sessions are not the ones with the hottest flame; they are the ones where the cook can predict what the grill will do, then adjust with intention. That is especially important for backyard cooking where wind, ambient temperature, fuel type, and even how often you open the lid can change the outcome.
For Nexgrill cooks, temperature control fits naturally with the brand’s practical, approachable approach to outdoor cooking. Nexgrill’s philosophy centers on bringing people together and making grilling accessible for different skill levels, which makes a steady, easy-to-manage heat setup especially valuable. In real use, that means a newer griller can use simple tools and zone planning to avoid overcooking, while an experienced griller can use the same fundamentals to manage multi-course meals with more precision. The goal is not perfection on every cook; the goal is control you can trust from one cookout to the next. Nexgrill’s brand materials emphasize accessibility, dependability, and welcoming outdoor cooking experiences, which aligns closely with a temperature-first mindset rather than a guess-and-check style of grilling .
A useful rule of thumb: treat temperature control as a system, not a single adjustment. Fuel, airflow, lid position, and food spacing all work together.
A practical way to think about temperature control is to start with your target cooking style. High heat is useful when you want browning and fast searing. Moderate heat helps with even cooking and less flare-up risk. Lower, steadier heat is better for larger cuts that need time to warm through without burning the exterior. Once you decide the cooking style, the rest of the grill setup becomes easier: preheat long enough to stabilize the grates, place food where the heat is most appropriate, and make only small adjustments so the grill does not swing wildly.
Temperature also matters because the heat you feel at grate level is often different from what the lid thermometer or a handheld probe suggests. Metal thickness, grate mass, and airflow can make two grills behave very differently even if they are set to the same knob position. That is why the best cooks learn their own equipment instead of relying on one universal setting. A consistent process matters more than a perfect number.
Understanding Heat Zones and Their Importance
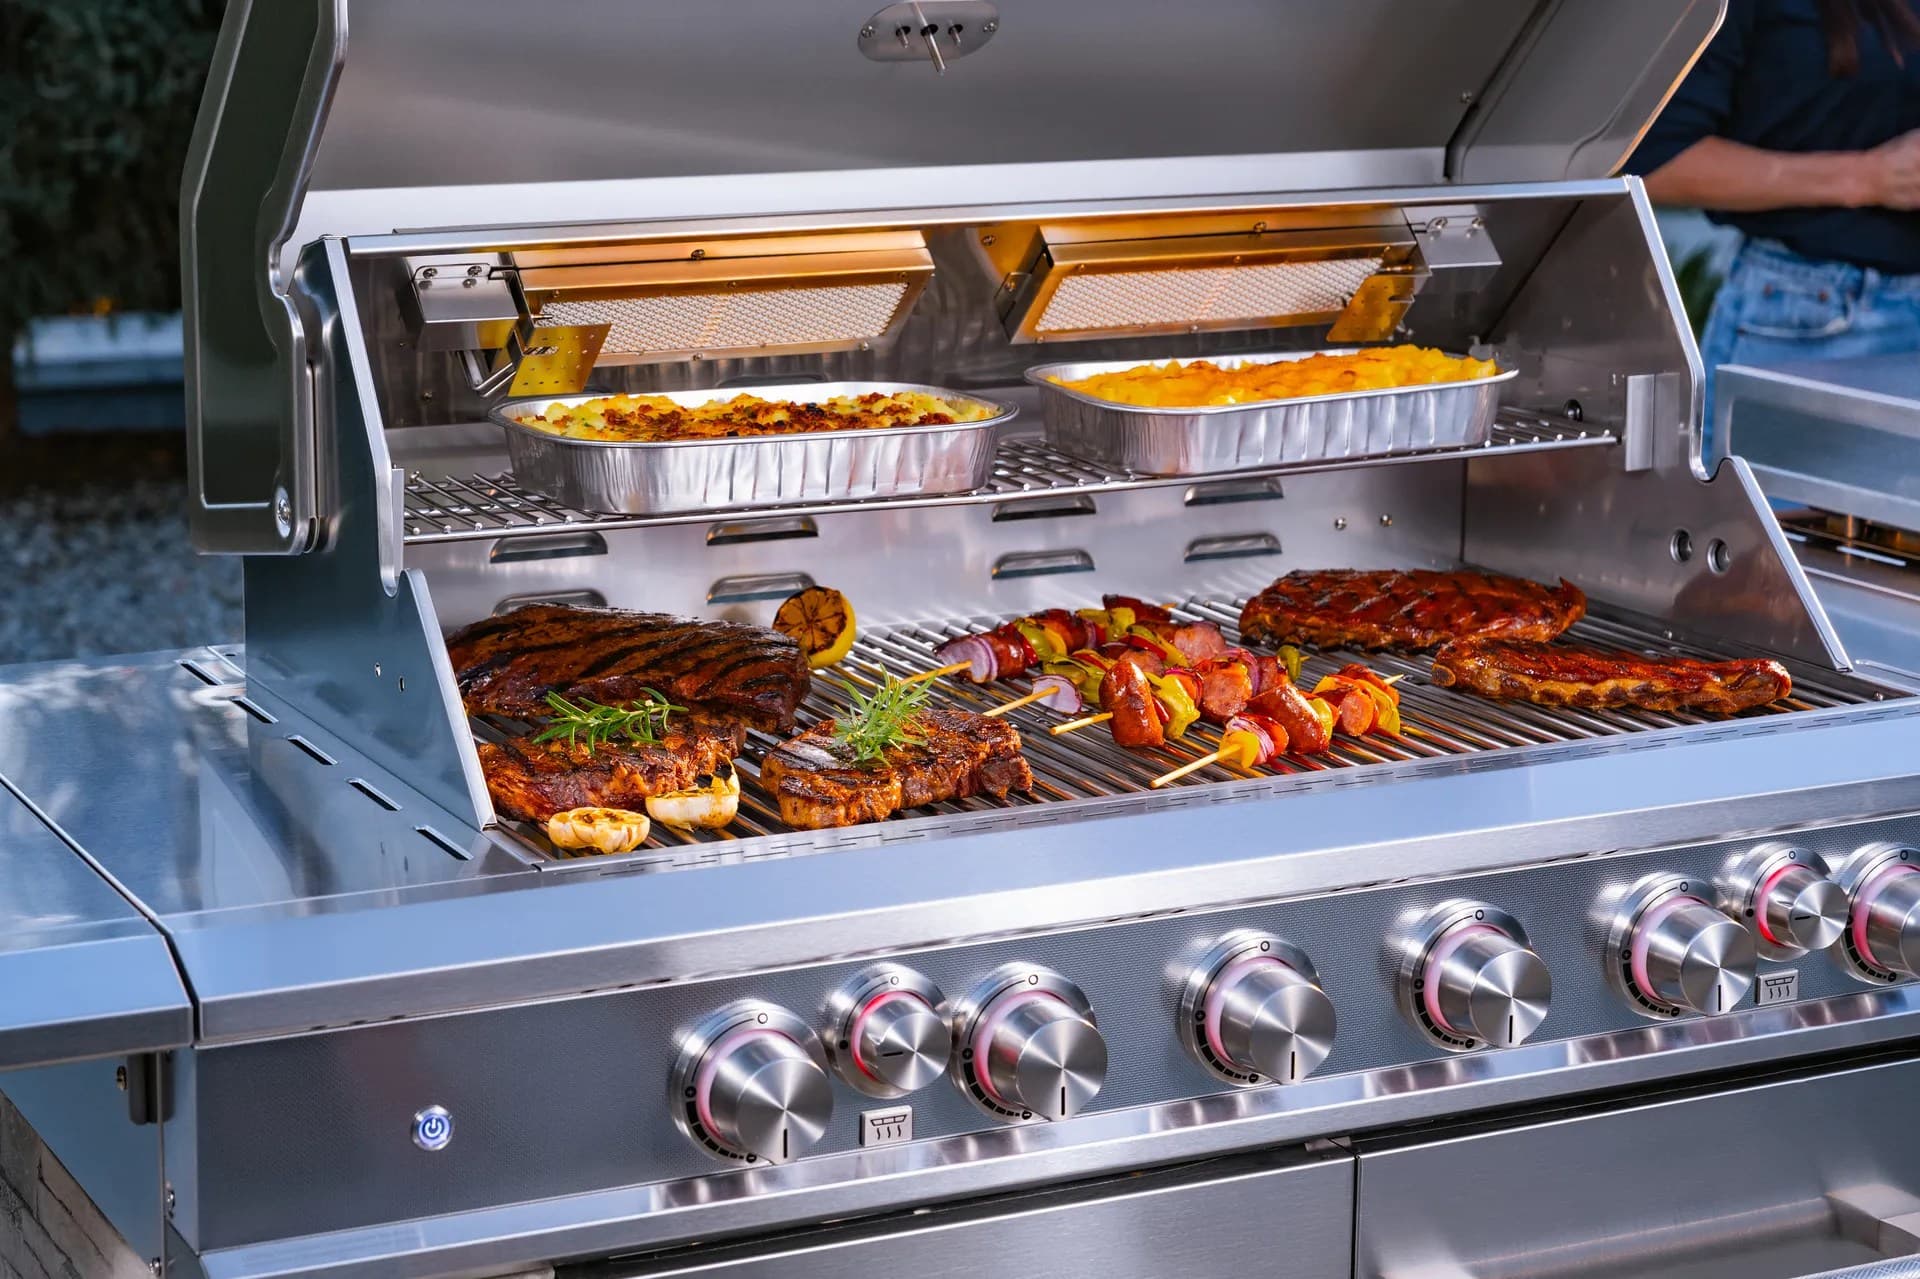
Heat zones are the foundation of temperature control because they let you cook different foods at different intensities on the same grill. Instead of turning every burner to the same setting, zone cooking creates a hotter area for searing and a cooler area for finishing, resting, or holding food. This approach is useful on gas grills, charcoal grills, pellet smokers, and griddles alike. On a gas grill, the simplest setup is one side set higher and the other side set lower. On charcoal, it might mean piling more lit coals on one side and leaving the other side more open. On a griddle, it can mean using burner variation to create a hot zone for burgers and a medium zone for eggs or vegetables.
Why does this matter so much? Because not all foods heat at the same speed, and not every part of a meal wants the same finish. If you are grilling chicken breasts and asparagus together, the chicken may need a longer path to doneness while the asparagus can overcook in minutes. With heat zones, you can sear the chicken over higher heat, then move it to the cooler zone to finish while the vegetables cook without scorching. The same idea works for reverse-seared steaks, thick pork chops, or anything that benefits from a staged cook rather than a single blast of heat.
Heat zones also help manage flare-ups. Grease dripping directly over a flame is easier to handle if you have a safe cooler area to move food to without losing the cooking flow. Instead of removing everything from the grill, you can shift items into a less aggressive zone and keep the cook moving. That is one reason temperature-savvy grillers are often more consistent: they are not reacting to problems after they happen, they are building the grill layout to absorb those problems from the start.
| Zone setup | Best use | Why it helps |
|---|---|---|
| One hot, one medium | Steaks, chicken parts, mixed vegetable trays | Lets you sear first and finish gently |
| Hot center, cooler edges | Smash burgers, quick-cook foods, batch cooking | Creates a staging area for finished items |
| Direct and indirect split | Roasts, whole chicken, thick chops | Supports browning without burning the exterior |
Essential Tools for Monitoring Grill Temperature
The right tools turn temperature control from guesswork into a repeatable routine. A built-in lid thermometer is helpful for a broad reading, but it does not always reflect grate-level heat where the food actually cooks. For that reason, many experienced grillers rely on multiple tools: a grill thermometer for ambient heat, a probe thermometer for internal food temperature, and sometimes an infrared thermometer for reading hot spots on grates or a griddle surface. Each tool answers a different question, and using all of them together gives you a much clearer picture of what is happening on the cook surface.
A probe thermometer is especially important when cooking chicken, pork, or large roasts because internal temperature tells you when the food is done, not just when it looks done. A surface thermometer or infrared thermometer is useful when you need to confirm whether the cooking area has stabilized after preheating. That matters for griddles and metal-heavy grills because they can take several minutes to settle into a steady range. If you place food too early, it can stick, cook unevenly, or fail to develop a proper crust.
Tip: calibrate your workflow, not just your thermometer. Measure grate heat, monitor internal food temperature, and give the grill time to stabilize before cooking.
Heat control tools also help you diagnose problems. If one area of the grill consistently runs hotter, a thermometer reading can confirm that you are dealing with a real hot spot rather than a perceived one. If the grill seems sluggish to recover after the lid opens, your thermometer can show whether the issue is airflow, burner output, or simply that the cook surface has not fully re-stabilized. This kind of feedback is especially valuable for weeknight cooks who want consistency without spending extra time on trial and error.
For practical use, a simple setup is often enough: one probe thermometer for food, one ambient thermometer for the grill, and a fast-reading tool for checks during the final stage of cooking. That combination covers most backyard needs without overcomplicating the process. The point is not to fill your grill cart with gear; the point is to choose tools that make temperature decisions clearer and faster.
Techniques for Achieving and Maintaining Desired Temperatures
Once you have the tools, the next step is learning the techniques that keep your grill in the right range. Start with preheating long enough for the entire cooking surface to come up to temperature. Many cooks stop too soon and then wonder why the first batch behaves differently from the second. Preheating should be long enough to stabilize not only the air under the lid but also the grates themselves. That creates a more even contact surface and improves searing consistency.
Another important habit is to adjust in small increments. Large burner changes can create overshoots and make the grill harder to manage. Instead of swinging from low to high in one step, make small changes and give the grill time to respond. Airflow also matters. Open vents and a properly managed lid allow heat to circulate instead of pooling in one area. If you need to lower the heat quickly, reduce fuel input and allow the system to settle rather than constantly opening the lid, which can add oxygen swings and make the control less predictable.
Food placement is part of temperature control too. Crowding the grill blocks airflow and traps moisture, which makes it harder to maintain stable heat around the food. Leaving space between items helps the grill recover better after the lid opens and gives each item more even exposure to heat. This is especially useful when cooking several proteins or a mix of proteins and vegetables at the same time. If the grill has hot and cool zones, start items in the hotter zone only when you want a strong sear, then move them to the cooler area for controlled finishing.
Warning: repeatedly opening the lid is one of the fastest ways to lose heat stability. Check only when the cook actually needs it.
A final technique is to think ahead about recovery time. Grills need time to regain temperature after cold food is added or after the lid is opened. If you are cooking in batches, give each batch a short recovery window before loading the next one. That matters for burgers, skewers, and other quick-cook items where a drop in heat can change texture fast. Temperature management is partly about patience: the best results often come from small corrections and deliberate timing, not constant intervention.
Advanced Methods for Long-Cooking Sessions
Long cooks challenge temperature control in a different way because the goal is not just to hit a target, but to stay near it for an extended period. For roasts, larger poultry, or any cook that takes more than a single grill cycle, stability becomes the priority. The first step is to create a repeatable baseline. Before the food goes on, note the grill setting, the ambient temperature, the wind direction, and the approximate preheat time. When you repeat the same setup later, those notes help you reproduce the same conditions more reliably.
During longer cooks, lid discipline becomes even more important. Every time the lid opens, the system loses heat and moisture, and recovery takes time. If you need to check doneness often, use a probe to reduce unnecessary openings. This keeps the cooking chamber steadier and improves the odds of an even finish. For charcoal cooks, managing coal placement and ash buildup is also important because airflow can weaken as the session goes on. For pellet or gas cooking, the key is keeping the heat source stable and avoiding unnecessary temperature swings from too many adjustments.
Another advanced approach is staging the cook in phases. For example, you can begin with moderate heat to set the exterior, then lower the temperature for a slower finish, then briefly raise heat at the end if you want a final browning step. This is useful for larger cuts because it helps the interior cook evenly while still achieving an attractive exterior. The same principle can be adapted for griddles when you want to move from a hot cooking zone to a holding zone while the final items finish.
For anyone cooking multiple rounds during a single gathering, it also helps to think about the grill like a workspace. One zone can stay active while another becomes a holding area. That reduces the need to cool and reheat the whole grill between batches, which saves time and keeps your results more consistent. Temperature control is therefore not just a technical skill; it is a planning skill.
Common Mistakes and How to Avoid Them
One of the most common mistakes is treating the grill like an oven with one fixed temperature. Outdoor cooking rarely behaves that neatly. Heat rises and moves unevenly, wind can push flame or exhaust heat, and the grill body itself stores warmth in different ways. A better approach is to monitor where the heat actually is and use zones intentionally rather than assuming the whole surface is identical. Another frequent mistake is using only the lid thermometer and ignoring grate-level conditions. The lid may say one thing while the food surface experiences another.
A second mistake is adding food before the grill has fully stabilized. The surface may look hot, but if the metal has not absorbed enough energy, the first batch can stick or cook unevenly. Give the grill a little extra time, especially after a major temperature change or after cleaning the grates. A third mistake is overcorrecting. If the grill feels too hot, many cooks make a large adjustment and then react again before the first change has taken effect. That creates a cycle of chasing the temperature instead of controlling it.
Another issue is ignoring the role of moisture and grease. Wet food can cool the surface quickly, and excess grease can trigger flare-ups that raise the apparent temperature without improving cooking quality. Spacing food properly and trimming excess fat when appropriate helps reduce this problem. Finally, many cooks forget that weather is part of the setup. A cool, windy evening can require a different strategy than a calm afternoon, even on the same grill. Recognizing that difference is part of becoming a more precise cook.
If the grill starts behaving unpredictably, pause before changing everything. Check lid position, airflow, food spacing, and wind exposure first.
The real advantage of learning temperature control is not just better food; it is less stress at the grill. When you know how your equipment responds, you spend less time rescuing mistakes and more time cooking with confidence. Try comparing two products side by side below to see which fits best:
Practical Applications of Temperature Control in Grilling
Once you've weighed two options against each other, the next step is to use temperature control in ways that match real backyard cooking. That usually means more than simply setting a burner and hoping the food cooperates. The clearest gains come when you match heat level to food structure. Thin foods like shrimp, sliced vegetables, and quick-cook skewers need responsive heat that stays steady but not overpowering. Thicker cuts like pork loin, bone-in chicken, and whole poultry need a more measured setup where the exterior can brown while the center catches up gradually. When those two needs are mixed in one cook, temperature zoning becomes the difference between serving everything at once and serving one item burned while another is still behind.
Temperature control also changes how you plan a meal for a crowd. For example, if you are hosting a family cookout and putting out burgers, corn, and marinated chicken, you do not want all items fighting for the same hottest spot. A hotter section can handle searing burgers in short bursts, while a moderate zone can hold chicken until it reaches a safer internal temperature without drying out. Vegetables can be moved around the edge, where they pick up color and tenderness without going mushy. That kind of staging is especially helpful when several guests arrive at different times and you need food to finish in waves instead of all at once.
The same principles apply to a griddle, where surface temperature can be used to manage browning and delicate cooking side by side. On a griddle, eggs, tortillas, onions, and smash burgers all respond differently to heat. If you only use the hottest part, the food can brown too fast and dry out before it is ready to serve. A controlled heat map lets you move items as they change, which is one of the biggest advantages of temperature awareness. It is not about making the grill simpler; it is about making the grill more adaptable.
| Cooking scenario | Temperature approach | What to watch |
|---|---|---|
| Weeknight chicken thighs | Start moderate, finish over indirect heat | Skin color, flare-ups, internal temperature |
| Weekend burgers for a group | Use a hot zone and a holding zone | Batch timing, recovery after each round |
| Mixed vegetable platter | Rotate across medium and cooler spots | Color, tenderness, edge scorching |
| Large roast or whole bird | Hold steady at a lower, even temperature | Probe readings, lid discipline, fuel stability |
Adjusting Techniques for Different Grill Types
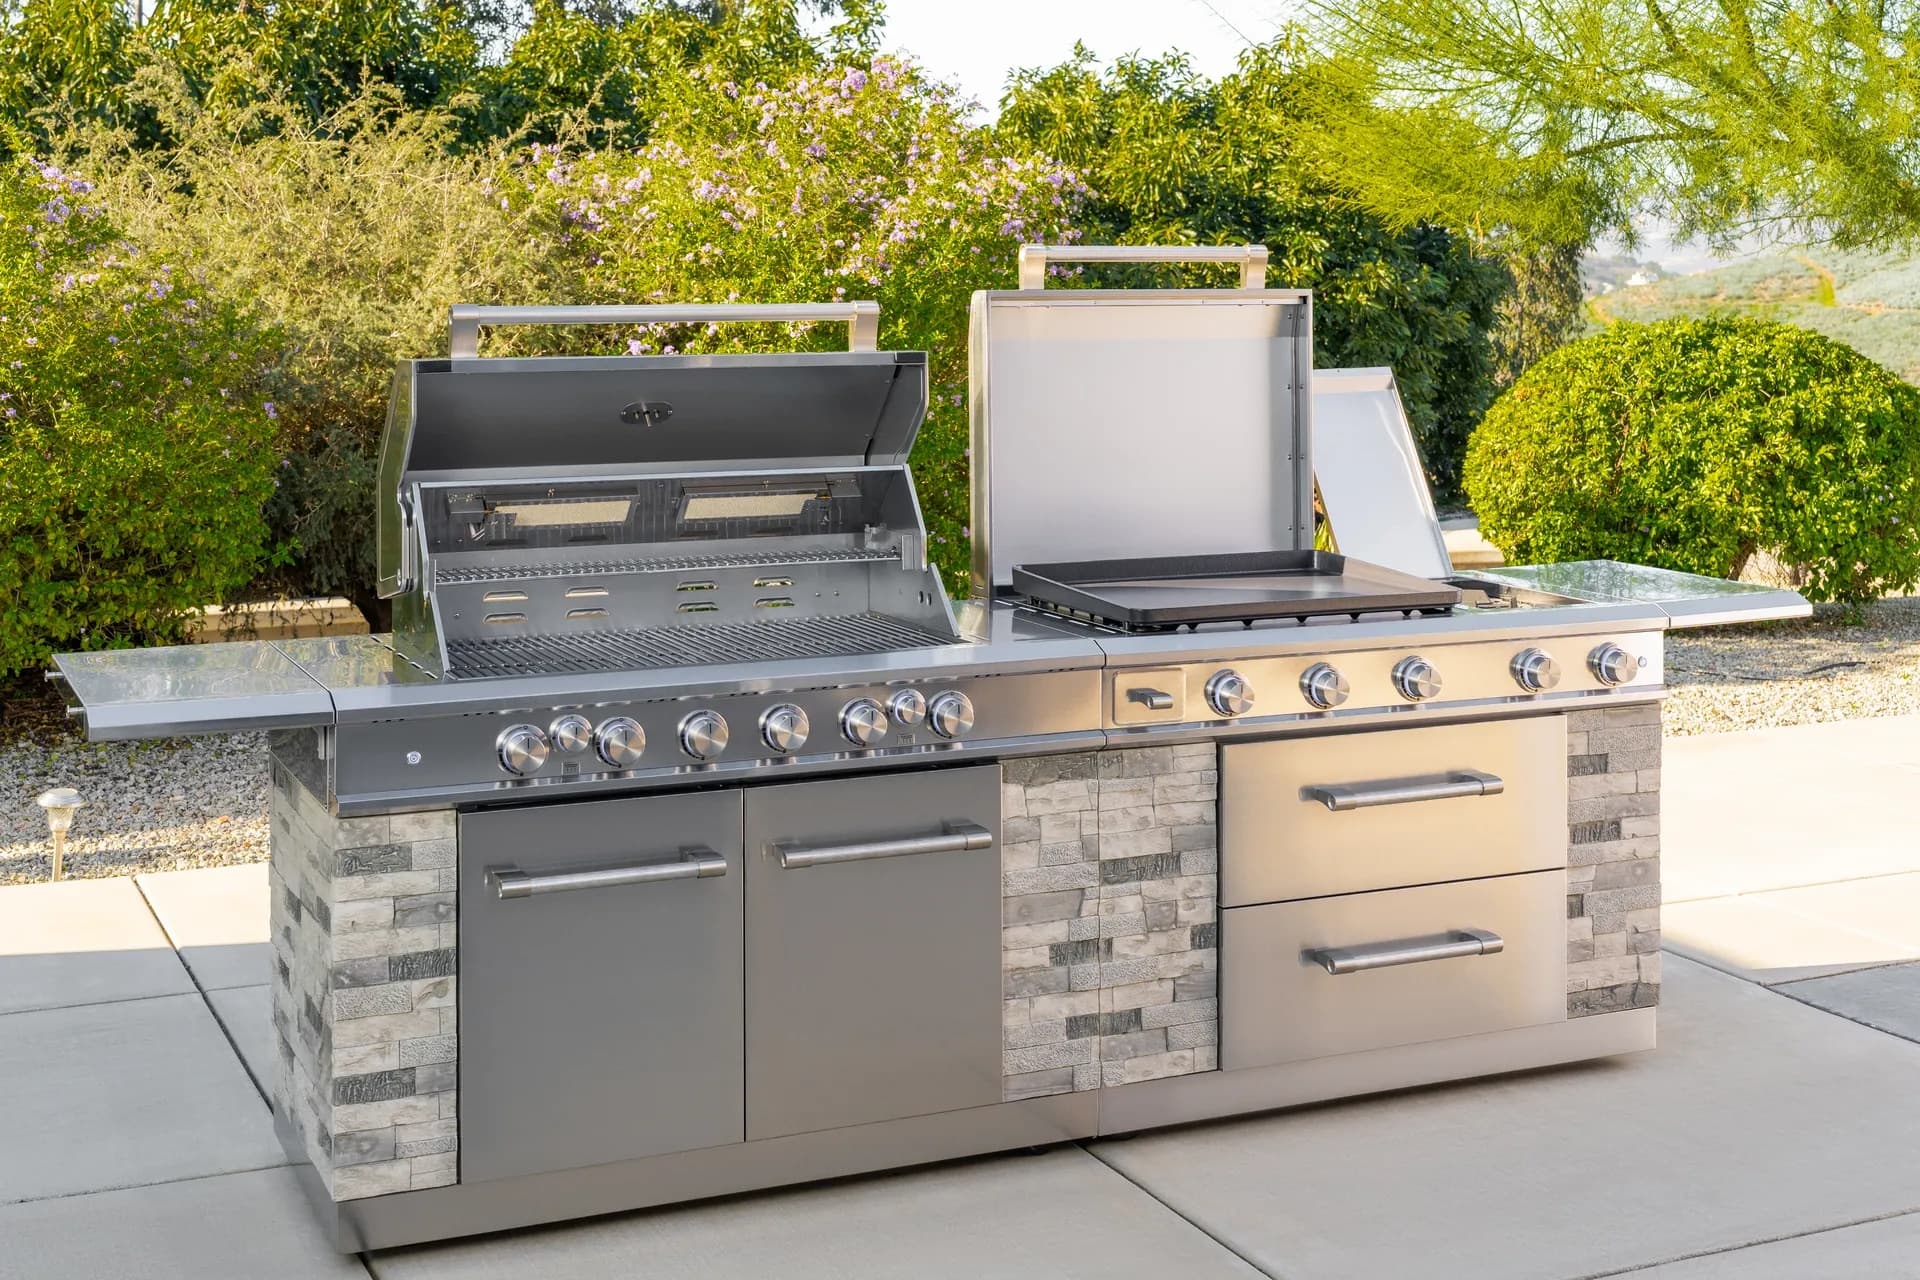
Gas grills give you the most direct temperature control because you can adjust burners quickly and predictably. The challenge is not whether the heat changes, but how quickly it settles. On a gas grill, the best practice is to set your target temperature early, preheat fully, and use zones rather than relying on one burner setting for everything. If you are using a model with multiple burners, you can build a more precise layout: one section for searing, one for finishing, and one for holding. That layout gives you flexibility without forcing you to move food off the grill every time the heat changes.
Charcoal grills respond differently because heat depends on coal placement, quantity, and airflow. Instead of dials, you are working with fuel arrangement and vent management. That makes charcoal more tactile and slower to adjust, but very rewarding when you understand the pattern. A concentrated coal bed creates stronger direct heat, while a spread-out bed can support gentler cooking. Once the charcoal is established, use the lid and vents to avoid big swings. Small changes matter more than dramatic ones. Pellet grills, meanwhile, are designed around maintaining a programmed temperature, so your main job is to load quality fuel, keep airflow clear, and avoid constant lid opening. Griddles behave like flat heat maps, so the challenge is reading surface differences and moving food across those differences efficiently.
Whatever the grill type, the same basic logic applies: know where the hottest area is, know how fast the grill recovers, and keep a thermometer handy so your adjustments are grounded in real readings instead of intuition alone. A grill type does not remove the need for skill; it just changes the way skill shows up.
Tip: write down your favorite settings for each grill type after a successful cook. Your future self will thank you when the weather changes or the menu gets bigger.
Maintaining Consistent Heat in Variable Weather Conditions
Weather has a bigger influence on grill temperature than many people expect. Cold air can pull heat away from the cooking chamber faster, wind can disturb airflow and unevenly cool parts of the grill, and humidity can affect how quickly surfaces dry and brown. The practical answer is not to avoid grilling when conditions are less than ideal, but to adjust your setup so the grill can compensate. That may mean preheating a little longer, positioning the grill to reduce direct wind exposure, or giving the grates extra time to recover after the lid opens.
On colder days, a grill may need a slightly longer stabilization period before food goes on. That is because the metal itself is starting from a lower temperature and must absorb more energy before it behaves consistently. In windy conditions, keeping the lid closed becomes more important because each opening creates more heat loss than it would on a calm day. For long cooks, a sheltered setup often performs better than one placed in an exposed path between buildings or fences. The more stable the environment, the more accurate your temperature control becomes.
Rain or damp air can also affect the start of a cook by making grates slower to dry and heat. That does not make grilling impossible, but it does argue for a more patient preheat and a careful wipe-down of the cooking surface before food hits the grates. If your goal is a strong sear, you want the cooking surface dry and fully hot. If your goal is a slow finish, you may still want to reduce external variables by using a lid and limiting exposure to the elements. In every case, the best outcome comes from reducing surprises.
Warning: do not chase a weather-related temperature drop with extreme burner changes. Let the grill recover after small adjustments so you do not overshoot.
Safety Considerations When Managing Grill Temperatures
Good temperature control should also make the grill safer to use. Excess heat can create flare-ups, damage food, and make handling tools more difficult. Keeping a cooler zone available reduces the need to move food off the grill in a hurry if flames spike. It also gives you room to manage dripping fat or sauce without setting the entire cook surface into a flare-up cycle. Just as important, safe temperature management means knowing when to step back. If flames rise, avoid reaching across the grill and instead use tools designed for the job, keep the lid closed when appropriate, and allow the heat to settle before making the next move.
Internal food temperature matters for safety as well as quality, especially for poultry, pork, and ground meat. A good thermometer helps you avoid both undercooking and overcooking. It also reduces the temptation to cut into the meat repeatedly just to see what is happening inside, which lets juices escape and can make the result less satisfying. Clean equipment is another safety factor. Grease buildup can feed unwanted flames, and blocked airflow can make a grill behave unpredictably. Keeping the cooking surface and grease management system clean supports both safer and more stable heat control.
Finally, be aware of the physical environment around the grill. Temperature management works best when the grill is stable, level, and set away from hazards. If you need to adjust fuel or food mid-cook, keep your tools close and your movements deliberate. The calmer your process, the better you can manage heat without creating avoidable risks.
A well-controlled grill is usually a safer grill because you are less likely to create sudden flare-ups or panic adjustments.
Conclusion: Mastering Temperature Control for Perfect Grilling
Mastering grill temperature control is really about building confidence through repeatable habits. Once you understand heat zones, choose the right monitoring tools, and adapt your technique to the grill and the weather, cooking becomes more predictable and more enjoyable. You will still need judgment, but it becomes informed judgment rather than guesswork. That means better timing, less waste, and more food served at the right doneness for the right people.
For Nexgrill cooks, that approach fits the larger spirit of outdoor cooking: practical, welcoming, and flexible enough for beginners and seasoned grillers alike. Whether you are cooking a quick dinner after work or managing a weekend gathering, the basics of temperature control help you work with the grill instead of against it. Keep your setup simple, your adjustments measured, and your focus on the food in front of you. That is where consistent grilling starts, and that is what makes the difference between a meal that is merely cooked and one that feels worth gathering around.