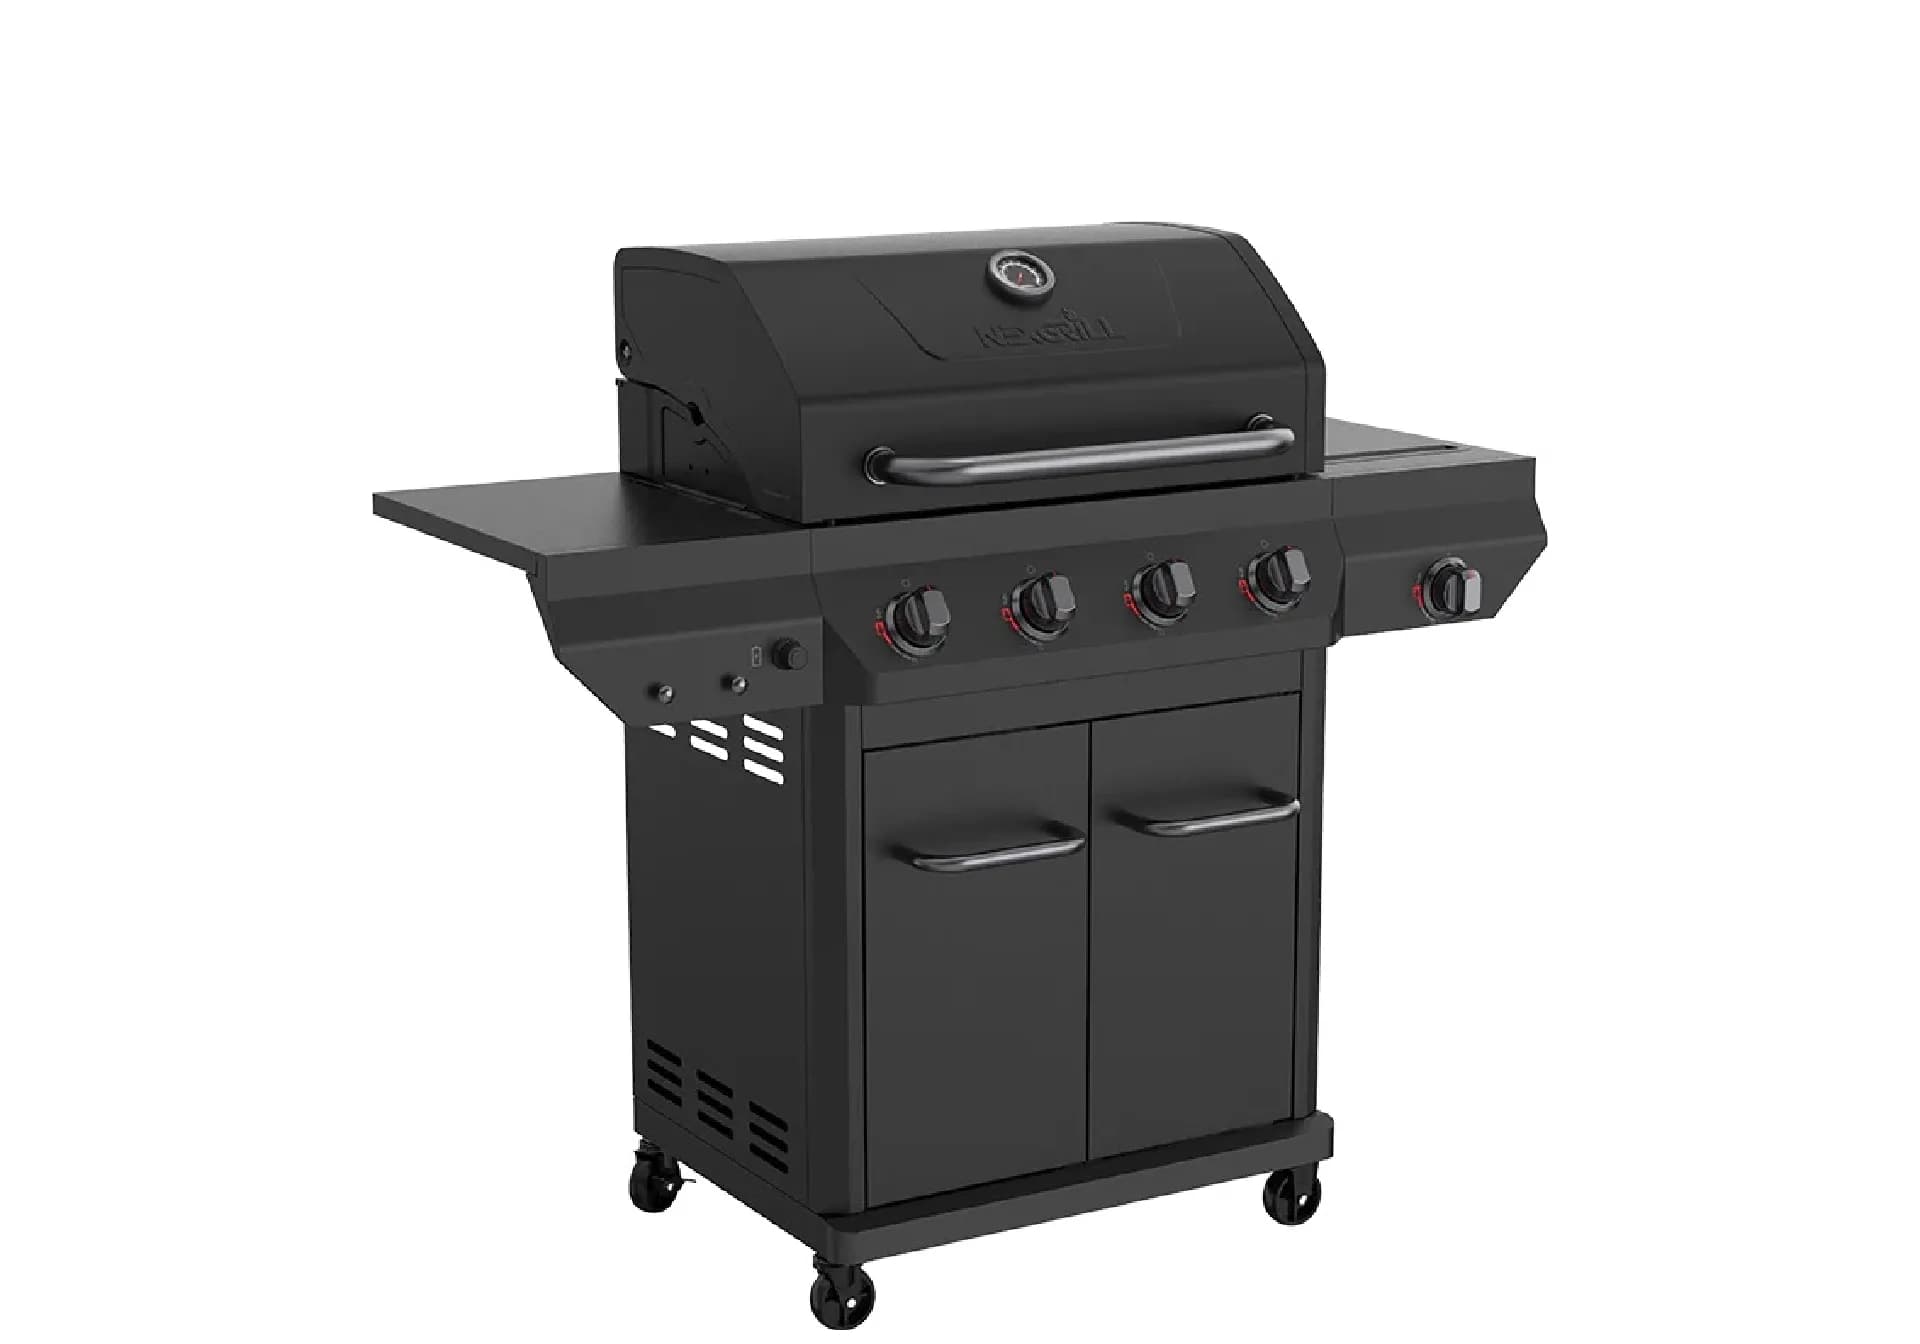
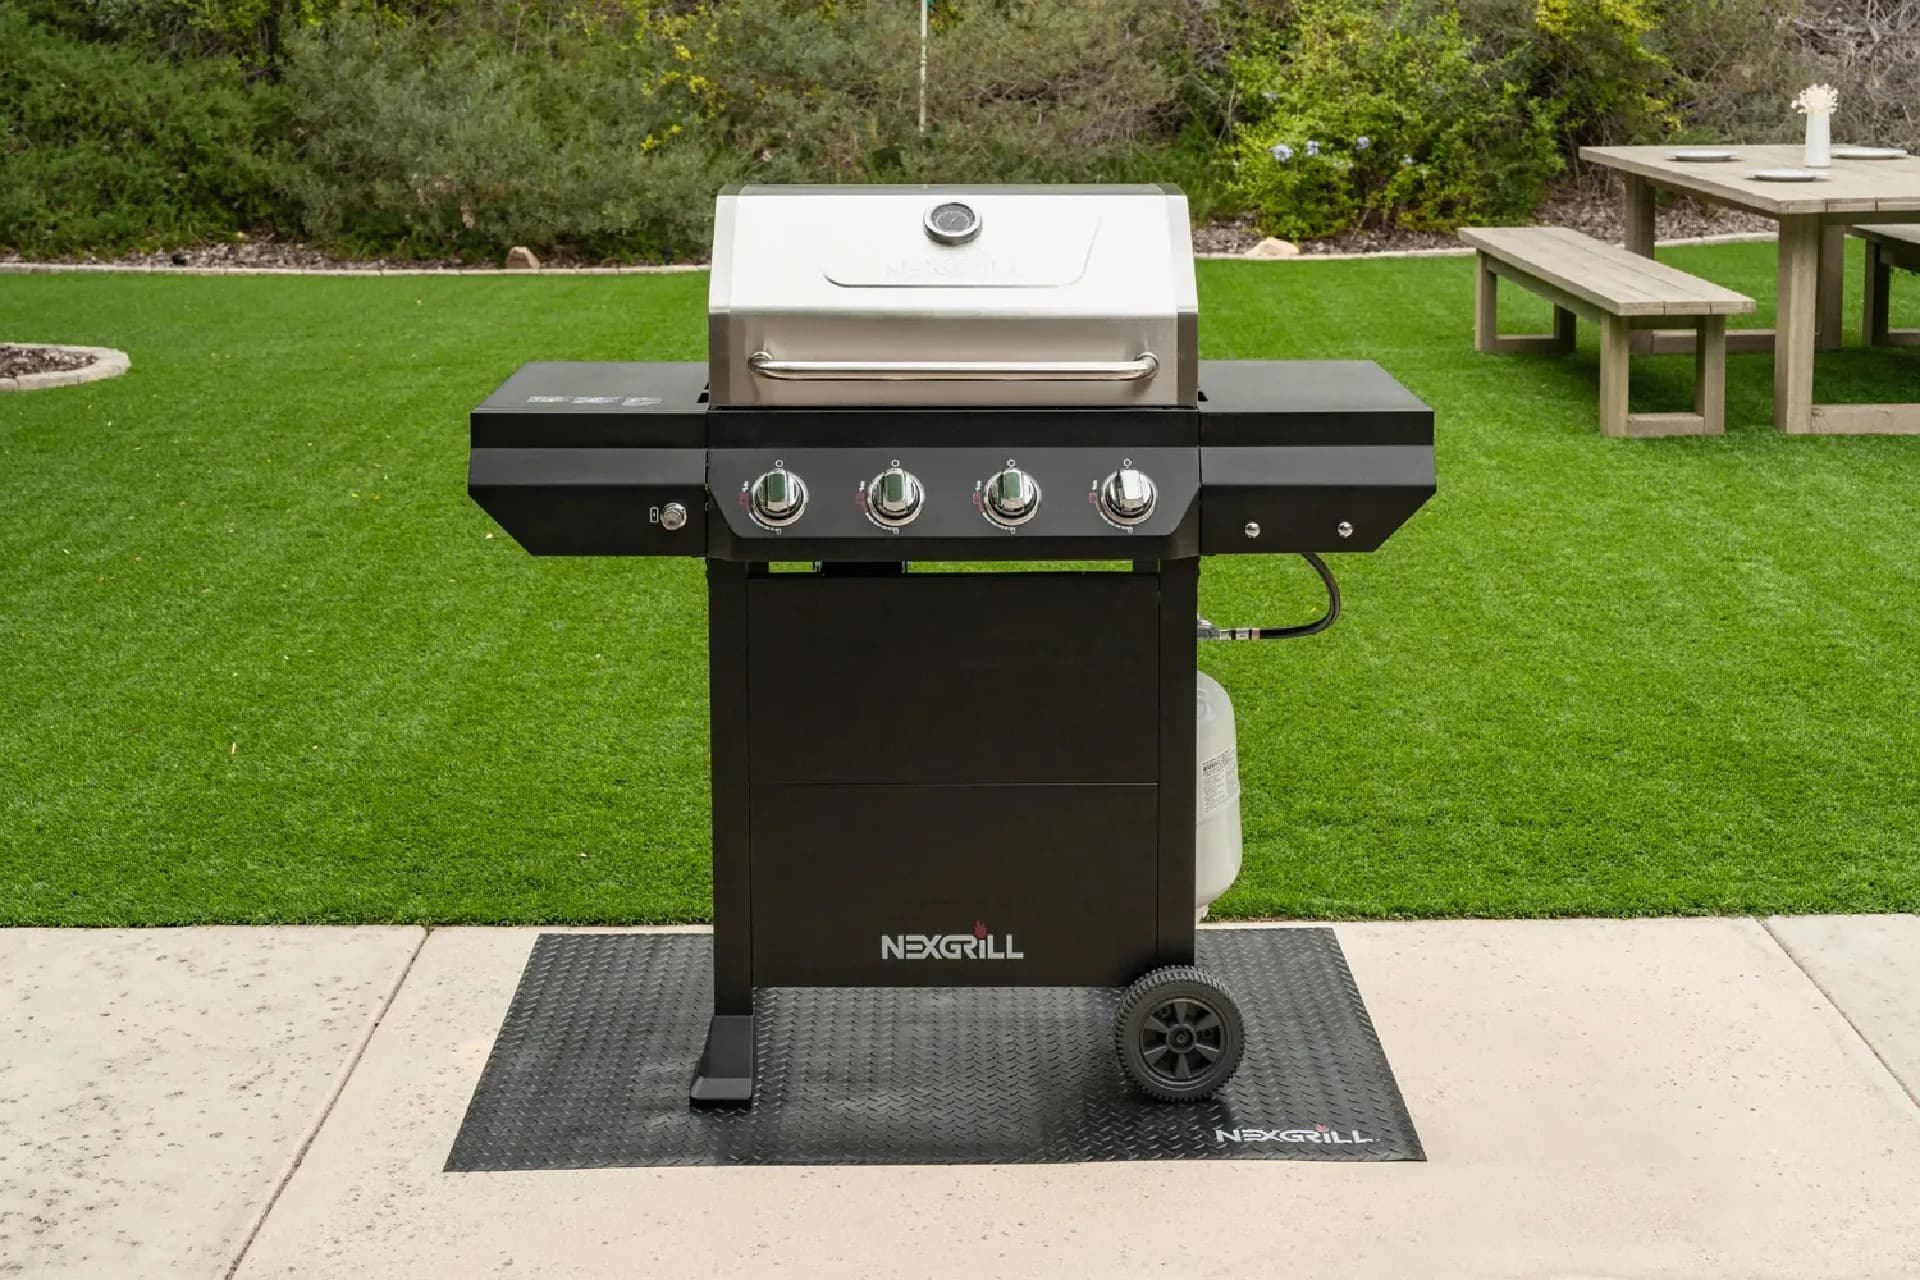
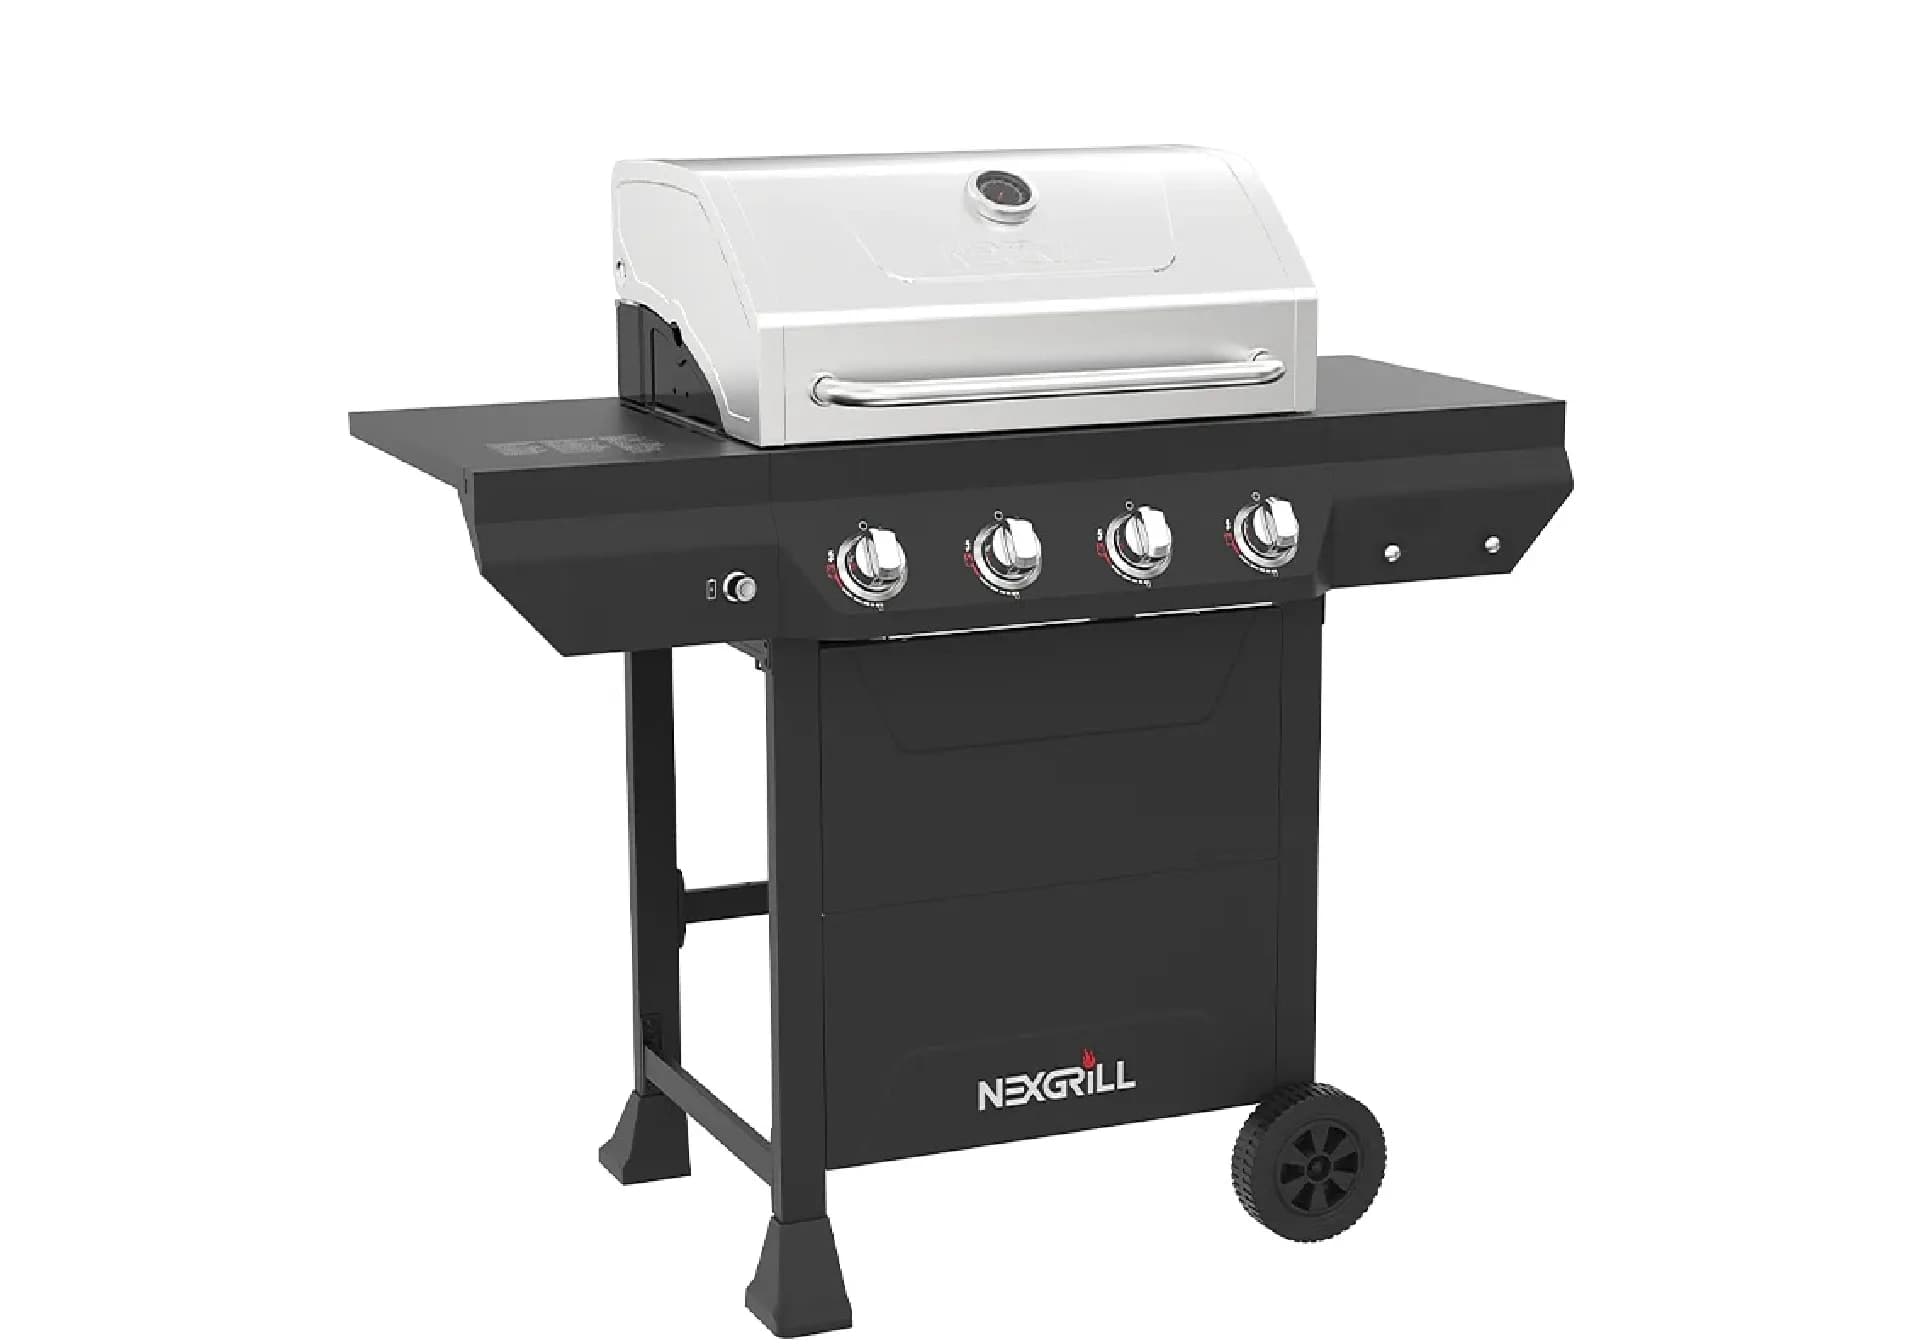
Comprehensive Gas Grill Manual: Your Ultimate Guide
Master your gas grill with detailed assembly, operation, and maintenance instructions.

In This Article
Safety First
Assembly Made Easy
Troubleshooting Common Issues
Introduction to Gas Grills
A gas grill manual is more than a booklet that explains where the screws go. It is the operating system for your cookout: the guide that helps you assemble the grill correctly, learn the burner controls, and keep the appliance safe and dependable over time. For many households, a gas grill becomes the center of weeknight dinners, weekend gatherings, and holiday meals, so the manual deserves close attention before the first spark ever reaches the burner. Nexgrill’s brand philosophy emphasizes that grilling is meant to be welcoming, practical, and accessible for a wide range of users, from first-time owners to experienced backyard cooks, and that spirit is especially useful when you are learning how a gas grill actually works .
At a basic level, a gas grill uses fuel, airflow, ignition, and controlled heat zones to cook food efficiently. Propane and natural gas models accomplish the same goal in different ways, but both depend on proper setup and regular care. If the grill is assembled loosely, connected incorrectly, or lit without enough ventilation, even a good model can underperform or become unsafe. That is why the best manuals do not just list parts; they explain how to confirm fittings, test burners, preheat the cooking surface, and clean up after service. A manual should help you move from boxed parts to dependable performance with confidence, not guesswork.
Most home gas grills run on propane tanks or natural gas lines, and each setup has different installation needs.
For shoppers choosing a new grill, the manual also becomes a buying tool. It tells you what type of fuel the unit accepts, what accessories may be required, and how much room you need for safe placement. That matters because a compact two-burner grill may fit comfortably on a smaller patio, while a larger multi-burner model needs more clearance for both operation and maintenance. A manual that is easy to follow usually reflects a grill that is easier to own. Clear part diagrams, labeled hardware bags, and logical step order reduce mistakes during assembly and lower the odds of later issues such as uneven flame, poor ignition, or unstable side shelves.
This guide is written for readers who want a complete, practical reference: how to set up a gas grill, how to light it, how to control temperature, and how to spot problems before they become frustrating. The focus is on use, care, and safety rather than flashy features. If you are new to grilling, think of the manual as your first cooking lesson. If you already know your way around a burner box, use it as a checklist to confirm you are getting the most out of the grill you own.
Safety Precautions for Using a Gas Grill
The most important page in any gas grill manual is the safety section. Before assembly or ignition, place the grill outdoors in a well-ventilated area, far from enclosed garages, overhangs, and anything flammable such as dry leaves or patio fabrics. A gas grill produces heat, flame, and combustion byproducts, so airflow is not optional. Never operate it inside a home, shed, or tent, and do not use it in a space where gas could collect if a leak occurs. Keep children and pets away from the cooking area, and make sure the grill sits on a stable, level surface so it cannot tilt when hot or loaded with food.
Before each use, inspect hoses, regulators, and connections for cracks, loose fittings, or damage. If you smell gas, do not light the grill. Shut off the fuel source, move away from ignition sources, and allow the area to clear before investigating further. A soapy-water leak test is one of the simplest ways to check connections on propane systems: apply a light soap-and-water solution to fittings and watch for bubbles that indicate escaping gas. For natural gas setups, follow the grill maker’s connection procedure closely and verify that the line is properly installed before use.
Warning: Never use a flame to check for leaks. Even a small leak can ignite suddenly.
Wear sensible clothing when grilling. Loose sleeves, apron ties, and synthetic materials can catch heat or flame more easily than close-fitting natural fabrics. Keep long-handled tools nearby so you do not reach over burners. Open the lid before lighting unless your grill’s manual specifically instructs another sequence, because unburned gas can collect under a closed hood and ignite abruptly. Also learn where the shutoff controls are before the first cook; in an emergency, seconds matter. A well-understood manual should make the location of valves, igniters, and shutoffs obvious.
Finally, treat cooling and cleanup as part of safety, not an afterthought. Let the grill cool before moving it, and empty grease trays regularly to reduce flare-up risk. If you are using a grill cover, make sure the unit is fully cool before covering it. The safest cooks usually come from a habit of checking, cleaning, and resetting the grill before every session. Try comparing two products side by side below to see which fits best:
Types of Gas Grills: Propane vs. Natural Gas
Propane and natural gas grills share many operating principles, but they are not interchangeable without the proper conversion parts and instructions. Propane grills use portable cylinders, which makes them a flexible choice for patios, tailgates, and places where a permanent gas line is not available. They are often favored by renters and homeowners who want a simpler installation path. Natural gas grills connect to a house line, so they eliminate tank swaps and are convenient for people who grill frequently at home. The trade-off is that natural gas requires a compatible connection point and a more fixed installation.
| Fuel Type | Typical Strength | Best Fit |
|---|---|---|
| Propane | Portable, easy to set up, widely available | Homes without a gas line, patios, travel, flexible placement |
| Natural gas | Continuous fuel supply, no tank changes | Frequent home grilling, fixed outdoor kitchens |
When reading a manual, pay close attention to the fuel label and regulator instructions. A propane grill should use the correct regulator and hose arrangement designed for cylinder pressure. A natural gas grill needs the right orifice and line connection for the lower-pressure household supply. If a manual mentions conversion, do not assume a part swap is simple or automatic. The process often requires model-specific hardware and should follow the manufacturer’s exact steps. Using the wrong setup can cause weak flames, excessive flames, or ignition problems.
A practical way to choose between the two is to ask how you actually cook. If you want mobility and occasional use at different locations, propane usually makes more sense. If you grill several times a week and already have a gas line in place, natural gas can be more convenient day to day. Either way, the manual should be your primary reference for hook-up, pressure requirements, and any required checks before firing the grill for the first time.
Assembly Instructions: Step-by-Step Guide
A careful assembly process is the foundation of every good grilling experience. Before opening the hardware, read the entire manual once so you understand the order of assembly and identify any large components that may require two people to lift. Organize parts by shape and label them against the parts list. Keep a soft surface like cardboard under the body of the grill to protect the finish while you work. If your manual includes a QR code or video link, use it. Visual guidance can make the difference between a smooth build and a frustrating one, especially when mounting the firebox, side tables, or control panel.
Start with the cart or base, then secure the main body, followed by the burner assembly, ignition parts, grease management components, and finally the cooking grates and warming rack. Tighten bolts only after all pieces are aligned, because over-tightening too early can throw the frame out of square. During assembly, check that wires are routed away from hot surfaces and that hoses do not kink or rub against sharp edges. A manual with exploded diagrams is especially helpful here because it lets you see how parts stack before you commit to screws.
Tip: Keep fasteners loose until the end of each subassembly. It is easier to align panels before final tightening.
After the main build is complete, do a stability check. Make sure caster wheels lock properly, doors close without binding, and shelves sit level. Then install batteries for the igniter if your grill uses them, connect the fuel source, and perform a leak test before the first burn-in. Burn-in is a useful initial step because it helps remove manufacturing residues from the cooking chamber and gives you a chance to see whether burners light evenly across the grate area. Follow the manual’s burn-in temperature and timing instructions closely; if it does not specify a duration, use a moderate preheat period while monitoring flame quality.
If the assembly feels unclear, stop and review the hardware page rather than forcing parts together. Misaligned brackets, reversed panels, or pinched igniters can create later problems that are much harder to diagnose. A good rule is to assemble in stages, then pause for a final inspection before lighting. Once the unit is put together correctly, the grill should feel solid, open and close smoothly, and present an even, logical layout for cooking. Try comparing two products side by side below to see which fits best:
Operating Your Gas Grill: Lighting and Temperature Control
Once you have compared two options side by side, the next step is learning how your grill behaves in real use. Lighting a gas grill is usually straightforward, but the sequence matters. Open the lid, turn on the fuel supply, and follow the burner ignition order listed in the manual. If your grill has an electronic igniter, listen for the spark and watch for flame at the first burner. If it uses a manual lighting port, use the approved method described by the manufacturer, never an improvised flame source. If one burner lights and another does not, shut the grill down and let it clear before trying again.
Temperature control is about more than a single dial setting. Good gas grilling depends on creating zones. One side can run hot for searing, while another remains medium for finishing thicker cuts or vegetables. Preheat the grill with the lid closed until the grates are hot and the hood thermometer reaches the target range. That preheat phase helps improve browning and reduces sticking. For delicate foods, lower the heat after preheating and use indirect cooking by placing food away from direct burner flame. That method is especially useful for bone-in chicken, larger roasts, and anything that benefits from slower, more even heating. For more tips on controlling heat, check out our best gas grill with searing station guide.
A practical preheat window for many gas grills before you start cooking, unless your manual specifies otherwise.
A manual should also help you understand what the controls are telling you. If the flame is tall, yellow, and sooty, the grill may be burning inefficiently or have an airflow issue. A healthy burner flame is usually blue with steady tips. If the grill runs too hot even at lower settings, verify that the lid is not trapping too much residual heat, that the burners are clean, and that no grease buildup is altering the flame pattern. Cooking on a gas grill becomes much easier once you recognize that the knobs are not just on/off switches; they are tools for managing airflow, time, and heat balance.
Maintenance Tips for Long-lasting Performance
Routine maintenance keeps a gas grill cooking evenly and helps the manual stay relevant long after the box is empty. After each cook, scrape the grates while they are still warm, then wipe or brush away residue. Empty or check the grease tray often, especially if you cook fatty foods. Leftover grease is one of the most common causes of flare-ups and smoke. On a weekly or monthly basis, remove the grates and inspect the burner area for debris such as food bits, spider webs, or ash-like residue that can block airflow. Burners need open ports to perform correctly.
Seasonal maintenance matters too. At the start of the grilling season, inspect the hose, regulator, igniter, and burner tubes carefully. If you live in a region with strong weather swings, cover the grill once it is fully cool and store the propane cylinder according to local safety guidance. For natural gas models, check the connection area for wear and keep the line area clear of dirt and moisture. If a part is removable, clean it according to the manual rather than soaking it randomly. Water can damage igniters and create rust in places that are hard to dry.
Warning: Do not use abrasive tools on coated surfaces or control labels. You can remove protective finishes and make future cleaning harder.
Keeping notes helps. If you notice that one burner always takes longer to ignite or that one side cooks hotter, record it before the problem worsens. Small patterns often point to a clogged port, a failing igniter, or a regulator issue. The best maintenance routine is simple, repeatable, and tied to each cook: brush grates, clear grease, close the fuel, cool the grill, then cover it. That sequence extends the useful life of the grill and reduces surprise breakdowns later.
Troubleshooting Common Issues
If your grill will not ignite, work through the problem in order. First, confirm the fuel supply is open and the tank or gas line has fuel. Next, check whether the igniter is producing a spark. If not, the battery may need replacement or the electrode may be dirty or misaligned. If you hear gas but no flame, turn everything off and allow the gas to dissipate before trying again. A blocked burner port or a clogged venturi tube can also stop ignition or create a weak, uneven flame pattern. Cleaning those openings often solves the issue.
| Problem | Likely Cause | Practical Fix |
|---|---|---|
| Burner will not light | Empty tank, closed valve, dead igniter, clogged burner ports | Check fuel, replace battery, clean ports, relight following the manual |
| Weak flame | Blocked air path, regulator issue, debris in burner | Inspect regulator, clean burner tubes, verify connections |
| Flare-ups | Excess grease, cooking too close to flame | Clean grease tray, move food, use indirect heat when needed |
Uneven heat across the cooking surface usually points to burner blockage, worn components, or poor preheating habits. If one side of the grill is far hotter, try swapping cooking positions to see whether the issue follows the burner or the food placement. Yellow flames may indicate dirty burners or poor combustion, while clicking that continues after ignition can suggest an igniter problem. If cleaning and basic checks do not solve the issue, consult the manual for the model-specific support path rather than guessing. Some problems are simple, but gas appliances reward patience and methodical inspection.
FAQs about Gas Grill Usage
How long should I preheat my gas grill? In many cases, 10 to 15 minutes is enough to warm the grates and stabilize the cooking chamber, but your manual may suggest a different range depending on burner count and lid design.
Should I cook with the lid open or closed? Use the lid open when lighting, then close it for preheating and most cooking tasks so heat circulates more efficiently. Open-lid cooking can be helpful for fast tasks, but closed-lid cooking generally gives better control.
How often should I clean the grill? Wipe or scrape the grates after each use and do a deeper inspection every few cooks. Grease management and burner checks are especially important if you grill frequently.
Can I use any gas grill with any fuel source? No. Propane and natural gas grills require the correct setup for the fuel type, and conversion should only be done if the manual explicitly allows it and provides the correct parts and instructions.
Conclusion: Enjoy Your Grilling Experience
A good gas grill manual helps you do three things well: build the grill correctly, cook with confidence, and keep it working season after season. Once you know the fuel type, safety rules, assembly sequence, lighting steps, and basic troubleshooting process, the grill becomes much easier to trust on busy weeknights and special occasions alike. That confidence matters because the best grilling experiences usually come from simple habits repeated consistently: check the connections, preheat properly, manage the heat zones, and clean up when the food is done.
Nexgrill’s approach to outdoor cooking is rooted in accessibility and shared meals, and that makes a practical manual especially valuable for home users who want dependable results without unnecessary complexity . Keep your manual close, refer back to it when something looks off, and use it as your first troubleshooting tool before assuming a part has failed. If you take the time to learn the grill once, the payoff is smoother assembly, safer operation, and better meals every time you fire it up.