Avoiding Common Pitfalls in Smart Grill Assembly
Master your smart grill setup with confidence by steering clear of these frequent errors.
In This Article
Key Components
Common Mistakes
Maintenance Tips
Understanding Smart Grill Components
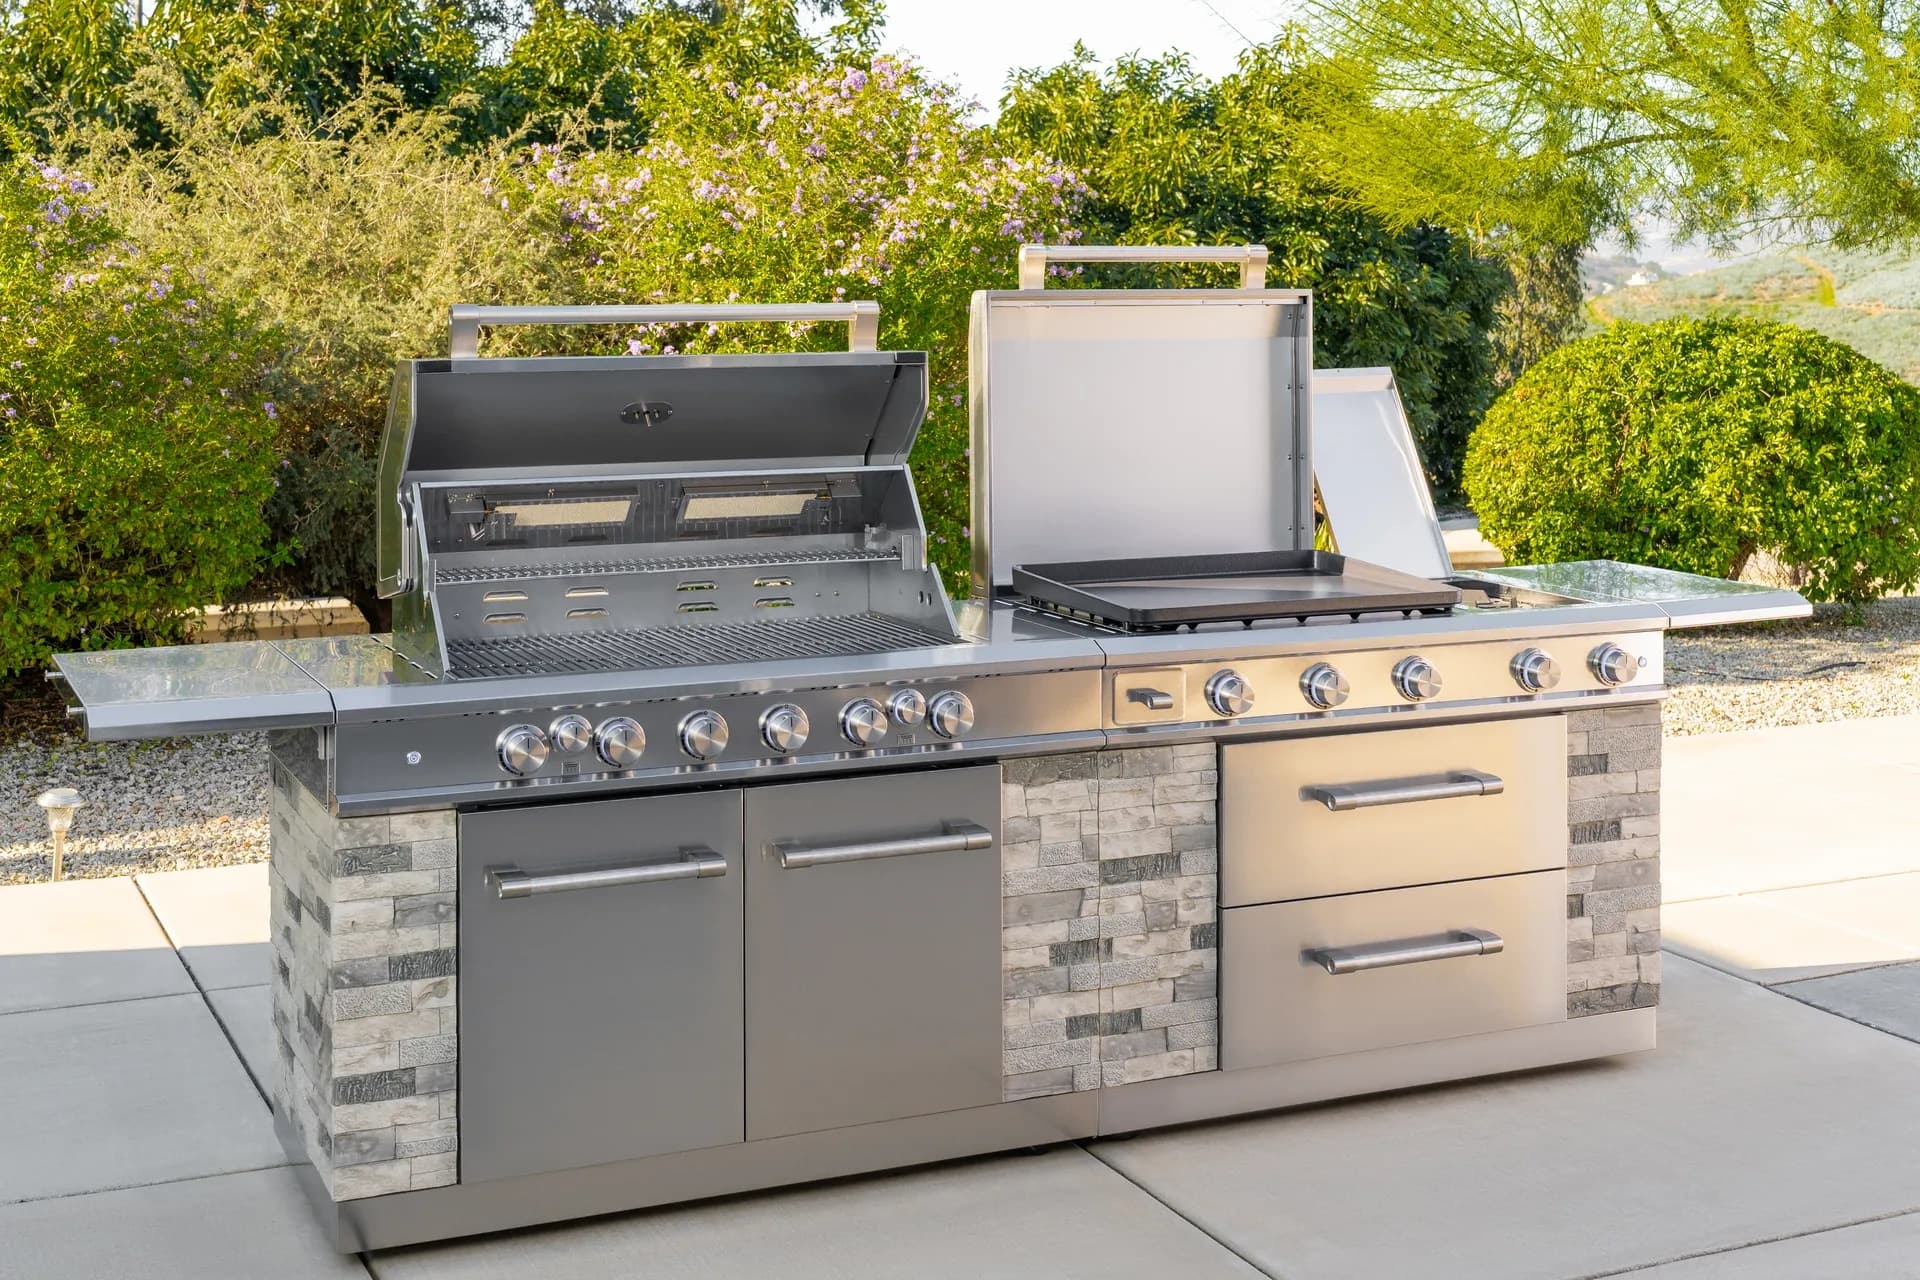
Before diving into the assembly of a smart grill, it’s crucial to familiarize yourself with its various components. Smart grills, such as those from Nexgrill, often include state-of-the-art technology that enhances the grilling experience. Key components to be aware of include the smart control panel, temperature probes, and integrated Wi-Fi or Bluetooth systems. Each part plays a vital role in ensuring that your grill operates at optimal efficiency.
Smart Control Panel
The control panel is the brain of your smart grill. It allows you to set temperatures, monitor cooking times, and adjust settings remotely. Ensure it is correctly installed by aligning it with the specified slots and securing it with the appropriate screws.
Tip: Double-check the wiring connections to prevent any functionality issues.
Temperature Probes
Temperature probes are essential for monitoring the internal temperature of your food. Incorrect installation can lead to inaccurate readings, affecting cooking results. Ensure the probes are securely attached and calibrated according to the manual.
Common Assembly Mistakes
Even seasoned grillers can make mistakes during assembly. Here are some common pitfalls and how to avoid them:
- Skipping the Instruction Manual: Many assume they can rely on intuition for assembly. However, smart grills contain advanced technology that requires precise installation. Always follow the manual step-by-step.
- Misplacing Screws and Bolts: It’s easy to lose small parts during assembly. Organize all components before starting, and keep them in labeled containers.
- Ignoring Electrical Connections: Smart grills often require electrical setups for their smart features. Ensure all connections are secure and test them before full assembly.
Pre-Assembly Preparation
Proper preparation can save time and effort during assembly. Start by clearing a spacious area to lay out all parts and tools. Check that you have all necessary tools, such as a screwdriver, wrench, and pliers. Being well-prepared helps prevent errors and streamlines the assembly process.
Info: Always perform a parts inventory before beginning to ensure nothing is missing.
Once you’ve prepared your workspace and organized your parts, you’re ready to start the assembly process. Follow the manual closely for the best results.
Assembly in Practice
With everything in place, you can begin assembling your smart grill. Start with the base and work your way up, attaching the legs and securing the frame. Ensure every bolt is tightly fastened to avoid instability. As you progress, periodically check the alignment of each component against the instructions.
80% of assembly issues stem from overlooking small details.
Troubleshooting During Assembly
If you encounter issues, such as misaligned parts or missing screws, refer back to the manual. Look for troubleshooting tips specific to your grill model. If problems persist, contact customer support for guidance.
Post-Assembly Checks and Calibration
Once your smart grill is assembled, it’s vital to perform a series of checks to ensure everything is functioning correctly. Start by verifying that all electrical connections are secure and that the control panel responds as expected. Test the temperature probes for accuracy by comparing their readings with a trusted thermometer.
Calibration of Smart Features
Smart grills offer advanced features, such as remote monitoring and automated cooking programs. Calibrate these features by following the manufacturer’s guidelines. Proper calibration ensures that you can rely on your grill for consistent cooking results.
Warning: Failure to calibrate can lead to uneven cooking and potential safety hazards.
Maintaining Your Smart Grill
Regular maintenance is crucial for keeping your smart grill in peak condition. Clean the grill after each use to prevent grease buildup, which can affect performance. Inspect the electrical components periodically for any signs of wear or damage.
| Maintenance Task | Frequency |
|---|---|
| Clean grates | After every use |
| Inspect burners | Monthly |
| Check electrical connections | Quarterly |
Seasonal Maintenance Tips
During the off-season, take additional steps to protect your grill. Store it in a dry place, or use a weatherproof cover if left outdoors. This helps prevent rust and prolongs the life of the components.
For additional protection, apply a rust-preventive spray to metal parts. Ensure that all moving parts are lubricated to keep them functioning smoothly.
Conclusion: Enjoying Your Smart Grill
Avoiding common assembly mistakes and performing regular maintenance will ensure that your smart grill provides years of reliable service. With the convenience of modern technology and the joy of outdoor cooking, your grill will become an indispensable part of your culinary toolkit. Remember to review the manual periodically and stay updated with any firmware updates for optimal performance.
Regularly update your grill’s firmware for enhanced features and security.