Nexgrill
Gas Grills

Should You Oil the Grates on a Gas Grill?

Understanding the Importance of Grate Maintenance for Optimal Grilling.
4 min read
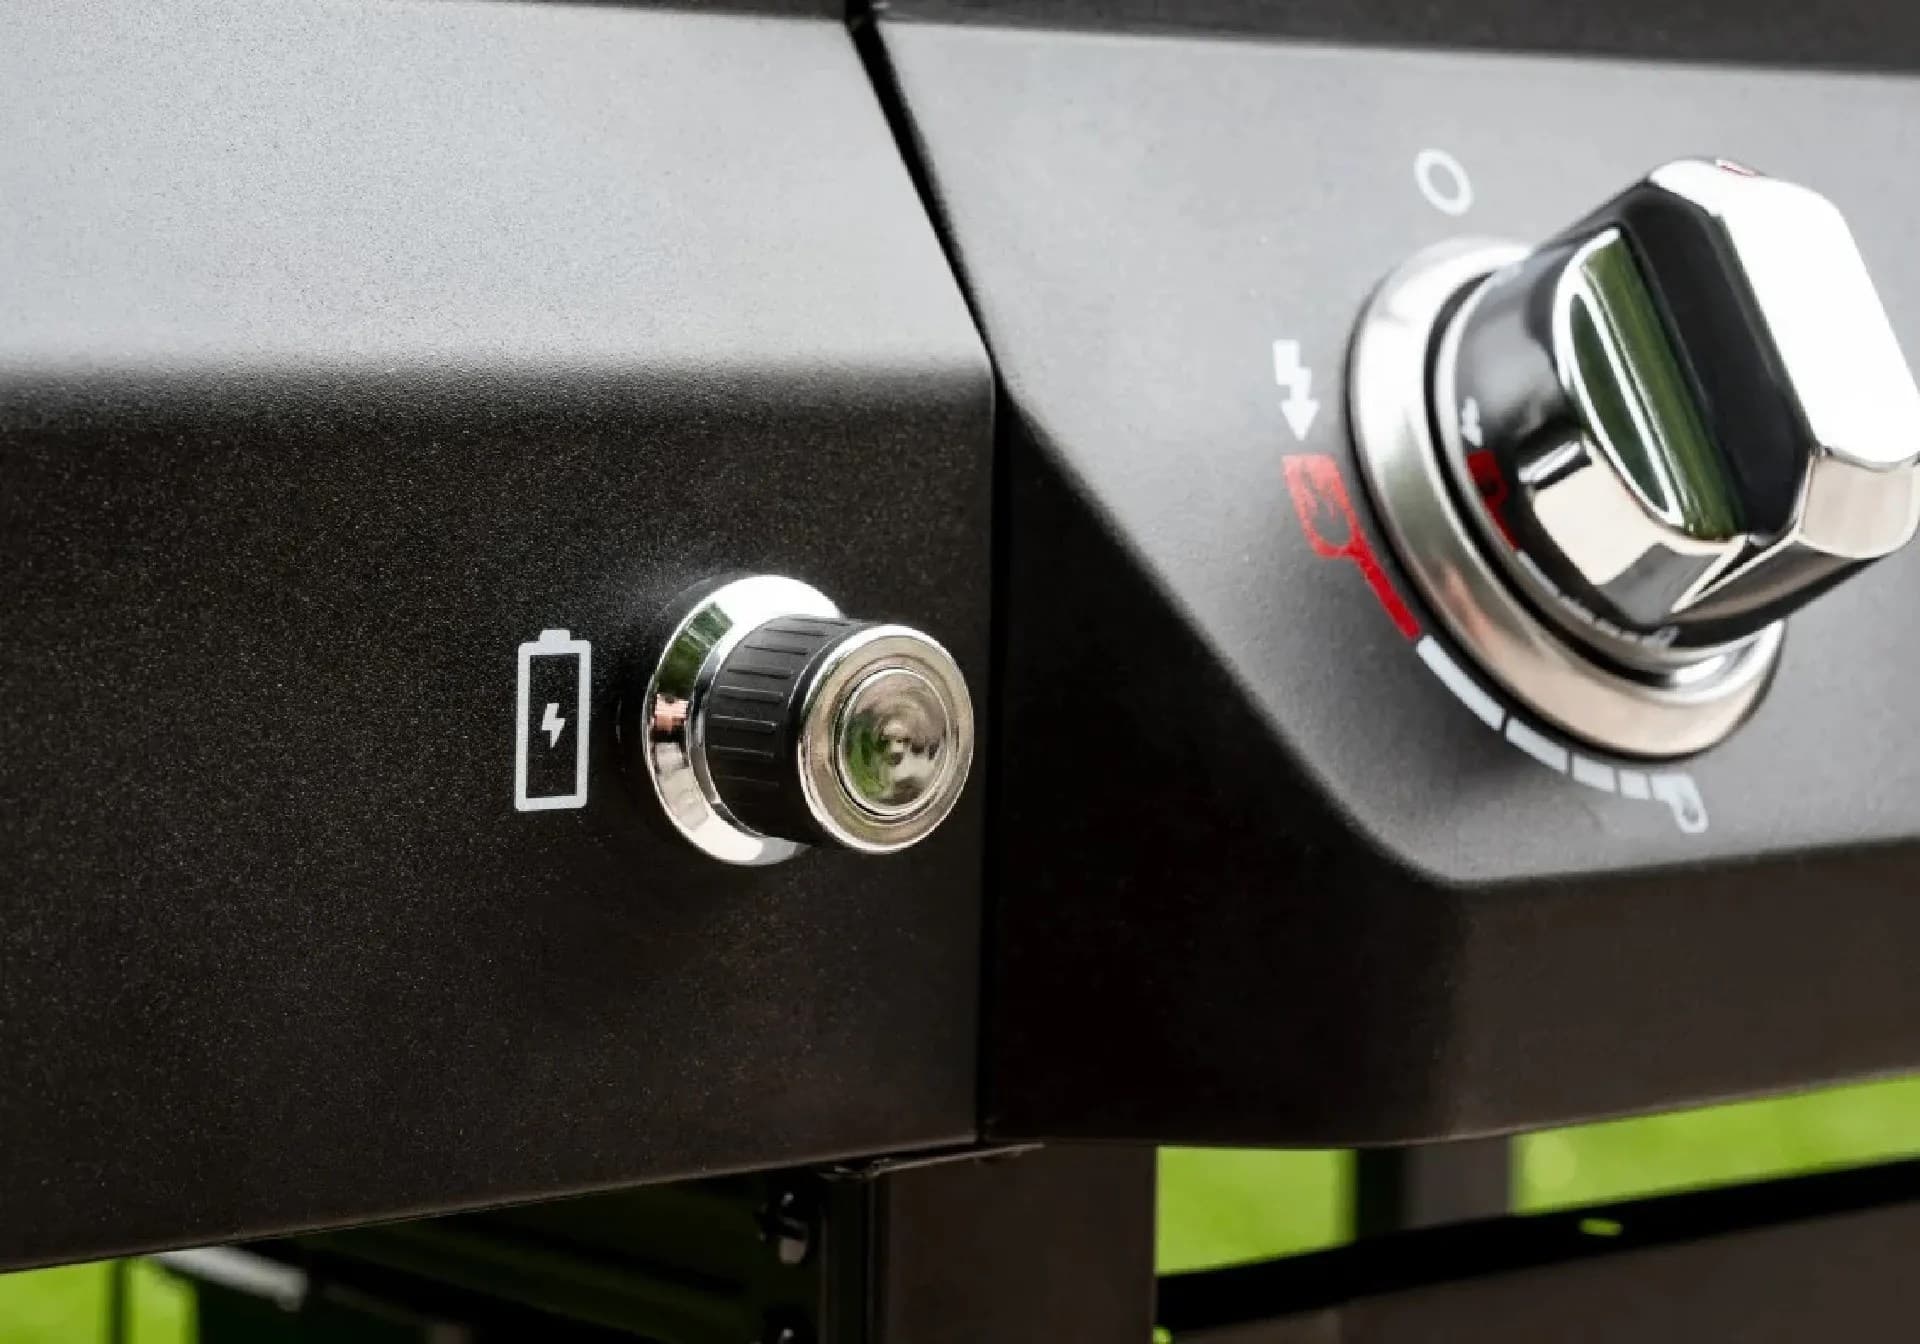
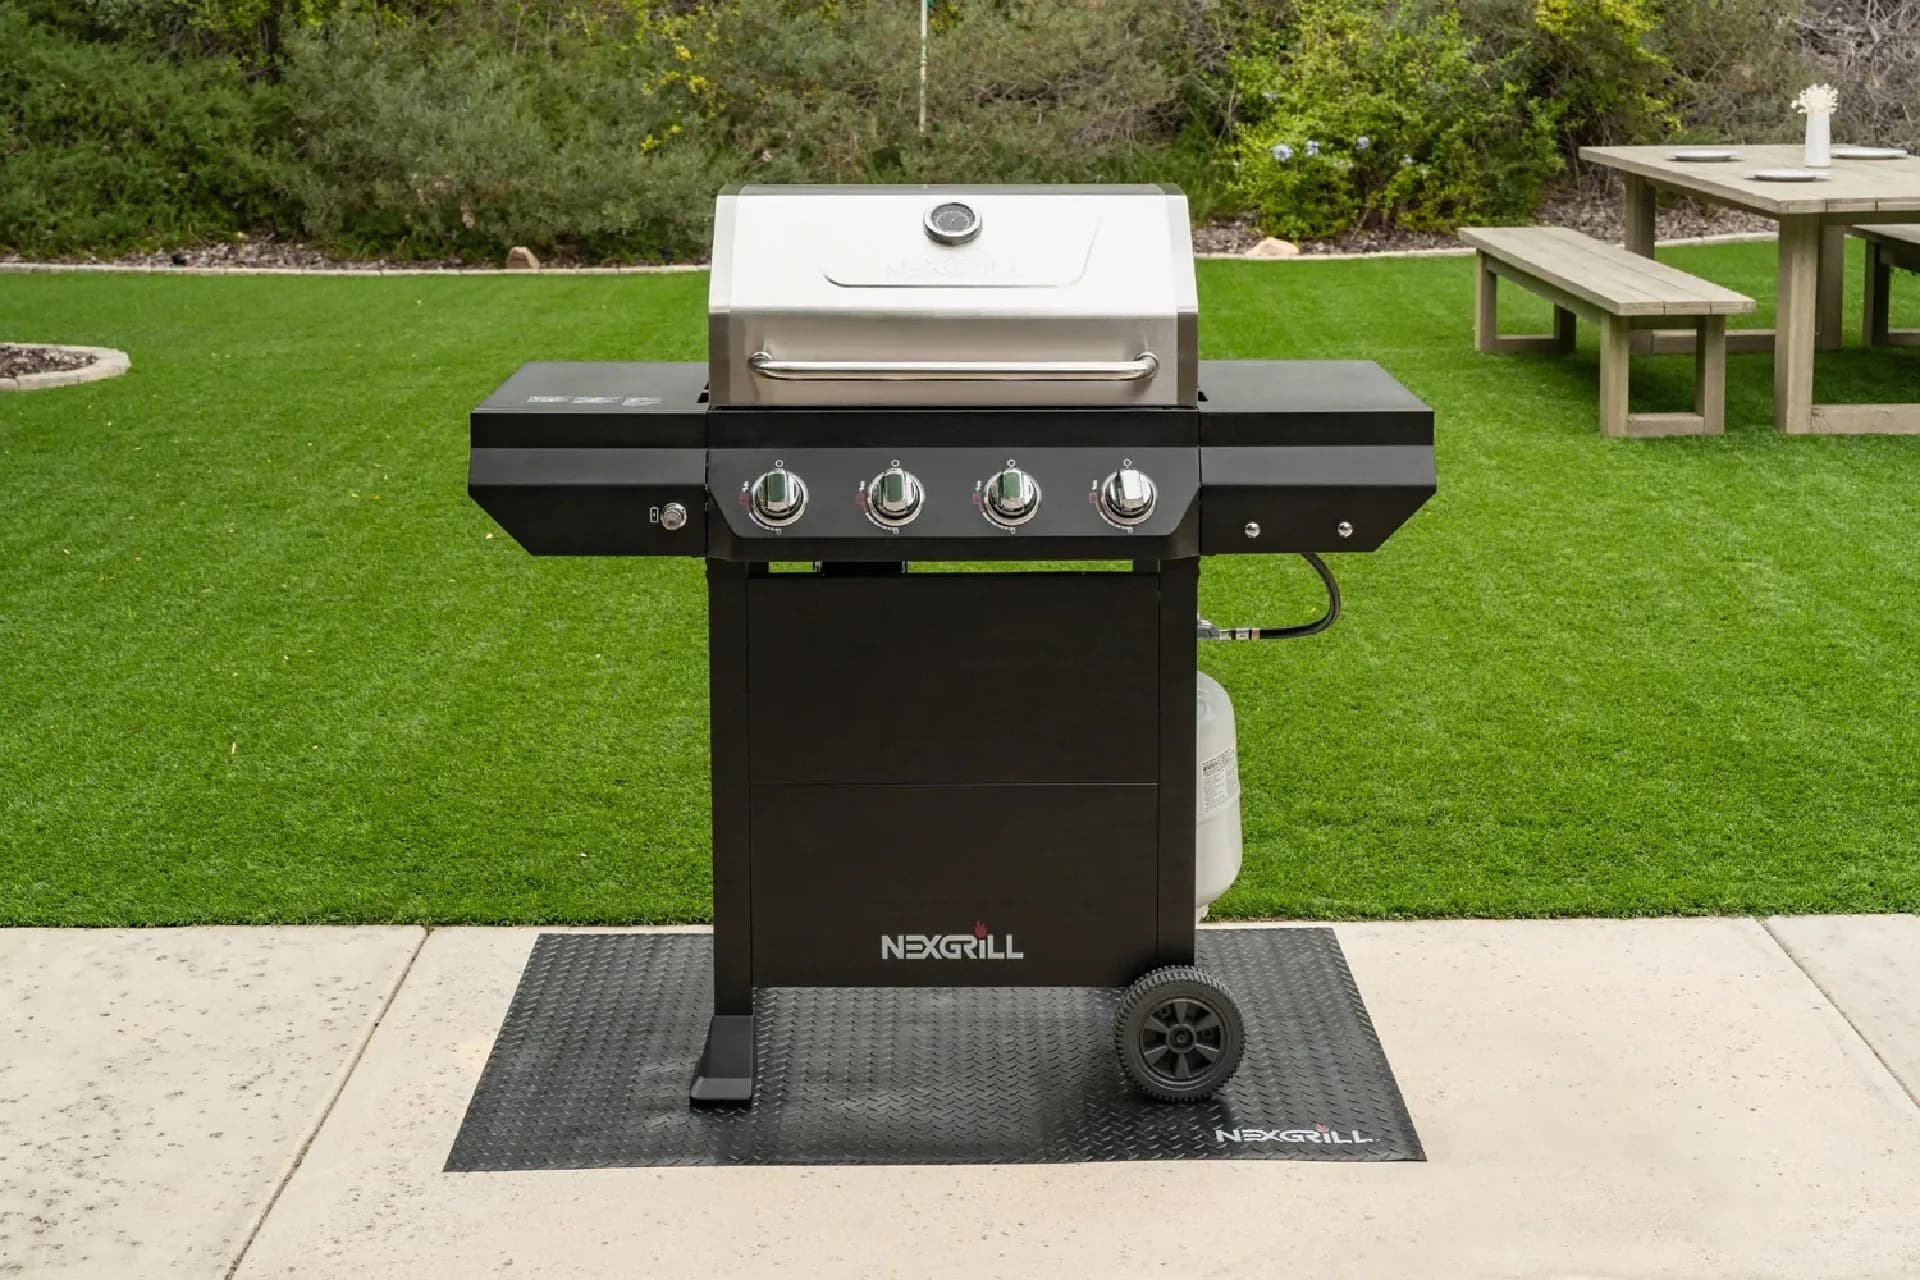
Nexgrill 4-Burner Propane Gas Grill in Black with Stainless Steal main lid

In This Article

Why Oil Grates?

Prevents sticking and enhances flavor.

Choosing the Right Oil

Use oils with high smoke points.

Safety First

Avoid aerosol sprays on hot grills.

The Role of Oil in Grate Maintenance

When it comes to grilling, the condition of your grate plays a significant role in the quality of the food you prepare. Oiling the grates of a gas grill is a practice that can enhance your grilling experience by preventing food from sticking, ensuring even cooking, and extending the lifespan of the grates. Understanding the science behind this process can help you make informed decisions about your grilling practices.

Why Oil the Grates?

Oiling the grates creates a protective barrier that prevents food from sticking. This is especially important when cooking delicate items like fish or vegetables, which can easily break apart if they adhere to the metal surface. Additionally, a well-oiled grate can help achieve those desirable sear marks that enhance the flavor and presentation of grilled food.

Tip: Use a high smoke point oil such as canola or grapeseed for best results.

How to Properly Oil Your Grates

To oil your grates effectively, start by cleaning them thoroughly to remove any residue or debris. Heat the grill to burn off any remaining particles, then allow it to cool slightly. Using a paper towel or brush, apply a thin layer of oil across the grates. Be sure to avoid excess oil, which can cause flare-ups.

Step Description
1 Clean the grates thoroughly.
2 Heat the grill to burn off residue.
3 Cool slightly, then apply oil with a towel.

Common Mistakes to Avoid

One common mistake is using too much oil, which can lead to excessive smoke and flare-ups. Another is not allowing the grill to cool before applying oil, which can cause the oil to burn off immediately. Ensuring correct technique will enhance your grilling results significantly.

Benefits of Oiling Grates

Oiling your grates offers several tangible benefits. Besides preventing sticking, it contributes to more consistent cooking by evenly distributing heat across the surface. This practice also aids in maintaining the integrity of the grates by reducing rust and corrosion over time. Such preventative maintenance contributes to the longevity of your grill, ensuring that it remains a reliable tool for outdoor cooking.

Info: Regular maintenance, including oiling, can extend the lifespan of your grill by several years.

Choosing the Right Oil for Your Grates

Selecting the appropriate oil is crucial for effective grate maintenance. Oils with high smoke points, such as canola, grapeseed, or avocado oil, are ideal as they withstand the high temperatures of grilling without breaking down and producing smoke or off-flavors. The choice of oil can also impact the taste of your food, so it's essential to select one that complements your preferred flavors.

Comparative Smoke Points of Common Oils

Understanding the smoke point of oils can guide you in choosing the best option for your grilling needs.

Oil Type Smoke Point (°F)
Canola Oil 400
Grapeseed Oil 420
Avocado Oil 520

Enhancing Flavor Through Oiling

While oiling primarily serves to maintain the grill, it also plays a subtle role in flavor enhancement. The oil can carry flavors of herbs or spices applied to the grates before cooking, infusing the food with additional layers of taste. This technique can be especially effective for meats and vegetables, allowing for a more dynamic flavor profile.

Tip: Infuse your oil with garlic or rosemary for an extra boost of flavor.

Safety Considerations

Safety is paramount when dealing with high-temperature cooking. Avoid using aerosol oil sprays directly on a hot grill, as the propellant can cause dangerous flare-ups. Instead, use a brush or cloth to apply oil to grates. Additionally, always keep a safe distance from the grill when applying oil to avoid burns or injuries.

Warning: Never apply oil to a hot grill with an aerosol can.

Conclusion

Oiling the grates of your gas grill is a simple yet effective practice that can significantly enhance your grilling experience. By preventing sticking, enhancing flavor, and extending the life of your grill, this technique embodies the essence of good grill maintenance. Whether you're a novice or an experienced griller, incorporating oiling into your routine can lead to better results and more enjoyable outdoor cooking.
Why Choose Us

Here's what sets us apart

  • Premium grilling experience at accessible pricing

    We position ourselves as delivering high-end outdoor cooking features and performance without premium-brand pricing, emphasizing “Quality Grills. Unbelievable Value.”

  • Wide range of outdoor cooking products for every use case

    We offer gas grills, pellet grills, griddles, smokers, pizza ovens, portable/tabletop grills, electric grills, accessories, and replacement parts — allowing customers to stay within one ecosystem for all outdoor cooking needs.

  • Innovation-focused outdoor cooking with smart technology

    We differentiate ourselves through smart grilling products like the Oakford smart pellet grill, including app-connected cooking controls and modern outdoor cooking technology.

What Our Clients Say

Don't just take our word for it

“I’ve been using the Nexgrill Daytona 4-Burner Gas Griddle for a while now, and I’ve been really happy with it. First off, it’s super sturdy and feels really well-made, like it’s going to last me a long time. The cooking space is awesome—plenty of room for making big meals. So far I’ve cooked pancakes, burgers, bacon and some veggies. The 4 burners make it easy to control the heat in different areas. I love that I can keep one side hotter for searing and leave the other side cooler for things that don’t need as much heat. Plus, it heats evenly, which I was really glad to see. The shelves underneath and on its sides are a nice bonus. I’ve used them to keep things like plates, tools, and ingredients handy while I’m cooking, it’s very convenient. Cleaning it is super simple too. Once it cools down, I just wipe off the cooking surface and let the grease funnel into the trap. It’s quick and easy, and honestly, it barely looks like I even used it. If I had to nitpick, the grease trap can fill up kind of quickly during bigger cooking sessions, but as long as you keep an eye on it, it’s not a big deal. Overall, this griddle has been great. It’s sturdy, easy to use, and makes cooking outside a lot of fun. If you’re into grilling or want something versatile, I think this is a solid choice. Originally posted on influenster.com”

M
martind23_2941
Sturdy, easy to use, and perfect for cooking big m

“took about 2-3 hrs for complete assembly. took about 15-20 minutes to fully heat to 700. used a pan liner and a drip cup liner due to previous issues with those rusting away. this is about the 3-4 grill i have assembled. dont try to do it alone or ask the wife for help with the firebox its awkward. always check the directions 2-3 times before tightening down and dont over tighten the screws. hopeing for 5 years of grilling on this but i havent checked the warrenty yet.”

DT
Dave the Griller
finally got around to building this.bought in 2025

“We just bought this guy and I recommend always buy it assembled, we just use the grill 2 times and really works good; is perfect size and the side burn is very useful plus the caddy attach for spices; the material quality is in medium rate; no too cheap no too expensive I'll be glad if it works for minimum 5 years. Nexgrill could improve with the way, and cleaners to not damage the grates and the burners. I protect the removable pan with heavy duty aluminum foil, when the grease drop I only change the foil. Well I am enjoying my new Nexgrill !!! P.s. always clean the grill after use it....ALWAYS :-)”

KA
Karl A
Nice Grill

“Thank you to Influencer and Nexgrill for sending this to me for free, in exchange for my honest opinion. My 17 year old son put this together for me. It was easy but time consuming, it took about 2 hours. This is great for families, because you can cook a good amount of food in a short time. We did tacos, but it’s also great for breakfast, pancakes, eggs, breakfast burritos. It’s easy to clean if you have the right tools, you’ll need a scraper and metal spatula. Overall I would recommend this flat grill, it’s a great addition to our household. Originally posted on influenster.com”

K
KellyL
Quick and easy cooking

“My old Nexgrill is 25 years old and still looking and performing well! This new one is going on our back patio to partner with the old one in our courtyard. Obviously quality products to last that long. I hope the new one does as well. The only concern I have is that the sides are painted metal rather than stainless like the old one. I hope it doesn’t rust over time. But, We are very happy grillers!”

JS
Judy S
New grill to partner with my old one

“Bought grill 3 years ago stainless grates rusted out had to order new ones to replace Yes, I recommend this product.”

G
GaryS329
Stainless

“I’ve always been a smoker, fryer kind of guy. But recently with my new job keeping me super busy I’ve been cooking on my father in-laws 2 burner grill and it takes so long to cook ribs and chicken. I love just lighting the burners and cooking so I decided to upgrade by buying my own and I got this 5 burner with side burner for veggies , took me maybe 20 minutes to get all the dinner done tonight after I seasoned the grill with an onion. Love it so far, I hope it lasts a long time! It’s beautiful!”

JB
Jason B
Love it so far! My first propane grill I’ve ever bought myself!

“I love your grills. This is a replacement grill for a fully stainless steel one (was suppose to be). We originally bought it for our daughter's new townhouse, but her patio was not "ready" for it. We have kept it for 5 years now. My husband passed, I sold the house and move it, in the original box, with me and just put it together. The”

LG
Lisa G
Replacement

“Purchased a 5 burner with side burner grill probably 7-8 years ago. You can only replace things for so long. Opted on a smaller 4 burner grill this time. Hoping to get lots of use for many years to come.”

BS
Brian S
2nd grill with out

“Easy grill to use & grills well. Last grill lasted a little over 6 years. Had to replace burners twice (just worn out - lots of use). Here is old grill & new grill.”

RE
Russell E
2nd Nexgrill

“I had either recieved or bought a grill from either webber or Charbroil. Both had lasted roughly 5 years each before rusting out. For the price point and the way this grill feels I think this one should last longer. Looks awsome new so hopes are high.”

VA
Victor A
3rd grill so far...

“I’m just setting up my second 5 burner nexgrill!!! My first one was purchased in 2015!! I live in New England and the grill lived outside for 7 1/2 years!! That is an impressive lifespan for a grill in my area! I’ll be a loyal Nexgrill customer for life. Thanks very much. Yes, I recommend this product.”

L
Litch
Robust grill with Longevity to boot

“This grill is good for an economy grill. My 10 year old assembled most of it. I knew that I was getting a budget grill and didn't expect a Cadillac. I bought it mainly because the burners have flame on the left and right, instead of one row on the top. I checked the temperature gauge vs my digital and it runs 50° high, didn't expect it to be right on. The burner tents are higher in the front, making it hotter in the front. I have snips so I'll cut the front to set level. I seasoned the grill with bacon, it leaked from the screw to the drip pan, which was tight. The corners are sharp. I had corner protectors for my smoker and put some on the Nexgrill, hoping to get more life from the cover. Overall it's pretty good for the price.”

DK
Daniel K
Easy to assemble
4.7/ 5
13 reviews

Keep reading

Related Articles

Nexgrill 4-Burner Gas Grill with Side Burner in BlackGas Grills

Nexgrill Gourmet Pro 6-Burner Assembly: A Two-Person Build Sequence for the Biggest Cart Grill

Why the 6-Burner Gourmet Pro Build Is a Sequencing Problem, Not a Screwdriver Problem The Gourmet Pro 6-burner is the largest cart grill most households will ever assemble themselves, so the build succeeds or fails on order of operations, not wrench speed. Nexgrill has shipped cart-style gas grills from California since 1993, and the pattern holds: the firebox and lid arrive largely pre-assembled, and the real work is staging the cart, mounting the side burner early, seating six burner tubes perfectly, and routing ignition wires clear of hot metal. This guide targets the common scenario: one person starts Friday evening, a helper arrives Saturday, and a party looms the following weekend. Every step keeps the firebox off the cart until you have help and keeps the side burner from becoming a blind reach-around later. Nexgrill's Gourmet Pro, Deluxe, and Daytona lines share cart architecture and often look alike in photos. Check the rating label on the carton and the model plate before turning bolts - the sequence is similar but hardware counts are not. One Person Tonight, Help Tomorrow: How Far Can You Get Solo? A solo builder can safely finish the cart, casters, door frames, and side shelves. The firebox and lid assembly is a different category: a 100-pound-class component (estimate for this size class; confirm the weight on your model's product page), and lifting it onto the cart without scratching the cart or dropping it onto the valve manifold is the riskiest moment of the build. Stop at the empty cart and resume when your helper arrives. What Should Be Unpacked on the Patio Before You Cut the Tape? Lay out a 10-by-10-foot work area on a flat, hard surface - not grass, which hides dropped screws. Have these tools ready; the carton does not include them: #2 Phillips screwdriver 7/16-inch and 1/2-inch wrenches (or an adjustable wrench) Pliers Box cutter Magnetic parts tray Small flathead screwdriver for ignition clips You will also need a standard 20 lb LP cylinder, not included. A propane exchange at a U.S. big-box store has run roughly $20-$25 in 2024-2025, varying by region - budget for it before the weekend. How Long Does a 6-Burner Gourmet Pro Build Take? Builder profile Estimated time Notes Two adults, first cart grill 2-3 hours Includes unpacking, sorting, and a leak test Two adults, second build About 90 minutes Familiar with hardware bags and burner seating These are estimates, not guarantees; cold weather, missing tools, or a late helper will stretch them. Reading the Hardware Bags: Sorting by Assembly Step, Not by Bolt Size Nexgrill groups hardware by assembly step, not fastener size. Do not dump every bag into one pile. Set out one tray per numbered step and open only the bag for the step you are on, so a dropped lock washer does not become a 20-minute hunt. Step 1: Build the Cabinet Cart, Casters, and Doors Loose Before Tightening Install the casters first so the cart can be rolled into position. Assemble the side panels, bottom shelf, and door frames finger-tight, then check that the cart sits square and both doors close flush before fully tightening any bolt. Over-tightening early is the most common reason a door rubs the frame later. Step 2: Fit the Side Burner and Route Its Valve Line While the Firebox Bay Is Empty The side burner mounts at the far end of the cart, and its valve and ignition wires run behind the firebox bay. With the bay empty you can stand inside the cart footprint and see the routing path; once the firebox is seated, you are reaching blind. Fit the side burner now, run its line, and leave the manifold connection for after the firebox is in. Step 3: Two-Person Lift of the Firebox Onto the Cart With the helper, lift the firebox by the lid handle and rear ledge - never by the valve controls. Set it down so the valve orifices point toward the front of the cart, and lower it straight down; do not slide it across the cart rails. Confirm it sits level and the holes align before installing fasteners. Step 4: Seat All Six Burner Tubes Over the Valve Orifices This step decides whether the grill lights cleanly. Each burner tube has an air shutter at one end that must slide over its brass valve orifice. Work front to back, one burner at a time, and confirm each tube is fully seated and level. A half-seated tube produces a yellow flame, sooting, or no light at all. The number one gas cart grill assembly error is a burner tube that misses its valve orifice. Check each one by feel and by sight before installing the heat tents. Step 5: Route the Ignition Collector Wires Off the Firebox Edge Ignition collector wires run from each burner to the push-button module. Route them along the inside wall of the firebox, away from the firebox edge and any metal that will get hot, and secure them with the supplied clips. A wire touching the firebox edge will short out or melt on first fire. Step 6: Regulator, Heat Tents, Grates, and Drip Tray Placement Attach the regulator and hose to the manifold, then set the heat tents over the burner tubes with the peaked side up. Drop in the cooking grates, slide the drip tray into its slot, and hook up the LP cylinder. Leave the lid open until you complete the leak test. Try Comparing Two Products Side by Side Below to See Which Fits Best: Still deciding between this 6-burner and a smaller Gourmet Pro or Daytona cart grill? Compare them below to see how build scope, burner count, and side-burner setup differ before you commit.

Nov 12, 20268 min read
Read more
Nexgrill 4-Burner Gas Grill with Side Burner in BlackGas Grills

Nexgrill Daytona 4-Burner vs Char-Broil: How to Pick the Right Cooking Surface

Before You Compare Brands, Pick Your Cooking Surface: Griddle vs Open-Grate Grill The search “Nexgrill Daytona 4-burner vs Char-Broil” hides a fork in the road. Nexgrill sells a Daytona 36-inch 4-burner propane griddle, and it also sells 4-burner propane grills with open grates. Char-Broil's comparable lineup is overwhelmingly open-grate gas grills. Comparing BTU charts before deciding flat-top versus grate means buying the wrong machine. Quick disambiguation: if the listing says “griddle,” “flat top,” or shows a solid steel plate, you are looking at the Daytona griddle family. If it shows parallel cooking grates and a lid, you are comparing a Nexgrill gas grill against a Char-Broil gas grill. Flat-tops excel at smash burgers, breakfast spreads, fried rice, and quesadillas - food that needs full surface contact. Open grates give you direct and two-zone indirect cooking for steaks, chicken, and ribs. Decide that first; the brand question gets much simpler. Prerequisite Checks: Fuel Type, Footprint, and Local Clearance Rules Three free checks prevent the most expensive mistakes. Fuel: almost all 4-burner units in this class run on propane, so confirm whether you own a tank. Footprint: a 36-inch griddle with lid and side shelves needs roughly 60 inches of width with clearance on each side - measure the patio, not the box. Local rules: many US HOAs and leases restrict open-flame grilling on balconies, and the NFPA's grilling safety guidance is worth reading before placing any grill near siding, railings, or eaves. Step 1: Lock the Category and Fuel So You Compare Like with Like Write one sentence before opening another listing: “I am buying a [griddle / open-grate grill], propane, for [number] people, on a [width] patio.” That eliminates half the catalogue. Only then compare the Daytona 4-burner griddle against a same-category Char-Broil, or a Nexgrill 4-burner gas grill against an open-grate Char-Broil grill. Step 2: Compare Usable Primary Cooking Area, Not “With Warming Rack” Totals Manufacturers add the warming rack into headline square inches - ignore that number. What matters is how much food touches heat at once. A griddle's entire plate is primary cooking area; a gas grill's usable area is the grate under the lid, minus edges that never sear. Rough USD context (estimates, street prices vary): Nexgrill 4-burner gas grills around $300-$500, the Daytona 4-burner griddle mid-$300s to $500, and Char-Broil 4-burner gas grills roughly $250-$550. Step 3: Match Burner Control and Heat Delivery to How You Actually Cook Four burners matter only if independently controllable. On a griddle you want separate zones so the left side sears while the right holds bacon warm; on an open-grate grill the same applies to two-zone setups. Ask whether each burner has its own knob and whether heat is even across the front-to-back depth - a hot front row and cold rear is a design flaw, not a technique problem. Step 4: Read the Build Sheet and Cleanup Path (Grease Management, Seasoning, Materials) Cleanup decides whether you grill on a Tuesday. Griddles need a rear or side grease trough draining into a removable cup, plus a plate you can scrape in two minutes. Open grills need a grease tray that slides out without tools. Cold-rolled steel griddle plates need seasoning and oil protection; stainless lids and bodies resist weather better than painted steel over years of freeze-thaw cycles. A griddle plate that rusts in month one is almost always an unseasoned plate left wet. Budget ten minutes after every cook to scrape, wipe, and oil. With category, footprint, cooking area, burner control, and cleanup settled on paper, the remaining differences are about your habits. Compare two products side by side below to see which fits best:

Nov 11, 20266 min read
Read more
Nexgrill 4-Burner Propane Gas Grill in Black with Stainless Steal main lidGas Grills

Nexgrill Fuse 225 Assembly Instructions: Confirm Your Model First, Then Build It Without Rework

Why 'Fuse 225' Is a Puzzle, Not a Spec Sheet We could not verify any Nexgrill product, manual, or listing sold as "Fuse 225" in the current catalogue, which centres on Oakford pellet smokers, Daytona griddles and gas grills, and the Fortress line. Cart names and marketplace titles drift constantly, so treat any BTU figure, burner count, or dimension from a listing as unverified until you read it off the unit. Do not pre-order parts, covers, or conversion kits based on a "Fuse 225" label. Fitment follows the model number on the firebox, not the marketing name on the box. The fix is a build plan that starts with identification, not assembly. The Three-Minute Identity Check: Rating Label, Serial Sticker, and Carton Label The rating label (a metal or foil plate inside the firebox or on the back panel) carries the model number, serial, gas type, and manifold pressure. The carton label carries a part or SKU number that may not match. A serial sticker on the cart rail often survives when the plate is greasy. Write all three down and cross-check the model number against Nexgrill's full product catalogue . If it appears, download that model's manual and ignore the carton name. If not, contact Nexgrill support with the serial before assembling. Also check the CPSC recall database against your model and serial. What to Have on the Patio Before the Tape Comes Off Item Why it matters #2 Phillips screwdriver Most cartons ship without one Adjustable wrench Manifold and regulator nuts Spray bottle + dish soap Leak test before first light Flattened cardboard Protects lid paint, catches screws Work gloves, second person Cart lifts are two-person jobs Build on a hard, level surface. Grass and slopes let the cart rack out of square, and a racked cart makes every later panel fight you. How Long Does a Compact Nexgrill Cart Build Take? Budget 60-90 minutes for a two-burner cart grill with a helper, closer to two hours solo. Most of that is inventory and the cart, not the firebox. Step 1: Unbox, Photograph, and Inventory by Callout Number Match every bag to the exploded diagram by callout number (A, B, C or 1, 2, 3), not bag colour - colours change between runs. Photograph the layout as proof if a part is missing when you contact Nexgrill support . Step 2: Build the Cart and Base Before Anything Gets Heavy Assemble legs, casters, and lower shelf first, then confirm front-to-back orientation against the diagram before the firebox goes on - reversing it afterwards means a full teardown. Step 3: Seat the Burner Tubes Fully Over the Valve Orifices Slide each burner tube straight down over its orifice and confirm it seats flush. If it resists, the tube is misaligned - lift and retry, never force it. Route the ignition collector wire clear of the firebox edge so the lid cannot pinch it. A burner tube sitting half on its orifice is the single most common cause of a flame where you do not want one. Compare Two Compact Nexgrill Options Side by Side Below If your identity check lands you on a current model rather than a legacy name, weigh two candidates directly - burner layout, footprint, and cart design all change the build and the cook.

Nov 11, 20265 min read
Read more
Nexgrill 4-Burner Propane Gas Grill in Black with Stainless Steal main lidGas Grills

Nexgrill 820-0061 vs Char-Broil: A First-Time Buyer's Walkthrough for Used-Legacy vs. New-Infrared

Why the Nexgrill 820-0061 Is a Verification Job Before It Is a Comparison The Nexgrill 820-0061 is a legacy model number, not a current catalog listing. You are not comparing two live spec sheets; you are deciding whether a used grill with an uncertain history beats a new infrared Char-Broil with a box and a receipt. No verified live spec sheet for the 820-0061 was available during this session, so treat every online number as unconfirmed until you check the physical unit. Do not assume all grills sold as “820-0061” share one burner count, cookbox size, or gas type. Legacy model numbers can span revisions and retailer-specific variants. What to Bring to the Comparison: Badge Photo, Tape Measure, Gas Type, and a Manual Treat the first visit as information-gathering, not buying. Bring a phone camera, a tape measure, a notepad, and a willingness to walk away. The badge photo anchors the model and serial number that support lines and parts diagrams use. The tape measure confirms the grill fits your deck. Gas type matters because many older 820-series grills were built for propane, and natural-gas conversion is not always a simple orifice swap. Access to a manual or parts diagram before you commit separates a cheap grill from a paperweight. Step 1: Photograph the Data Plate So You Know Which 820-0061 You Are Standing In Front Of The data plate is usually on the back panel, inside the cabinet door, or under the control panel. Photograph it straight on and zoom in to confirm the model number, serial number, and gas type. A faded or missing plate is a red flag: you cannot reliably order parts without it. Search the Nexgrill support contact page to ask whether a manual is still available for that exact code before you hand over cash. Step 2: Measure the Cookbox and Burner Count, Not the Marketing Copy Measure the grate area in inches and count the main burners. A “4-burner” grill might have three mains plus a side burner, or four mains and no side burner-different cooking tools. Compare that measurement directly to the Char-Broil you are considering. If the used Nexgrill has a smaller cookbox than the new infrared model, the decision may be simpler than you think. Step 3: Pull Both Manuals and Check Which Wear Parts Are Still Buyable For the Nexgrill, contact support with the model and serial number and ask for a parts diagram. For the Char-Broil, download the manual from the manufacturer’s support page. List the wear parts-cooking grates, heat tents or flavorizer bars, burner tubes, ignition components, and the regulator hose assembly-and price each in USD. If the used grill needs grates and a burner and those parts are discontinued, the “bargain” price is misleading. Step 4: Read the Flame Before You Read the Price Tag If the seller allows it, do a live flame read. Look for blue flames with slight yellow tips; heavy yellow or orange flames can suggest blocked air or dirty burners. Check that each burner lights promptly and responds to the knob. Inspect the regulator and hose for cracks and do a soapy-water leak test on the connection. A grill that fails this step is a repair project, not a cooking appliance. Once you have those four data points-badge, measurements, parts availability, and flame quality-you are ready to weigh the used Nexgrill against a new infrared Char-Broil. Try comparing two products side by side below to see which fits best:

Nov 11, 20266 min read
Read more

Featured products

From our catalog

4-Burner Gas Grill in Stainless Steel with Side Burner
Gas Grills

Nexgrill

4-Burner Gas Grill in Stainless Steel with Side Burner

Fortress™ 2-Burner Cast Aluminum Gas Grill with Gourmet Plus™ Cooking System
Gas Grills

Nexgrill

Fortress™ 2-Burner Cast Aluminum Gas Grill with Gourmet Plus™ Cooking System

5 Burner Propane Gas Grill with Side Burner in Black
Gas Grills

Nexgrill

5 Burner Propane Gas Grill with Side Burner in Black

2-Burner Stainless Steel Portable Gas Grill
Gas Grills

Nexgrill

2-Burner Stainless Steel Portable Gas Grill

4 Burner Liquid Propane Gas Grill with Side Burner and Charcoal Tray in Black
Gas Grills

Nexgrill

4 Burner Liquid Propane Gas Grill with Side Burner and Charcoal Tray in Black

2 Burner Liquid Propane Gas Grill in Black
Gas Grills

Nexgrill

2 Burner Liquid Propane Gas Grill in Black

Deluxe 4-Burner Gas Grill with Searing Side Burner
Gas Grills

Nexgrill

Deluxe 4-Burner Gas Grill with Searing Side Burner

Nexgrill Daytona™ 4-Burner Propane Gas Grill with Griddle Top
Gas Grills

Nexgrill

Nexgrill Daytona™ 4-Burner Propane Gas Grill with Griddle Top

5-Burner Gas Grill with Searing Side Burner
Gas Grills

Nexgrill

5-Burner Gas Grill with Searing Side Burner

3-Burner Gas Grill with Side Shelves
Gas Grills

Nexgrill

3-Burner Gas Grill with Side Shelves

Deluxe 6-Burner Gas Grill w/ Ceramic Searing Side Burner and Rotisserie Kit
Gas Grills

Nexgrill

Deluxe 6-Burner Gas Grill w/ Ceramic Searing Side Burner and Rotisserie Kit

4-Burner Propane Gas Grill with Stainless Steel Side Burner
Gas Grills

Nexgrill

4-Burner Propane Gas Grill with Stainless Steel Side Burner

Why Choose Us

Here's what sets us apart from the competition

Premium grilling experience at accessible pricing

We position ourselves as delivering high-end outdoor cooking features and performance without premium-brand pricing, emphasizing “Quality Grills. Unbelievable Value.”

Wide range of outdoor cooking products for every use case

We offer gas grills, pellet grills, griddles, smokers, pizza ovens, portable/tabletop grills, electric grills, accessories, and replacement parts — allowing customers to stay within one ecosystem for all outdoor cooking needs.

Innovation-focused outdoor cooking with smart technology

We differentiate ourselves through smart grilling products like the Oakford smart pellet grill, including app-connected cooking controls and modern outdoor cooking technology.

Browse by Category

Grills

Grills

Expert tips, buying guides, comparisons, and inspiration for choosing and getting the most out of your grill.

Troubleshooting

Troubleshooting

Practical guides for cleaning, maintenance, common grill issues, and performance optimization.

Recipes

Recipes

Step-by-step grilling recipes, cooking techniques, and meal ideas for every occasion and skill level.

Lifestyle

Lifestyle

Backyard entertaining ideas, seasonal grilling inspiration, and stories that celebrate outdoor cooking culture.

Accessories

Accessories

Helpful articles covering grilling tools, cookware, maintenance gear, and must-have accessories for outdoor cooking.

Griddles

Griddles

Find griddle recipes, cooking techniques, cleaning tips, and outdoor meal ideas designed for Nexgrill griddles.

Frequently Asked Questions

Find answers to common questions

Nexgrill offers a variety of gas grills, including standard models, portable options, and premium designs with advanced features. Each is designed to cater to different grilling needs and preferences.

To clean your Nexgrill gas grill, regularly scrape down the grates, empty the grease tray, and wipe down exterior surfaces. Consult your model's manual for specific maintenance instructions and recommended cleaning products.

Nexgrill gas grills are designed to use either propane or natural gas, depending on the model. Ensure you read the specifications to determine the appropriate fuel type for your grill.

Many Nexgrill models can be converted from propane to natural gas with a conversion kit. Check the owner's manual for compatibility and details on the conversion process.

If your Nexgrill gas grill is not lighting, first check the fuel supply, ensure the gas lines are free of obstructions, and verify that the igniter is functioning. Consult the user manual for troubleshooting tips specific to your model.