Comprehensive Guide to Pizza Oven Assembly Instructions and First-Time Use
Step-by-step assembly and essential tips for your pizza oven experience.
In This Article
Detailed Assembly Steps
Essential Tools & Safety
Troubleshooting Common Issues
Introduction
Putting together a pizza oven is not just a setup task; it is the step that determines whether your first bake feels smooth or frustrating. A solid assembly process affects heat retention, burner alignment, airflow, stone positioning, and even how evenly your crust browns. In practice, the difference between a great first pizza and a disappointing one is often traced back to small setup details that were easy to miss when the oven was still in boxes.
This review-style guide is designed for first-time owners who want more than a skimmed instruction sheet. It walks through the assembly process in a practical order, explains what changes by oven type, and highlights the mistakes that most often slow people down. That matters because pizza ovens vary widely: some are compact countertop electric models that plug in and preheat quickly, while others are larger gas or wood-fired units that need more careful placement, clearance, and component alignment before they are ready to cook.
The best way to think about assembly is as a sequence of checks. First, confirm that the structure is stable and complete. Next, make sure the fuel system or heating element is installed correctly. Then verify the stone, tray, door, chimney, or venting parts are seated the way the manufacturer intended. Finally, run a cautious first heat cycle to burn off manufacturing residues and to confirm that temperature control behaves normally. That approach is more reliable than rushing straight to cooking.
Tip: Keep the packaging until assembly and first use are complete. Small hardware bags, spare fasteners, and manuals are easy to misplace, and they are often needed again during final tightening or adjustment.
Can lead to uneven heat, poor airflow, or a stone that never reaches the right cooking temperature.
Types of Pizza Ovens
Before you start bolting parts together, it helps to know what kind of oven you are building. Wood-fired, gas, and electric models each assemble differently, and each one rewards a different kind of first-time owner. A wood-fired oven often has the most visual charm and the most hands-on cooking character, but it also asks you to be precise about chimney fit, insulation, and safe placement. Gas ovens are usually faster to learn because the fuel source is more controlled, yet they still require proper burner connection, leak checking, and burner cover or flame-path alignment. Electric ovens are generally the simplest in terms of physical assembly, though they still need careful attention to stone placement, door seals, and electrical requirements.
| Pizza oven type | Assembly difficulty | What matters most | Best fit |
|---|---|---|---|
| Wood-fired | Moderate to high | Chimney, insulation, airflow, firebox clearance | Home cooks who want a traditional live-fire experience |
| Gas | Moderate | Burner fit, hose routing, leak checks, ignition | Users who want faster preheat and easier temperature control |
| Electric | Low to moderate | Stone seating, plug-in setup, stable counter or cart support | Beginners and small-space cooks |
These differences are worth understanding because they change how you should read the manual. A gas oven may be fully assembled physically but still not ready until the burner path is checked and all fittings are tightened by hand first, then verified with the appropriate leak-test method. A wood-fired oven may seem complete, yet a loose chimney cap or misaligned flue can affect draft enough to make the oven frustrating to heat. An electric oven may look easiest, but a poorly seated baking stone can create hot spots and make the center of the pizza cook differently from the edge.
Step-by-Step Assembly Instructions
The most reliable assembly method is to follow a ground-up sequence instead of jumping around the manual. Begin by unpacking every part and laying it out on a flat surface. Match the hardware to the parts list before you tighten anything. This simple step saves time later because it helps you spot a missing bracket, an extra washer, or a packaging insert that should have been removed before installation.
Start with the base or support frame. For cart-style ovens, attach the legs, cross braces, and shelves first so the unit has a stable foundation. Tighten bolts only loosely at first so you can make small alignment adjustments. Once the frame sits square and does not rock, tighten the fasteners fully. If your oven includes wheels or a rolling cart, make sure the locking wheels are on the correct side and that the oven can move without twisting the frame.
Next, place the main oven body onto the base with a helper if the unit is heavy. This is not the time to force parts into place. If a bolt hole does not line up, the frame is often slightly out of square or a panel is reversed. Recheck the orientation before applying pressure. For many ovens, the baking floor or stone is installed before the outer shell is closed up. Handle stones carefully; dropping or chipping them can shorten their useful life and create uneven heat transfer.
For gas ovens, attach the burner components exactly as the manual shows. Confirm that the ignition wire, control knob, and burner tube are seated without pinching any lines. Then connect the gas hose or regulator assembly, keeping the hose away from sharp edges or hot surfaces. Before lighting, use the manufacturer-approved leak-test procedure and never skip it. A leak test is not a formality; it is the key safety check that tells you whether the fuel path is sealed.
For wood-fired ovens, install the chimney, flue, spark guard, and any top vent parts in the correct order. Check that the door opens and closes cleanly and that the fire area is unobstructed. Many first-time owners also overlook ash management. If the oven includes a firebox or removable tray, make sure it is positioned so airflow can move through the oven rather than around blocked areas.
For electric ovens, the assembly is often shorter, but accuracy still matters. Set the heating element cover, stone, rack, and door components in the exact sequence given in the instructions. Do not plug in the unit until the oven is fully assembled, dry, and placed on a heat-safe surface with proper clearance around it. If the model has a temperature probe or digital display, verify that the control cable is routed cleanly and not trapped under a panel.
Warning: Never guess at the orientation of a gas fitting, regulator, or burner component. If a part feels reversed or forced, stop and compare it against the parts diagram instead of tightening it down.
Essential Tools and Safety Precautions
Most pizza oven assemblies do not require a full workshop, but having the right tools nearby makes the process safer and cleaner. A basic kit usually includes a Phillips screwdriver, an adjustable wrench or socket set, a hex key set, a level, scissors or a utility knife for packaging, and a flashlight for checking hidden fasteners. If your oven is large, a second person is one of the most useful tools you can have, especially when lifting the main body onto a cart or aligning a heavy door assembly.
Safety begins before the first bolt goes in. Assemble the oven outdoors or in a well-ventilated space, and work on a flat, stable surface. Keep children and pets away from the area because loose hardware, sharp packing materials, and heavy components can create avoidable hazards. Wear work gloves if the oven includes sheet metal edges or unfinished brackets, and use eye protection if you are cutting straps or breaking down packaging. If you are assembling a gas oven, do not connect the fuel supply until the unit is otherwise complete and you are ready to perform the leak check.
Clearance matters during and after assembly. The oven should be placed away from overhangs, railings, dry leaves, and anything that can catch heat or stray embers. That applies to all fuel types, but it is especially important for wood-fired models and any oven that vents upward. If your oven is intended for an outdoor patio cart, check that the surface can support the full installed weight once the stone and accessories are in place.
The most overlooked safety habit is to read the manual twice: once before opening the hardware, and again before tightening the final fasteners. Manuals often include order-of-operations details that are easy to miss, such as installing a bracket before the side panel or leaving a certain bolt loose until the chimney is aligned. Try comparing two products side by side below to see which fits best: some ovens are simpler to assemble, while others reward extra effort with more cooking control and bigger capacity.
Common Issues and Troubleshooting Tips
Once you have compared oven types and completed the core build, the next challenge is fixing the small issues that show up during first use. Most first-time problems are not dramatic failures; they are assembly or setup oversights that can be corrected with patience. If the oven will not heat evenly, starts slowly, or seems to smoke more than expected, the cause is often a missed alignment point, a blocked vent, or a stone that was not fully seated.
A very common issue is uneven heating. In gas and electric ovens, this can happen when the stone is not centered or when a panel blocks the intended airflow path. In wood-fired ovens, uneven heat is often tied to fire placement. The flame needs room to move across the ceiling and toward the cooking chamber. If the fuel is piled too close to one side, the oven may create one hot corner and one cool corner. The solution is usually to re-seat the stone, recheck the burner cover or flame shield, and adjust the fire location rather than assuming the oven is defective.
Ignition problems are another frequent complaint in gas ovens. If the igniter clicks but the burner does not light, confirm that the gas supply is open, the hose is properly connected, and the burner opening is not blocked by packaging debris. If the flame appears weak, check the regulator and make sure the hose is not kinked. With electric ovens, a unit that will not power on can often be traced to a loose cord connection, an unplugged controller cable, or a tripped outlet. In every case, the fix starts with the simplest possible check before moving to a more technical one.
| Problem | Likely cause | Best fix |
|---|---|---|
| Oven heats unevenly | Stone misaligned, airflow blocked, fire placed too far to one side | Re-center parts and adjust fuel placement |
| Burner will not ignite | Gas disconnected, ignition path blocked, empty fuel supply | Check fittings, open supply, clear debris |
| Excess smoke at startup | Residual oils, packaging dust, damp wood, blocked vent | Run a proper burn-in and clean the chamber |
| Door does not seat correctly | Misaligned hinge, warped seal, frame not square | Loosen, realign, and retighten evenly |
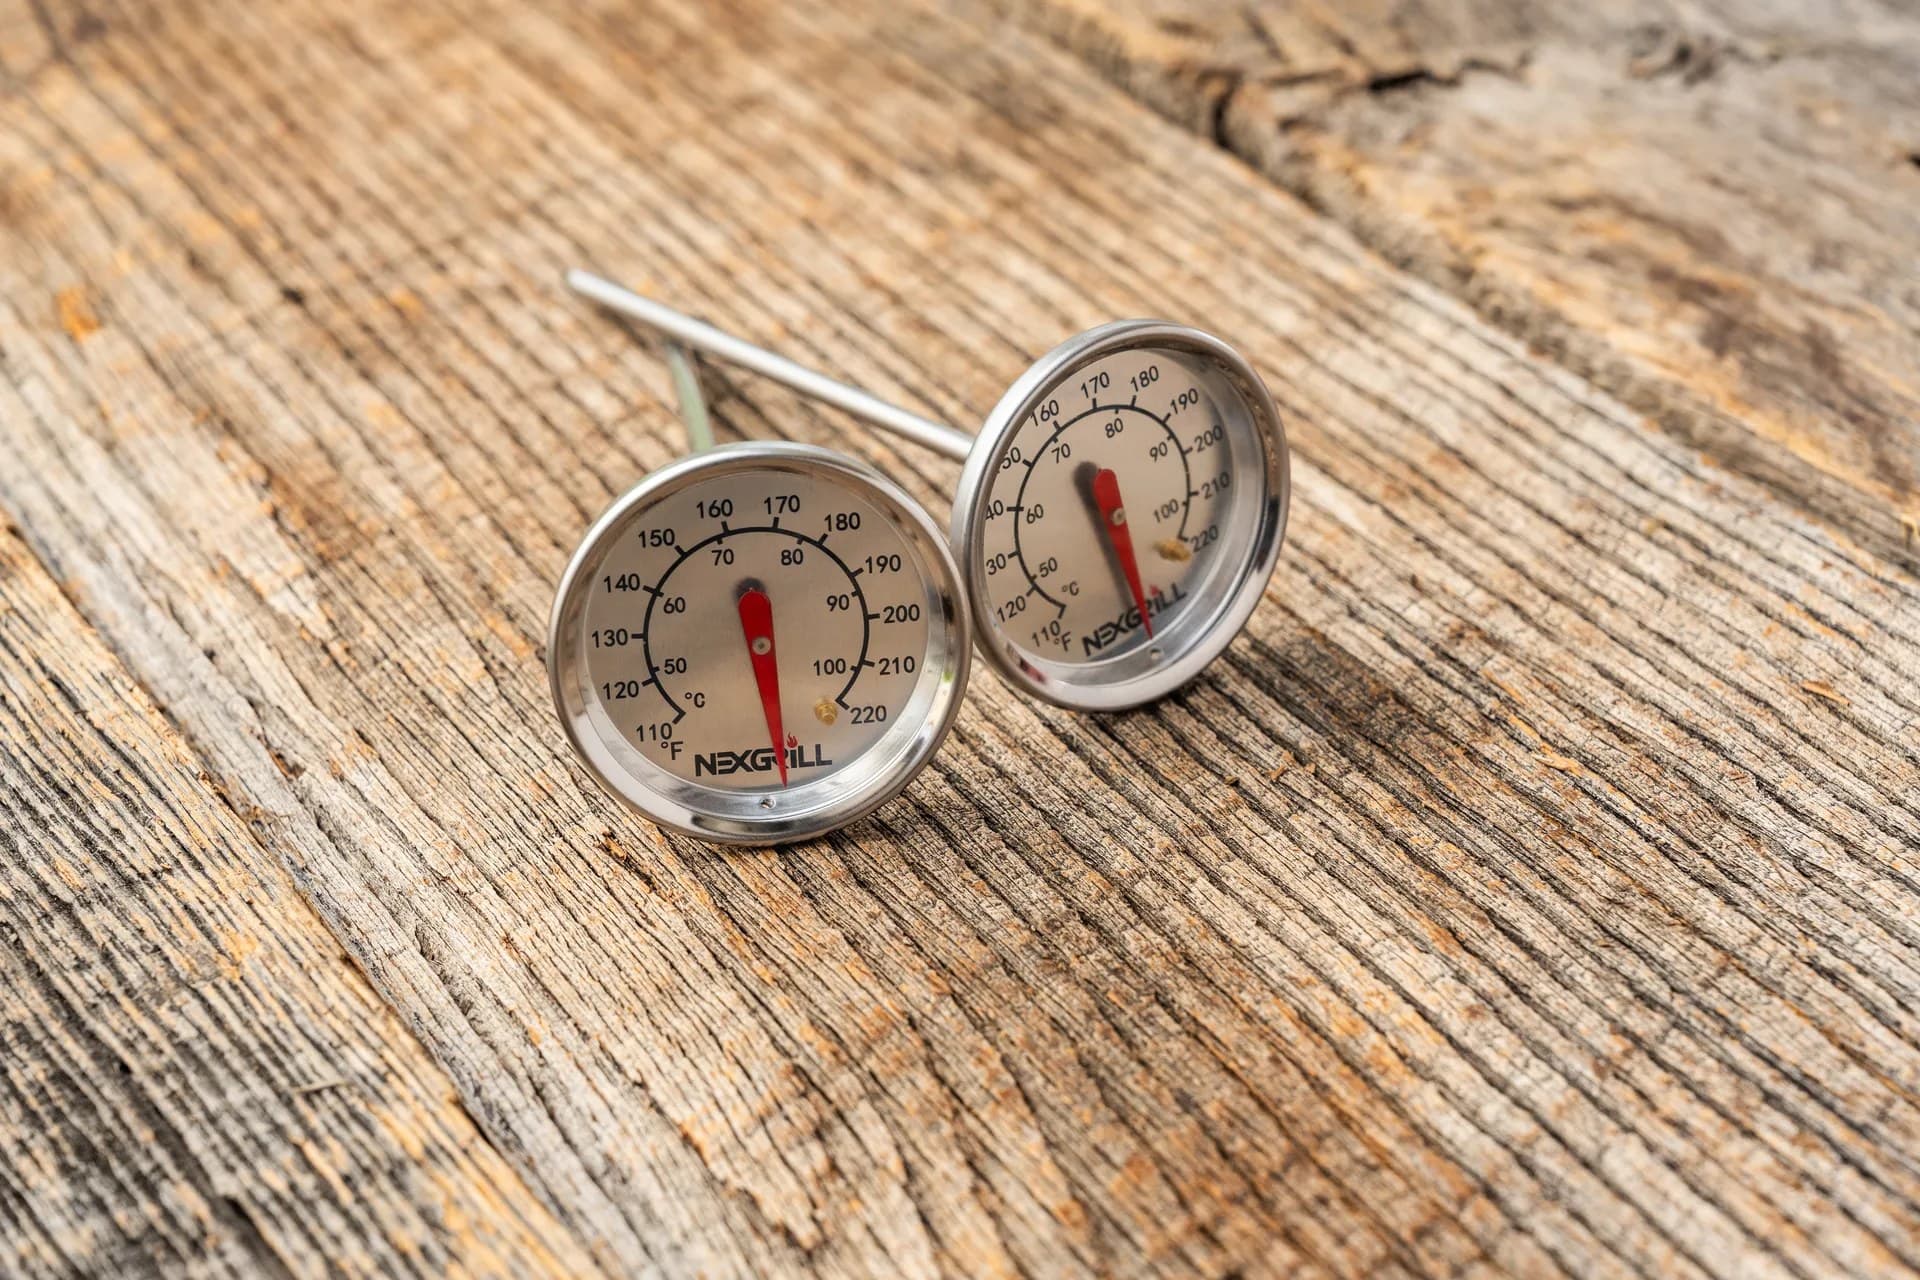
If the door does not close cleanly, do not force it shut. A forced door can bend the hinge or damage the seal, which then affects temperature stability. Instead, loosen adjacent hardware slightly, check the frame for square, and then retighten in small increments. For ovens with removable stones, inspect the stone edges for chips that may prevent a flush fit. For models with a thermometer, be aware that an inaccurate reading can come from the probe position rather than the oven temperature itself.
First-Time Use Tips
Your first cook should be more about learning the oven than impressing a crowd. Start with a dry burn-in or seasoning cycle if the manufacturer recommends it. This initial heat-up helps burn off residue, reveals whether the oven reaches temperature normally, and gives you a feel for how fast the chamber responds. During this run, watch how the flames travel, where hot spots appear, and how long it takes the stone to come up to cooking temperature.
Use a simple test menu rather than jumping straight to a delicate pie. A practice pizza with straightforward toppings, or even a flatbread, makes it easier to judge browning without worrying about a complicated recipe. Keep the dough shape consistent and avoid overloading the center, because first-time users often underestimate how much the oven’s heat can change texture in under two minutes. If you are using a gas oven, fine-tune the heat input in small steps. If you are using wood, add fuel gradually instead of crowding the firebox.
Preheating is where many beginners lose performance. The chamber may feel hot to the touch long before the stone is actually ready. Let the stone and interior surfaces fully stabilize before loading pizza. If your oven has a built-in thermometer, treat it as one clue, not the whole picture. A handheld infrared thermometer can help you learn the stone’s actual surface temperature, which is often what affects crust browning the most.
Keep your first cooking session simple and controlled. Rotate the pizza as needed, but only after the crust has set enough to move cleanly. Use a peel that fits the oven opening comfortably, and dust it lightly so the dough releases without excess flour burning on the stone. After the cook, let the oven cool naturally and inspect the chamber for residue, discoloration, or parts that loosened during heat expansion. These observations are valuable because they tell you what needs a small adjustment before the next cook.
Tip: Keep notes from your first two or three bakes. Recording preheat time, stone temperature, and flame setting makes it much easier to repeat good results later.
Conclusion
A good pizza oven assembly is less about speed and more about precision. When the frame is square, the fuel system is checked, the stone is seated correctly, and the venting path is open, the oven becomes much easier to learn and more satisfying to use. That is why the best first-time results usually come from owners who slow down at the assembly stage and treat the first burn-in as part of the setup process, not an afterthought.
Whether you are working with wood-fired, gas, or electric equipment, the same core habits apply: follow the order of assembly, use the right tools, check safety details before lighting anything, and troubleshoot methodically instead of assuming the oven has a major problem. Small corrections at the start can prevent a lot of frustration later. Once the oven is assembled and tested properly, you can focus on the fun part: learning how heat, dough, sauce, and timing work together in your own backyard.
For additional guidance, compare assembly approaches and first-use walkthroughs from trusted manufacturers and cooking educators. A clear reference point can save you time and help you avoid the most common setup mistakes before they happen.