Comprehensive Pellet Grill Assembly Instructions
Your step-by-step guide to assembling your pellet grill with confidence.
In This Article
Essential Tools for Assembly
Avoid Common Mistakes
Post-Assembly Maintenance Tips
Introduction to Pellet Grill Assembly
Pellet grills have become a popular choice for many outdoor cooking enthusiasts, offering a blend of convenience and authentic smoky flavor. Assembling a pellet grill correctly is crucial to ensuring its optimal performance and longevity. This guide will walk you through the necessary steps to assemble your pellet grill successfully, while highlighting essential tools and common mistakes to avoid.
Essential Tools Required for Assembly
Before beginning the assembly process, gather the essential tools to streamline the operation. These typically include a Phillips head screwdriver, adjustable wrench, pliers, and a level. Having these tools on hand will make the assembly process more efficient and reduce the likelihood of errors.
| Tool | Purpose |
|---|---|
| Phillips Head Screwdriver | Assembling screws and bolts |
| Adjustable Wrench | Tightening nuts |
| Pliers | Holding components steady |
| Level | Ensuring balanced setup |
Step-by-Step Assembly Instructions
To begin the assembly, lay out all parts and components to ensure nothing is missing. Follow these steps closely:
- Start by attaching the legs to the main grill body using the screws provided.
- Secure the wheels to the legs for easy mobility.
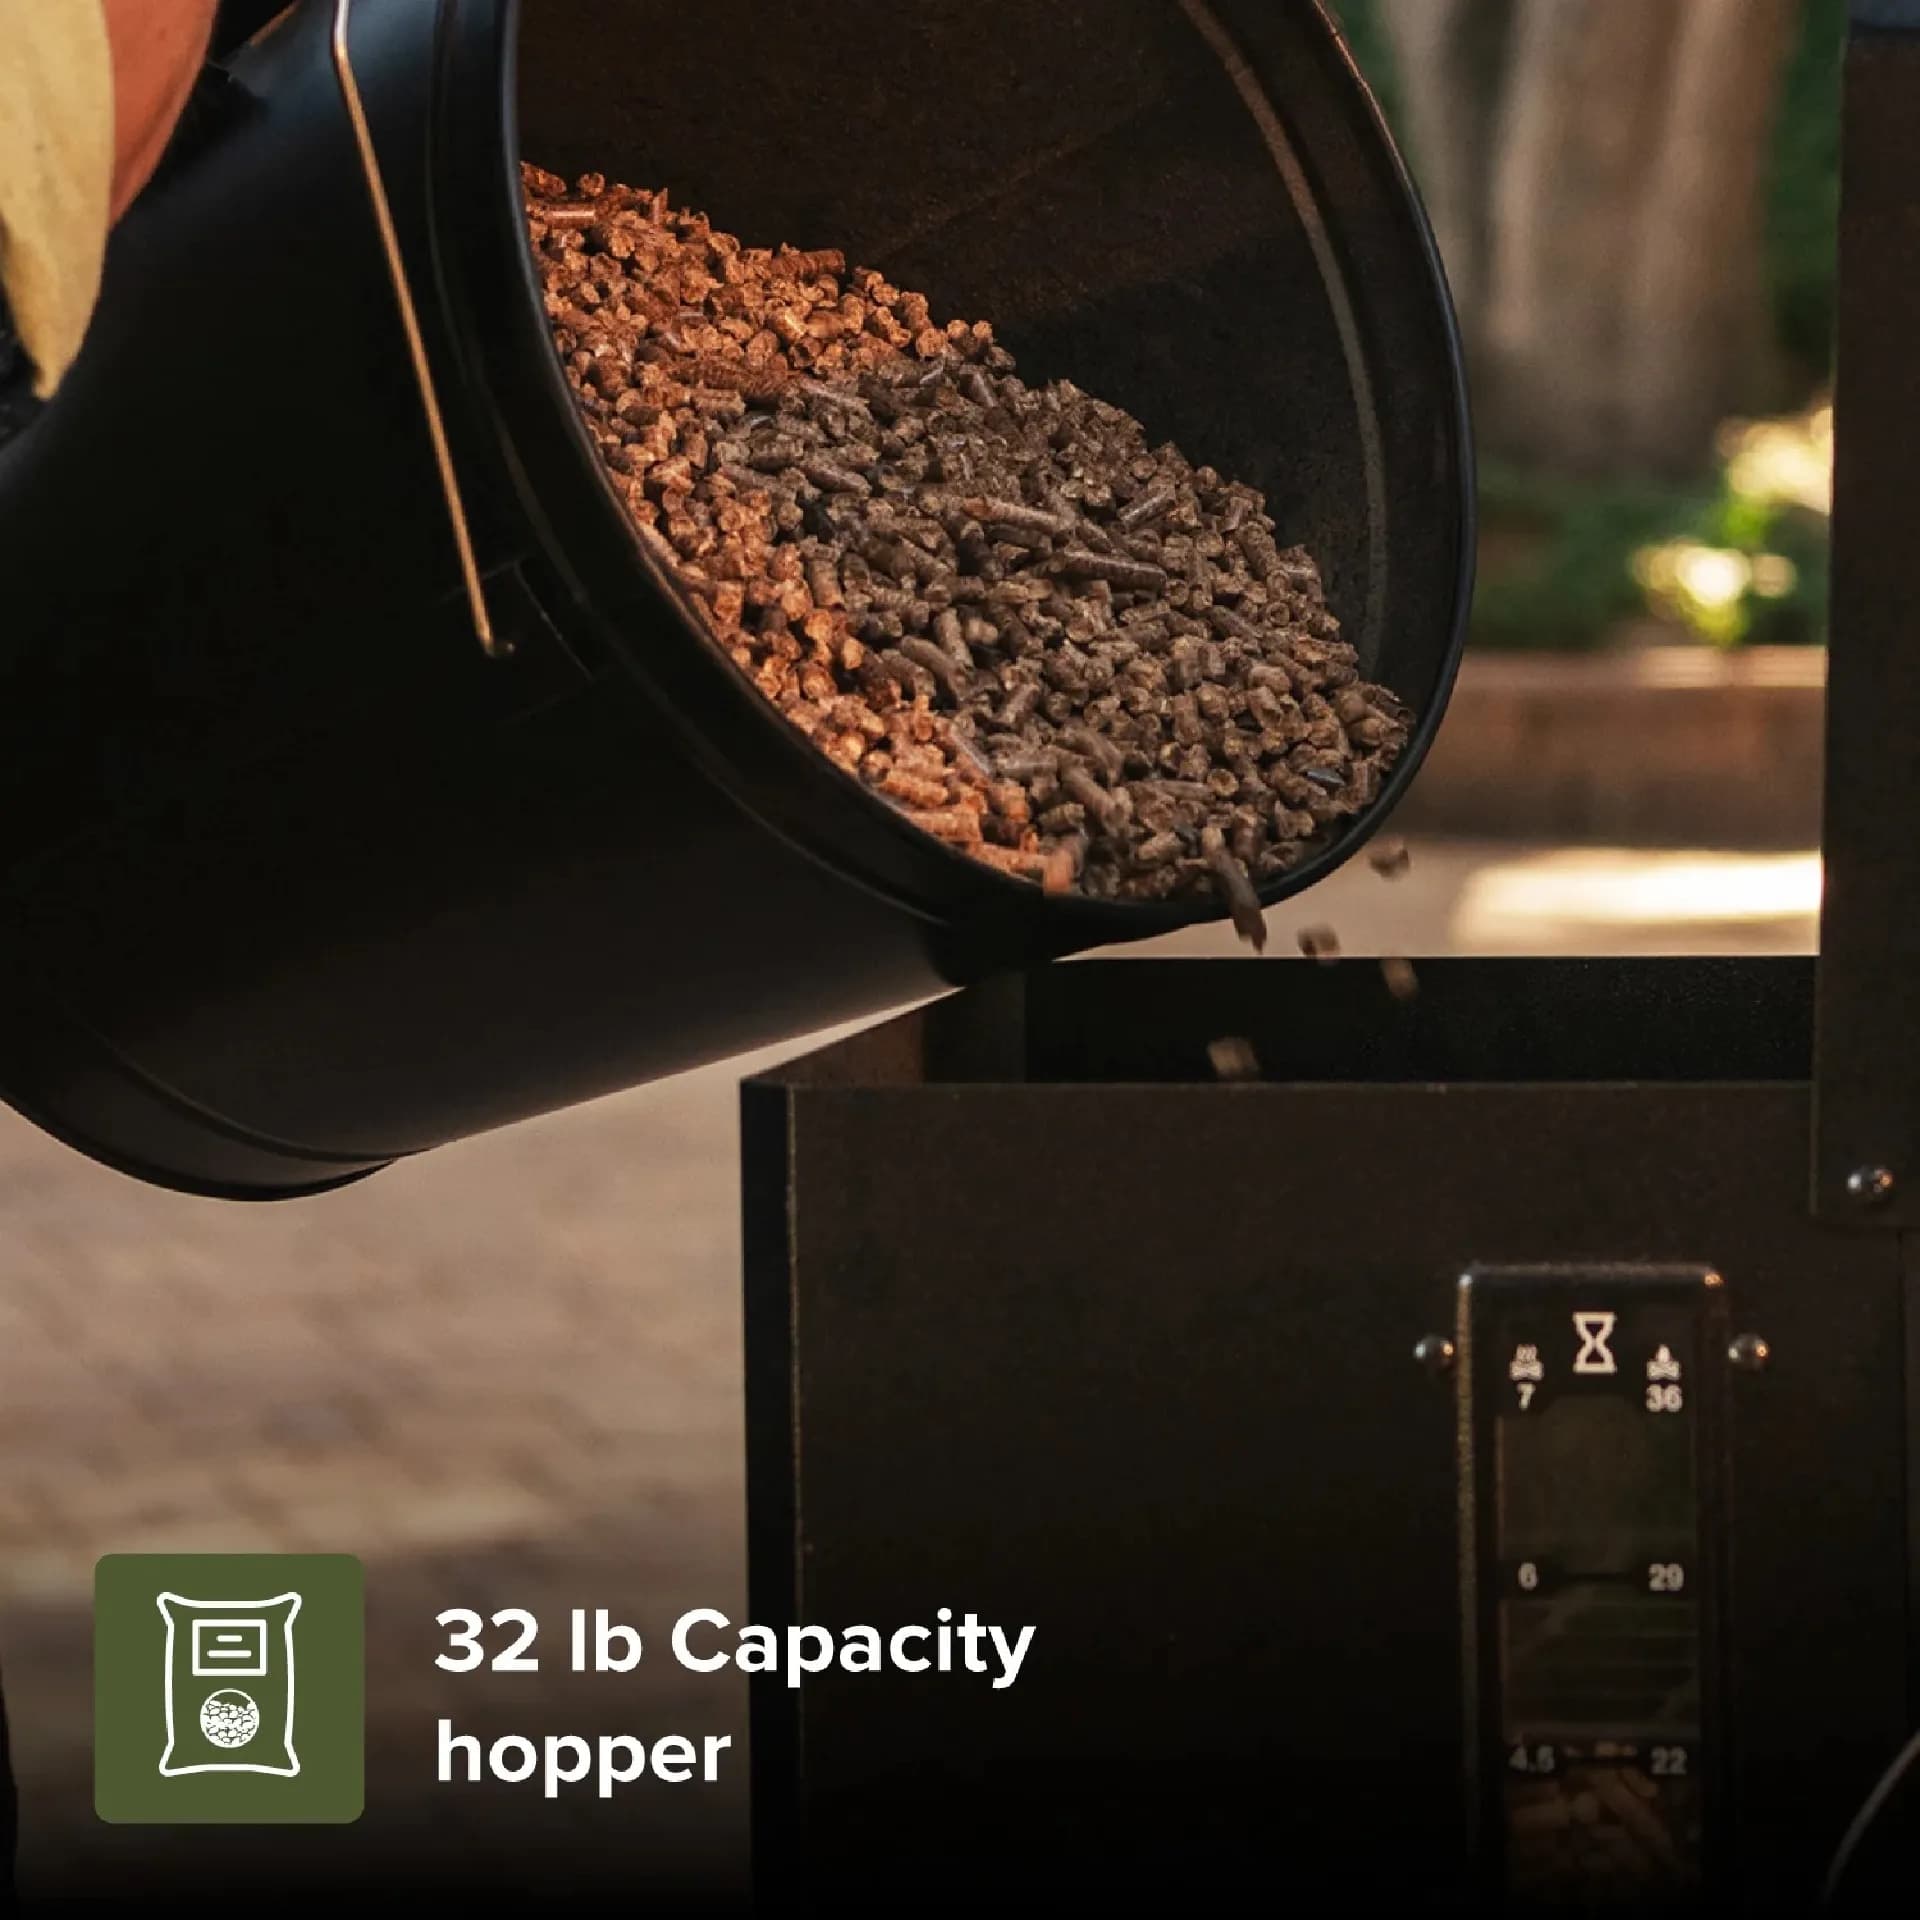
- Attach the pellet hopper and ensure all electrical connections are tightly secured.
- Install the grill grates and heat deflectors, ensuring they are positioned correctly.
- Finally, place the chimney stack on top, securing it with the bolts provided.
Tip: Refer to the manufacturer's manual for any model-specific instructions or diagrams.
Common Mistakes to Avoid
Avoiding common pitfalls during assembly can save time and enhance the performance of your grill. One frequent mistake is failing to tighten screws adequately, leading to instability. Another is incorrect alignment of components, which can cause operational issues. Always double-check connections and use a level to ensure a balanced setup. Buying a pellet grill involves making informed choices based on assembly and maintenance needs.
Try comparing two products side by side below to see which fits best:
Troubleshooting Tips During Assembly
Once you've weighed two options against each other, here's what else matters. During assembly, unexpected challenges may arise. For instance, if parts do not align, check for debris or manufacturing defects. If a screw doesn't fit, ensure it is the correct size and type. For electrical issues, verify all connections are secure and refer to the troubleshooting section of the manual.
Safety Precautions to Consider
Safety should always be a priority. Wear safety goggles to protect your eyes from metal shards or dust. Ensure your work area is well-lit and ventilated. Keep a first aid kit nearby in case of minor injuries during assembly.
Warning: Never operate the grill indoors or in confined spaces to avoid carbon monoxide poisoning.
Post-Assembly Maintenance Tips
Maintaining your grill after assembly ensures its longevity and functionality. Regularly clean the grill grates and interior surfaces to prevent buildup. Check the pellet feed system for blockages and clean the hopper regularly. Apply a protective cover when not in use to shield the grill from weather elements. Apply a protective cover to keep the grill clean.
of grill issues arise from improper maintenance.
Conclusion: Enjoy Your Perfectly Assembled Grill
With your pellet grill assembled and maintained, you can now enjoy countless outdoor cooking experiences. Remember, the key to a successful assembly is patience and attention to detail. By following these comprehensive instructions and maintenance tips, your grill will provide reliable performance for years to come.
Explore more about pellet grills and other outdoor cooking essentials at All Nexgrill Products.