Nexgrill
Gas Grills

Nexgrill Ora 16 Manual: Portable Propane Setup, Leak Test, and First Cook

A task-first guide for new owners of this compact 16-inch propane grill: locate the right document, hook up a 1 lb cylinder safely, and run your first burn-off.
8 min read
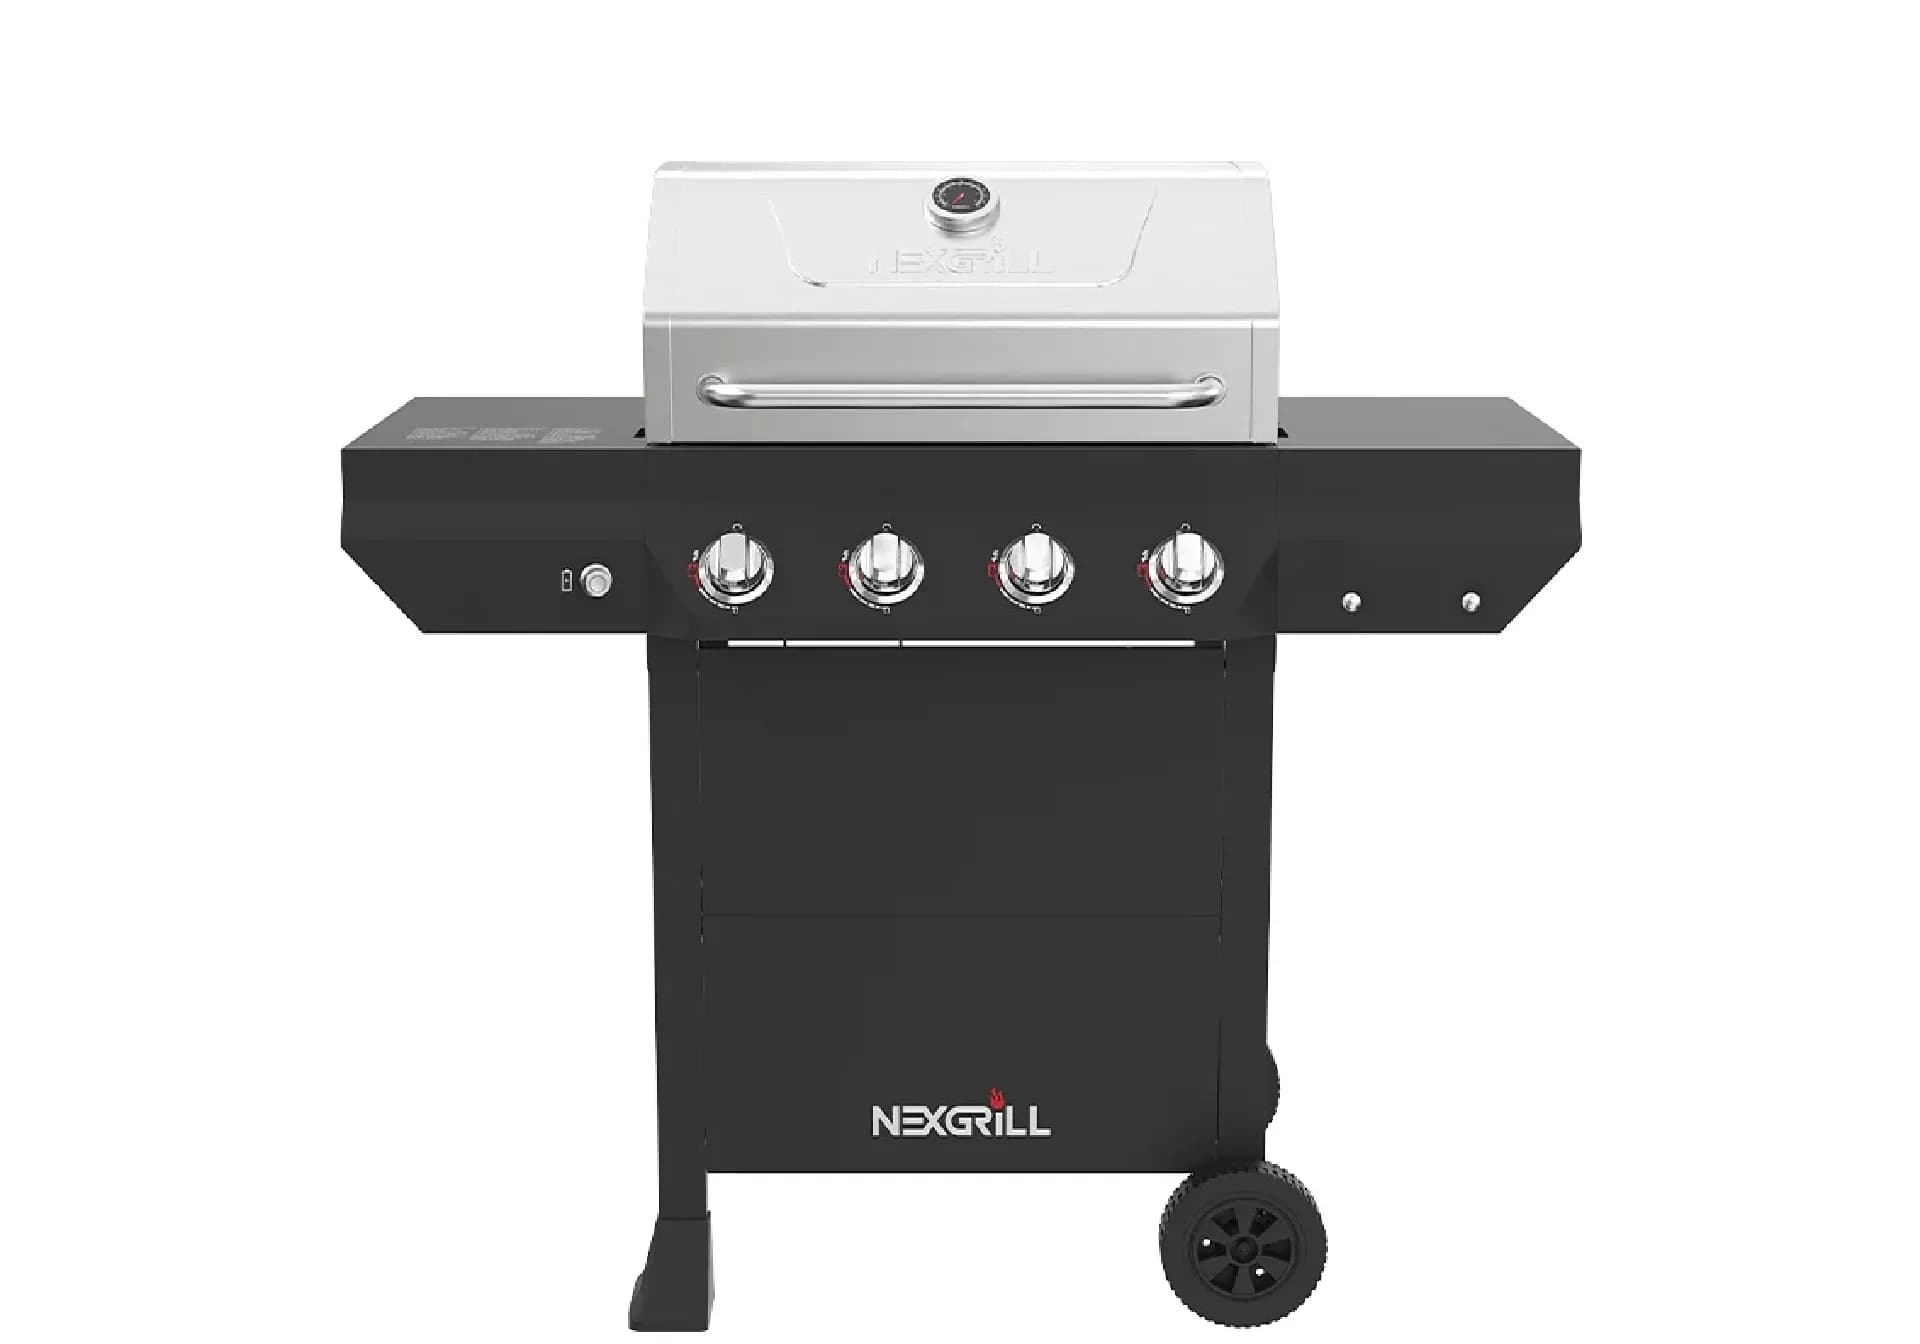
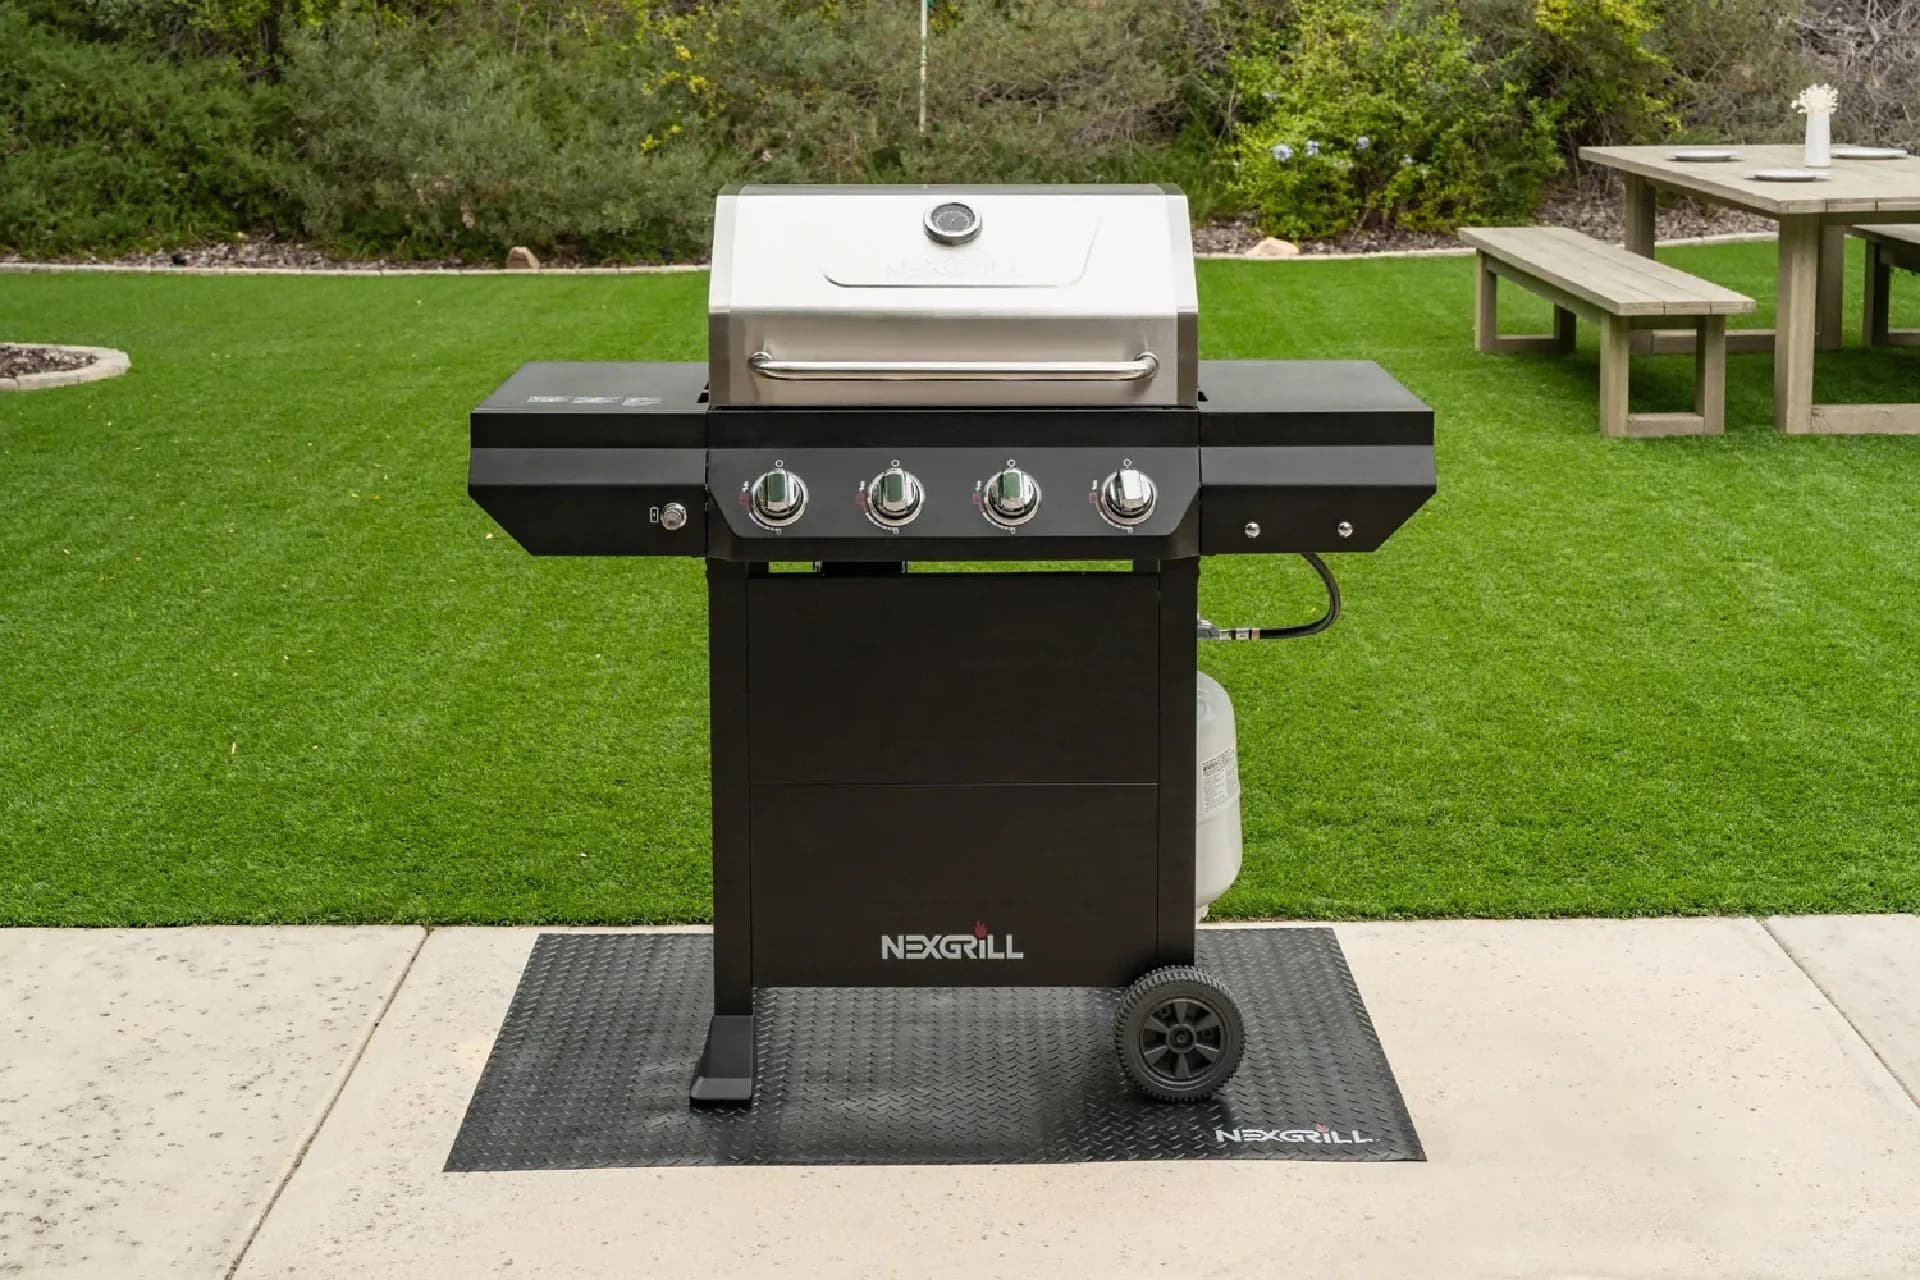
Nexgrill 4-Burner Propane Gas Grill in Black with Stainless Steal main lid

In This Article

Find the Right Document

Match the rating-plate model number to a manual before you download anything.

Leak-Test First

Soapy-water test the regulator and cylinder connection every time you reconnect.

Shutdown and Storage

Burner off, then cylinder off, then a tip-test - plus transport rules for portable units.

A 16-inch tabletop propane grill is a safety device as much as a cooking device. This guide walks a new owner from "where's the booklet?" to a safe first burn - no guesswork, no invented specs.

Picture the common scenario: you bought a compact 16-inch tabletop propane grill - often labeled "Ora 16" on the box - at a Home Depot endcap, as an open-box return, or secondhand at a tailgate swap. The grates are there, the regulator is there, and the paperwork is gone. Your instinct is to type "nexgrill ora 16 manual" into a search engine and download the first PDF that looks close.

Don't. Portable propane grills get revised quietly - a new regulator, a different venturi shape, a lid latch added or dropped. The wrong PDF can tell you to connect a hose this unit doesn't have, or skip a leak test the design requires. The one document that always matches your grill is printed on the unit itself: the rating plate or data sticker, usually on the back panel, under the lid, or on the firebox underside.

This guide is written for the camping, tailgate, and apartment-balcony owner - not the backyard entertainer. Every step assumes close quarters, frequent setup and teardown, and a 1 lb disposable cylinder rather than a 20 lb tank. If you're cooking on a full-size Nexgrill gas grill, the workflow below is broadly similar but the cylinder and clearance details differ.

What 'Ora 16' Actually Refers To - and What the Manual You Need Covers

"Ora 16" is a marketing name and a size reference - 16 inches across the cooking surface. It is not a guarantee that a file named Ora 16 exists. Nexgrill's naming across its grill, griddle, and pellet lines (Daytona, Oakford, Deluxe) rarely maps one-to-one to a downloadable filename, and compact propane units in particular often ship with a multi-language sheet keyed to a model code instead.

What your manual will actually contain, and why you need it:

  • Assembly torque points - which bolts to snug, not overtighten, on the folding legs or base.
  • Regulator installation - how the regulator seats on a 1 lb cylinder and the exact leak-test procedure.
  • Lighting sequence - lid open or lid down at ignition, and where the match-light hole is if the igniter fails.
  • Burn-off and seasoning - how long to run empty before first food.
  • Shutdown order and cylinder removal rules for transport.

This grill has no auger, no controller, no electronics. Nearly every page of the manual is safety or assembly - read it before the first ignition, not after.

Before You Download or Assemble: The Portable-Grill Prerequisites Checklist

Get these in hand first. It saves a second trip and prevents the most common assembly error - discovering mid-build that you can't finish.

ItemWhy You Need ItWhere to Look
Rating plate photoThe only correct model/serial sourceBack panel, firebox underside, under lid
1 lb propane cylinderFuel - do not test-fit indoorsHardware, sporting goods, grocery
Spray bottle + dish soapLeak test solutionKitchen
Adjustable wrench / screwdriverAssembly and regulator seatingToolbox
Level, stable outdoor surfaceTip-over preventionConcrete, packed gravel, solid deck

Step 1: Record the Model and Serial String From the Rating Plate

Photograph the sticker, then read and transcribe it - don't rely on the photo alone. Capture the model number, serial number, and the gas type and pressure line (typically printed as a manifold pressure in inches of water column for LP units). If the sticker is worn, look for a stamped metal tag.

Step 2: Pull the Document From the Two Reliable Sources, In This Order

First, go to the brand's support channel via Nexgrill's contact and support page and request the manual for your exact model string. Second, check the retailer product page's "Manuals & Guides" tab - big-box listings frequently host the exact PDF. Only after those two fail should you try a general search, and only with the model string quoted.

Step 3: Connect a 1 lb Propane Cylinder the Right Way

Outdoors only. Thread the cylinder into the regulator by hand until snug, then tighten only slightly more - cross-threading here is the number one cause of leaks in compact units. Never use a wrench to force a 1 lb cylinder seat or jam a tank that resists.

~10 ft

Minimum clearance from siding, deck rails, and combustibles per NFPA grilling guidance - verify your manual's figure

Step 4: Leak-Test the Regulator-to-Cylinder Joint Before Any Cook

Mix dish soap and water in a spray bottle, wet the joint where regulator meets cylinder, open the cylinder valve, and watch. Bubbles forming or growing mean a leak - close the valve, reseat, retest. No bubbles, no leak. Repeat this every single time you reconnect a cylinder, not just the first use.

Step 5: Run the Lid-Down Burn-Off Before Food Touches the Grates

Ignite per the manual (confirm lid position at light-off), then let the empty grill run 10-15 minutes to burn off factory oils. Let it cool, then season the grates with a light oil coat before the first cook.

Step 6: The Shutdown Order That Keeps You and the Grill Safe

Burner valve OFF first, then the cylinder valve OFF. Always shut the cylinder even if the burner is already out, and finish with a tip-test - crack the cylinder valve briefly to confirm no pressure remains at the regulator. Never store a connected cylinder indoors.

Try comparing two products side by side below to see which fits best:

Once You've Weighed Two Options Against Each Other, Here's What Else Matters

Comparison tools show you footprint, burner count, and price. They cannot show you the two things that determine whether a compact propane grill is pleasant or aggravating to own: how stable it sits when loaded with a full cast-iron pan, and how easy the drip tray is to reach on a tailgate table. Before finalizing a decision, stand at a display unit and press down on one corner - a tabletop grill that rocks is a burn risk on a campsite picnic table.

Common Mistakes New Owners of Compact Propane Grills Make

  • Cooking with the lid latched. A latched lid traps pressure and heat; most compact manuals specify the lid position for both lighting and cooking.
  • Setting up on a picnic table that flexes. Stable, level, outdoor, non-combustible - every time.
  • Storing the cylinder indoors. Bring the grill and cylinder inside only when the cylinder is disconnected; never store propane in a garage or closet.
  • Letting spider nests clog the venturi tubes after winter. Insects love the burner tubes - inspect and clear them each season with a pipe cleaner.
  • Ignoring the regulator. A cylinder that "won't light" is often a stuck excess-flow valve; reconnect slowly.

Tip: run the soapy-water test at the regulator joint, then a second pass along the hose or tube connections - 30 seconds that prevents a campsite surprise.

First-Cook Burn-Off and Grate Seasoning: What the Manual Expects You to Do

The burn-off is not optional ceremony - it removes manufacturing oils and shipping residue that taste metallic if left on. Follow your manual's stated duration; a 10-15 minute empty run at high is typical for compact units. Then, while grates are warm but not scorching, coat them with a high-smoke-point oil (canola or grapeseed) using a folded paper towel and tongs. Re-oil after each wash. Cast-iron grates will darken and become genuinely non-stick over five or six cooks.

Transport, Storage, and Winter Lay-Up for a 16-Inch Tabletop Unit

For camping and tailgating: disconnect the cylinder for travel - never transport it connected, and never inside a closed vehicle cabin. Let the grill cool fully before folding or latching. At winter lay-up, clean the grates, empty and scrub the drip tray, clear venturi tubes, and store the unit covered and dry. Propane cylinders should be stored outdoors, upright, and out of direct sun.

Where to Buy the Right Cylinder, Hose Adapter, and Replacement Parts

1 lb cylinders are stocked at most hardware, sporting goods, and grocery stores in the US, typically $5-$10 each depending on region and season. If you plan to convert to a 20 lb tank, you need a hose and adapter rated for the application - buy from a reputable source and match the fitting to your regulator, never mix parts across brands. Replacement regulators, grates, and burners are best sourced by exact model number; start with Nexgrill's product catalog and its support channel for part lookups. For a fuller picture of the brand and its range, see About Nexgrill.

Quick Pre-Cook Checklist You Can Print and Tape to the Lid

#CheckPass Condition
1Outdoor, level, stable surfaceGrill does not rock; away from combustibles
2Cylinder hand-tight on regulatorNo cross-threading; snug only
3Soapy-water leak testNo growing bubbles at joint
4Burner tubes clearNo spider webs or debris
5Igniter or match-light worksFlame lights promptly, lid per manual
6Shutdown orderBurner off, cylinder off, tip-test

Sources

Why Choose Us

Here's what sets us apart

  • Premium grilling experience at accessible pricing

    We position ourselves as delivering high-end outdoor cooking features and performance without premium-brand pricing, emphasizing “Quality Grills. Unbelievable Value.”

  • Wide range of outdoor cooking products for every use case

    We offer gas grills, pellet grills, griddles, smokers, pizza ovens, portable/tabletop grills, electric grills, accessories, and replacement parts — allowing customers to stay within one ecosystem for all outdoor cooking needs.

  • Innovation-focused outdoor cooking with smart technology

    We differentiate ourselves through smart grilling products like the Oakford smart pellet grill, including app-connected cooking controls and modern outdoor cooking technology.

What Our Clients Say

Don't just take our word for it

“I’ve been using the Nexgrill Daytona 4-Burner Gas Griddle for a while now, and I’ve been really happy with it. First off, it’s super sturdy and feels really well-made, like it’s going to last me a long time. The cooking space is awesome—plenty of room for making big meals. So far I’ve cooked pancakes, burgers, bacon and some veggies. The 4 burners make it easy to control the heat in different areas. I love that I can keep one side hotter for searing and leave the other side cooler for things that don’t need as much heat. Plus, it heats evenly, which I was really glad to see. The shelves underneath and on its sides are a nice bonus. I’ve used them to keep things like plates, tools, and ingredients handy while I’m cooking, it’s very convenient. Cleaning it is super simple too. Once it cools down, I just wipe off the cooking surface and let the grease funnel into the trap. It’s quick and easy, and honestly, it barely looks like I even used it. If I had to nitpick, the grease trap can fill up kind of quickly during bigger cooking sessions, but as long as you keep an eye on it, it’s not a big deal. Overall, this griddle has been great. It’s sturdy, easy to use, and makes cooking outside a lot of fun. If you’re into grilling or want something versatile, I think this is a solid choice. Originally posted on influenster.com”

M
martind23_2941
Sturdy, easy to use, and perfect for cooking big m

“took about 2-3 hrs for complete assembly. took about 15-20 minutes to fully heat to 700. used a pan liner and a drip cup liner due to previous issues with those rusting away. this is about the 3-4 grill i have assembled. dont try to do it alone or ask the wife for help with the firebox its awkward. always check the directions 2-3 times before tightening down and dont over tighten the screws. hopeing for 5 years of grilling on this but i havent checked the warrenty yet.”

DT
Dave the Griller
finally got around to building this.bought in 2025

“We just bought this guy and I recommend always buy it assembled, we just use the grill 2 times and really works good; is perfect size and the side burn is very useful plus the caddy attach for spices; the material quality is in medium rate; no too cheap no too expensive I'll be glad if it works for minimum 5 years. Nexgrill could improve with the way, and cleaners to not damage the grates and the burners. I protect the removable pan with heavy duty aluminum foil, when the grease drop I only change the foil. Well I am enjoying my new Nexgrill !!! P.s. always clean the grill after use it....ALWAYS :-)”

KA
Karl A
Nice Grill

“Thank you to Influencer and Nexgrill for sending this to me for free, in exchange for my honest opinion. My 17 year old son put this together for me. It was easy but time consuming, it took about 2 hours. This is great for families, because you can cook a good amount of food in a short time. We did tacos, but it’s also great for breakfast, pancakes, eggs, breakfast burritos. It’s easy to clean if you have the right tools, you’ll need a scraper and metal spatula. Overall I would recommend this flat grill, it’s a great addition to our household. Originally posted on influenster.com”

K
KellyL
Quick and easy cooking

“My old Nexgrill is 25 years old and still looking and performing well! This new one is going on our back patio to partner with the old one in our courtyard. Obviously quality products to last that long. I hope the new one does as well. The only concern I have is that the sides are painted metal rather than stainless like the old one. I hope it doesn’t rust over time. But, We are very happy grillers!”

JS
Judy S
New grill to partner with my old one

“Bought grill 3 years ago stainless grates rusted out had to order new ones to replace Yes, I recommend this product.”

G
GaryS329
Stainless

“I’ve always been a smoker, fryer kind of guy. But recently with my new job keeping me super busy I’ve been cooking on my father in-laws 2 burner grill and it takes so long to cook ribs and chicken. I love just lighting the burners and cooking so I decided to upgrade by buying my own and I got this 5 burner with side burner for veggies , took me maybe 20 minutes to get all the dinner done tonight after I seasoned the grill with an onion. Love it so far, I hope it lasts a long time! It’s beautiful!”

JB
Jason B
Love it so far! My first propane grill I’ve ever bought myself!

“I love your grills. This is a replacement grill for a fully stainless steel one (was suppose to be). We originally bought it for our daughter's new townhouse, but her patio was not "ready" for it. We have kept it for 5 years now. My husband passed, I sold the house and move it, in the original box, with me and just put it together. The”

LG
Lisa G
Replacement

“Purchased a 5 burner with side burner grill probably 7-8 years ago. You can only replace things for so long. Opted on a smaller 4 burner grill this time. Hoping to get lots of use for many years to come.”

BS
Brian S
2nd grill with out

“Easy grill to use & grills well. Last grill lasted a little over 6 years. Had to replace burners twice (just worn out - lots of use). Here is old grill & new grill.”

RE
Russell E
2nd Nexgrill

“I had either recieved or bought a grill from either webber or Charbroil. Both had lasted roughly 5 years each before rusting out. For the price point and the way this grill feels I think this one should last longer. Looks awsome new so hopes are high.”

VA
Victor A
3rd grill so far...

“I’m just setting up my second 5 burner nexgrill!!! My first one was purchased in 2015!! I live in New England and the grill lived outside for 7 1/2 years!! That is an impressive lifespan for a grill in my area! I’ll be a loyal Nexgrill customer for life. Thanks very much. Yes, I recommend this product.”

L
Litch
Robust grill with Longevity to boot

“This grill is good for an economy grill. My 10 year old assembled most of it. I knew that I was getting a budget grill and didn't expect a Cadillac. I bought it mainly because the burners have flame on the left and right, instead of one row on the top. I checked the temperature gauge vs my digital and it runs 50° high, didn't expect it to be right on. The burner tents are higher in the front, making it hotter in the front. I have snips so I'll cut the front to set level. I seasoned the grill with bacon, it leaked from the screw to the drip pan, which was tight. The corners are sharp. I had corner protectors for my smoker and put some on the Nexgrill, hoping to get more life from the cover. Overall it's pretty good for the price.”

DK
Daniel K
Easy to assemble
4.7/ 5
13 reviews

Keep reading

Related Articles

Nexgrill 4-Burner Gas Grill with Side Burner in BlackGas Grills

Nexgrill Rally 1-Burner Manual: A Step-by-Step How-To for Owners of Compact Single-Burner Grills

Before Your First Cook: Stage These Five Things on the Patio Your single-burner grill is tiny compared to a full-size gas grill. That is exactly why setup goes wrong. One regulator, one venturi tube, one electrode - there is no redundancy. Before you dig through drawers for a manual, put these five items on the patio: a fresh 1 lb propane cylinder (or a bulk tank with the correct adapter hose), a spray bottle of 50/50 dish soap and water, a 3/8-inch or adjustable wrench, a clean rag, and your phone set to video the first light. The video matters. On a one-burner unit the flame is short and the wind is close, and a 20-second clip lets you replay whether the burner lit fully or only on one side. If you are cooking this weekend, stage the gear today. Nothing is worse than finding a missing regulator O-ring at 5 p.m. on a Saturday. Warning: Single-burner regulators are often non-adjustable and must sit upright. Laying a compact regulator on its side during setup can block the vent and cause low flame or no flow. Is There Actually a Nexgrill 'Rally' 1-Burner? Read This Before You Search Again This is the honest part. As of this writing, Nexgrill does not publish a product page, PDF manual, or retailer listing for a model called 'Rally' with a single burner. 'Rally' may be a marketing name from a specific promotion, a name a neighbor used, or a misreading of the box. It is not a reliable search term for a manual. The source of truth is the rating plate - the metal tag or sticker on the grill body, usually under the side shelf or near the control knob. Write down the full SKU, the serial number, and the gas type. If the plate says 'Nexgrill 720-XXXX' or '820-XXXX', that number is what you search, not 'Rally.' If you cannot find a plate, photograph the whole grill, including the burner and control panel, and use the support channel at Nexgrill Contact to identify it. This one step - trusting the plate over the box name - saves more frustration than any other advice in this guide. Find the Right One-Burner Manual in Three Moves Move one: search the full SKU string without spaces on Nexgrill's site. Many compact manuals live under the product page as a 'Guides & Documents' tab rather than a support page. Move two: if the brand site does not show a PDF, check the retailer where the grill was bought. Home Depot commonly hosts PDFs for compact Nexgrill units under that same tab. Move three: if the PDF is gone, use the current manual for a same-class single-burner grill (roughly 10,000-15,000 BTU, one knob, one regulator) as a structural reference - the sequence for assembly and leak-testing is nearly identical. Single-burner manuals are typically 4-8 pages plus a parts diagram; they are not thick books. A missing PDF does not mean you cannot cook safely this weekend. It means you follow the sequence below and use the parts diagram if you can find one. Search method Where to look What you will likely find Full SKU from rating plate Nexgrill product page or support PDF with assembly order and leak-test instructions Retailer 'Guides & Documents' Home Depot product listing Often the same PDF, sometimes a revision Photo + support request Nexgrill contact form Model ID or direct manual link How a Single-Burner Manual Differs From a Full-Size Grill Book A six-burner manual spends pages on manifold assembly, side burner wiring, and warming rack placement. A one-burner manual almost skips all of that. What it does cover, in detail, is the regulator connection, the venturi tube alignment, and the igniter gap - the three places a compact grill fails. Expect the manual to show a parts diagram with maybe 15 numbered items, not 80. It will also emphasize clearance distances: keep the grill at least 10 feet from walls and overhangs and never under a combustible ceiling. That clearance note matters more on a low-BTU tabletop unit because you are likely to set it on a wooden deck or a balcony railing. Tip: If your manual is missing, do not guess at torque specs. Hand-tighten the regulator nut and the venturi screw. Over-tightening on a compact grill strips the soft brass fitting. Assemble and Leak-Test in the Order the Manual Uses The manual's order exists for a reason. First, attach the legs or fold-out cart and set the body upright on a level surface. Second, slide the venturi tube over the burner orifice - this is the one alignment that causes most low-flame complaints. Third, thread the regulator onto the cylinder, hand-tight, then check that the regulator body sits upright. Fourth, and only now, leak-test. Spray the soap solution at the tank-to-regulator connection and the regulator-to-manifold connection. Watch for bubbles for 30 seconds. If bubbles grow, stop and re-seat the fitting. Never use a flame to test for leaks. After the leak test passes, install the heat shield and grate. Do not skip the heat shield - on a single burner it is the only thing keeping grease off the tube. 4-8 Typical page count of a single-burner owner's manual, plus parts diagram Compare Two Single-Burner Options Side by Side Before You Committed If you are still deciding between a compact one-burner and a slightly larger two-burner, do not rely on the box photo. Compare the regulator type, the cooking grate material, and the BTU rating at the same price point. Try comparing two products side by side below to see which fits best - the tool surfaces the exact specs that decide whether the grill fits a tailgate table or a balcony rail.

Oct 24, 202610 min read
Read more
Nexgrill 4-Burner Propane Gas Grill in Black with Stainless Steal main lidGas Grills

Nexgrill Neevo 720 Plus Review: Is the 'Plus' Upgrade Actually Worth It?

Nexgrill Neevo 720 Plus Review: What This Guide Can (and Can't) Tell You Here is the honest starting point: as of this writing, "Neevo 720 Plus" does not appear as a documented model string on Nexgrill's product pages or on major U.S. retail listings. That fact alone makes a conventional spec-sheet review impossible to write truthfully. What we can do - and what this guide actually delivers - is teach you how to verify the grill you are about to buy, figure out whether the "Plus" in the name corresponds to anything real, and decide whether any upgrade premium is justified before money changes hands. Frame this as a due-diligence workflow rather than a buying recommendation. Nexgrill has been building outdoor cooking equipment since 1993, is headquartered in California, and is one of the grill brands routinely stocked at Home Depot, so the odds are decent that a listing with a "Neevo" name is either a genuine Nexgrill model sold under a retailer-specific label, a marketplace seller's rebadged unit, or a listing built by someone who typed the name loosely. Your job is to tell which of those three you're looking at. A model name that returns zero hits from the brand and zero hits from major retailers is a data point, not proof of fraud. Treat it as a signal to slow down and verify, not as a reason to panic. Before You Decide the 'Plus' Is Worth It: Four Things to Gather in Ten Minutes The entire evaluation collapses if you're working from a thumbnail photo. Collect these four items before you start comparing anything: A photo of the rating plate. On gas grills this is typically a metal label on the back of the firebox or inside the cabinet door. It carries the model string, serial number, gas type, and often the year of manufacture. The exact retailer URL or receipt. Copy the product title character-for-character. Marketplace listings frequently append words like "Plus" or "Pro" that never appear on the box. A tape measure. Primary cooking area and lid dimensions let you sanity-check claims against the physical unit in front of you. The fuel type. Propane and natural gas versions of the same grill often carry different suffixes. Getting this wrong is an expensive and sometimes unsafe mistake. Step 1 - Pin Down the Exact Model String and Where 'Plus' Appears on the Grill Write the full string down, including every character. If the listing says "Neevo 720 Plus" but the rating plate says something like "720-XXXX" with no "Plus" anywhere, you have discovered that the word is a retailer's descriptor rather than part of the manufacturer's model identity. That distinction matters enormously, because parts lookups and manual downloads run on the plate string, not the marketing name. Then ask a second question: where does "Plus" physically appear? Look on the box, the badge on the lid, and the manual cover. If the word exists only in the retailer's web copy, treat it as decorative. Step 2 - Cross-Check the Retailer Listing Against the Brand Manual and Parts Pages Run the exact plate string through Nexgrill's model and parts lookup entry point and through the full product catalogue . Three outcomes are possible, and each tells you something different: Lookup result What it likely means Your next move Plate string found, manual available Genuine documented model; "Plus" may be a retailer label Download the manual and diff the spec table against the listing Plate string not found, but model family is Possible discontinued unit, regional SKU, or seller relabel Contact support with the plate photo before committing Neither string nor family found Unverified identity; parts availability is a real risk Negotiate hard, or walk away If support needs to confirm parts availability, the contact channel is the fastest route. Asking one specific question - "do you stock burner tubes and heat tents for this exact plate string?" - gets you a far more useful answer than a general product inquiry. Step 3 - Build a Base-vs-Plus Spec Delta Table (What Actually Changes) Populate a two-column table from the manual and the listing, not from memory. Leave cells blank rather than guessing; a blank you later fill with a verified figure is worth more than a confident number you invented. Feature Base unit 'Plus' unit Verified? (Y/N) Side burner Absent Present Photo + manual Cabinet vs. open cart Open cart Enclosed cabinet Photo Lid material Painted steel Stainless Magnet test Cover included No Yes Box contents list A cheap magnet confirms a stainless claim in two seconds: quality stainless is essentially non-magnetic, while painted steel grabs firmly. That single trick deflates a surprising number of upgrade premiums. Step 4 - Put a Dollar Value on Each Upgrade Using a Simple Per-Feature Test For each verified difference, estimate what it would cost you to add that feature yourself, in USD, bought as a standalone accessory. These are estimates, not quoted prices, but the order of magnitude is what matters: Upgrade Standalone value (est. USD) Would you actually buy it separately? Fitted cover $40-$80 Almost always yes Side burner Difficult to retrofit Yes if you cook sides outdoors Stainless lid Cannot retrofit Only for climate durability Enclosed cabinet Cannot retrofit Matters only if visual tidiness is your priority Add up your standalone values. If the "Plus" premium is smaller than that total, the upgrade is rational on arithmetic alone. If the premium is larger, you're being charged for a badge. Now put two candidates against each other. Try comparing two products side by side below to see which fits best:

Oct 23, 20269 min read
Read more
Nexgrill 4-Burner Gas Grill with Side Burner in BlackGas Grills

Nexgrill Gourmet Pro 6-Burner Manual: A How-To Guide for Owners Who Already Built the Grill

Your Gourmet Pro 6-Burner Is Built - Now Make the Manual Work for You Most owners read the booklet once, during assembly, then file it in a drawer. That is a waste. The manual that shipped with your six-burner gas grill is the only document that describes the operating sequence, leak-test procedure, and troubleshooting matrix for the exact unit sitting on your patio. Once the frame is bolted together, the useful half of that booklet begins: how to light it in the correct burner order, how to configure a two-zone cook on three burners per side, and what to check when a burner stops lighting. This guide treats the manual as a field reference for an already-built grill. It walks through six practical steps - confirming your revision, running the leak test at the start of the season, following the lighting order, setting up zones, inspecting burner tubes and heat tents, and working the troubleshooting matrix - then covers the maintenance cadence and part-sourcing path that keep a six-burner running for years. If your grill is still in pieces, this is not the article for you; go back to the assembly section. The manual is written around a fuel system under pressure. Every step below assumes the gas supply is off and the lid is open before you begin. The CPSC's grilling safety guidance treats LP gas handling as the single most important thing a backyard cook controls. What the Manual Actually Covers (It's More Than Assembly) A typical Nexgrill gas grill manual runs 20 to 40 pages, and assembly generally occupies the middle third. The sections owners skip are the ones that matter after the frame is standing: Safety and leak-test pages near the front, including the soapy-water method and the warning against testing with a flame. Lighting instructions with a stated burner order and a match-lighting fallback for ignition failure. Cooking guidance covering preheat time, direct versus indirect zones, and lid position. Care and maintenance with a cleaning schedule and storage guidance for the LP cylinder. A troubleshooting matrix at the back, indexed by symptom - low flame, flashback, popping, no ignition. An exploded parts diagram with part numbers for burners, heat tents, igniters, and regulators. That parts diagram is worth dog-earing now. In two or three seasons, when a heat tent rusts through or an electrode cracks, the diagram is far faster than a support call. Prerequisites: Five Things to Gather Before You Open the Book Set these out before you start, so you are not hunting mid-procedure: the manual itself, a spray bottle of soapy water (one part dish soap to three parts water), a flashlight for inspecting burner tubes, a screwdriver for removing heat tents, and a photo of your data plate. The data plate is typically on the inside of the cabinet door or the back panel, and it carries the model number (often a 720-xxxx or 810-xxxx string) plus the serial number. Write both down; every support interaction starts there. Step 1: Confirm Which Manual Revision You Own - Once

Oct 21, 20266 min read
Read more
Nexgrill 4-Burner Propane Gas Grill in Black with Stainless Steal main lidGas Grills

Nexgrill 720-1046A Review: How to Evaluate a 4-Burner Grill in 20 Minutes

What a '720-1046A Review' Really Means (It Starts With Identification) Searching for a “Nexgrill 720-1046A review” usually means one of three things: you’re eyeing a used unit on Facebook Marketplace, you need a part and want to match the SKU exactly, or you’re cross-checking a retailer listing that uses a marketing name instead of the model number. The 720-1046A is not a grill family - it’s a specific SKU printed on the rating label. Retail listings often sell the same grill as the “4-Burner Gas Grill with Side Burner in Black,” so the label is your only reliable identifier. This guide gives you a 20-minute inspection protocol you can run on any 720-1046A before you buy, sell, or fire it up for the season. No spec-sheet guessing - just observable tests. The 720-1046A label is usually inside the cabinet door or on the back panel. Photograph it before you commit to a used grill - it’s your key to parts matching later. What You Need Before You Start (and What to Bring to a Used-Grill Meetup) For a thorough review, gather these items. Most fit in a small bag and cost under $20 total. A bright flashlight (phone light works but a focused beam is better) A spray bottle with soapy water (1 part dish soap to 3 parts water) A clean rag or paper towels A thermometer (instant-read or infrared) to verify hood temperature Your phone to photograph the label and any damage A notepad or notes app to record condition signals If you’re inspecting a used grill at a seller’s location, also bring a small adjustable wrench and a propane tank - you’ll need gas to run the leak and heat-up tests. Ask the seller beforehand if the tank is included; if not, bring your own. Plan for 20 minutes of hands-on time, plus setup. Step 1: Read the Rating Label - Where to Find 720-1046A and What Each Line Tells You Open the cabinet door and look for a silver or white sticker, typically on the inside left panel or the back of the firebox. You’re looking for the model number “720-1046A” and a serial number. The label also lists gas type (propane), manifold pressure, and clearance requirements. Photograph the entire label - you’ll need it for parts lookup. If the label is missing or unreadable, treat the grill as unidentified and walk away unless the price is negligible. Cross-check the label against any paperwork or the seller’s listing. The 720-1046A appears in Nexgrill’s catalogue under a descriptive name; you can confirm current listings on the All Products page . Don’t rely on BTU or cooking-area figures from memory - those vary by production year. The label is the authority. Step 2: Inspect the Burner Tubes and Heat Tents With a Flashlight Remove the cooking grates and set them aside. Shine your flashlight down each burner tube. You’re checking for three things: blockages (spider webs, grease clogs), rust-through, and warping. A healthy burner tube is straight, with clean ports (the small holes) and no flaking metal. If you see heavy rust or holes, plan on replacing burners - a set typically costs $40-$80 USD, depending on the year. Next, lift out the heat tents (the V-shaped metal shields above the burners). They should be intact, not rusted through, and sit flat. Warped or heavily corroded tents cause uneven heating and flare-ups. Replacement tents run about $25-$50 USD for a set. If both burners and tents are shot, factor that into your offer. Step 3: Run a Soapy-Water Leak Test on Every Connection Safety first: never test for leaks with a flame. Connect a propane tank (if available) and turn the tank valve on slowly. Brush or spray soapy water on the tank-to-regulator connection, the regulator-to-manifold hose, and the manifold-to-burner connections if accessible. Watch for bubbles - growing bubbles mean a leak. If you see bubbling, turn off the tank and tighten the connection; if it persists, the hose or regulator needs replacement. NFPA and USFA both recommend a soapy-water leak test before first use each season and after any gas component change. Never use a match or lighter to check for leaks. Step 4: Test the Igniter and Check Burner-to-Burner Continuity With the lid open and gas off, press the igniter button. You should hear a sharp click and see a spark at each burner’s electrode. If you don’t see a spark, check the battery (usually AA) and the wire connections. A weak or intermittent spark often means a corroded electrode or a failing igniter module - replacement parts are usually under $20. If the igniter works, turn the gas on and light one burner at a time, starting from the left. As each burner lights, the flame should carry over to the next through the crossover tube. If a burner fails to light, turn everything off and investigate that burner’s tube for blockages. A burner that lights but has a lazy, yellow flame indicates a spider egg sac or grease clog in the tube. Step 5: Examine the Grease Tray, Cart, and Lid for Corrosion Slide out the grease tray. It should be intact, with no holes or heavy rust. A tray that’s rusted through will drip grease onto your patio and is a fire hazard. Replacement trays are often available for $20-$40 USD. Check the cart legs and bottom panel for rust - surface rust is common and manageable, but flaking metal or holes indicate structural decay. Open and close the lid. It should move smoothly without binding. Inspect the lid interior for peeling enamel or heavy grease buildup (a sign of neglected cleaning). The lid’s exterior should be free of deep scratches or dents that could compromise the metal. Step 6: Time the Heat-Up - A 10-Minute Proxy for Burner Health Light all burners on high, close the lid, and start a timer. A healthy 4-burner grill should reach 400-450°F within 10-12 minutes on a moderate day (70°F). If it takes longer than 15 minutes, or if the hood temperature plateaus below 400°F, you likely have clogged burner tubes, a weak regulator, or low gas flow. Record the time and temperature - this baseline helps you track performance after cleaning or part replacements. Once you’ve completed these steps, you have a clear picture of the grill’s condition and the likely cost to bring it to top shape. Try comparing two products side by side below to see which fits best - for example, a used 720-1046A versus a new 4-burner model from Nexgrill’s current line.

Oct 19, 20269 min read
Read more

Featured products

From our catalog

Nexgrill 2-Burner Portable Propane Gas Table Top Grill in Stainless Steel
Gas Grills

Nexgrill

Nexgrill 2-Burner Portable Propane Gas Table Top Grill in Stainless Steel

Nexgrill Daytona™ 4-Burner Propane Gas Grill with Griddle Top
Gas Grills

Nexgrill

Nexgrill Daytona™ 4-Burner Propane Gas Grill with Griddle Top

2-Burner Portable Propane Gas Grill with Griddle Top
Gas Grills

Nexgrill

2-Burner Portable Propane Gas Grill with Griddle Top

Fortress™ 1-Burner Cast Aluminum Table Top Portable Propane Gas Grill
Gas Grills

Nexgrill

Fortress™ 1-Burner Cast Aluminum Table Top Portable Propane Gas Grill

Nexgrill | Black Daytona™ 2-Burner Propane Gas Griddle with Lid
Gas Grills

Nexgrill

Nexgrill | Black Daytona™ 2-Burner Propane Gas Griddle with Lid

Nexgrill 3 Burner Liquid Propane Gas Grill in Black
Gas Grills

Nexgrill

Nexgrill 3 Burner Liquid Propane Gas Grill in Black

Nexgrill 5 Burner Propane Gas Grill with Side Burner
Gas Grills

Nexgrill

Nexgrill 5 Burner Propane Gas Grill with Side Burner

3-Burner Portable Propane Gas Grill with Griddle Top
Gas Grills

Nexgrill

3-Burner Portable Propane Gas Grill with Griddle Top

1-Burner Table Top Portable Propane Gas Grill
Gas Grills

Nexgrill

1-Burner Table Top Portable Propane Gas Grill

2-Burner Table Top Portable Propane Gas Grill
Gas Grills

Nexgrill

2-Burner Table Top Portable Propane Gas Grill

Daytona 2-Burner Propane Gas Griddle with Foldable Cart
Gas Grills

Nexgrill

Daytona 2-Burner Propane Gas Griddle with Foldable Cart

5 Burner Propane Gas Grill with Side Burner in Black
Gas Grills

Nexgrill

5 Burner Propane Gas Grill with Side Burner in Black

Why Choose Us

Here's what sets us apart from the competition

Premium grilling experience at accessible pricing

We position ourselves as delivering high-end outdoor cooking features and performance without premium-brand pricing, emphasizing “Quality Grills. Unbelievable Value.”

Wide range of outdoor cooking products for every use case

We offer gas grills, pellet grills, griddles, smokers, pizza ovens, portable/tabletop grills, electric grills, accessories, and replacement parts — allowing customers to stay within one ecosystem for all outdoor cooking needs.

Innovation-focused outdoor cooking with smart technology

We differentiate ourselves through smart grilling products like the Oakford smart pellet grill, including app-connected cooking controls and modern outdoor cooking technology.

Browse by Category

Grills

Grills

Expert tips, buying guides, comparisons, and inspiration for choosing and getting the most out of your grill.

Troubleshooting

Troubleshooting

Practical guides for cleaning, maintenance, common grill issues, and performance optimization.

Recipes

Recipes

Step-by-step grilling recipes, cooking techniques, and meal ideas for every occasion and skill level.

Lifestyle

Lifestyle

Backyard entertaining ideas, seasonal grilling inspiration, and stories that celebrate outdoor cooking culture.

Accessories

Accessories

Helpful articles covering grilling tools, cookware, maintenance gear, and must-have accessories for outdoor cooking.

Griddles

Griddles

Find griddle recipes, cooking techniques, cleaning tips, and outdoor meal ideas designed for Nexgrill griddles.

Frequently Asked Questions

Find answers to common questions

Nexgrill offers a variety of gas grills, including standard models, portable options, and premium designs with advanced features. Each is designed to cater to different grilling needs and preferences.

To clean your Nexgrill gas grill, regularly scrape down the grates, empty the grease tray, and wipe down exterior surfaces. Consult your model's manual for specific maintenance instructions and recommended cleaning products.

Nexgrill gas grills are designed to use either propane or natural gas, depending on the model. Ensure you read the specifications to determine the appropriate fuel type for your grill.

Many Nexgrill models can be converted from propane to natural gas with a conversion kit. Check the owner's manual for compatibility and details on the conversion process.

If your Nexgrill gas grill is not lighting, first check the fuel supply, ensure the gas lines are free of obstructions, and verify that the igniter is functioning. Consult the user manual for troubleshooting tips specific to your model.