Nexgrill Oakford Homestead 24 Review: How to Run a 24-Inch Charcoal Grill From Unbox to First Cook
A hands-on operating review of Nexgrill's only Oakford charcoal cooker - burn-in, two-zone charcoal layout, damper control, and the mistakes that flatten live-fire results.
In This Article
Live-Fire, Not Pellet Logic
Burn-In Before You Cook
Two-Zone Setup Wins
Nexgrill Oakford Homestead 24 Review: Treat This as an Operating Manual, Not a Spec Sheet
Most charcoal grill reviews spend their words on a features list and a verdict. This one gives you the sequence instead: what comes out of the box, what you do before food touches the grate, how you lay coals, and which vent position produces which result.
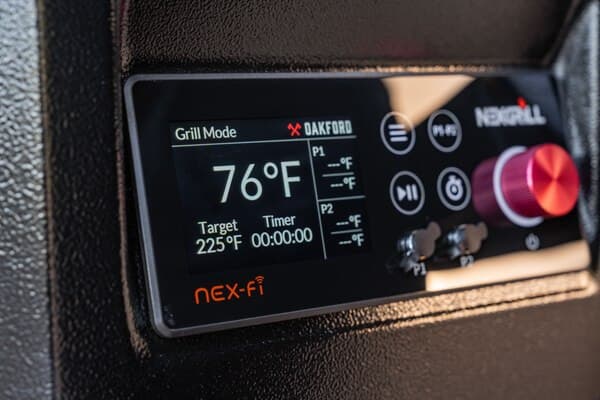
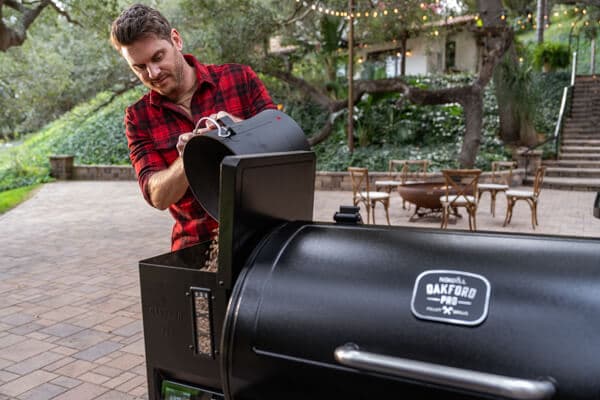
The Homestead 24 is the only charcoal cooker in the Oakford family. Everything else wearing that badge - the 875 Pro, the 1125 Pro, and the larger Oakford Pro units - is a pellet smoker with an auger, a controller, and a fire pot. The Homestead 24 has none of those. Heat comes from lit charcoal and is managed by hand through air dampers. If you arrived from reading about pellet rigs, mentally delete the controller and replace it with your wrist and your eyes. That mental swap is the whole skill.
Nexgrill has been building outdoor cooking equipment since 1993 and now operates under the Global Leisure umbrella after merging with Megamaster. The Oakford line is its premium-tier family - and the Homestead 24 is the charcoal outlier within it.
What the Homestead 24 Actually Is - and Where It Sits in the Oakford Line
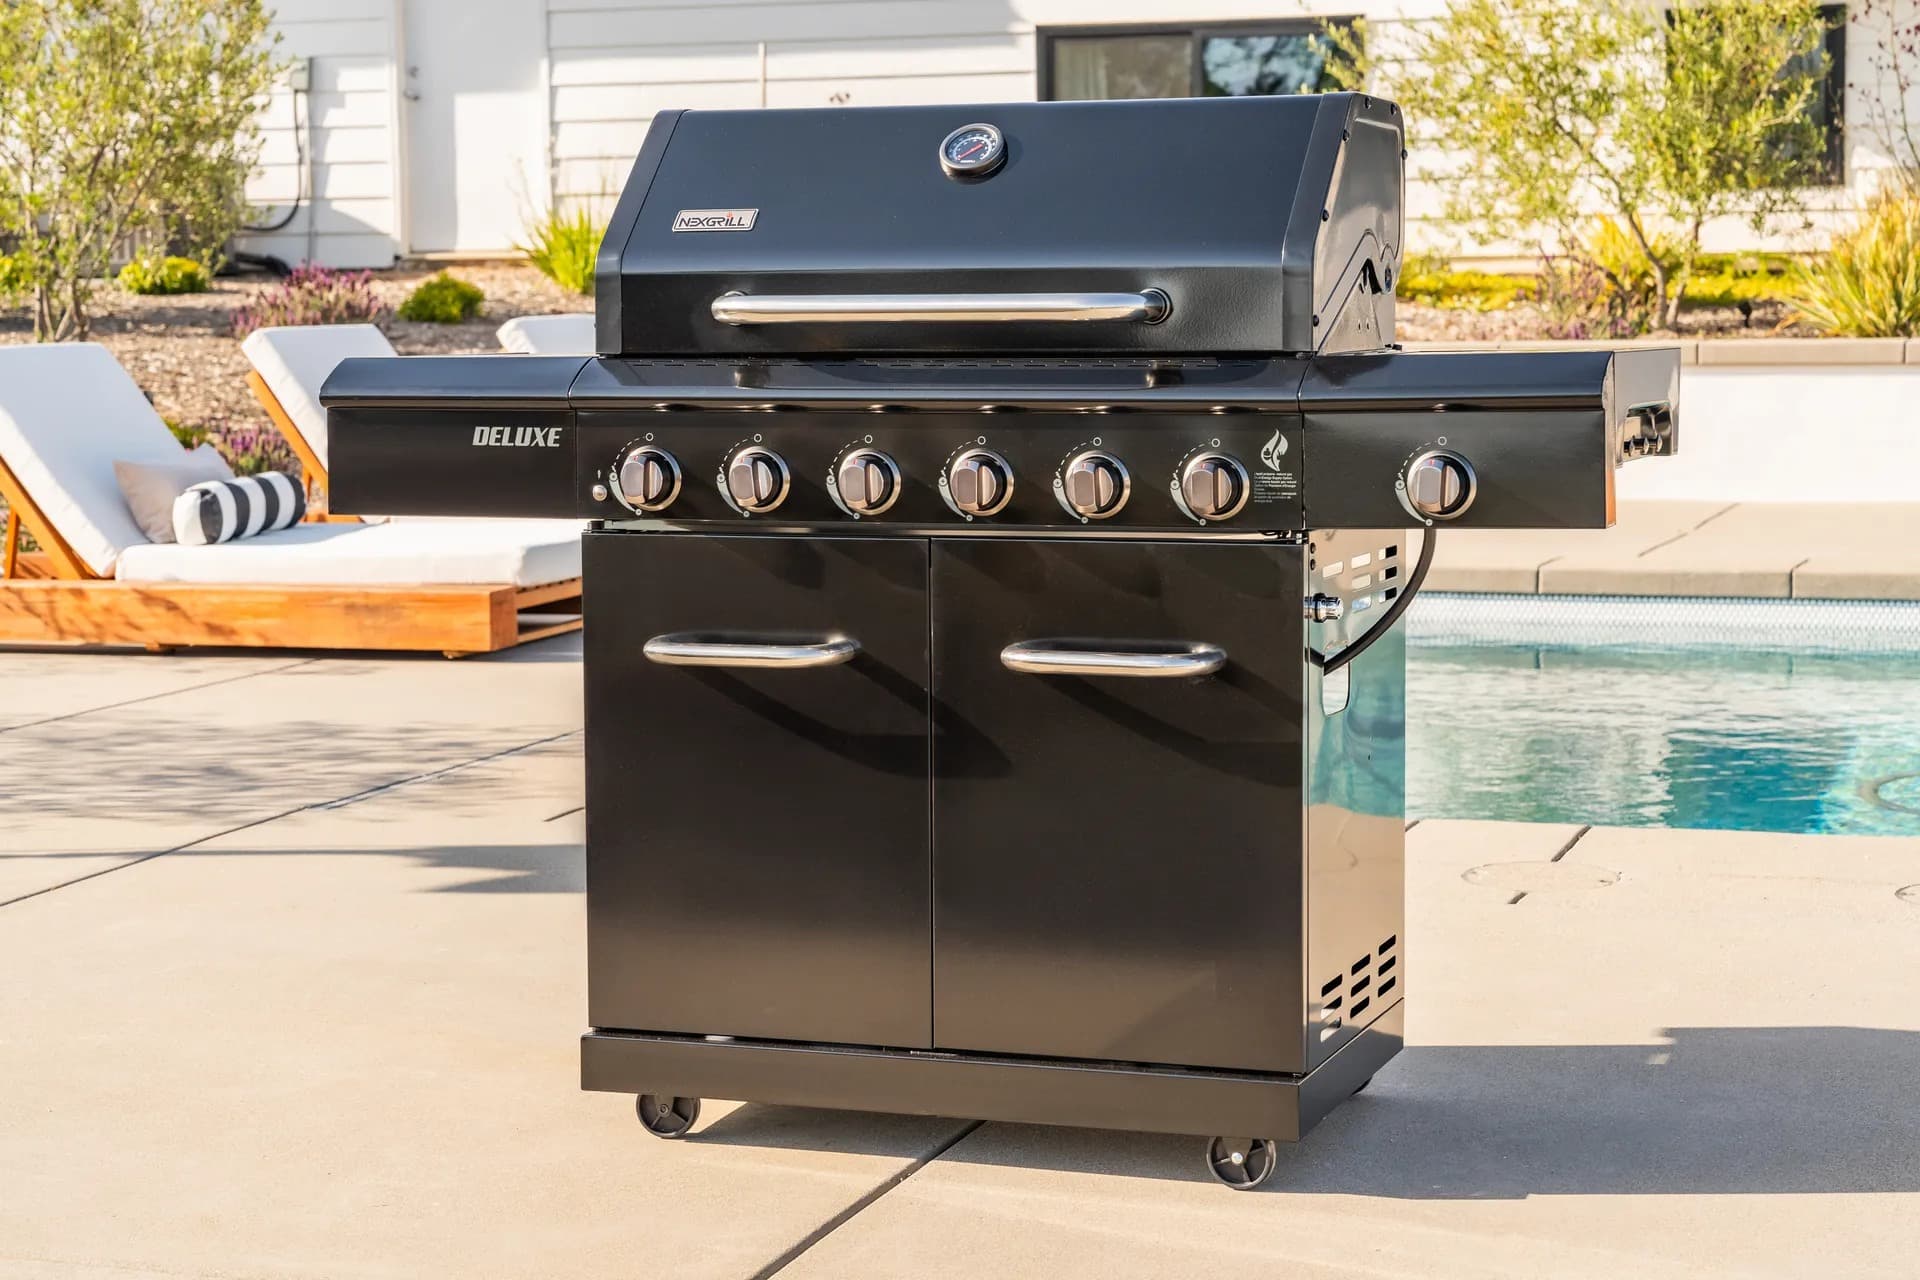
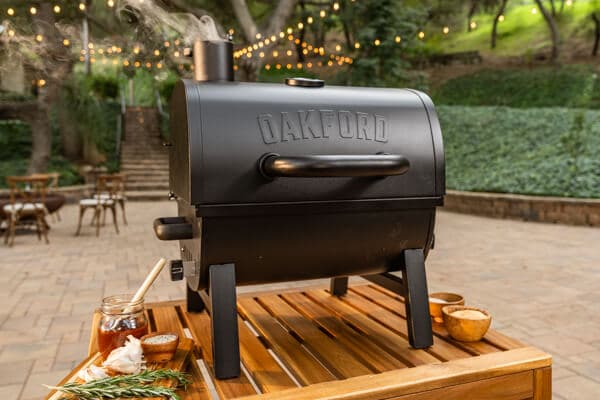
Strip away the branding and you have a heavy-duty charcoal grill in the 24-inch class - a covered, kettle-style cooker with a domed lid, a lid vent, a bowl vent, and an ash management system underneath. Nexgrill markets it as a heavy-duty unit in black, and the silhouette will be instantly familiar to anyone who has cooked on a covered charcoal grill. Familiarity is a feature: the technique you learn here transfers to almost every other charcoal cooker you will touch.
In buying terms, the Homestead 24 sits in a different bracket from its Oakford siblings. The pellet models are set-and-forget machines aimed at long brisket and pork-shoulder cooks. The Homestead 24 is a hands-on grill aimed at the weekend cook - burgers, chicken, steaks, vegetables, maybe a beer-can bird - where you stand at the grill and adjust air as you go. That distinction should drive your purchase decision more than any single spec.
Confirm These Specs on the Live Product Page Before You Buy
Model listings change, and charcoal grills are frequently revised on grate material, cart configuration, and accessory bundles. Rather than quote figures I cannot re-verify, here is the spec sheet to check yourself, with the practical reason each number matters.
| Spec to confirm | Why it changes your cook | Where to find it |
|---|---|---|
| Grate diameter / cooking area | Governs how many burgers or how large a bird fits with indirect clearance | Product page dimensions block |
| Grate material (chrome-plated vs. cast iron) | Affects heat retention, sear quality, and how you season and store it | Features list |
| Lid vent and bowl vent type | Determines how fine your temperature control can be | Product photos and manual |
| Ash catcher vs. ash pan | Sets your cleanup cadence and mess level | Product page / assembly guide |
| Assembled weight | Tells you whether one person can move it and where it can live | Specifications table |
The '24' most likely denotes a 24-inch-class grate - the same size class as a 22-to-26-inch kettle. Confirm the exact grate diameter, square inches of cooking area, and assembled weight on the live product listing before you commit.
What to Check in the Box and During Assembly
Set aside about an hour and a half, a Phillips screwdriver, and a second pair of hands for the lid. Lay every bag of hardware out on a towel and count against the parts list before you tighten anything. Leave every bolt finger-tight until the legs, bowl, and lid hinge line up, then torque in a cross pattern.
Two checks matter more than the rest. First, open your lid and bowl vents fully and confirm the dampers swing freely with no grit or paint binding - a vent that sticks will sabotage every low-and-slow attempt you make later. Second, set the grate in place and rock it gently. Any wobble means a misaligned bracket, and a grate that shifts mid-cook is a genuine safety issue when you are moving a hot chicken.
Burn-In: Your First Cook Should Not Be Dinner
New charcoal grills carry manufacturing oils on the bowl, lid, and grate, and factory residue in the fire bowl. Your first burn exists to cook those off, not to feed anyone. Fill a chimney starter about two-thirds full over two or three lighter cubes, light it, and give it 12 to 15 minutes until the top coals are ashed over. Pour them into the bowl, spread them across roughly half the grate, close the lid with both vents wide open, and let the grill run hot and empty for 30 to 45 minutes.
If the grate is cast iron rather than plated steel, wipe it with a thin coat of neutral high-smoke-point oil once the grill has cooled. Skip lighter fluid entirely - it leaves a solvent note in the first several cooks that no amount of sauce hides. Once the burn-in is done, your grill is seasoned enough to cook on.
How to Lay Charcoal for Two-Zone Cooking on a 24-Inch Grate
Two-zone cooking is the single technique that separates a frustrating charcoal grill from a great one. Light a full chimney, then pour a full layer of coals over one half of the grate - left or right is arbitrary, but pick one and stay consistent so you build muscle memory. Leave the other half bare or thinly scattered.
The coal side becomes your direct sear zone; the bare side becomes your indirect zone where the lid circulates heat around food without blasting the underside. Sear steaks directly over coals, then slide them to the bare side, close the lid, and let them finish without flare-ups. For a whole chicken or a rack of ribs, cook entirely on the bare side with a drip pan underneath. On a 24-inch-class grate you have enough real estate for a working direct zone and a genuine indirect zone at the same time - that is the practical advantage of this size, and why a smaller grill so often forces single-zone compromises.
Reading Your Dampers: The Three Vent Positions That Matter Most
Air is your throttle. Coals burn hotter when more oxygen reaches them, so the vents are the only control you have, and they are far more responsive than most beginners expect.
- Wide open (both lid and bowl vents): Maximum airflow, maximum heat. Use this for burn-in, for getting a chimney's worth of coals fully lit, and for a hard sear.
- Half open: The everyday cruising setting. It holds a steady medium heat for burgers, chicken thighs, and vegetables without racing away from you.
- Near-closed (a sliver at each vent): Your low-and-slow range. Coals smolder, the lid traps heat, and the grill can hold in the 250°F to 300°F band - but only if you resist the urge to peek.
Chase temperature with the vents and leave the lid down. Every lid lift dumps your heat and adds ten minutes of recovery, which is why the near-closed setting only works for cooks who can walk away between checks.
Try Comparing the Homestead 24 Against Another Nexgrill Cooker
If you are still weighing charcoal against a pellet smoker - or comparing the Homestead 24 against a smaller charcoal unit - put two models side by side using the tool below and see how the specs stack up for the food you actually cook.
Which Charcoal Buyer Fits This Grill (and Who Should Skip It)
The Homestead 24 is right for a beginner who wants to learn live-fire cooking on a forgiving, well-sized cooker, and for an intermediate griller who wants a charcoal option alongside a gas grill. It suits anyone who enjoys managing a fire rather than avoiding it. It is the wrong purchase for someone who wants to load fuel, set a temperature, and walk away for eight hours - that is an Oakford pellet smoker's job - and it is overkill for a solo cook grilling two burgers on a weeknight. If you need a grill that is mostly a weeknight appliance, buy gas. Buy this one when the fire itself is the point.
Once You've Weighed Two Options, Here's What Else Matters on a Charcoal Cooker
Choosing between two grills gets you to the right shortlist. What determines whether you actually enjoy owning the Homestead 24 is how you handle four operational realities: lid-on heat management, real-world capacity, ash and rust care, and the mistakes that quietly wreck charcoal results. Each one is a skill, not a spec.
Lid-On Cooking: How to Hold a Low-and-Slow Range Without a Controller
A pellet cooker holds 225°F with a controller and a probe. You are going to hold a 250°F to 300°F range with one hand on a vent and one eye on a thermometer. That is achievable and honest, but it is not set-and-forget.
The method: build your two-zone fire, add a small handful of unlit coals to the coal side for a slow fuel reserve, place a closed lid thermometer at grate level - most built-in lid thermometers read high by 20°F to 40°F relative to grate level - close both vents to a sliver, and check every 15 minutes. Climbing? Close the vents another notch. Falling? Open them a quarter turn and add three or four lit coals. Resist chasing a bouncing needle; a charcoal cooker's temperature oscillates naturally, and the average matters, not the moment. Cook whole chicken indirect until the thickest part of the thigh reads 165°F, and keep burger patties to 160°F. Your meat thermometer, not the lid gauge, is the instrument that matters most.
USDA guidance keeps perishable food out of the 40°F to 140°F danger zone. On a charcoal grill that means defrosting in the fridge, resting cooked meat hot, and never leaving raw chicken on a warm patio while you light the chimney.
Searing, Sides, and the 4-to-8-Person Reality of a 24-Inch Grate
A 24-inch-class grate comfortably feeds roughly four to eight people, and where you land depends on your menu. Eight people eating burgers and hot dogs with coals spread across half the grate is easy. Eight people waiting on whole spatchcocked chickens is not - that is a four-person cook plus leftovers. Plan your menu to the grate, not the guest count.
For sides, use the indirect zone while the direct zone sears. Corn in the husk, halved zucchini, and foil-wrapped potatoes all finish on the bare side while steaks sear over coals - a two-stage meal from one fire. A half-chimney of extra lit coals staged in a small metal tray lets you top up the direct zone mid-cook without restarting it. That single habit - keeping a small reserve of hot coals ready - is the difference between a relaxed cook and a frantic one.
Ash Management, Rust, and Off-Season Storage in Real Weather
Ash is the least glamorous part of charcoal ownership and the one that most often kills a grill's lifespan. Empty the ash catcher or pan once the grill is fully cold - never while warm - and remember that ash is caustic when wet. A fire bowl left full of damp ash is the number-one cause of rust-through on charcoal grills, and a covered grill on a rainy patio can collect condensation inside the bowl all winter. Empty it after every cook, not every week.
For off-season storage, cook off the last coals, brush and oil the grate, empty the ash system, and fit a cover that vents rather than seals. If your patio is exposed, roll the grill to a sheltered spot. In spring, clear any insect nests from the vents with a wire and give the grate a fresh oil coat. A $30 cover and five minutes of ash care is the cheapest insurance you can buy on a charcoal cooker.
Mistakes That Wreck Charcoal Results on This Grill
- Cooking before the coals are ashed over. White-ashed coals mean even, stable heat; black coals mean flare-ups and a smoky, bitter taste.
- Lighter fluid and match-light bags. They leave a solvent residue that lingers in the first few cooks. Use a chimney starter and lighter cubes.
- Crowding the direct zone. Every gap between pieces of food is airflow; pack the grate and you get steamed chicken and grey steak instead of sear marks.
- Lifting the lid every two minutes. Each peek drops the temperature and adds recovery time - on a slow cook, 20 minutes or more.
- Ignoring the lid thermometer's offset. Calibrate against a grate-level probe before you trust the built-in gauge.
A 60-Second Pre-Cook Checklist (Print This)
| Check | Why |
|---|---|
| Vents free and fully movable | Your entire heat control depends on them |
| Ash system empty and dry | Prevents rust and improves airflow |
| Chimney loaded, cubes ready | No fluid, no delay |
| Grate brushed and lightly oiled | Non-stick sear surface and better browning |
| Thermometer at hand | Lid gauges read high; probes do not |
| Coals ashed over before food hits the grate | Even heat, cleaner flavor |
What to Budget Beyond the Grill Price
Treat the purchase price as the entry fee. The Homestead 24 sits in an accessible range for a heavy-duty charcoal cooker - expect somewhere in the sub-$300 band as an estimate, and confirm the current figure on the product page. On top of that, budget roughly $40 to $70 for a chimney starter, a 20-pound bag of lump charcoal, lighter cubes, a cover, and a decent instant-read thermometer. You can start on a sub-$60 accessory kit if you already own tongs and a brush.
None of these are optional if you want the grill to last. A chimney starter replaces lighter fluid, a cover replaces a rusted bowl, and a thermometer replaces guesswork - together they cost less than one grill replacement. Buy them with the grill and you will never have a reason to skip them.
If the Homestead 24 fits how you want to cook, you have a clear path: assemble it carefully, burn it in empty, learn your two zones, and treat the vents as your throttle. Everything after that is practice - and that is the part worth looking forward to.