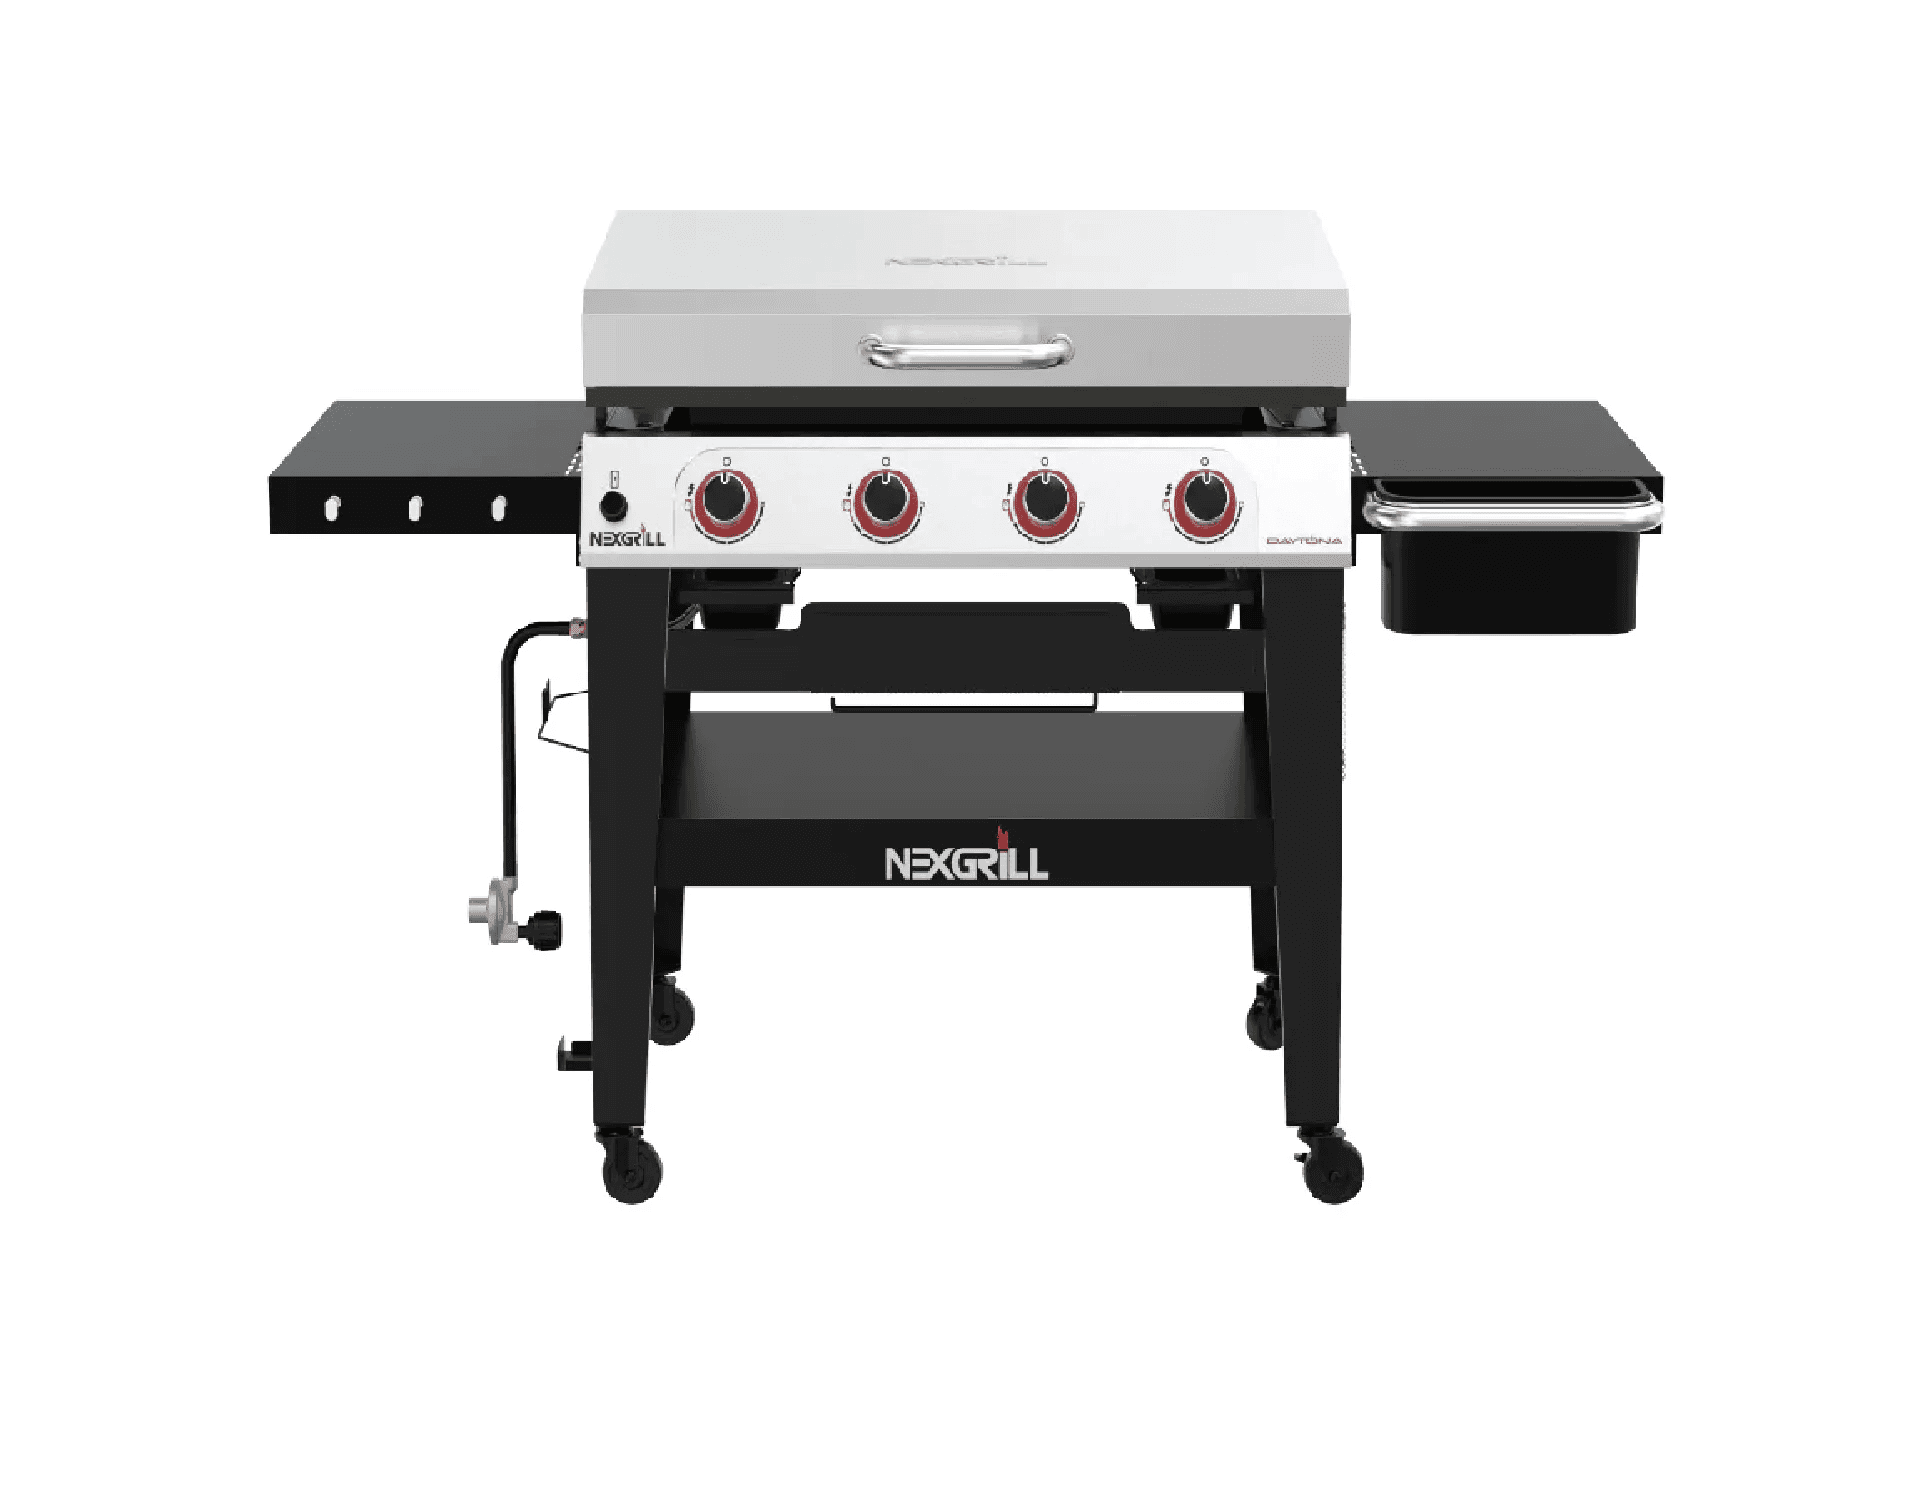
Your Complete Guide to the Nexgrill Daytona 4-Burner Griddle Manual
Master the assembly, usage, and maintenance of your Nexgrill Daytona 4-Burner Griddle.
In This Article
Easy Assembly Steps
Cooking Tips
Maintenance Checklist
Essential Tools and Prerequisites for Assembly
Before you start assembling the Nexgrill Daytona 4-Burner Griddle, create a clean, level workspace with enough room to unpack every panel, shelf, burner, and fastener. Lay the parts out in the order they appear in the carton so you can confirm that nothing is missing before you begin. That simple step saves a lot of backtracking later, especially on larger flat-top units where side shelves, support legs, and heat-management components are easy to overlook.
You will usually want a Phillips screwdriver, an adjustable wrench or socket set, a soft cloth for protecting the finish, and a helper for the heaviest lift points. A second person makes the cart and cooktop stages much easier because it reduces the chance of twisting a frame or scratching the cooking surface. Keep the hardware bags sorted by step if the manual uses numbered fasteners; that small habit makes the process feel much more manageable.
Tip: Check the burner tubes, ignition wires, and grease-management pieces before tightening the frame completely. It is much easier to correct an alignment issue early than after the griddle is fully seated.
A quick prep checklist should include the owner’s manual, all included screws and washers, the lid or wind guard if your model includes one, and the propane tank if you plan to test ignition after assembly. If you are using the Daytona 4-Burner Griddle outdoors on a patio or deck, confirm that the area is ventilated and that the unit has the clearance the manual recommends. For product-specific reference, Nexgrill’s Daytona 4-Burner Griddle product page is a helpful companion when you are comparing features and setup details.
Makes lifting and alignment much easier during cart and cooktop assembly
Step-by-Step Assembly Instructions
Start by building the lower cart or frame according to the sequence in the manual. Tighten bolts only after you have all major pieces connected, because a slightly loose frame is easier to square up than one locked in at the wrong angle. Once the base is stable, attach the wheels or leveling feet, then install any cross braces, front panel, and shelves. If your Daytona model includes a lid or side shelf hardware, leave final alignment adjustments for the end so the parts sit flush.
Next, position the cooktop or griddle body onto the assembled base with help from another person. Do not drag the cooktop across the frame; lift and set it down gently to avoid bending brackets or scuffing finish points. Connect the ignition components, burner knobs, and gas train exactly as directed. For models sold with a lid in black, verify that hinge points move smoothly and do not pinch any wires or tubes during opening and closing. Nexgrill’s product materials for the Daytona 4-Burner Griddle and related Daytona 4-Burner features are useful cross-checks if you want to confirm the intended layout before powering on.
After the frame, body, and controls are in place, install the grease tray, drip cup, and any side accessories. Then inspect every fastener one more time. The griddle should sit level, with no wobble at the legs or shelves. If you notice uneven feet, adjust them before connecting fuel. Once assembled, perform a leak check on all gas connections using the procedure in the manual before the first ignition. That final inspection is not optional; it is the step that confirms the unit is ready for safe startup.
Starting Up Your Nexgrill Daytona 4-Burner Griddle
The first startup is about preparation, not speed. Open the lid or cooking cover if your model includes one, make sure the control knobs are in the off position, and confirm the cooking surface is clean of packaging dust, stickers, or shipping debris. If the manual calls for seasoning before cooking, follow that sequence before preparing food. A seasoned cooktop helps build a more usable nonstick surface and supports more even browning over time.
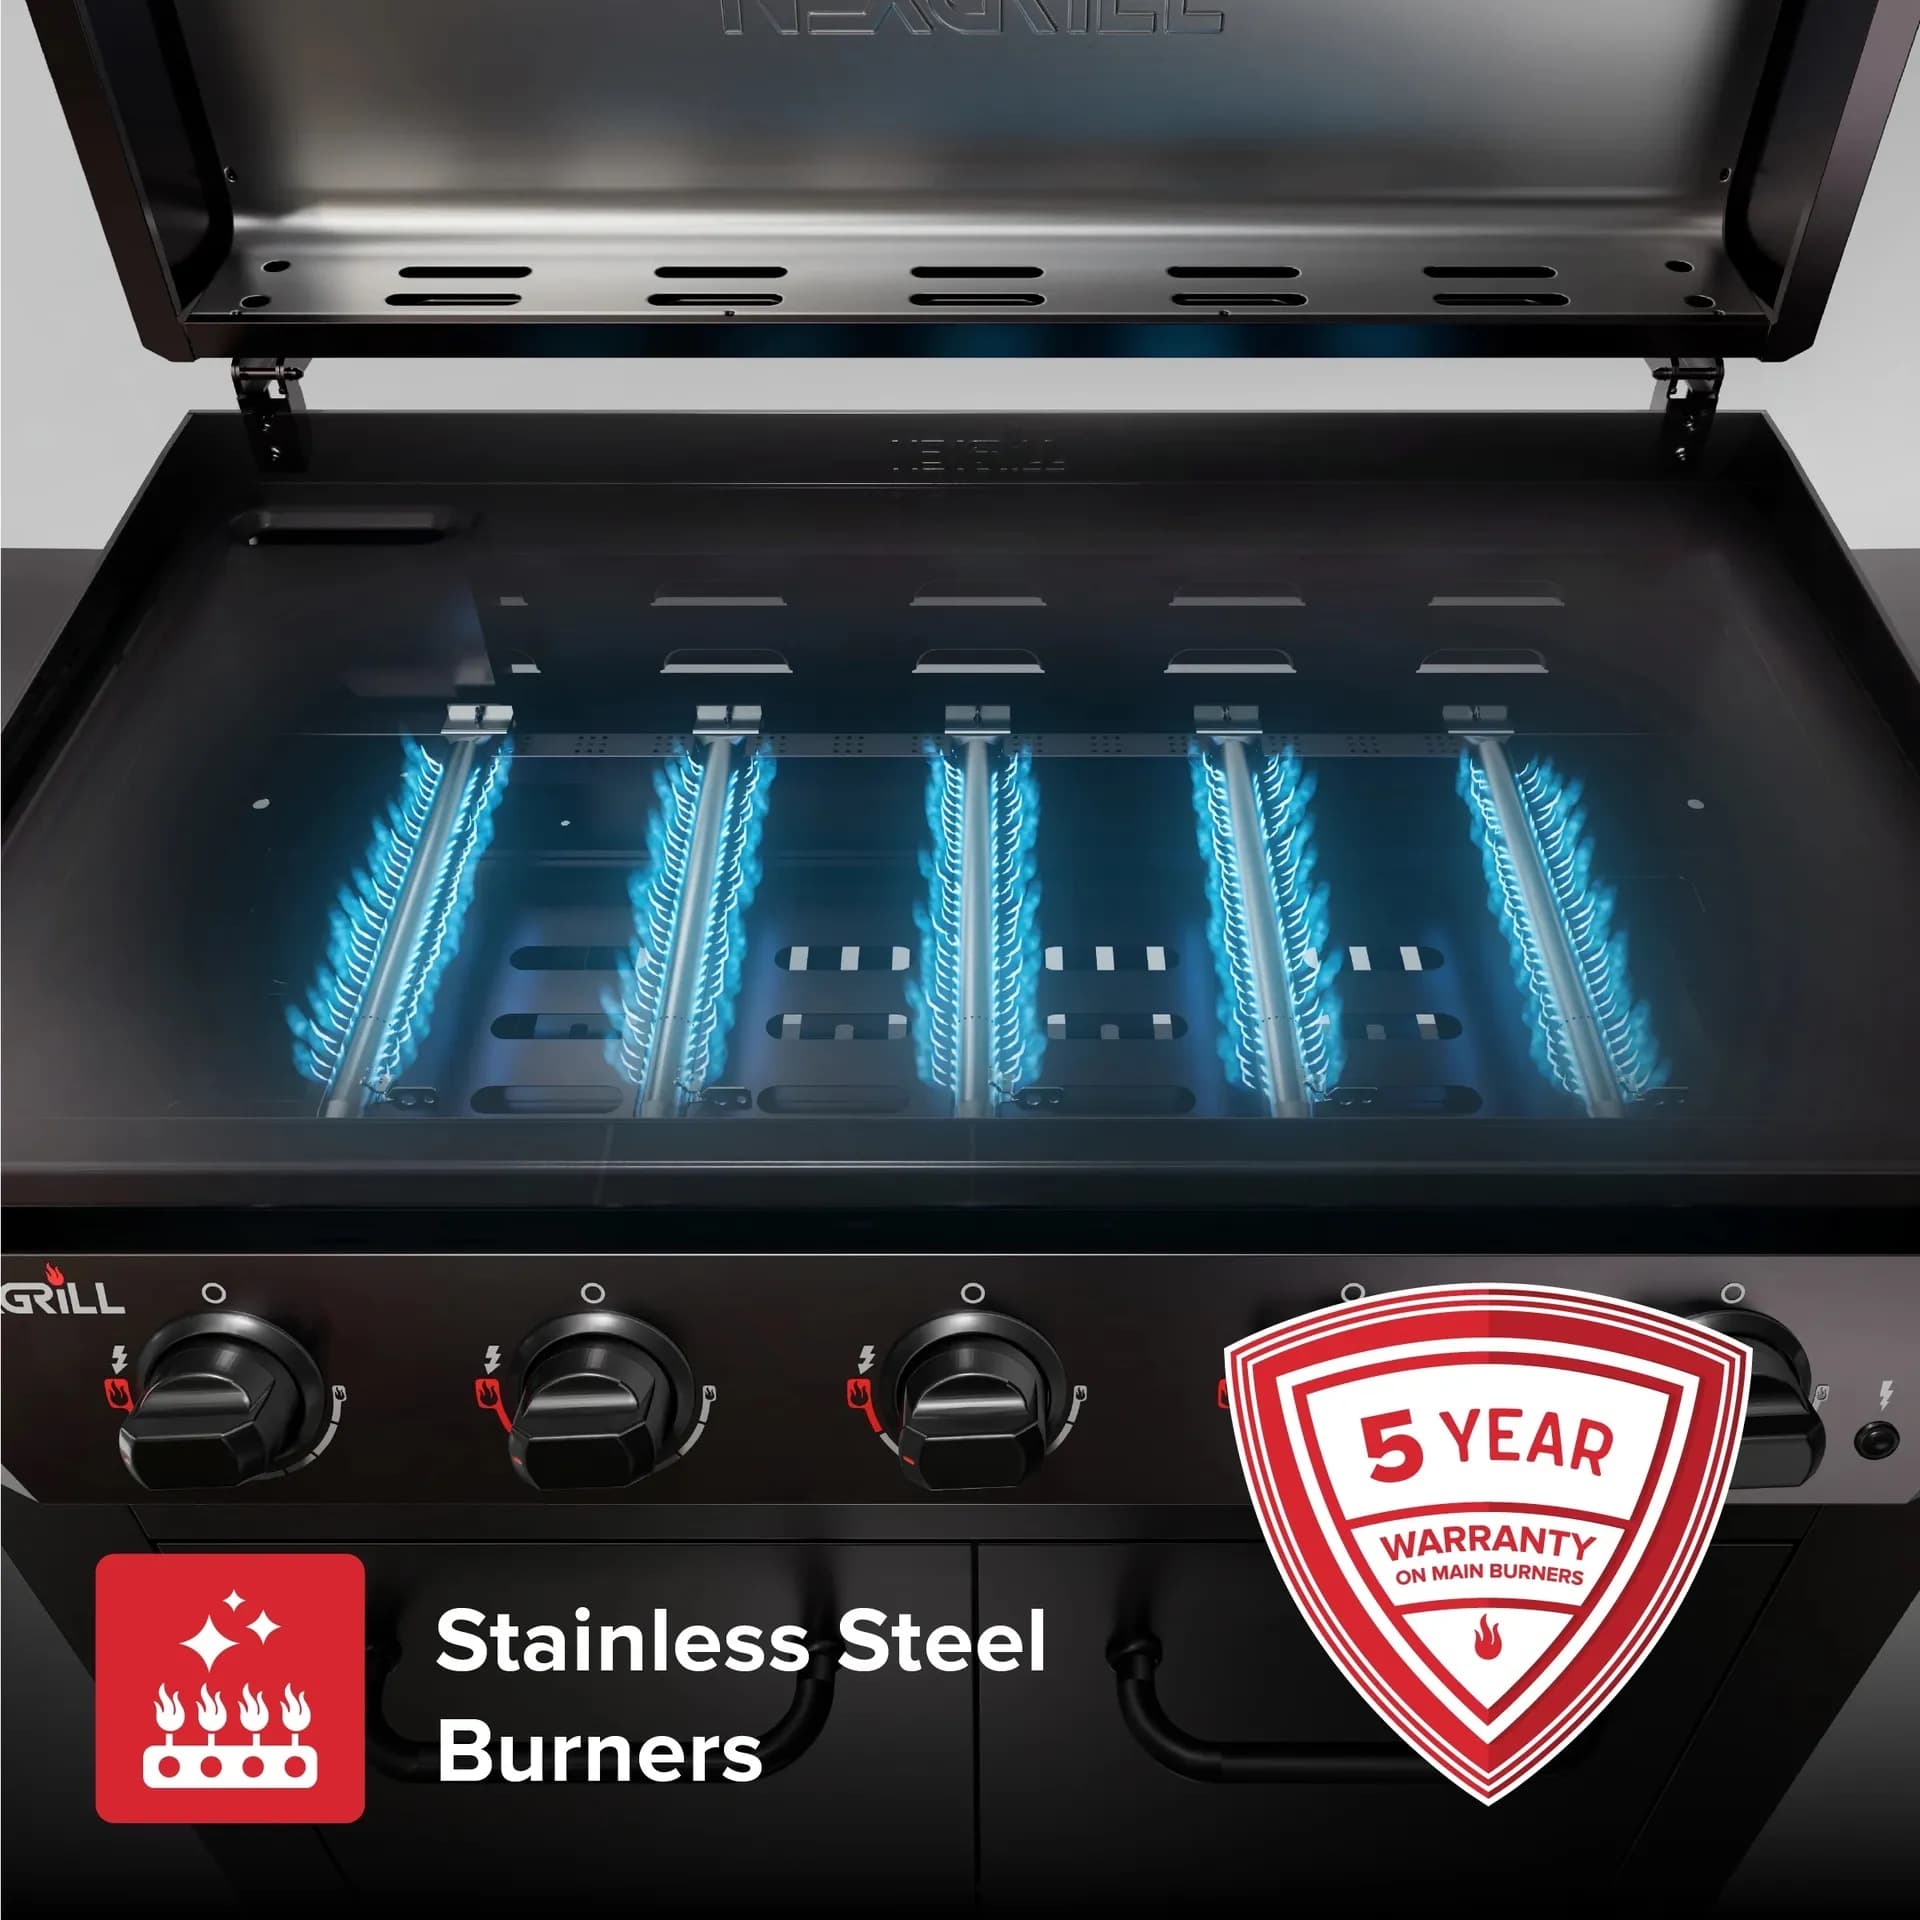
Light one burner at a time according to the ignition instructions, then verify that flame spreads consistently across the burner channels. Once one burner is operating correctly, test the others. This method makes it easier to spot a weak igniter or uneven gas flow before you start preheating the entire unit. Allow the griddle to come up to temperature gradually so the metal expands evenly. Rapid full-power heating on a brand-new surface can create hot spots before you have had a chance to learn the griddle’s behavior.
Warning: If you smell gas, hear an unexpected hiss, or see an uneven flame pattern, shut the griddle down immediately and recheck the connection points before trying again.
For a first cook, choose simple foods that teach you the surface quickly, such as sliced onions, eggs, tortillas, or a small batch of burgers. These foods show where the hot and cool zones are without forcing you to manage a complicated recipe on day one. As you gain confidence, you can use the four-burner layout to create distinct heat zones for searing, warming, and holding food before serving. Try comparing two products side by side below to see which fits best:
Cooking Techniques for Maximum Flavor
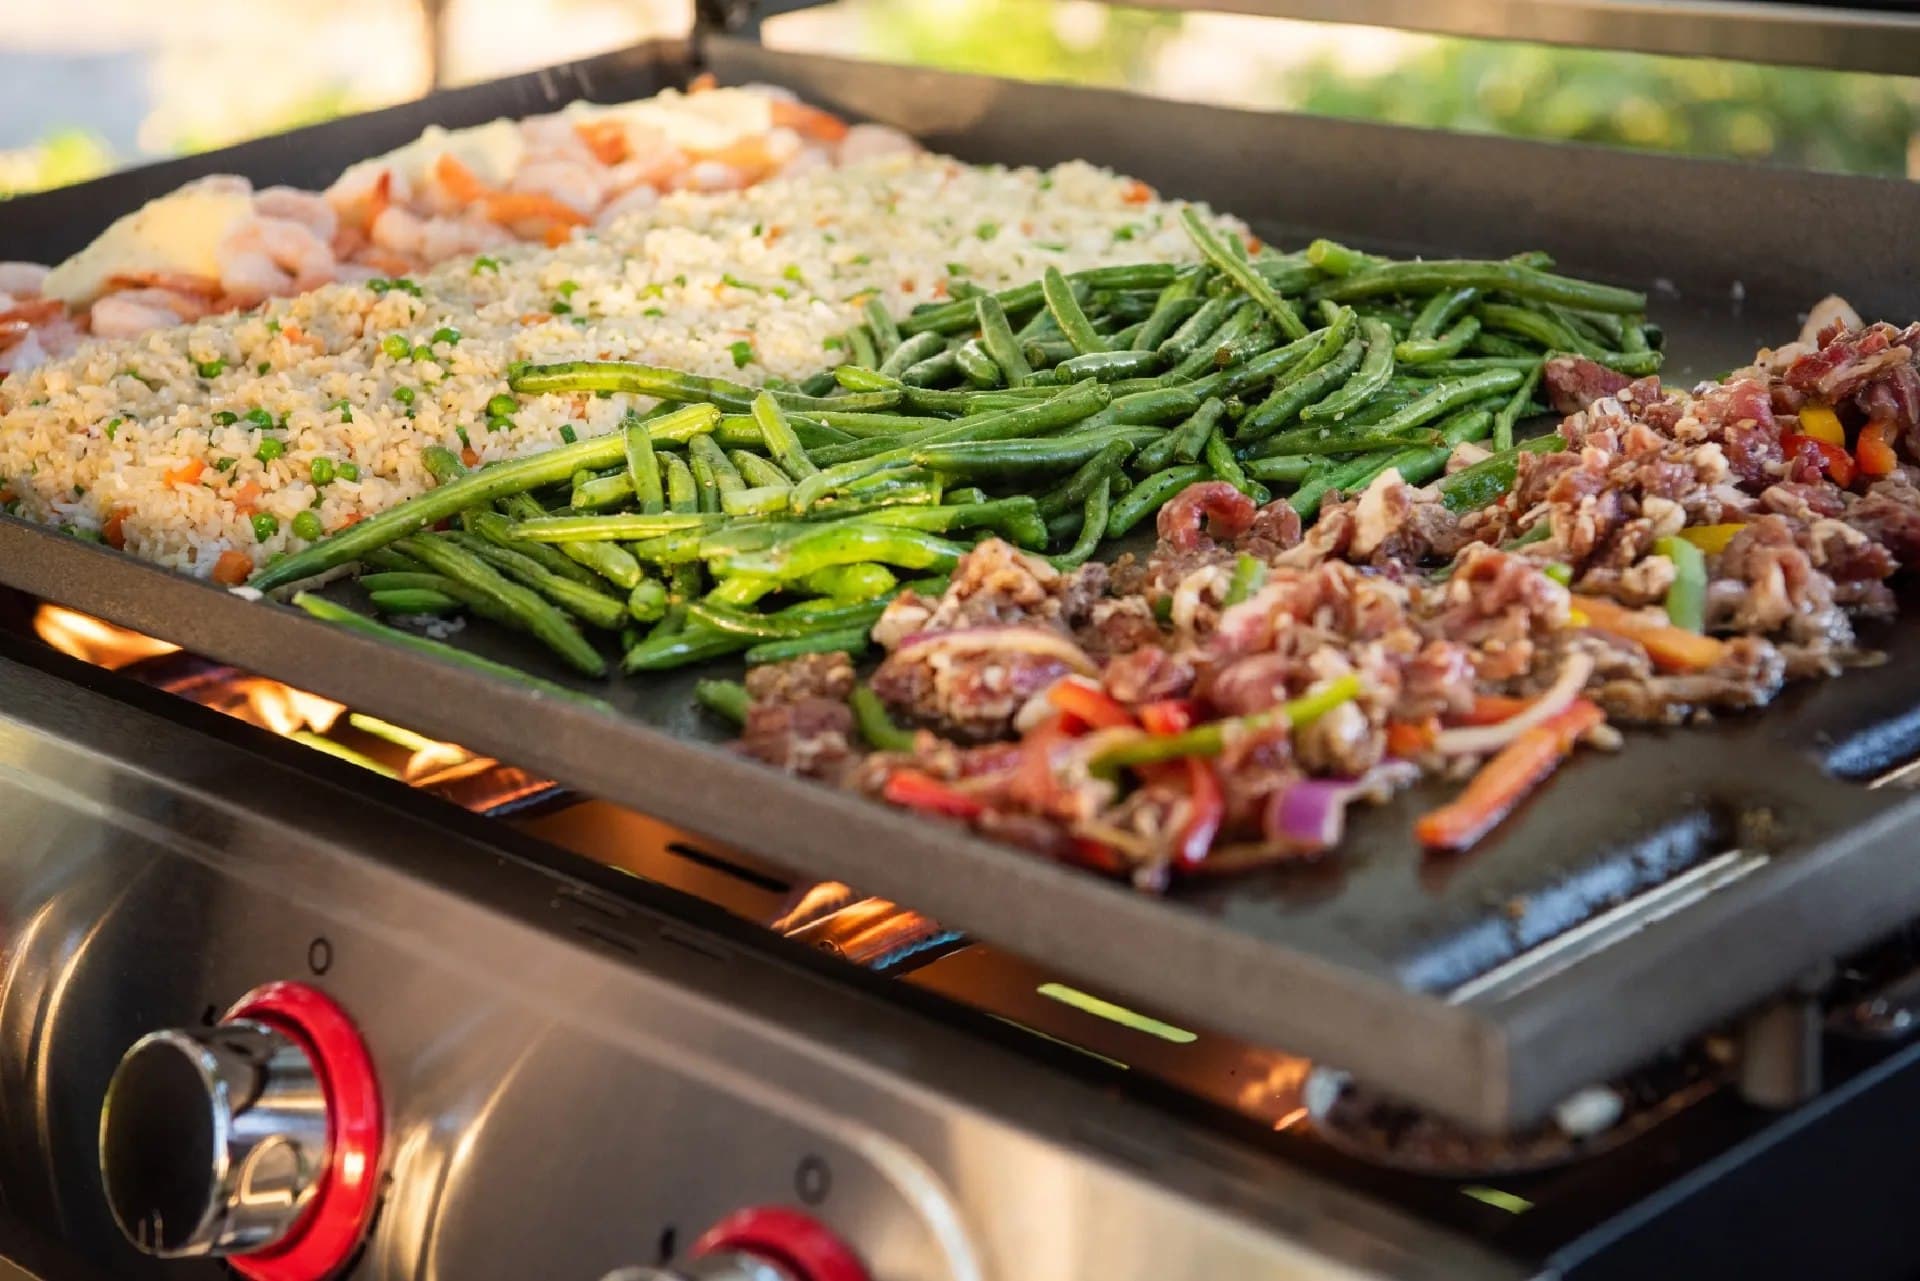
A four-burner griddle is most useful when you think in zones rather than one flat field of heat. Keep one area at medium-high for searing proteins, one zone at medium for vegetables, and one lower-heat zone for holding finished food. That setup lets you cook a full breakfast or dinner service without rushing. It also helps with mixed meals because bread can toast on a cooler edge while steak or chicken finishes in the hotter center.
For better flavor, preheat long enough for the surface to stabilize before adding oil or food. Then use a thin, even film of cooking oil instead of pooling it in one spot. The goal is a controlled surface sheen, not a deep layer. For smash burgers, press once and leave the patty alone until a crust forms. For vegetables, use a little more spacing so moisture can escape and caramelization can develop. If you are cooking breakfast, start with bacon or sausage to render fat, then use that flavorful residue to finish potatoes, eggs, or pancakes.
Tip: Let the griddle teach you where it runs hottest. After a few uses, mark your preferred burner settings for breakfast, searing, and warming so repeat cooks are faster.
Another useful habit is managing food in stages. Start with items that take the longest, then finish quick-cooking foods near the end so everything lands on the table together. The Daytona format is especially good for family-style cooking because it gives you room to keep ingredients separated without crowding. That means better texture, better browning, and less steam trapped around the food.
Common Mistakes to Avoid
The most common mistake is rushing assembly and skipping a full hardware check. A loose shelf or uneven leg may seem minor in the garage, but once the griddle is hot, that small issue becomes annoying fast. Another frequent problem is failing to test each burner independently. If one burner lights weakly, you want to know that before your first cook, not halfway through dinner.
New owners also tend to overcrowd the surface. A griddle performs best when food has enough room to brown instead of steam. If you pack onions, eggs, potatoes, and meat too tightly together, the surface temperature drops and flavor suffers. The same issue happens when the cooktop is under-preheated: food sticks, color develops unevenly, and the cook feels harder than it should.
Warning: Do not use abrasive tools on a hot seasoning layer or drag metal utensils across the surface aggressively. Protecting the cooktop finish early helps it cook better later.
A final mistake is treating the manual as a one-time read. The Daytona 4-Burner Griddle manual is most useful when you revisit it during the first few cooks, especially for ignition, cleanup, and seasonal storage reminders. If you want the safest and smoothest setup, keep the manual nearby until the unit has been tested, seasoned, and used a few times with confidence. You can also use Nexgrill’s product page as a quick reference point while you get familiar with the griddle’s structure and intended use.
Cleaning and Maintenance Tips
Once you’ve weighed setup and first-use basics, the next job is keeping the Daytona 4-Burner Griddle clean enough to cook well every time. The best routine is simple: clean while the surface is still warm, remove loose debris, and protect the seasoning layer instead of scrubbing it away. That approach keeps food from sticking and helps the griddle heat more evenly on later cooks.
After cooking, scrape residue toward the grease channel while the cooktop is warm but not scorching. Wipe the surface with a lightly oiled cloth if the manual recommends it, and empty the grease tray once it has cooled. For stubborn bits, use a gentle scraper or a non-abrasive pad rather than harsh chemicals. Nexgrill’s maintenance resources are a good companion when you want to extend the life of your outdoor equipment and avoid damage from aggressive cleaning habits.
A weekly maintenance rhythm works well for most home cooks. Check burner ports for blockages, inspect the ignition system, and confirm that the drip tray slides freely. If you grill often, look for signs of uneven heating or dark spots that suggest buildup under the surface. The more frequently you use the griddle, the more important it becomes to keep grease under control so it does not become baked onto the metal.
| Maintenance task | When to do it | Why it matters |
|---|---|---|
| Scrape and wipe the cooktop | After every cook | Prevents buildup and preserves surface seasoning |
| Empty grease tray | After cooling | Reduces flare-up risk and mess |
| Inspect burners and ignition | Weekly or before heavy use | Helps catch weak ignition or blockages early |
| Cover and store properly | Whenever not in use | Protects against weather and dust |
For seasonal care, give the griddle a deeper inspection before peak summer use and again before storage. Check cart hardware, wheels, gas hose condition, and the finish around high-heat areas. If the unit will sit outdoors, use a fitted cover and keep moisture from pooling on the top or in the grease path. Good storage habits matter just as much as cooking habits because outdoor exposure is often what wears griddles down first.
Final Checklist for Griddle Care
Before each cook, use a quick checklist so the griddle is ready without guesswork. Confirm that the surface is clean, the grease tray is empty, the burners light properly, and the cooking area is level. Make sure utensils, oil, and food are staged before ignition so you are not scrambling once the griddle is hot. That small bit of organization keeps the workflow calm and the results more consistent.
- Cooktop scraped and lightly wiped
- Grease tray and drip cup emptied
- Burners and igniter checked
- Gas connection visually inspected
- Cooktop level and stable
- Cover replaced after cooling
After the cook, let the surface cool safely, remove collected grease, and replace the cover once no heat remains. If you notice a performance change, such as slower ignition or uneven heat, address it before the next meal rather than waiting for the issue to grow. That is the easiest way to protect both the cooking experience and the griddle itself.
Info: A griddle that is cleaned regularly and stored properly will usually feel easier to use over time, because seasoning stays more stable and heat behavior stays more predictable.
Frequently Asked Questions
How long should I preheat the griddle?
Preheat until the cooking surface has reached a steady, even heat across the zone you plan to use. For most home cooking, that means giving the griddle enough time for the metal to stabilize before adding oil or food. A brief preheat may work for eggs and vegetables, while searing proteins usually benefits from a longer warm-up.
Do I need to season the surface?
If your manual recommends seasoning, follow that process before cooking. Seasoning helps create a more usable cooking surface and supports easier cleanup. Re-season whenever the finish looks dry, patchy, or scraped down after cleaning.
What should I do if one burner does not light?
Turn the unit off, let it cool, and inspect the ignition path, gas connection, and burner area before trying again. If the issue continues, refer back to the manual and the Nexgrill product materials for the Daytona 4-Burner model so you can verify the correct startup sequence.
How often should I deep clean it?
Deep cleaning depends on how often you cook, but a more thorough inspection every few weeks is a good habit for frequent users. Focus on burner ports, grease paths, and the underside of the cooktop so buildup does not interfere with heat or airflow.